
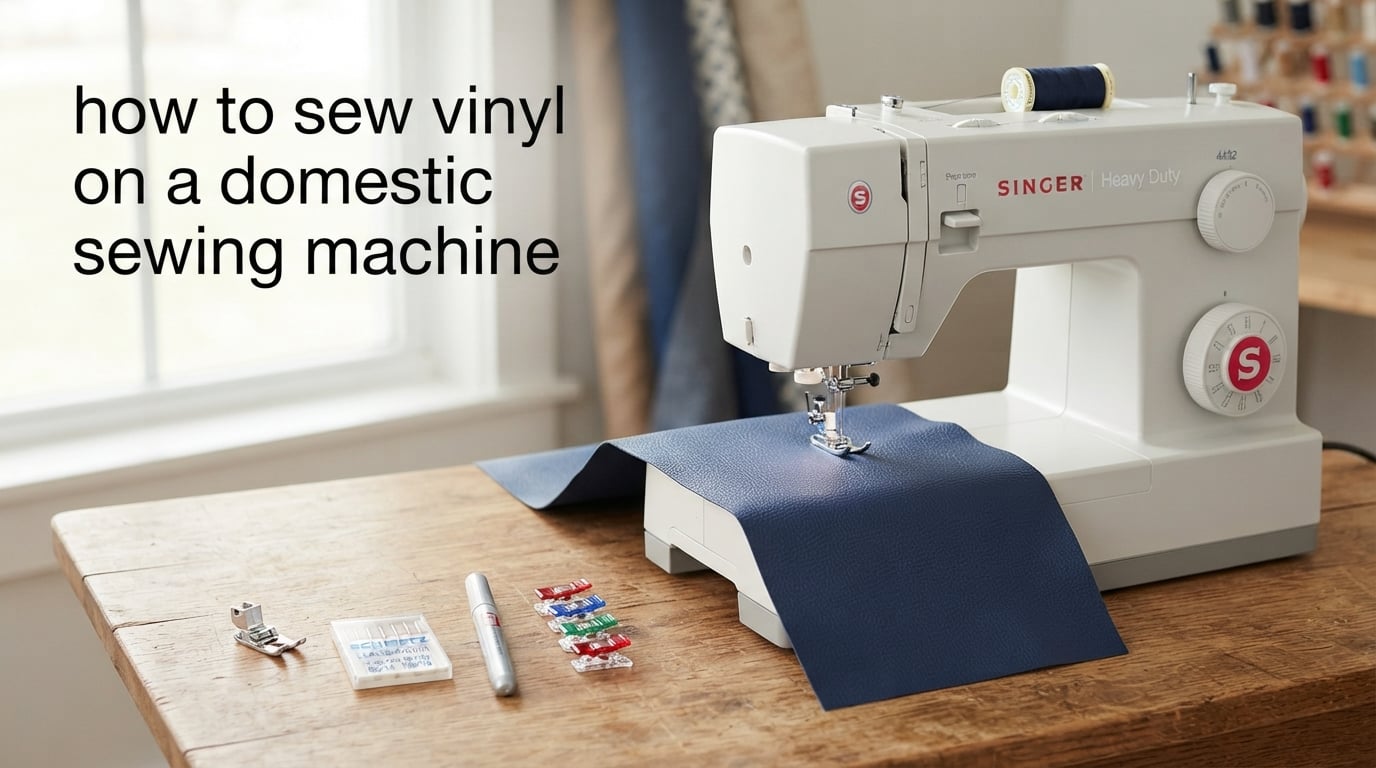
Yes, you can sew vinyl on a domestic sewing machine, and you do not need an industrial setup to get clean, durable results. We have been sewing vinyl bags, pouches, and upholstery pieces on standard home machines for years, and the difference comes down to tools, not horsepower.
In this guide, we walk through how to sew vinyl on a domestic sewing machine from setup to finish. You will learn which needles, feet, and threads work best, how to prepare your vinyl so it does not stick or perforate, and how to fix the most common mistakes before they ruin your project.
Table of Contents
- Can You Sew Vinyl on a Domestic Sewing Machine?
- Vinyl Types and How Thickness Affects Your Machine
- Essential Tools for Sewing Vinyl at Home
- Choosing the Right Presser Foot: Teflon vs Roller vs Walking
- How to Sew Vinyl on a Domestic Sewing Machine: Step-by-Step
- Troubleshooting Common Vinyl Sewing Problems
- Beginner Vinyl Projects to Practice On
- Frequently Asked Questions
- Final Thoughts
Can You Sew Vinyl on a Domestic Sewing Machine?
Yes. A regular home sewing machine can sew most vinyl fabrics, including marine vinyl, faux leather, clear vinyl, and PVC. The key variables are your needle, presser foot, stitch length, and how thick the vinyl is compared to what your machine can handle.
Most modern home machines from Brother, Singer, Janome, and similar brands handle vinyl up to about 16 gauge without strain. Anything thicker, like heavy marine or auto upholstery vinyl, may push your machine to its limit and is where skipped stitches and needle breakage show up.
Before you start, run this quick capability checklist on your own machine:
- Can it drop or cover the feed dogs?
- Does it have enough throat space for the project panel?
- Is the motor strong enough to push through layered seams without stalling?
- Does it accept a Teflon, roller, or walking foot?
If you answered yes to all four, your domestic machine is ready for vinyl. If you answered no to the foot question, that single accessory is the biggest upgrade you can make.
Vinyl Types and How Thickness Affects Your Machine
Vinyl is sold by gauge, which measures thickness in ounces per square yard. Lower numbers mean thinner, more flexible vinyl that feeds easily. Higher numbers mean stiffer, heavier vinyl that fights your feed dogs and needle.
Here is a quick guide to match gauge to project and machine:
- 8 to 12 gauge: Thin, drapey vinyl. Great for pouches, linings, and clothing accents. Any home machine handles this with ease.
- 14 to 16 gauge: Standard vinyl for bags, light upholstery, and aprons. Most domestic machines sew this without complaint when paired with a leather or microtex needle.
- 18 to 20 gauge: Marine and medium upholstery vinyl. Workable on a strong home machine, but expect to slow down and avoid thick seam stacks.
- 22 gauge and above: Heavy auto or commercial upholstery vinyl. This is where domestic machines start to struggle, and an industrial walking foot machine is the safer choice.
Marine vinyl is usually polyester-backed PVC and behaves predictably under the needle. Clear vinyl is softer and stickier, so it benefits more from tissue paper. Faux leather is often polyurethane and tears differently than PVC. Knowing which type you have changes how you cut and sew it.
Essential Tools for Sewing Vinyl at Home
The right tools are what separate a frustrating vinyl sewing session from a clean one. You do not need much, but each tool earns its place.
Here is what we keep in our vinyl kit:
- Leather or microtex needle, size 90/14 or 100/16: A leather needle has a wedge-shaped point that punches through coated layers. A microtex needle has a sharp point that pierces cleanly. For marine and faux leather, leather wins. For thinner clear vinyl and TPU, microtex wins.
- Polyester or nylon thread: Both flex with the vinyl instead of cutting through it. Cotton thread snaps too easily under vinyl stress. For topstitching, bonded nylon upholstery thread gives a clean, professional look.
- Wonder clips or binder clips: Pins leave permanent holes in vinyl. Clips hold layers without puncturing. Dollar-store binder clips work as well as branded Wonderclips for most projects.
- Tissue paper or tear-away stabilizer: Slides between the presser foot and the vinyl to prevent sticking and protect the feed dogs.
- Chalk marker or tailor’s chalk: Vinyl wipes clean, so most pens bead up. A silver chalk marker or a removable fabric pen leaves visible, removable lines.
- Rotary cutter and ruler: Scissors compress vinyl and leave ragged edges. A rotary cutter and a quilting ruler cut clean, accurate panels every time.
- Seam roller or finger press: Vinyl does not hold a pressed crease from a household iron at high heat. A roller or firm finger pressure sets the seam.
- Spray baste: Holds vinyl to a fleece or foam stabilizer without leaving residue like fusible interfacing does.
Skip the pins, skip the iron, and skip regular cotton thread. Those three swaps alone solve most beginner vinyl headaches.
Choosing the Right Presser Foot: Teflon vs Roller vs Walking
Your presser foot is the single biggest factor in whether vinyl glides or sticks. A standard metal foot grabs the coated surface and pulls, causing ripples, puckers, and uneven feeding. Three specialty feet fix this.
Here is how they compare:
- Teflon foot: A non-stick coated foot that slides over vinyl like a knife on a hot pan. Best for general vinyl sewing, topstitching, and beginners. Leaves no marks. Works on most machines with a snap-on or screw-on shank.
- Roller foot: Has small rollers on the bottom that move with the fabric. Best for sticky, soft vinyl, faux leather, and laminated fabrics. Reduces drag on layered seams. Can leave slight roller marks on very soft vinyl.
- Walking foot: Has its own set of feed dogs that pull the top and bottom layers evenly. Best for thick vinyl, multiple layers, and slippery laminates. Not the best choice for topstitching because the feed dogs can leave small indent marks on the vinyl surface.
For a beginner sewing bags or pouches, start with a Teflon foot. Add a roller foot if you sew a lot of faux leather or coated cotton. Reach for a walking foot when seams stack up to four or more layers or when the layers want to shift apart.
How to Sew Vinyl on a Domestic Sewing Machine: Step-by-Step
Now to the actual technique. We will cut, prepare, and sew a basic seam on vinyl so you can see how each step protects your work.
Step 1: Cut the Vinyl Cleanly
Lay the vinyl backing-side up and mark your cutting lines with a silver chalk marker. Snap a rotary cutter against a quilting ruler and pull firmly in one pass. Multiple light passes leave fuzzy edges that show through finished seams.
If you must use scissors, snip from the coated side with heavy-duty shears and accept that the edge will compress slightly. Trim the compressed edge after sewing for a cleaner finish.
Step 2: Mark Seams and Stitch Lines
Mark notches, darts, and seam allowances with chalk on the backing side, not the coated side. Mark any topstitching lines on the coated side with a fine chalk marker or a strip of painter’s tape as a guide.
Step 3: Stabilize When Needed
Spray baste a layer of low-loft fleece to the wrong side of the vinyl when sewing structured bags, upholstery, or anything that needs body. Trim the fleece back from the seam allowance to keep bulk out of the seam.
Step 4: Clip, Do Not Pin
Hold the layers together with Wonderclips or binder clips every two to three inches along the seam. Back off slightly on clip pressure for soft vinyl to avoid compression marks.
Step 5: Set Up Your Machine
Install a fresh leather or microtex needle sized 90/14 for standard vinyl, 100/16 for marine vinyl. Thread with polyester all-purpose thread for construction or bonded nylon for topstitching. Set stitch length to 3 to 3.5 millimeters. Longer stitches give the seam room to flex without perforating.
Lower presser foot pressure if your machine allows it. Test on a scrap first to dial in tension. Vinyl usually runs well at standard tension or one notch looser than what you use on cotton.
Step 6: Sew With the Tissue Paper Method
Cut a strip of plain tissue paper or tear-away stabilizer wider than your presser foot. Slide it between the presser foot and the vinyl so the foot rides on paper instead of vinyl. The paper also slides under the feed dogs so they do not grab the coated surface.
Sew forward at a steady, moderate pace. Do not backstitch at the start or end. Backstitching perforates the vinyl and leaves a weak, hole-filled spot. Instead, leave long thread tails, trim them to half an inch, and either tie them off or secure them with a dab of clear flexible glue.
Step 7: Tear Away the Tissue Paper
Once the seam is sewn, gently tear the tissue paper away from the stitches. It should pull cleanly along the perforation line and leave no residue. If paper sticks inside the stitch holes, switch to a lighter tissue paper or a water-soluble tear-away next time.
Step 8: Finish the Seam
Topstitch if the pattern calls for it, using the same longer stitch length. Trim seam allowances to one quarter inch and finish with a seam roller or firm finger pressure. Do not press with a hot household iron on coated vinyl. The heat will scorch, melt, or distort the surface.
Troubleshooting Common Vinyl Sewing Problems
Even with the right setup, vinyl throws curveballs. Here are the most common problems we see, why they happen, and how to fix them.
- Vinyl sticks to the presser foot: Cause, the foot is metal and grips the coated surface. Fix, switch to a Teflon or roller foot, or use the tissue paper method until you can.
- Skipped stitches: Cause, the needle is too small or dull for the vinyl gauge. Fix, step up to a 100/16 leather needle and replace it after every three to four hours of vinyl sewing.
- Needle breakage: Cause, sewing through thick stacked seams with too small a needle. Fix, use a hump jumper or a scrap of denim to level the foot over bulky crossings, and slow your pace.
- Puckered or rippled seams: Cause, presser foot pressure is too high or stitch length is too short. Fix, lower the pressure, lengthen stitches to 3 millimeters, and support the weight of the fabric so it feeds evenly.
- Permanent pin holes: Cause, pins puncture vinyl and the holes do not close. Fix, use Wonderclips or binder clips from start to finish.
- Weak backstitched start: Cause, backstitching perforates the vinyl and tears under stress. Fix, leave long thread tails and tie off or glue them.
- Paper residue stuck in stitches: Cause, too heavy a tear-away or wrong paper type. Fix, switch to a lighter tissue paper, a water-soluble stabilizer, or a wash-away topper.
Most vinyl problems trace back to needle size, presser foot choice, or stitch length. Change one of those three before blaming your machine.
Beginner Vinyl Projects to Practice On
Before you cut into expensive marine vinyl or auto upholstery, build confidence on softer, cheaper material. These projects teach the core skills without much waste.
- Clear vinyl zip pouch: Soft, see-through, and forgiving. Great for practicing tissue paper method and clipping seams.
- Faux leather coaster set: Small panels let you dial in stitch length and tension without committing to a big project.
- Vinyl apron: Larger panels teach you how to manage bulk and weight while feeding through the machine.
- Tote bag in mid-weight vinyl: Combines clipping, topstitching, and strap attachment in one manageable build.
- Simple pillow cover: Marine or upholstery vinyl on a square panel teaches you how to handle thicker material without curved seams.
Pick a project that uses vinyl similar in weight to what you plan to sew for real, so the practice transfers directly.
Frequently Asked Questions
Can you sew vinyl fabric with a regular sewing machine?
Yes. A regular home sewing machine can sew most vinyl fabrics, including marine vinyl, faux leather, clear vinyl, and PVC, as long as you use a leather or microtex needle, a non-stick or roller presser foot, and a stitch length of at least 3 millimeters. Heavy auto upholstery above 20 gauge may push a domestic machine to its limit.
What kind of needle should I use to sew vinyl?
Use a leather needle or microtex needle in size 90/14 for standard vinyl and 100/16 for marine vinyl or faux leather. Replace the needle after every three to four hours of vinyl sewing, since vinyl dulls points faster than woven fabric does.
What kind of thread do you use to sew vinyl?
Use polyester or nylon all-purpose thread for construction seams and bonded nylon upholstery thread for topstitching. Both threads flex with the vinyl instead of cutting through it, which is why cotton thread is a poor choice for vinyl projects.
Why does vinyl stick to my sewing machine?
Vinyl sticks because the coated surface grips metal surfaces and the feed dogs. A Teflon foot or roller foot removes the grip, and a strip of tissue paper between the foot and the vinyl lets the foot glide. Lowering presser foot pressure also reduces sticking.
What are some tips for sewing vinyl on a home sewing machine?
Use clips instead of pins, lengthen your stitch to 3 millimeters, avoid backstitching, sew with tissue paper under the presser foot, and support the weight of the fabric as it feeds through. These five changes solve most beginner vinyl problems.
What kind of sewing machine do I need to sew vinyl?
You need a domestic sewing machine that accepts a Teflon, roller, or walking foot, has enough motor strength to push through layered seams, and can run a stitch length of at least 3 millimeters. Most modern Brother, Singer, Janome, and similar home machines meet these requirements for vinyl up to about 18 gauge.
Final Thoughts
Learning how to sew vinyl on a domestic sewing machine comes down to swapping a few habits: clips for pins, longer stitches for short ones, a non-stick foot for the standard foot, and tissue paper between everything. With those swaps, your home machine becomes a capable vinyl workshop.
Start with a forgiving project like a clear pouch or faux leather coaster, run the troubleshooting list when something feels off, and build up to bags and upholstery as your confidence grows. We are rooting for you, and the result is a project that will outlast anything you sew in cotton.