
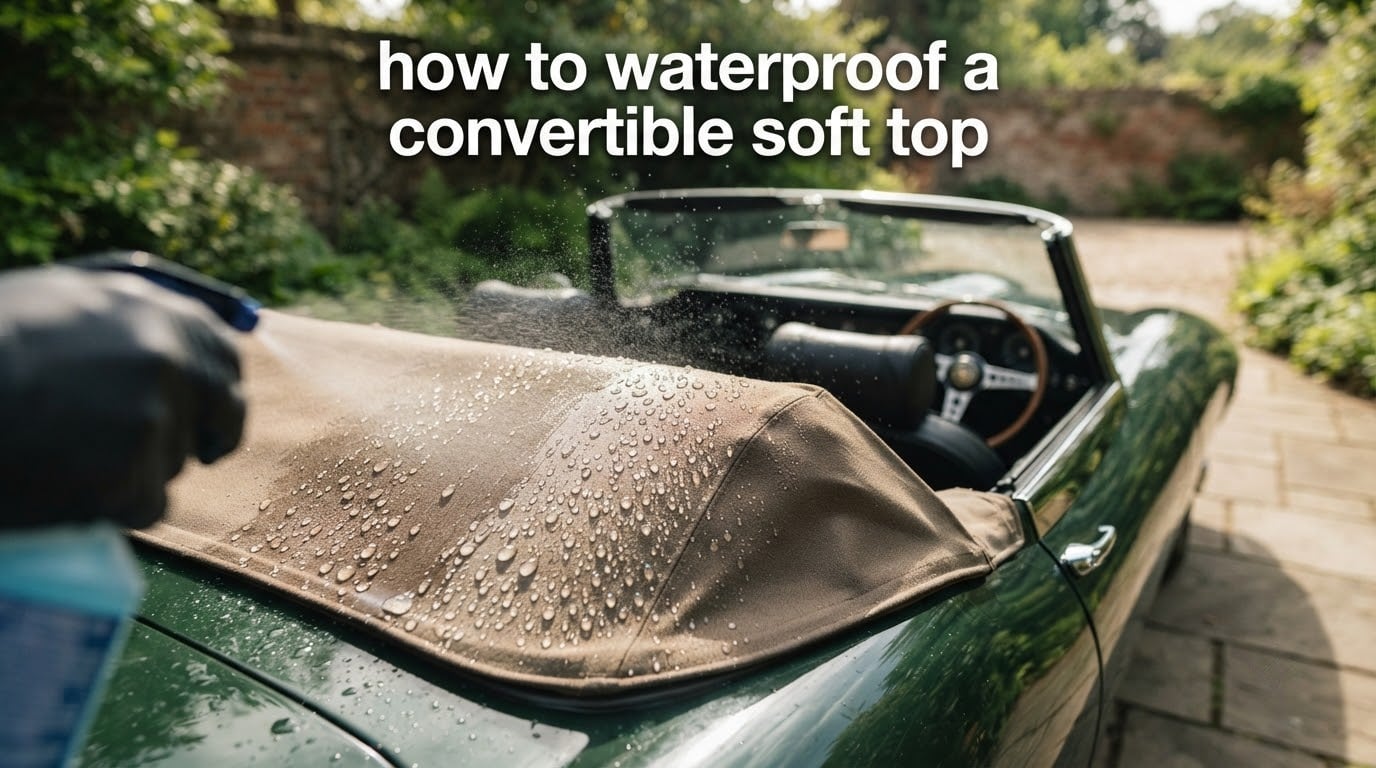
Driving a convertible is one of the great joys of car ownership—until the first heavy rain finds its way through the roof. Knowing how to waterproof a convertible soft top protects your interior, extends the life of your top, and keeps those drives enjoyable no matter what the weather brings.
Over the past decade, I’ve worked with convertible owners who thought a leaky roof meant replacing the entire top. Many times, a thorough cleaning and proper waterproofing treatment solved the problem for a fraction of the cost. This guide walks you through the exact process to clean, prepare, and seal your soft top at home.
You’ll learn which products work on canvas versus vinyl, how to apply them correctly, and when waterproofing can actually save you from a costly replacement. I’ll also show you how to find leaks before you seal them, so you treat the right problem.
Table of Contents
- Why Waterproofing a Convertible Soft Top Matters
- Know Your Soft Top Material Before You Start
- Tools and Products You Will Need
- Step-by-Step: How to Waterproof a Convertible Soft Top
- Step 1: Park in the Shade and Let the Top Cool
- Step 2: Dry Brush to Remove Loose Debris
- Step 3: Deep Clean With a Soft-Top Cleaner
- Step 4: Rinse and Let the Top Fully Dry
- Step 5: Mask Off Glass, Trim, and Paint
- Step 6: Apply the Waterproofing Product
- Step 7: Apply a Second Coat if Recommended
- Step 8: Cure, Then Test With a Gentle Water Spray
- How to Diagnose Soft Top Leaks Before You Seal
- Spray-On vs Brush-In Application: Which Works Better?
- Seasonal Maintenance Calendar for a Convertible Top
- When to Re-Seal vs Replace the Convertible Top
- Frequently Asked Questions
- How can I waterproof my convertible soft top?
- How do I waterproof my convertible top?
- What is the best sealant for convertible tops?
- Do soft tops leak when it rains?
- What is the best waterproofing spray for a convertible top?
- What is a good waterproof spray sealant for a roof?
- How long does convertible top waterproofing last?
- Can I waterproof a canvas convertible top?
- Final Thoughts
Why Waterproofing a Convertible Soft Top Matters
A soft top is more than a cover—it’s a barrier between your interior and the elements. Fabric and vinyl materials naturally degrade under UV exposure, road grime, and repeated wetting. Without waterproofing, that degradation accelerates.
Water that penetrates a soft top often shows up where you least expect it: as damp patches on the headliner, musty odors in the cabin, or even electrical gremlins in dashboard components. Once water reaches the headliner or interior, repairs multiply quickly.
Most convertible tops have a hydrophobic factory treatment that wears off over time. After two or three years of sun and rain, that protective layer fades. Waterproofing treatments restore that barrier, but they also need periodic reapplication—typically once per year for fabric tops and twice yearly for vinyl.
Know Your Soft Top Material Before You Start
Convertible tops fall into two main categories: fabric (canvas or cloth) and vinyl (sometimes called “rag tops” in older vehicles). Each material needs a different cleaner and sealant. Using the wrong product can cause discoloration, streaking, or reduced water resistance.
Canvas and Fabric Tops
Canvas tops have a textured, woven appearance. They’re common on vehicles like the Mazda Miata, BMW Z4, and Jeep Wrangler. The weave allows the fabric to breathe, but that same texture also traps dirt deep in the fibers. Canvas responds best to cleaner-and-sealant kits designed specifically for fabric.
Vinyl Tops
Vinyl tops have a smooth, sometimes glossy finish. They’re easier to clean but more sensitive to UV damage. Vinyl tends to dry out and crack without regular conditioning. Look for cleaners labeled for vinyl convertible tops, and follow up with a vinyl-specific protectant that includes UV blockers.
Why Material Choice Changes Your Product Pick
Some products claim to work on both canvas and vinyl. In practice, dual-use formulas often underperform on one material or both. A forum member on r/saab reported switching from a generic spray to a fabric-specific treatment and noticing significantly better water beading on their canvas top. The right product for your material makes the difference between a top that beads water and one that still soaks through.
Tools and Products You Will Need
Before starting, gather the right materials. Using household cleaners or all-purpose sprays can leave residue that blocks the waterproofing agent from bonding properly.
You’ll need a convertible top cleaner matched to your material (fabric or vinyl), a soft-bristle brush with synthetic bristles, microfiber towels, masking tape, and a waterproofing spray or brush-in sealant. If you’re using a brush-in product, a foam applicator pad or small foam roller helps spread the sealant evenly.
A user on CorvetteForum recommended using a foam roller for even coverage during application, which prevents pooling and ensures the sealant penetrates uniformly across the fabric weave. That simple tool upgrade often improves results significantly.
Step-by-Step: How to Waterproof a Convertible Soft Top
Follow these eight steps in order. Skipping the cleaning phase or applying sealant to a damp top are the two most common mistakes I see DIYers make.
Step 1: Park in the Shade and Let the Top Cool
Heat causes cleaners to evaporate too quickly and sealants to cure unevenly. Park your car in a shaded area and wait at least 20 minutes for the top surface to cool down. Direct sun on a hot top can also cause cleaning chemicals to streak before you can rinse them off.
Step 2: Dry Brush to Remove Loose Debris
Before introducing any liquids, use a soft-bristle brush to sweep away loose dirt, leaves, and pollen from the top surface. This step prevents you from grinding debris into the fabric during the wet cleaning phase. Work from one side of the top to the other in overlapping strokes.
Step 3: Deep Clean With a Soft-Top Cleaner
Apply your chosen convertible top cleaner according to the product directions. Most cleaners spray on as a foam or liquid and require 2–5 minutes of dwell time. Work the cleaner into the surface with your soft brush using gentle circular motions. Avoid pressing so hard that you distort the fabric weave.
For canvas tops, pay extra attention to the seams and edges where dirt accumulates. A user on SaabCentral noted that switching to Renovo after RaggTopp failed involved more thorough cleaning first—the lesson is that product performance often depends on prep work.
Step 4: Rinse and Let the Top Fully Dry
Rinse the cleaner off with a gentle stream of water, avoiding high-pressure sprays that can force water into seams or saturate the interior. Let the top air dry completely. This can take 2–4 hours depending on humidity and temperature. Attempting to apply waterproofing to a damp surface is the most common cause of patchy, uneven results.
Step 5: Mask Off Glass, Trim, and Paint
Use masking tape and plastic sheeting to cover the windshield, rear window, and painted surfaces adjacent to the top. Waterproofing products that land on glass or paint can be difficult to remove once cured. Taking 10 minutes to mask now saves much more time in cleanup later.
Step 6: Apply the Waterproofing Product
Apply your chosen waterproofing sealant according to the label directions. For spray-on products, hold the can 8–12 inches from the surface and spray in even, overlapping passes. For brush-in products, use a foam applicator or roller to spread a thin, even layer across the top. Work from one end of the top to the other to avoid missing spots.
Forum discussions frequently highlight the value of brush-in application for control. A user on r/saab used Starbrite waterproofing and brushed it in rather than spraying, applying two coats for better results. The brush-in method allows precise coverage in seams and textured areas where sprays sometimes miss.
Step 7: Apply a Second Coat if Recommended
Most manufacturers recommend a second coat after the first has partially cured—usually 30–60 minutes depending on the product and conditions. Two thin coats always outperform one heavy coat, which can pool and leave tacky spots. Follow your specific product’s guidance on cure time between coats.
Step 8: Cure, Then Test With a Gentle Water Spray
Allow the final coat to cure fully—often 24 hours—before exposing the top to rain. Then test your work by spraying a gentle stream of water over the top and watching how the droplets behave. Properly waterproofed fabric and vinyl tops will bead water visibly. Water that soaks in or darkens the surface indicates a missed spot or insufficient coverage.
How to Diagnose Soft Top Leaks Before You Seal
Sometimes waterproofing the fabric isn’t enough because the leak originates from a seal, not the material. Knowing where to look saves you from wasting product on the wrong problem.
Run a Controlled Water Test
Grab a helper and a garden hose. One person operates the hose while the other sits inside the car. Run a gentle stream of water across the top in sections, starting at the front header seal and working toward the rear window. Mark each area where you notice water entering. Common entry points include the header seal, side rail weatherstrips, drain troughs, and the rear window bond.
This controlled test reveals whether water penetrates through the fabric itself or sneaks around the seals. A thorough article on AutoTopsDirect about Toyota Solara convertible top leaks emphasized this method for pinpointing the exact leak source before attempting repairs.
Map the Common Leak Zones
Front header seals often leak when the latch mechanism is out of adjustment or the seal has compressed over time. Side rail weatherstrips deteriorate from UV and age. Drain troughs clog with debris, causing water to back up and spill into the cabin. The rear window bond on canvas tops sometimes separates, allowing water to wick through the edge of the fabric.
If your water test reveals a seal leak rather than fabric penetration, focus your repair on that seal. Waterproofing the top material alone won’t fix a compromised header seal or clogged drain trough.
Spray-On vs Brush-In Application: Which Works Better?
The choice between spray-on and brush-in waterproofing comes up frequently in forum discussions. Each method has advantages depending on your top type and comfort level.
Spray-on products are faster to apply and require less technique. They’re a good fit for vinyl tops with smooth surfaces where overspray can be easily wiped away. The trade-off is less precise control in textured seams and edges, and you’ll need to mask surrounding surfaces carefully.
Brush-in products take longer but offer more control, especially on canvas tops with deep texture. The applicator or foam roller works the sealant into the weave rather than sitting on the surface. Forum users on Miata.net and SaabCentral have reported better longevity with brush-in applications on fabric tops, though the difference is less pronounced on smooth vinyl.
One Miata owner on forum.miata.net reported that 303 Fabric Guard caused discoloration on their top—a reminder that product choice matters as much as application method. Always test any product on a small, inconspicuous area first.
Seasonal Maintenance Calendar for a Convertible Top
Maintaining your convertible top across the seasons prevents the buildup that leads to leaks. A simple calendar keeps you ahead of problems.
In spring, deep clean the top after winter’s road salt and grime, then apply your first waterproofing treatment of the year. This fresh layer protects against spring rains and the summer sun ahead.
During summer, inspect for UV damage. If you park outside frequently, consider a mid-season light cleaning and UV protectant touch-up. Vinyl tops benefit from extra conditioning in high-heat months.
In fall, clear all drain troughs and channels of fallen leaves before they cause blockages. Check header seals and weatherstrips for cracks before winter weather arrives. A BMW forum user on BimmerFest recommended Autosol Convertible Top Sealant and Protectant specifically for UV protection heading into the sunny months.
For winter, if you store the convertible or drive it in snowy conditions, give the top a final clean and protectant before parking it for long periods. Road salt and moisture trapped under snow or ice accelerate degradation.
When to Re-Seal vs Replace the Convertible Top
Not every soft top can be saved with a sealant. Knowing when to stop investing in treatments and commit to replacement saves money and frustration.
Re-seal your top when the fabric or vinyl is structurally sound but water no longer beads. If the surface is smooth (on vinyl) or intact (on canvas) with no visible cracks, tears, or delamination, a good cleaning and waterproofing treatment should restore function.
Replace your top when you see cracking all the way through vinyl, fabric that has separated from its backing, or seams that have pulled apart. Water stains that remain visible after cleaning, or a top that feels brittle when you flex it gently, also signal end-of-life. Repeated waterproofing failures—where water still soaks through after a proper application—often mean the material’s hydrophobic capacity is permanently exhausted.
A helpful rule: if the interior of the car has already sustained water damage from a leaking top, the repair cost of both the interior and the top sometimes approaches the cost of a new top installation. Catching problems early through regular inspection and waterproofing is far more economical.
Frequently Asked Questions
How can I waterproof my convertible soft top?
Start by cleaning the top with a material-specific cleaner, letting it dry completely, masking off adjacent glass and paint, then applying a waterproofing sealant in one or two thin coats. Allow 24 hours of cure time before exposing the top to rain.
How do I waterproof my convertible top?
Waterproofing involves eight steps: cool the top in shade, dry-brush debris, deep clean with a soft-top cleaner, rinse and dry fully, mask off glass and trim, apply sealant evenly, add a second coat if the product recommends it, and cure before testing with water.
What is the best sealant for convertible tops?
The best sealant depends on your material: fabric tops respond well to brush-in treatments like Renovo or RaggTopp, while vinyl tops benefit from spray-on protectants with UV blockers. Always choose a product labeled for your specific top material.
Do soft tops leak when it rains?
Soft tops can leak when the factory waterproofing wears off, seals degrade, or drains become clogged. Proper waterproofing and regular maintenance prevent most leaks, but older tops or those with damaged seals may still allow water entry even after treatment.
What is the best waterproofing spray for a convertible top?
Top waterproofing sprays for convertibles include RaggTopp, 303 Fabric Guard, and Autosol Convertible Top Sealant. The right choice depends on whether your top is canvas or vinyl, and whether you prefer spray or brush-in application.
What is a good waterproof spray sealant for a roof?
For convertible soft tops, products like RaggTopp Fabric Guard and Renovo Waterproofing are specifically formulated to bond with fabric or vinyl while allowing the material to breathe. Avoid general household waterproofing sprays, which can leave residue or discolor the top.
How long does convertible top waterproofing last?
Most waterproofing treatments last 6–12 months depending on climate, sun exposure, and how often the car is driven in rain. Fabric tops typically need annual reapplication; vinyl tops may need treatment twice a year in harsh climates.
Can I waterproof a canvas convertible top?
Yes, canvas tops can be waterproofed using brush-in or spray-on fabric sealants. Brush-in applications often provide better penetration into the woven texture. Always clean the canvas thoroughly first to ensure the sealant bonds properly.
Final Thoughts
Learning how to waterproof a convertible soft top gives you control over your vehicle’s longevity and comfort. The process is straightforward: clean thoroughly, dry completely, apply sealant evenly, and cure before testing. Done right, a single afternoon of work protects your car for months.
The convertible owners who avoid leaks are the ones who treat waterproofing as routine maintenance—not an emergency fix. Mark your calendar, inspect your seals each season, and address problems before water reaches the interior. That discipline keeps your top performing and your drives enjoyable, rain or shine.