
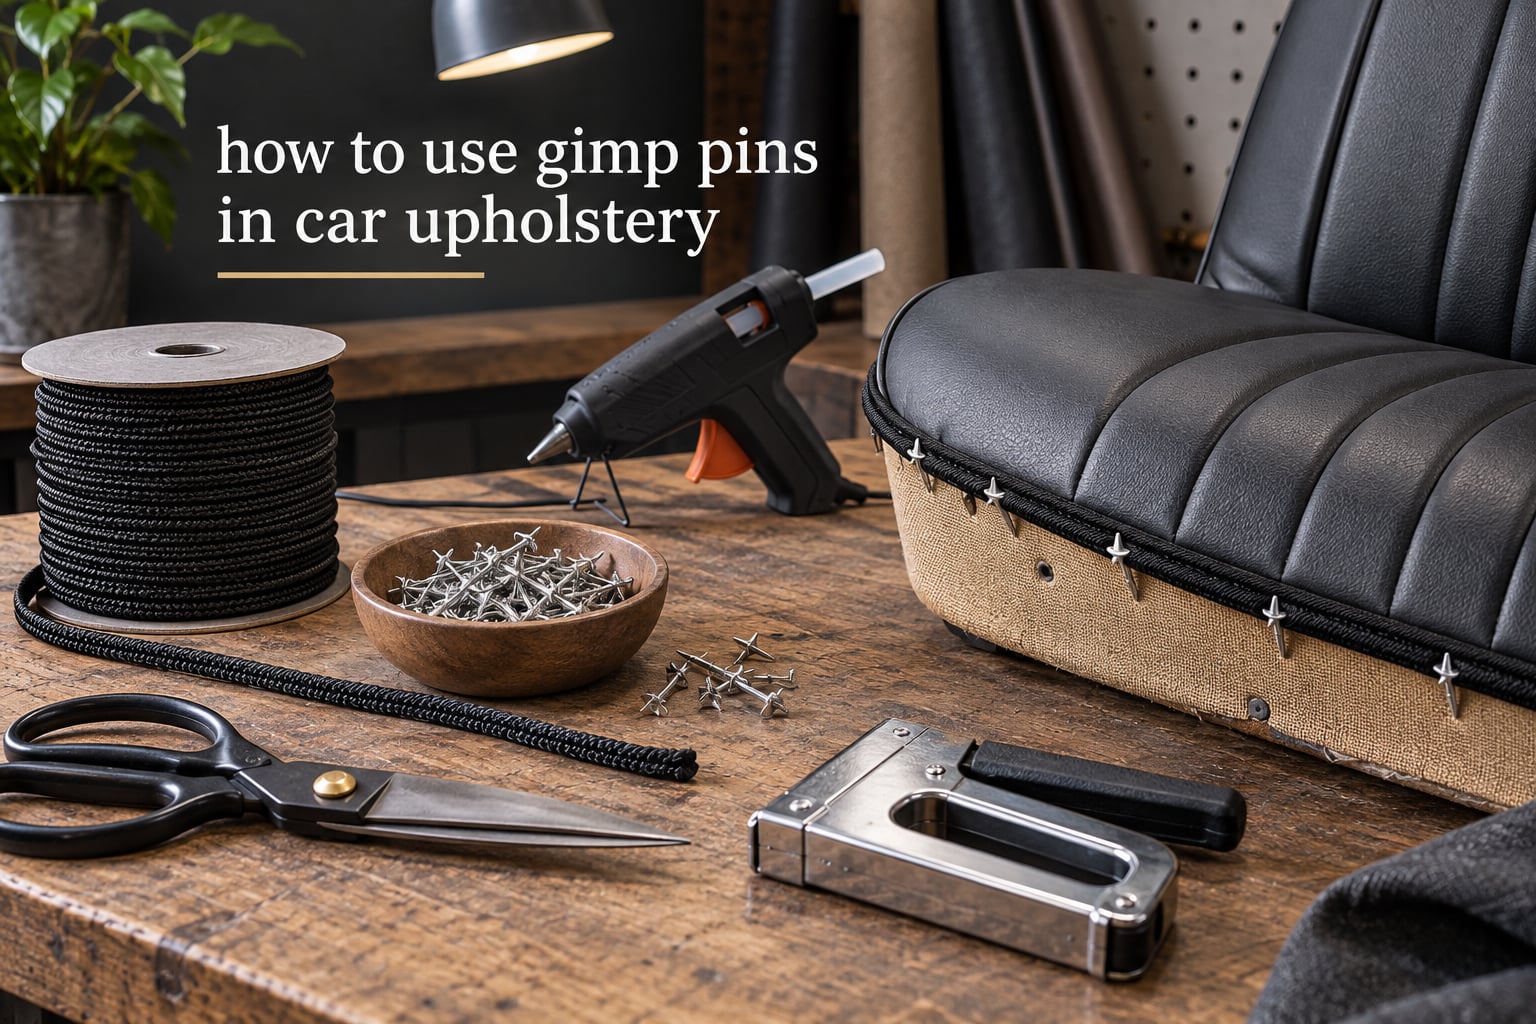
If you have ever run your hand across the underside of a rebuilt car seat, a door card or a headliner edge and felt a line of staples, you already know why this job exists. Learning how to use gimp pins in car upholstery is how a trimmer turns that raw staple line into a clean, factory-style edge. This guide walks through the full sequence, the pins and fasteners involved, the differences between gimp and hidem gimp, and the panel-by-panel map of where the trim belongs inside a car.
Table of Contents
- What Gimp Is in Car Upholstery
- What You Need Before You Start
- Step 1: Plan the Run and Match the Gimp to the Staple Line
- Step 2: Pin the Gimp Along the Line
- Step 3: Bond the Gimp in Short Sections
- Step 4: Work Corners, Bends and the Ends of the Run
- Step 5: Finish and Inspect the Edge
- Gimp vs Hidem Gimp: Which One for Which Car Job
- Where Gimp Goes on a Car Interior
- Staples, Tacks, Glue or Thread: What Goes Where
- Repairing Gimp That Has Lifted or Peeled
- Common Mistakes to Avoid
- Can You Do This Job Yourself?
- Frequently Asked Questions
- Wrapping Up
What Gimp Is in Car Upholstery
Gimp is a woven braid or fabric trim, usually stiffened with a wire core, that is pinned and bonded over staple lines and raw seams so the fasteners disappear. A gimp pin is the barbed or corkscrew-style upholstery pin used to hold that trim in place while it is set. Together they turn exposed hardware into a finished edge.
In furniture work, gimp hides the staples along a cushion edge. In a car it does more than that. Automotive vinyl is thin, it flexes with every bump in the road, and it abrades against sharp metal as the car moves. A bare staple row on a seat back or door card wears a hole in the material over time, then the foam underneath starts to break down.
That is why a trim shop never leaves a staple line visible. The gimp covers the hardware, but it also works as a wear strip and a structural edge that keeps the vinyl from flexing past its limit. When the braid is colour-matched to the vinyl, the joint disappears and the panel reads as one continuous surface.
A related trade term you will hear is piggie pins, the common name for barbed upholstery pins. Twist pins and headliner pins describe the same corkscrew principle. Knowing the vocabulary makes it much easier to ask for the right part when you are at a trim counter.
What You Need Before You Start
Gather everything before the panel comes apart. Hunting for a tool with vinyl half-stuck to your fingers is how most first jobs go wrong.
- Gimp braid or hidem gimp — matched to the panel and to the staple line you intend to hide.
- Barbed upholstery pins (piggie pins or twist pins) for holding the run while you work.
- Glue gun and glue sticks for temporary bonding and for securing the gimp along fabric edges.
- Contact cement or automotive-grade upholstery adhesive where a hot glue gun is not enough, such as on foam or in a hot car.
- Sharp scissors or shears for cutting the gimp square and trimming the ends.
- Staple gun with the correct staple crown for the material you are attaching to.
- Upholstery tacks and a tack hammer for ends, corners and areas where glue alone will not hold.
- Painter’s tape to mark the gimp centreline and hold the run before pinning.
- Upholstery needle and thread if you plan to stitch the gimp down rather than glue it.
- Masking tape or a straight edge to keep the braid straight over long runs.
One note on pins: never drive a pin deep into foam. The barb needs purchase in the fabric, the webbing or the frame, and a deep pin in foam simply punches a channel that swallows the pin head and leaves a permanent dimple. A short, angled pin into the material edge is all that holds the run.
Step 1: Plan the Run and Match the Gimp to the Staple Line
Measure first, cut second. Lay the gimp along the finished edge without fixing it, and check that its width covers the entire staple line with a few millimetres to spare on the visible side.
If the braid is narrower than the staple crowns, the hardware will still show through the edge once the vinyl settles, and no amount of glue will fix that. Wider is safer than narrower, but a braid that is much too wide will buckle where the panel curves.
Match the colour in daylight, not under workshop lighting. Hold the braid against the finished vinyl and turn the panel, because automotive vinyl often shifts in tone between the top of a bolster and the flat of a bolster. Where you can match the original factory trim, sample the old gimp first, since the vinyl supplier’s colour range shifts between production runs.
Mark the centreline with painter’s tape on long, straight runs. It gives you something to align against and stops the braid wandering as you pin.
Step 2: Pin the Gimp Along the Line
This is the step that decides whether the finished edge looks straight. Pin the gimp into position along the marked line before you glue anything, working in sections you can comfortably hold.
Start at a fixed reference point, usually a corner or a factory trim termination, and work outwards. Do not start in the middle of a straight run. Small errors accumulate in both directions and the two ends will no longer meet.
Use pins at roughly 50 to 75 mm intervals on the flat, and place them closer, around 25 to 40 mm, through curves and corners. Push each pin at a slight angle so the barb engages the fabric edge or the webbing rather than the foam beneath. Pull the gimp taut as you go and check the line of the braid from a low angle, which is how it will be seen once the panel is back in the car.
Pinning before bonding is standard practice in the trade for a reason. On r/Autoupholstery, trimmers confirm that clear vinyl and fitting pins are used for the majority of fitments, precisely so the material is held in position before anything is set. By the time you reach the third pin the braid should be sitting on the line with no bowing.
Remove and reposition pins as needed. A pin you are going to pull out anyway is cheaper than a stretched section that has to be re-laid.
Step 3: Bond the Gimp in Short Sections
Do not glue the whole run in one pass. Work in sections of 100 to 150 mm, which keeps the gimp workable and stops a long run from springing back as it cools.
Lift the pinned gimp back slightly, run a thin line of hot glue along the underside of the braid, and press the gimp down into it. Hold it in place with your thumb or with a clamp until the glue sets, then move to the next section. A reasonable bead of glue is all that is needed; excess glue squeezes out through the braid and sets as a hard bead along the visible edge.
On a fabric or foam-backed panel, use contact cement rather than relying on a glue gun alone. Contact cement grabs immediately and holds through heat, whereas hot glue on its own softens in a parked car in summer and lets the gimp peel away from the vinyl.
For an automotive panel, work in shade or with the doors open. The adhesive and the vinyl both behave better when the panel is cool, and you will be far less likely to burn your fingers on the gun nozzle or bond the gimp to a hot surface where it will not grab.
Where the braid crosses a frame or a hard panel, drive upholstery tacks through the gimp at the same intervals you used for pins. Tacks are mechanical, so they carry the load when glue alone would creep.
Step 4: Work Corners, Bends and the Ends of the Run
Wire-core braid is the easiest gimp to run around a corner. Warm it slightly with a hairdryer or press it with a bone folder, then work it around the bend in small increments rather than forcing it into a single sharp fold. Push-pull the braid as you go and it will hold a smooth radius instead of a kink.
At a true 90 degree corner, fold the gimp on the diagonal from the outside edge to the inside corner, press the crease firmly, and glue the two wings down in turn. Tacking the outer corner from underneath the panel first helps hold the shape while the glue sets.
Non-wire decorative braid cannot be bent sharply without creasing permanently. If your gimp has no core, mitre it at corners, use a shorter piece, or switch to welt cord for that shape.
Terminate the run by folding the gimp end back on itself, gluing the fold down and tacking through the centre of the fold. A folded end is tidier than a cut end because the raw braid edge can unravel. Where two ends meet at a closed corner, overlap them by 50 mm, stagger the overlap so no two staples sit directly under each other, and glue and tack the top piece down last.
Step 5: Finish and Inspect the Edge
Let the adhesive cure before the panel goes back into the car. Hot glue sets quickly but continues to firm up over a few hours, and handling the panel too soon is what causes the slow failure you see weeks later.
Run your fingers along the finished edge. Look for squeezed-out glue beads and lift them carefully with a blade held flat, trimming rather than slicing. Check that the braid sits flat everywhere with no gaps showing the staple line, and that no pin heads are visible on the finished side.
Refill any small gap with a touch of contact cement rather than stretching the braid to cover it. Pulling the gimp tight to close a gap distorts the line and is visible in raking light.
Gimp vs Hidem Gimp: Which One for Which Car Job
Use decorative gimp braid where the job is visual and a wire core is an advantage, and use hidem gimp where you want the vinyl itself to wrap the edge. Hidem gimp is vinyl folded and sewn to itself along both long edges, so it hides the folded edge over the staples and reads as part of the panel rather than as a separate braid.
- Decorative gimp braid — woven, usually with a wire core. Moulds around corners, takes an automotive tack well, and reads as a classic custom-car accent. Best for seat base frames, door card accents, console lids and under-cushion edges.
- Hidem gimp — folded and sewn vinyl strip. Blends into the upholstery colour, survives abrasion, and is the standard choice for high-wear edges such as seat cushions, seat backs and door card perimeters.
- Welt cord (piping) — a rounded cord, usually in foam or fibre, sewn into a seam. It defines an edge but conceals almost nothing, so it is a finishing touch rather than a staple cover.
- Twist pins — not a trim at all, but the corkscrew pin used for headliner repairs and temporary fixings. Useful, visible and permanent once removed, which is why gimp is the better answer for a factory look.
If the panel has a heat problem or a wear problem, hidem gimp is the safer bet. If the shape is awkward or the run needs to curve and turn, wire-core braid is faster and holds its shape better.
Where Gimp Goes on a Car Interior
Gimp is not a decorative extra; it is a structural trim. Here is where it earns its place panel by panel.
- Seat cushion underside — the classic job. The staple line around the bottom edge is covered so the cover reads as a single wrapped panel.
- Seat back panel — the back of the squab takes the most abrasion from passengers kicking it, so gimp or hidem gimp along the perimeter is close to mandatory.
- Seat base frame — exposed metal rails and side panels get a braid run along the top edge to protect the vinyl and hide fasteners.
- Door cards — the outer perimeter where the vinyl is folded and stapled, plus any window regulator or handle cutout returns.
- Headliner edging — where the headliner meets the A-pillars, roof rails and the windscreen header. Twist pins are the quick fix; gimp or a stitched edge is the permanent one.
- Sill and threshold trim — a hard-wear line where shoes land, so this is a good candidate for hidem gimp.
- Headrest covers and centre console lids — smaller runs where a braid in a contrasting colour gives a deliberate custom look.
- Firewall and bulkhead panels — upper runs where a panel meets a frame edge.
As a rule, any place where a stapled edge would be visible or would rub, gimp belongs. If the edge is hidden under another panel and never touched, skip it.
Staples, Tacks, Glue or Thread: What Goes Where
Staples hold the material to the structure. Tacks, pins and gimp hold the finish. Mixing them up is what makes a job look rushed.
- Staple gun for attaching vinyl, fabric or door card substrate to wood, metal or foam-backed structure. Space them evenly, and keep the crown clear of the edge gimp will later cover.
- Upholstery tacks for ends, corners, and anywhere the braid sits over a hard edge. Bend each tack leg outward with a tack hammer so it cannot work back out over bumps.
- Hot glue for holding braid to fabric and for quick, reversible positioning. Treat it as a helper, not a permanent bond on a panel that sees summer heat.
- Contact cement for the serious bond, especially on foam and on vinyl that will warm up in the sun.
On the stitching question, the strongest techniques for automotive upholstery are a double top stitch along the edge of the panel, a French seam where two layers meet, a baseball stitch or over-and-over stitch for joining a strap end, and a saddle stitch for thick leather. Any of them will hold; the top stitch and the French seam are the ones that look factory-correct from inside the car.
Repairing Gimp That Has Lifted or Peeled
Lifted gimp is usually one of three things: the old glue released, the tacks rusted through, or the panel was heated in a car. Start by pulling the loose section back into position with a few pins and check whether the braid itself is still sound.
Peel the old adhesive back to where the vinyl feels firm, clean both surfaces, and roughen the shiny vinyl a little so the new bond has something to grip. If the braid has taken a crease or flattened, reshape it first with heat, then re-bond it in short sections with contact cement and drive fresh tacks at the ends and corners.
If the whole run has let go, cutting it out and starting again takes less time than coaxing a tired braid back. If the vinyl underneath is cracked or worn through at the staple line, patch that first, because gimp over damaged vinyl will fail again in a season.
Common Mistakes to Avoid
Glue squeeze-out. A heavy bead of hot glue pushes out through the braid and sets as a hard ridge along the visible edge. Use a thinner bead and press the gimp down with a bone folder rather than your thumb.
Visible pin holes. A pin pushed deep into foam leaves a permanent dimple, and a pin left in place as a permanent fastener looks like a repair. Push into the fabric or webbing at an angle, and pull the pins once the gimp is set.
Gimp too narrow for the staple line. If the hardware shows at the edge, the fix is to step up a size in braid, not to add more glue. Recut the run in a wider gimp.
Kinked corners. Forcing non-wire braid into a sharp fold creases it permanently. Mitre it, use a shorter piece, or use wire-core gimp that is designed to bend.
Peeling in a hot car. Hot glue alone softens and releases. Use contact cement on panels that sit in sun, and park the car in shade while you work.
Stretched runs. Pulling the braid tight over a gap to make it meet distorts the line. Close small gaps with a little extra adhesive instead.
Cut, unfinned ends. The raw end of a braid frays. Fold it back and tack through the fold.
Can You Do This Job Yourself?
Most people can. Pinning and gluing gimp is a forgiving operation compared to cutting a door card pattern, because the braid hides mistakes that a cut line would expose. If you can staple, glue and hold a run straight, you can do this.
Allow a few hours for a seat cushion, longer for a door card. The slow part is always removing the panel and getting it back on correctly, not the gimp itself. Beginners on r/upholstery and r/Justrolledintotheshop repeatedly ask what tools they need to start, and the honest answer is the short list above plus patience.
Hand it to a professional trimmer when the panel involves a headliner that has to come out, when the substrate is crumbling and needs rebuilding, or when the gimp has to follow a compound curve on a show car. A five-minute twist pin fix is a reasonable first attempt before committing to that kind of work.
Frequently Asked Questions
What is gimp in upholstery?
Gimp is a woven braid or fabric trim, usually stiffened with a wire core, that is pinned and glued over staple lines and raw seams in upholstery so the fasteners are hidden. In a car it also acts as a wear strip, protecting thin vinyl from the sharp hardware underneath.
How to apply gimp in upholstery?
Plan the run and match the gimp width to the staple line, pin it in place at 50 to 75 mm intervals, then bond it in short sections of 100 to 150 mm with a glue gun or contact cement. Shape it around corners while the braid is still warm, fold and tack the ends, and let the adhesive cure before the panel goes back in.
How to use upholstery pins?
Push barbed pins, also called piggie pins or twist pins, into the fabric edge or webbing at a slight angle, spacing them about 50 to 75 mm apart on a flat run and closer through curves. Never drive a pin deep into foam. The pins only hold the run while you bond it, so pull them out once the gimp is fixed.
What is the difference between gimp and hidem gimp?
Decorative gimp braid is a woven trim with a wire core that holds a shape and reads as a visible accent. Hidem gimp is vinyl folded and sewn to itself along both edges, so it hides its own folded edge over the staples and blends into the panel. Use braid for shaped runs and frames, and hidem gimp for high-wear edges.
Can I reupholster my car seats myself?
Yes, with the right tools and time. The difficult part is patterns, removal and refitting the panel, not the finishing trim. Many first-timers do seats, door cards and headliner edging at home and reserve anything more complex for a trimmer.
How do I sew automotive upholstery?
The strongest techniques are a double top stitch along the panel edge, a French seam where two layers meet, and a baseball or over-and-over stitch for strap ends. Use a sharp upholstery needle, heavy thread, and stitch through backing layers so the seam stays flat under load.
Can you teach yourself upholstery?
Yes. Start with a small panel such as a headrest cover or a console lid, learn to staple evenly, and use glue-gun practice on scrap vinyl. Most of the skills transfer directly to seat cushions and door cards.
How do I fix car interior upholstery and lifted gimp?
Pull the loose gimp back with a few pins, strip the failed adhesive back to firm vinyl, clean and roughen the surface, reshape the braid with heat, then re-bond in short sections with contact cement and fresh tacks at the ends and corners. Patch cracked vinyl underneath before re-bonding, or the repair will fail again.
Wrapping Up
Learning how to use gimp pins in car upholstery comes down to four habits: measure the staple line before you cut, pin the run straight before you bond it, work in short sections so the braid stays manageable, and use contact cement rather than hot glue alone on any panel that will sit in the sun. Start on a small panel such as a headrest cover or a seat base rail, and the technique will carry straight over to the seats and door cards.
Updated for October 2026.