
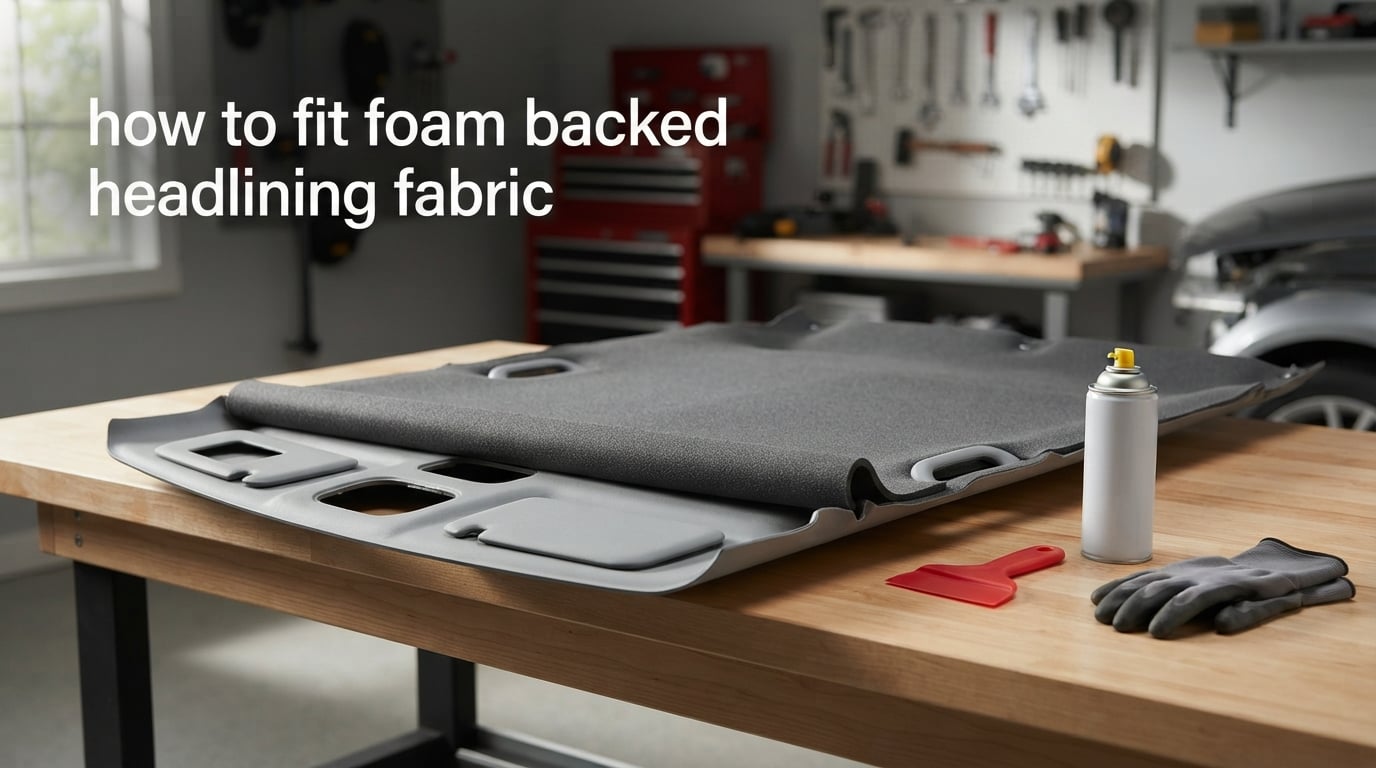
Learning how to fit foam backed headlining fabric is the difference between a sagging roof and a cabin that looks factory fresh. I have refitted headliners in everything from a 1980s Land Rover to a modern SUV, and the same five principles work every time: clean the board, pick the right adhesive, give the glue its full tack time, work from the center out, and never reuse old foam.
This guide walks you through the entire job from start to finish. You will learn which tools to gather, how to remove the old headliner without cracking the board, what adhesive actually holds foam-backed fabric in place, and how to avoid the wrinkles and sagging that ruin most DIY attempts. Whether you are restoring a classic or fixing a daily driver, the steps below will save you the cost of a professional shop while still giving you a result you can be proud of.
Headliner work is one of those jobs that looks simple on the surface but punishes rushed prep. I will share the same mistakes I made on my first attempt so you do not have to repeat them, plus a few tricks professional trimmers use to keep the fabric tight for years.
Table of Contents
- Tools and Materials You Will Need
- Step 1: Remove the Old Headliner
- Step 2: Prepare the Headliner Board
- Step 3: Choose the Right Adhesive
- Step 4: Cut and Position the New Fabric
- Step 5: Apply Adhesive and Bond the Fabric
- Step 6: Trim and Refit the Headliner
- Common Mistakes to Avoid
- Troubleshooting Sagging and Bond Failure
- Frequently Asked Questions
- Final Thoughts
Tools and Materials You Will Need
Gathering everything before you start is half the battle. Most headliner jobs stall because someone is missing a single tool mid-glue. Here is the complete kit.
- Foam-backed headliner fabric in your chosen color and grain (typically 3mm foam bonded to polyester suede or nonwoven backing)
- Spray contact adhesive rated for automotive headliners (3M 90 or 3M 08090 are the standards)
- Plastic scraper or putty knife for removing old foam and adhesive residue
- Citrus-based adhesive remover and clean rags
- 120-grit and 220-grit sandpaper for scuffing the board surface
- Stiff bristle brush and shop vacuum
- Sharp fabric scissors and a fresh utility knife with extra blades
- Measuring tape, chalk pencil, and a long straightedge
- Masking tape and a roll of plastic sheeting to protect interior trim
- Nitrile gloves, safety glasses, and an organic vapor respirator (spray adhesive fumes are nasty)
- A helper — headliner boards are awkward and bend easily when handled alone
Buy at least two cans of spray adhesive for a single car roof. Forum installers consistently warn that one can leaves you short, especially if you coat both the board and the foam back of the fabric as recommended.
Step 1: Remove the Old Headliner
Removing the old headliner without bending or crumbling the board is the trickiest part of the whole job. Take your time here.
Start by disconnecting the battery and removing any interior trim that holds the headliner in place: sun visors, grab handles, dome light housings, pillar trims, and the rear seat belt anchors. Bag and label every screw so reassembly is painless.
Drop the headliner board carefully through a rear door or trunk opening, not over the windshield. Most older boards are made of pressed cardboard or fiberglass and snap if you fold them. If the board is glued at the edges with thick bead, slice through the fabric with a utility knife first to free it.
For vehicles with a windshield that blocks board removal, you can often flex the headliner enough to clear the front pillars without dropping the glass. Forum trimmers confirm this works on most sedans and coupes, though it is tight.
Step 2: Prepare the Headliner Board
A proper bond starts with a properly prepared board. Skip this step and even the best adhesive will fail within a season.
Lay the board face down on a clean workbench. Use a plastic scraper to peel off every trace of old foam and glue. Old foam cannot be reused — it has already broken down chemically, which is why your headliner sagged in the first place. Get it all off.
Spray a light coat of citrus adhesive remover on stubborn residue, let it sit for five minutes, then scrape again. Avoid soaking the board; cardboard cores will swell and lose shape.
Once the board is stripped, scuff the entire surface with 120-grit sandpaper, then finish with 220-grit for a smooth tooth. Vacuum thoroughly and wipe with a tack cloth. Any dust left behind will show through your new fabric as little bumps.
Inspect the board for cracks or soft spots. A small crack can be reinforced from the back with a strip of fiberglass tape and a dab of resin. If the board is warped or water-damaged, replace it rather than reuse it.
Step 3: Choose the Right Adhesive
The adhesive you pick determines whether your headliner lasts one summer or ten years. For foam-backed headliner fabric, you need a high-temperature spray contact adhesive rated for automotive interiors.
Here is how the three most common choices compare for fitting foam backed headlining fabric:
| Adhesive | Bond Strength | Heat Resistance | Best For |
|---|---|---|---|
| 3M 90 High Strength | Excellent | Up to 220F | Daily drivers, hot climates, OEM-style results |
| 3M 08090 Headliner & Fabric | Very good | Up to 200F | Standard DIY jobs, easier spray pattern |
| Permatex 27828 Headliner | Good | Up to 180F | Budget installs, cooler climates |
| Generic hardware store spray | Fair to poor | Below 150F | Not recommended for foam-backed fabric |
For most drivers, 3M 08090 hits the sweet spot of price, spray pattern, and heat tolerance. If you live in a hot climate like Arizona or Texas, step up to 3M 90 for its higher temperature rating. Permatex works fine but softens earlier in summer heat, which is the leading cause of sagging one to two years after installation.
Step 4: Cut and Position the New Fabric
Lay the new foam-backed headliner fabric face down on a clean, flat surface larger than the board. Place the board on top and rough-cut the fabric with scissors, leaving at least three inches of overhang on every side.
Do not try to cut the fabric to its final shape at this stage. Oversizing gives you material to stretch and tuck around edges. Working with too little fabric is the second most common DIY mistake.
Align the fabric so its grain runs straight along the long axis of the board. If the weave is slightly off, the finished headliner will look twisted once it is back in the car. Use a chalk pencil to mark the board outline lightly on the foam side as a positioning guide.
Step 5: Apply Adhesive and Bond the Fabric
This is the step that decides whether your headliner lasts. Rushing the adhesive application is the single biggest cause of bond failure.
Put on your respirator and gloves. Work outdoors or in a well-ventilated garage with the door open. Spray adhesive overspray travels farther than you expect.
Spray a medium wet coat of adhesive on the entire back of the fabric, holding the can eight to ten inches away and moving in slow passes. Then spray a matching coat on the face of the headliner board. Coverage should look even and slightly glossy — too light a coat will not bond, too heavy a coat will stay wet and never tack.
Wait for both surfaces to become tacky but not wet, usually two to four minutes depending on humidity. The adhesive should feel like a sticky note when you touch it lightly. If your finger leaves a print, it is too wet. If it feels dry and powdery, you waited too long and need a fresh light coat.
Lay the board onto the fabric carefully, lining up your chalk marks. Press from the center outward using the flat of your palm, smoothing wrinkles as you go. A rolling pin or wallpaper seam roller helps press the bond evenly across large flat areas.
Flip the board over and check the front. Any visible wrinkles now mean you need to peel back, add another light coat of adhesive, and re-press. Once the fabric is bonded flat, do not try to reposition it.
Step 6: Trim and Refit the Headliner
With the fabric bonded, trim the excess material. Use a fresh utility knife blade and run it along the back edge of the board, cutting slowly to avoid pulling the fabric away from the corners.
Cut small relief slits at each corner so the fabric lays flat when you wrap it around to the back of the board. Some installers spray a thin coat of adhesive on these wrapped edges and press them down for a clean factory look.
Carry the finished board back to the vehicle with your helper. Slide it in through the rear door or trunk, then angle it back into position over the front pillars. Reinstall trim pieces in reverse order: dome light, sun visors, grab handles, pillar trims, and seat belt anchors.
Stand back and inspect the headliner from outside the car in bright daylight. Look for ripples along the edges and any glue bleed-through on the fabric face. Address issues now — they only get harder to fix later.
Common Mistakes to Avoid
Most failed DIY headliner jobs come from the same handful of mistakes. Skip these and your install will look professional.
- Reusing old foam. Once foam has detached from fabric, its cell structure is broken. New fabric will not bond to it reliably.
- Skipping the scuff. A glossy or sealed board gives the adhesive nothing to grip. Sand the surface every time.
- Bonding while adhesive is wet. Wet glue never cures into a strong bond. Always wait for full tack.
- Stretching the fabric too tight. Over-stretched fabric pulls away at the edges within weeks. Work loose, then smooth.
- Using the wrong adhesive. Standard craft spray glue softens in summer heat. Use only automotive-rated contact adhesive.
- Bending the board during removal. A cracked board flexes under sunlight and telegraphs every imperfection through the new fabric.
- Working in cold or humid conditions. Below 60F the adhesive never reaches full strength. Above 80 percent humidity it stays tacky too long and skins over.
Troubleshooting Sagging and Bond Failure
If your headliner starts to sag within a few months of installation, the bond has failed somewhere. The most common culprits are inadequate scuffing, insufficient tack time, or an adhesive not rated for the temperature range of your climate.
For a small sag near the edge, you can sometimes lift the fabric, spray a fresh coat of adhesive underneath, and press it back. For larger areas or full-panel sagging, the only real fix is to strip the board and start over with proper prep.
If wrinkles appear after a few weeks, the fabric was either stretched during install or the board flexed in the sun. A board that has lost stiffness should be replaced, not re-covered.
For long-term care, park in the shade when possible and use a sunshade on the windshield. UV exposure slowly breaks down the foam bond even with the best adhesive, so a little prevention adds years to your finished headliner.
Frequently Asked Questions
What is the best glue to use for a foam-backed headliner?
A high-temperature spray contact adhesive rated for automotive interiors is the best choice. 3M 08090 works for most jobs and 3M 90 is the stronger option for hot climates. Avoid generic craft spray glue since it softens in summer heat.
Is Permatex or 3M headliner adhesive better?
3M 08090 and 3M 90 have higher heat resistance (up to 200-220F) than Permatex 27828 (around 180F). Permatex is fine in cooler climates and is usually a little cheaper, but 3M holds up better in hot summers.
Do you need foam backing for headliner?
Yes. Foam backing gives the fabric body, hides minor imperfections in the board, and provides the surface the adhesive bonds to. Unbacked fabric wrinkles easily and has no sound-dampening benefit.
How many cans of headliner adhesive to use?
Plan on two cans for a single car roof. You will spray both the board and the back of the fabric, and running out halfway through forces a rushed, weak bond.
What are common headliner mistakes?
The biggest mistakes are reusing old foam, skipping the scuff on the board, bonding while adhesive is still wet, over-stretching the fabric, and using non-automotive spray glue. Each one leads to sagging within months.
Can you install headliner fabric without removing the windshield?
On most sedans and coupes, yes. You can flex the board enough to clear the front pillars. Larger SUV headliners may still need the windshield or a sunroof out for enough clearance.
Final Thoughts
Fitting foam backed headlining fabric is one of the most satisfying DIY jobs you can do on a car. A full afternoon of careful work, the right spray adhesive, and a properly prepped board will give you a factory-looking roof that lasts for years. Take your time on the prep, respect the tack time, and your new headliner will outlast the next heatwave.