
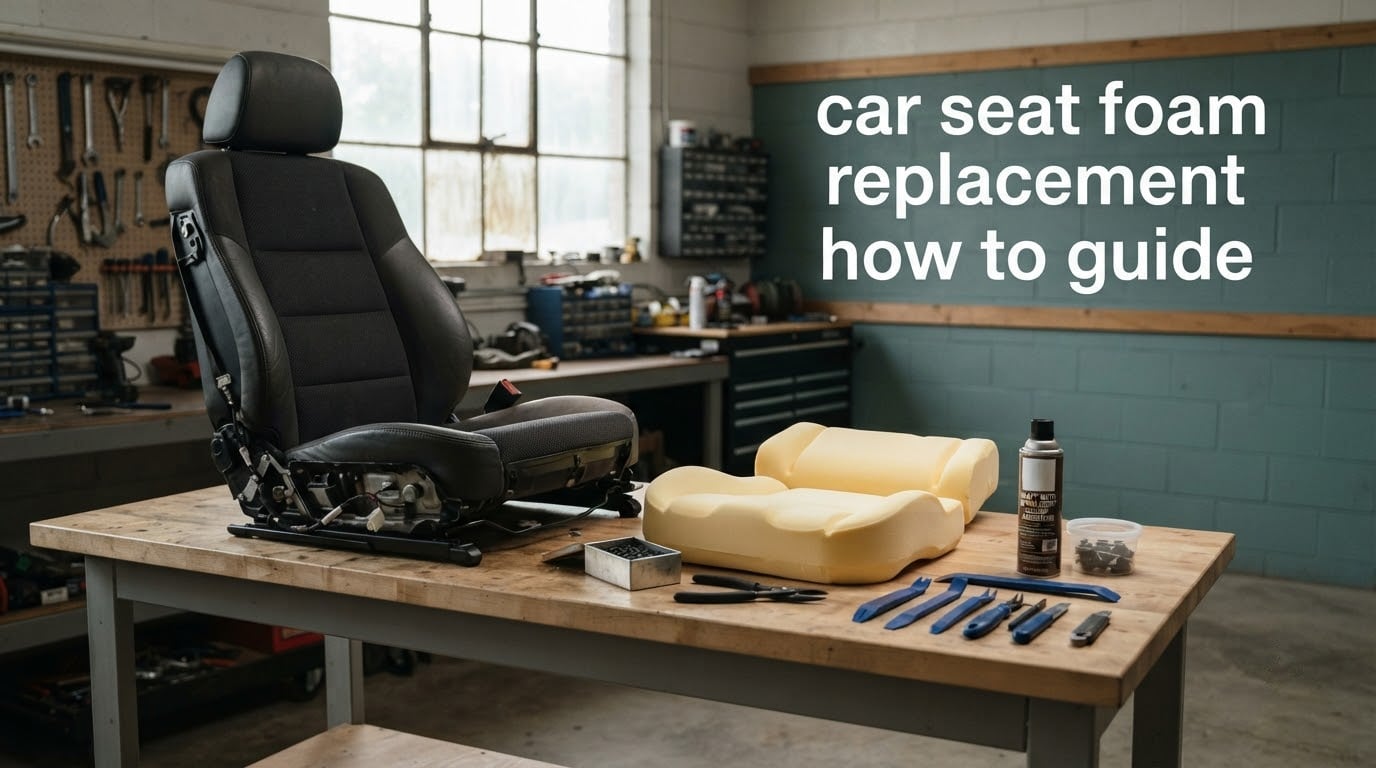
Car seat foam replacement is one of the most rewarding DIY jobs you can tackle on a tired interior. After 15 years of working on everything from daily drivers to classic restorations, I’ve found that a fresh layer of foam transforms a saggy seat into something that feels factory-new. In this complete guide, I’ll walk you through every step — from deciding whether to repair or replace, to picking the right foam density, to getting the cover stretched tight without wrinkles.
Table of Contents
- When to Replace Car Seat Foam (And When to Repair It)
- Tools and Materials You Need for the Job
- Choosing the Right Foam: Density and Type Explained
- Step-by-Step Guide to Car Seat Foam Replacement
- Step 1: Remove the Seat From the Vehicle Safely
- Step 2: Strip the Seat Cover and Hardware
- Step 3: Remove the Old Foam and Inspect the Frame
- Step 4: Measure and Cut the New Foam
- Step 5: Shape, Wrap, and Glue the New Foam
- Step 6: Reinstall the Seat Cover and Hog Rings
- Step 7: Reinstall the Seat in the Vehicle
- Common Mistakes to Avoid When Replacing Seat Foam
- Frequently Asked Questions
- Final Thoughts on Car Seat Foam Replacement
When to Replace Car Seat Foam (And When to Repair It)
You should replace car seat foam when the cushion is permanently compressed, crumbling, or causing lower-back pain during long drives. Reviewers on classic car forums note that factory foam was often cast directly onto the metal frame, which makes removal harder but replacement worthwhile once the original padding has broken down. If the foam still bounces back when you press it and the cover is in good shape, a repair may be enough — but if you sit down and feel the seat frame underneath, it’s time.
Use this quick decision check. Replace the foam if you notice any of these signs: visible sagging that doesn’t rebound after 30 minutes, crumbling pieces falling out of seams, flat spots in the driver’s bolster from years of entry/exit wear, or persistent discomfort that no amount of readjusting solves. Repair-only cases are limited to small tears, a single compressed zone, or covers that just need tightening.
How can I repair or replace car seat foam? Start by pulling the cover off and inspecting what’s underneath. Most “broken” seats are actually fine structurally — the foam has just given up. A complete replacement typically takes 4 to 8 hours for a first-timer and the difference is night and day.
Tools and Materials You Need for the Job
Having every tool within arm’s reach before you start makes this job much smoother. Nothing derails a foam replacement faster than crawling under the workbench looking for hog ring pliers halfway through the cover stretch. Here’s the kit we use on every job in our shop.
- Trim removal tools — a plastic trim clip set prevents broken tabs and scratched panels.
- Hog ring pliers — the dedicated kind, not generic snap-ring pliers. Hog rings come in 3/8 inch and 1/2 inch sizes.
- Hog rings — buy at least 100; they love to disappear.
- Sharp utility knife or electric foam saw — fresh blades make clean cuts and reduce tearing.
- Heat gun — useful for stretching leather and vinyl covers without cracking them.
- Spray adhesive — 3M High Strength 90 or equivalent upholstery glue.
- Muslin wrap — thin cotton fabric that goes between foam and cover to prevent slippage.
- Marker and measuring tape — for transferring the old foam’s exact shape.
- Socket and ratchet set — for seat bolts, usually 12mm, 14mm, or Torx depending on the vehicle.
- Replacement foam — matched to your seat’s original density (covered next).
A note on safety: disconnect the battery before unplugging any seat wiring, especially on seats with heaters, occupancy sensors, or side airbags. Reconnect only after the seat is bolted back in. Reviewers on the AlfaBB forum repeatedly warn that airbag-equipped seats are not a place to skip steps.
Choosing the Right Foam: Density and Type Explained
The right foam for car seats depends on what the seat was originally designed to feel like. Density is measured in pounds per cubic foot (PCF), and the difference between a budget feel and a factory feel comes down to this number. Most automotive seat cushions run between 1.5 and 2.5 PCF, with the bolsters often firmer than the central cushion.
For most modern driver and passenger seats, a high-resilience (HR) polyurethane foam in the 1.8 to 2.2 PCF range gives the best balance of support and longevity. Memory foam can be layered on top for comfort, but don’t use it as the core — it bottoms out under sustained loads. For vintage and classic cars, firmer foam in the 2.0 to 2.5 PCF range matches the original feel and prevents the seat from looking overly plush.
Three rules guide our foam selection on every job. Match the original thickness within 1/4 inch to keep the seat profile looking factory. Match the density to the vehicle’s era — older cars had firmer seats. Always buy from a supplier who sells replacement foam by part number or template, not just generic upholstery foam. Reviewers on BritishCarForum confirm that original factory methods and densities are what give a restored seat the right look.
Step-by-Step Guide to Car Seat Foam Replacement
Below is the exact process we use in our shop. Each step builds on the last, so resist the urge to skip ahead. The total time for a single bucket seat runs 4 to 6 hours for a careful DIYer; a bench seat can take a full day.
Step 1: Remove the Seat From the Vehicle Safely
Start by moving the seat to its mid and forward position so you can access both sets of mounting bolts. Most modern vehicles use four 14mm or 18mm bolts — two at the front rails and two at the rear. After the bolts are out, tilt the seat back and unplug any electrical connectors for seat heaters, occupancy sensors, or airbags.
Place the seat on a clean workbench or a folded blanket on the floor. Don’t work on bare concrete — you’ll scratch trim pieces and lose small hardware. As a final step, bag the bolts in a labeled zip-lock so they go back in the same holes they came from.
Step 2: Strip the Seat Cover and Hardware
Begin by removing any plastic trim pieces, side shields, and recline handles. These usually pop off with a trim tool, but some have hidden Torx screws underneath — check the manual before prying. Set every fastener aside in a tray.
Next, locate the hog rings along the bottom edge of the seat cover. Snip them with side cutters or a dedicated hog ring cutter. Most bucket seats have between 12 and 24 rings. Once they’re all cut, the cover peels off — but don’t force it. If the cover sticks, run your fingers under the edge to find any remaining clips or staples you missed.
Step 3: Remove the Old Foam and Inspect the Frame
Old foam often pulls away in pieces, and that’s fine. Pull off what you can by hand, then use a stiff brush or scraper to remove residue from the metal pan and springs. If the foam was glued to the frame, a putty knife and a little spray adhesive remover handle the leftovers.
With the foam off, inspect the seat frame. Look for broken springs, rust spots, bent wire forms, and cracked welds. This is also the moment to check your hog ring attachment points — if they’re bent or stretched, now is the time to replace them. Our team has caught several cracked spring wires on this step that would have poked through the new foam within months.
Step 4: Measure and Cut the New Foam
Lay the old foam pieces on top of your new foam slab, oriented the same way they sat in the seat. Trace each piece with a marker, then cut with a sharp utility knife or electric foam saw. Long, smooth cuts look better than short choppy ones, and a foam saw is worth the investment if you’re doing more than one seat.
Cut slightly generous — you can always trim more, but you can’t add foam back. If the original foam had contoured shapes (like the side bolsters), sculpt the new foam to match before installation. A belt sander with a fine grit works well for shaping curves, and a cheese grater or rasp handles the fine detail work on edges.
Step 5: Shape, Wrap, and Glue the New Foam
Once the foam is cut to rough shape, wrap it in muslin before installing the cover. The muslin serves two purposes: it prevents the cover from sticking directly to the foam (which makes future repairs easier) and it lets the cover slide smoothly into position during installation. Pull the muslin taut and staple or tape it underneath.
For glued sections like the seat bottom, apply 3M spray adhesive in light coats to both the foam and the metal pan, wait 30 seconds for tack, then press them together. Don’t overdo the glue — a light mist is enough. Heavy glue creates hard spots and prevents the foam from doing its job.
Step 6: Reinstall the Seat Cover and Hog Rings
This is where technique matters most. Turn the seat cover inside out, then work it over the foam from the center outward. Start at the front edge of the cushion bottom, smooth the cover toward the back, then tuck the side panels and finish at the rear.
Once the cover is positioned, pull it taut and secure it with new hog rings along the bottom edge. Pull each ring snug but not so tight that it puckers the cover. For leather covers, a heat gun set to low helps the material relax — but keep the gun moving and never aim at one spot for more than a second, because leather scorches quickly. Reviewers on BritishCarForum have shared this exact technique and noted that patience at this step is what separates a factory-looking install from an amateur one.
Step 7: Reinstall the Seat in the Vehicle
Carry the seat back to the vehicle, plug in any electrical connectors, and drop the bolts into their holes finger-tight. Then torque them to spec — usually 30 to 40 ft-lbs for most cars. Finally, reconnect the battery and test all seat functions: heating, adjustment, occupancy sensor, and airbag light.
Common Mistakes to Avoid When Replacing Seat Foam
Even experienced DIYers make these errors. We’ve made most of them ourselves, which is how we know what to flag.
Skipping the muslin wrap. Without it, the cover glues directly to the foam. Future repairs become a nightmare, and the foam doesn’t slide into position as cleanly. The muslin is cheap insurance.
Using memory foam as the core. Memory foam feels great for the first ten minutes and bottoms out completely after that. It’s a comfort topper, not a structural cushion.
Forgetting to disconnect the battery. Airbag lights are expensive to clear, and a stray spark during unplugging can deploy a side airbag or blow a sensor. Five minutes of precaution saves a tow to the dealer.
Over-tightening hog rings. Hog rings bite into the cover and create tiny pucker marks. If you see the cover dimpling around a ring, back it off and reset.
Choosing foam that’s too thick. A seat that’s higher than factory changes your driving position and may interfere with the headliner or seat belt geometry. Stay within 1/4 inch of original.
Not testing seat functions before buttoning everything up. Re-run your seat all the way through its travel before driving. A pinched wire under the rail is much easier to fix before the trim is back on.
Frequently Asked Questions
How can I replace the foam in my car seats?
Remove the seat from the vehicle, strip the cover by snipping the hog rings, peel off the old foam, cut new foam to match using the old pieces as templates, wrap in muslin, reinstall the cover with new hog rings, and bolt the seat back in. Allow 4 to 8 hours for a first-time job on a single bucket seat.
Can you use a car seat if the foam is broken?
Driving on broken foam is uncomfortable and can cause lower back pain on long trips. If the foam is crumbling, sagging, or has compressed flat, replace it before relying on the seat for daily use. Short trips are usually fine while you gather tools and foam.
What kind of foam is used in car seats?
Most automotive seats use high-resilience polyurethane foam in the 1.5 to 2.5 pounds per cubic foot range. Bolsters are firmer than the central cushion, and memory foam is sometimes layered on top for comfort but should not be used as the core.
Can I replace the foam in my car seat?
Yes, you can replace the foam in nearly any car seat with basic tools, replacement foam, hog rings, and spray adhesive. The job is well within the reach of a patient DIYer who follows a step-by-step process and matches the original foam density and thickness.
How can I fix foam in my car seat without full replacement?
For small compressed zones, glue a thin layer of matching-density foam over the existing cushion and rewrap with muslin. This works when the underlying foam is structurally sound but a single spot has bottomed out. If the foam is crumbling throughout, full replacement is the only lasting fix.
How do I keep seat covers tight during installation?
Turn the cover inside out, work it over the foam from the center outward, smooth wrinkles as you go, and use new hog rings along the bottom edge to hold tension. A heat gun on low helps relax leather and vinyl covers without scorching them.
Final Thoughts on Car Seat Foam Replacement
A proper car seat foam replacement turns a tired interior into one of the most satisfying upgrades you can do at home. With the right foam density, muslin wrap, and patient cover installation, the finished seat looks and feels factory. Take your time on the cover stretch, match the original foam profile, and you’ll be driving on a better-than-new cushion for years to come.