
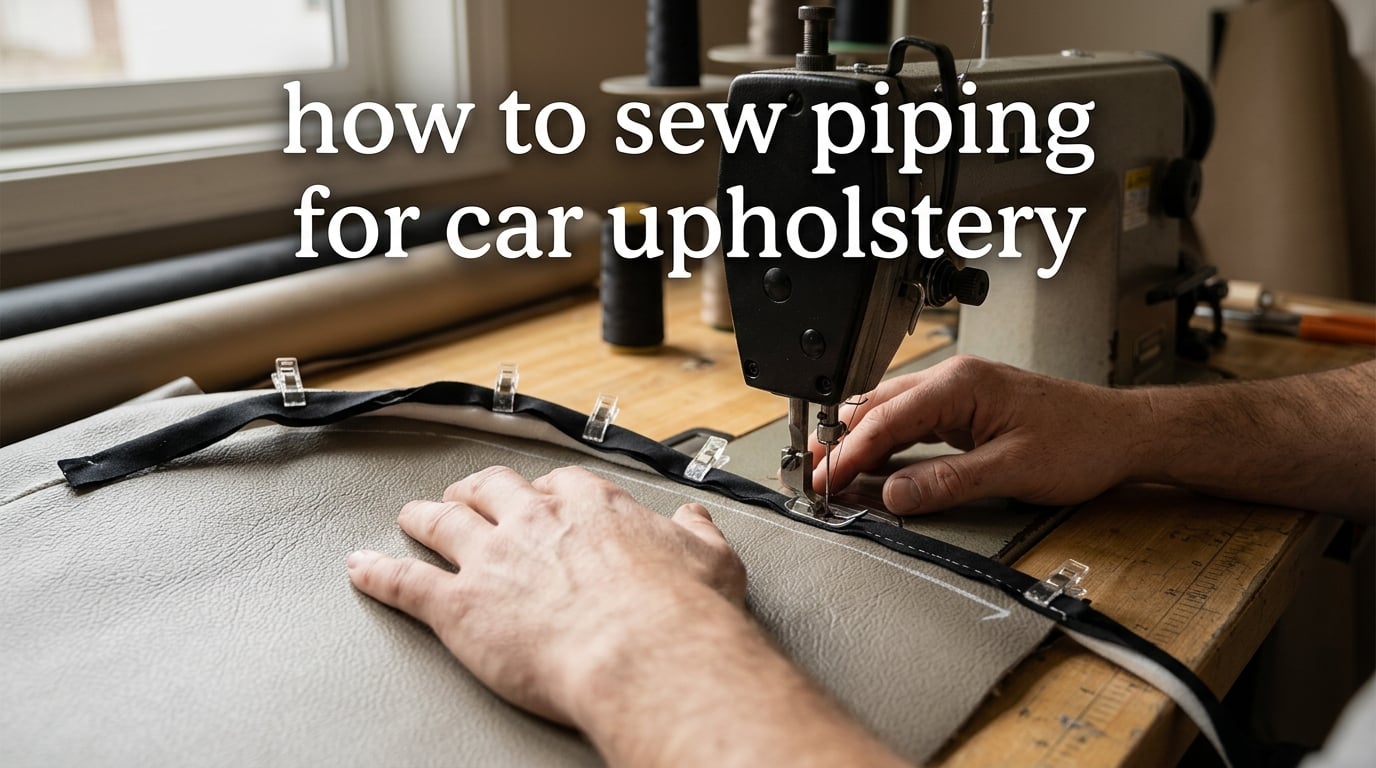
Learning how to sew piping for car upholstery is one of those skills that separates a weekend repair from a professional-quality interior. Piping (also called welting or cording) is the fabric-covered cord that runs along the seams of your car seats, giving them crisp edges and hiding the raw fabric underneath. It reinforces the seam against years of sliding in and out of the car, and it makes the seat panels look like they came from the factory floor. In this guide, our team at Segal Motor Trimmings walks through every step we use on real jobs, from cutting the first bias strip to joining the final inch of cord on a tight corner.
You will not need an industrial machine to start. A solid home sewing machine with a walking foot and the right presser foot will get you surprisingly far. What matters more is the cord you pick, the way you cut your strips on the bias, and the patience you bring to corners and curves. We have built hundreds of automotive interiors and we have made every mistake in this guide, so you do not have to.
Table of Contents
- Quick Answer: How to Sew Piping for Car Upholstery
- Tools and Materials You Will Need
- Choosing the Right Piping Cord for Car Seats
- How to Make Your Own Piping Step-by-Step
- Attaching Piping to Car Seat Panels
- Sewing Piping Around Curves and Corners
- How to Join Piping Ends Seamlessly
- Double Piping and Double Welting for a Premium Look
- Automotive-Specific Considerations: Vinyl, Leather, and Heat
- Piping for Different Car Seat Styles
- Troubleshooting Common Piping Problems
- Frequently Asked Questions
- How to make your own upholstery piping?
- What is the difference between piping and cording?
- What is upholstery piping called?
- How do I attach piping to fabric?
- How to attach upholstery piping?
- What glue do car upholsterers use?
- Is it cheaper to reupholster car seats or buy new ones?
- How to upholster a chair with piping?
- Final Thoughts on Piping for Car Upholstery
Quick Answer: How to Sew Piping for Car Upholstery
If you only have two minutes, here is the whole process in six steps. We will cover each one in depth below.
- Choose foam welt cord for vinyl seats, cotton braided cord for fabric or leather.
- Cut fabric strips on the bias, about 1.5 inches wide for a 5/32 inch cord.
- Wrap each strip around the cord and stitch close to the cord with a zipper foot.
- Pin the finished piping to the seam of one seat panel, raw edges matched.
- Sew the piping in place using a piping foot or zipper foot, keeping stitches tight to the cord.
- Join the two ends by overlapping, trimming, and hand-stitching the seam closed.
That is the short version. The next sections explain why each step matters and what to do when things go wrong.
Tools and Materials You Will Need
You do not need a van full of gear. Most of what we use lives in a single toolbox that fits on a workbench. Here is the kit we set out before every automotive piping job.
Piping cord. Foam welt cord and cotton braided cord are the two options for automotive work. Foam is flexible, resists moisture, and bounces back after compression. Cotton braided cord feels softer and stitches cleanly, but it soaks up humidity in a closed car.
Automotive fabric or vinyl. Match your existing interior weight and finish. Most original car seats use automotive vinyl over foam, while restored classics often use leather. Always test a scrap before you commit.
Sewing machine. A home machine with a walking foot and a metal body handles light automotive jobs. Heavier vinyl over thick foam wants an industrial machine, and forum users repeatedly recommend the Sailrite LSZ or a Consew 206RB-5 for serious work.
Presser feet. A piping foot has a deep groove on the underside that rides over the cord. A zipper foot works in a pinch and is what we use on tight curves. A double piping foot makes two parallel cords at once for premium welts.
Thread and needles. Bonded nylon or polyester thread rated for outdoor use holds up to seat heat and abrasion. Size 92 thread on a size 16 leather needle is the safe starting point for vinyl and leather. Switch to a size 18 needle when you stack foam and headliner together.
Other supplies. Sharp fabric scissors, a rotary cutter with a fresh blade, tailor’s chalk, sewing clips (not pins, which leave holes in vinyl), a seam ripper, and contact adhesive rated for automotive interiors. We use 3M Super 77 or HH-66 vinyl cement for high-stress seams.
Choosing the Right Piping Cord for Car Seats
The cord you choose decides how the seam looks and how long it lasts. A cord that is too soft disappears under the fabric, while a cord that is too hard feels lumpy through the vinyl. We size our cord to about 1/8 inch for door panels, 5/32 inch for most car seats, and 3/16 inch for heavy bench seats and headrests.
Foam welt cord is our default for automotive vinyl. It springs back after you sit on it, so the seam does not flatten over years of use. It also tolerates the temperature swings inside a parked car, from a freezing morning to a hot afternoon. Cotton braided cord feels more traditional and is the right call when you are working with cloth or vintage leather, where the slightly softer profile blends better with the surrounding material.
Foam Welt Cord vs Cotton Braided Welt Cord
| Feature | Foam Welt Cord | Cotton Braided Welt Cord |
|---|---|---|
| Best for | Vinyl and leather car seats | Cloth seats and vintage interiors |
| Compression recovery | Excellent | Moderate |
| Heat tolerance | High | Moderate |
| Moisture resistance | High | Low |
| Feel through vinyl | Firm, defined | Soft, subtle |
| Durability in daily driver | Excellent | Good with proper care |
For most DIY car upholstery projects, foam welt cord is the safer pick. Save cotton braided cord for the show car where the original look matters more than daily wear.
How to Make Your Own Piping Step-by-Step
Making piping from scratch is the part most beginners skip by buying pre-made welt. We recommend making your own on car jobs because the fabric color match and cord size are easier to control. Here is the process we follow on every seat.
Step 1: Cut your fabric strips on the bias
Bias strips run at a 45-degree angle to the weave. They stretch around curves without buckling and they survive the corner of a seat panel without splitting. Cut each strip about 1.5 inches wide for a 5/32 inch cord. Longer strips mean fewer joins, so we usually cut one continuous strip for the full perimeter of a bucket seat.
Step 2: Join strips into one long band
Sew the short ends of two strips together at a 90-degree angle, right sides facing. Trim the seam to a quarter inch and press it open. The angled join disappears inside the wrapped cord later.
Step 3: Wrap the cord
Lay the cord along the center of the strip, wrong side up. Fold the strip around the cord so the raw edges meet on the back. The fold should be just snug, not tight. You want the cord to sit in the seam without distorting the strip.
Step 4: Stitch the tube
Set up your machine with a zipper foot. Stitch along the cord, as close as you can without rolling over the cord itself. We use a 3 mm stitch length and a slightly looser top tension than normal so the cord is not crushed. The goal is a tube that looks like a piece of rope wrapped in fabric.
Step 5: Test the piping on a scrap
Before you cut into a finished seat panel, sew a 6 inch piece of piping into a scrap of vinyl. Pull on it. If the cord slips or the fabric wrinkles, your stitch is too loose or your presser foot pressure is too high. Adjust and try again.
Step 6: Cut the piping to length
Measure the seam on the seat panel and add 2 inches on each end for joining. Cut the piping tube to that length with sharp scissors so you do not crush the cord at the cut.
Attaching Piping to Car Seat Panels
This is the step where most beginners lose patience. The piping has to be sewn into the seam between the seat panel and the adjacent panel, with raw edges matched and the cord sitting on the right side of the work. Take your time and use clips, not pins, so you do not poke holes in the vinyl.
Step 1: Match the raw edges
Lay the piping along the seam line of the main panel, raw edges flush with the panel edge. The wrapped cord should sit just inside the seam allowance. Start about 2 inches past the beginning of the seam and stop about 2 inches before the end. You will join those tails later.
Step 2: Layer the second panel
Place the second panel on top, right sides together, so its raw edge meets the raw edges of the piping. Clip every 2 to 3 inches to hold the layers together. Vinyl stretches when you pull on it, so clip more often on curved seams.
Step 3: Switch to a piping foot
A piping foot has a channel on the underside that rides along the cord and keeps your stitches a consistent distance from it. Fit the foot to your machine and set the needle position so the stitch lands right next to the cord, not on top of it.
Step 4: Sew with the cord side up
Sew with the piping cord facing up so you can watch the foot ride along it. Use a 3 mm stitch length and backstitch at the start. Slow down at every curve, lifting the foot slightly to pivot the work without distorting the cord.
Step 5: Press the seam open
Turn the panel right side out and check the seam from the outside. The cord should sit proud of the seam line with no wrinkles in the surrounding fabric. If you see puckers, the stitch was too tight or the foot was drifting off the cord.
Sewing Piping Around Curves and Corners
Curves are where automotive piping separates the careful from the careless. A bucket seat has at least one tight radius where the back meets the bolster, and headrest panels have multiple compound curves. The trick is to clip, slow down, and pivot.
Clip the seam allowance of the panel fabric (not the piping) every quarter inch as you approach a tight curve. This lets the fabric spread around the bend without pulling the piping out of shape. On a 90-degree corner, clip almost to the stitch line so the fabric can lay flat.
Pivot with the needle down. Stop sewing, drop the needle into the fabric, lift the presser foot, and rotate the work to follow the new direction. The cord will guide itself into the corner as long as you keep your seam allowance consistent. If you fight the fabric, stop and clip deeper before continuing.
Practice on a paper pattern first. Draw a tight S-curve, pin your piping along it, and sew a test run on scrap vinyl. Most of our new hires do three or four practice rounds before they sew a real seat panel.
How to Join Piping Ends Seamlessly
The join is the part of the seam that gets inspected first. A clean join looks like the cord was never cut. A messy join looks like a knot in the middle of an otherwise clean seat. We use the overlap method on every job because it is forgiving and it holds.
Step 1: Overlap the tails
Lay the two ends of the piping so they overlap by about 2 inches, with the cords running parallel. Mark the spot where the inner cord of each piece meets the outer cord of the other.
Step 2: Trim the cords
Cut each cord so the two cord ends butt up against each other inside the overlap, with a tiny gap of fabric between them. This hides the join completely under the seam allowance.
Step 3: Stitch the join
Hand-stitch the fabric overlap closed with a ladder stitch or invisible stitch. The cord ends are now trapped inside the tube and cannot slip. Press the join flat with your finger before the seam is sewn.
Step 4: Test the seam
Sew the panel with the joined section facing the underside of the seam allowance. When you turn the panel right side out, the join sits inside the seam and you cannot see it. Pull on the seam. If the cord moves, redo the join.
Double Piping and Double Welting for a Premium Look
Double piping uses two parallel cords in a single seam, separated by a flat strip of fabric. You see it on premium factory interiors and on high-end restoration work. It adds visual weight and a tailored look that single piping cannot match.
The technique is the same as single piping, but you use a double piping foot (or two passes with a zipper foot) and you space the cords about 3/16 inch apart. The fabric strip between them has to lie flat, so we cut it slightly wider than the sum of the cord diameters. Double piping takes twice the fabric and twice the cord, so plan your materials accordingly.
We use double piping on door panel inserts, headrest faces, and the upper edge of bucket seat backs. Single piping everywhere else keeps the interior consistent without overloading the seams.
Automotive-Specific Considerations: Vinyl, Leather, and Heat
Car interiors are not the same as living room chairs. The fabrics stretch more, the seams see more stress, and the temperature swings between seasons. Here is what we adjust when we know the work is going into a daily driver.
Vinyl stretch. Automotive vinyl stretches more than woven fabric, especially along the cross-grain. A walking foot on the sewing machine feeds the top and bottom layers at the same rate, so the layers do not separate and the cord does not wave through the seam. Forum upholsterers call this out as the single biggest upgrade for vinyl work.
Leather behavior. Leather is less stretchy than vinyl but harder to puncture. Use a leather needle, lengthen your stitch slightly to about 3.5 mm, and expect to hand-wheel through thick spots. Glue the seam allowance first with contact cement so the layers do not shift under the foot.
Heat resistance. A parked car in summer reaches 60 degrees Celsius or more inside. Standard polyester thread softens at that temperature. Bonded nylon or UV-rated polyester thread keeps its strength in the heat. Skip cotton thread entirely on automotive jobs.
Foam density. The foam under the vinyl affects how the piping feels. High-density foam (1.8 pounds per cubic foot or more) pushes back against the cord and keeps the seam crisp. Low-density foam lets the cord flatten out after a season of use. Pick foam that matches the original seat if you can.
Piping for Different Car Seat Styles
Bucket seats, bench seats, and headrests each have their own piping challenges. We treat them slightly differently in the shop, and you can adapt the same logic to your own project.
Bucket seats
Bucket seats have the tightest curves and the most panel seams. They use piping on the side bolsters, around the headrest panel, and along the centerline seam. Make your bias strips longer than you think you need so you can adjust as you go.
Bench seats
Bench seats are flatter and easier to pipe, but they are wider. The piping runs along the front edge, the back edge, and the division between passenger and driver sections. A straight run of 60 inches or more is common, so a continuous strip of piping is essential.
Headrests
Headrests are small but heavily curved. They use piping around the entire perimeter, often with double piping on the visible face. Stitch slowly and clip the curves aggressively. Headrests are usually the first place a beginner piping job shows its flaws, so do a practice run on scrap first.
Troubleshooting Common Piping Problems
Every shop sees the same handful of problems. Here is what causes them and how we fix them on the spot.
Puckering along the seam
Puckers usually mean the presser foot pressure is too high or the stitch is too tight. Loosen the top tension by half a turn, drop the presser foot pressure to the lightest setting that still feeds the fabric, and re-test on scrap. A walking foot also reduces puckering on vinyl because it grips both layers evenly.
The cord slips while you sew
If the cord slides inside the fabric tube, your basting stitch is too loose. Re-stitch the tube with a tighter stitch length, or add a second line of stitching one thread width away from the first. Some upholsterers hand-baste the tube closed before sewing it into the seam, which is slower but bulletproof.
Vinyl stretches and the seam waves
Vinyl stretches under the foot and recovers later, which makes the seam look wavy from the right side. Switch to a walking foot, reduce the presser foot pressure, and use clips instead of pins so you are not pulling the fabric while you sew. Stretch the vinyl slightly as you feed it and let it relax into place after the seam is sewn.
Stitches miss the cord
If your needle lands on the cord instead of beside it, the groove on your piping foot is too narrow for the cord size. Switch to a foot with a wider channel or use a zipper foot and steer manually. Stitching over the cord breaks needles and weakens the seam.
The join shows through the seam
If you can see the join from the right side of the panel, you trimmed the cords too short. Pull the seam apart, overlap the tails again, and leave a full 1 inch of cord overlap before trimming. Hand-stitch the overlap closed and try again.
Frequently Asked Questions
How to make your own upholstery piping?
Cut fabric strips on the bias about 1.5 inches wide. Wrap each strip around foam or cotton welt cord with raw edges meeting on the back. Stitch close to the cord with a zipper foot, using a 3 mm stitch length. The result is a fabric-covered cord ready to sew into any seam.
What is the difference between piping and cording?
In upholstery, piping and cording are the same thing. Both words describe a fabric-covered cord sewn into a seam. Welting is the third name for the same detail, more common in automotive trim shops.
What is upholstery piping called?
Upholstery piping is also called welting or cording. All three words refer to the fabric-covered cord that runs along the seam of a car seat, chair, or cushion. In automotive trim shops, welting is the most common term.
How do I attach piping to fabric?
Pin the wrapped piping to one panel with raw edges matched, then layer the second panel on top right sides together. Sew with a piping foot or zipper foot, stitching close to the cord. Turn the panels right side out so the cord sits on the outside of the seam.
How to attach upholstery piping?
Match the raw edges of the piping to one panel, layer the second panel on top, and sew with a piping foot or zipper foot. Keep stitches tight to the cord and pivot with the needle down on curves. Press the seam open and check the right side for even definition.
What glue do car upholsterers use?
Most car upholsterers use 3M Super 77 spray adhesive for foam and fabric, and HH-66 vinyl cement for vinyl-to-vinyl seams. Both hold up to the heat and flex of an automotive interior. Contact cement applied to the seam allowance keeps layers from shifting while you sew.
Is it cheaper to reupholster car seats or buy new ones?
Reupholstering a pair of car seats usually costs less than a set of new factory covers, and far less than dealership replacement. DIY piping and basic panel work lower the cost further, while professional trim shops charge more for custom work. The deciding factor is the condition of the foam underneath.
How to upholster a chair with piping?
Cut bias strips, wrap them around cord, and stitch the tube closed. Pin the piping to the seam line of one panel, layer the second panel on top, and sew with a piping foot. Clip curves, pivot at corners, and join the ends with the overlap method for a clean finish.
Final Thoughts on Piping for Car Upholstery
Knowing how to sew piping for car upholstery turns a reupholstery job from homemade to factory-clean. Start with the right cord for your material, take the time to cut accurate bias strips, and slow down at every curve. A walking foot and a piping foot handle the heavy lifting, while contact cement keeps the layers stable under the needle.
If this is your first automotive project, pick a seat panel you can afford to redo. Build a few feet of piping on scrap before you commit to the real seat. Once the rhythm of bias strips, wrapped cord, and stitched seams clicks, the rest of the job is repetition. That is how every shop upholsterer we know learned, and it is how you will learn too.