
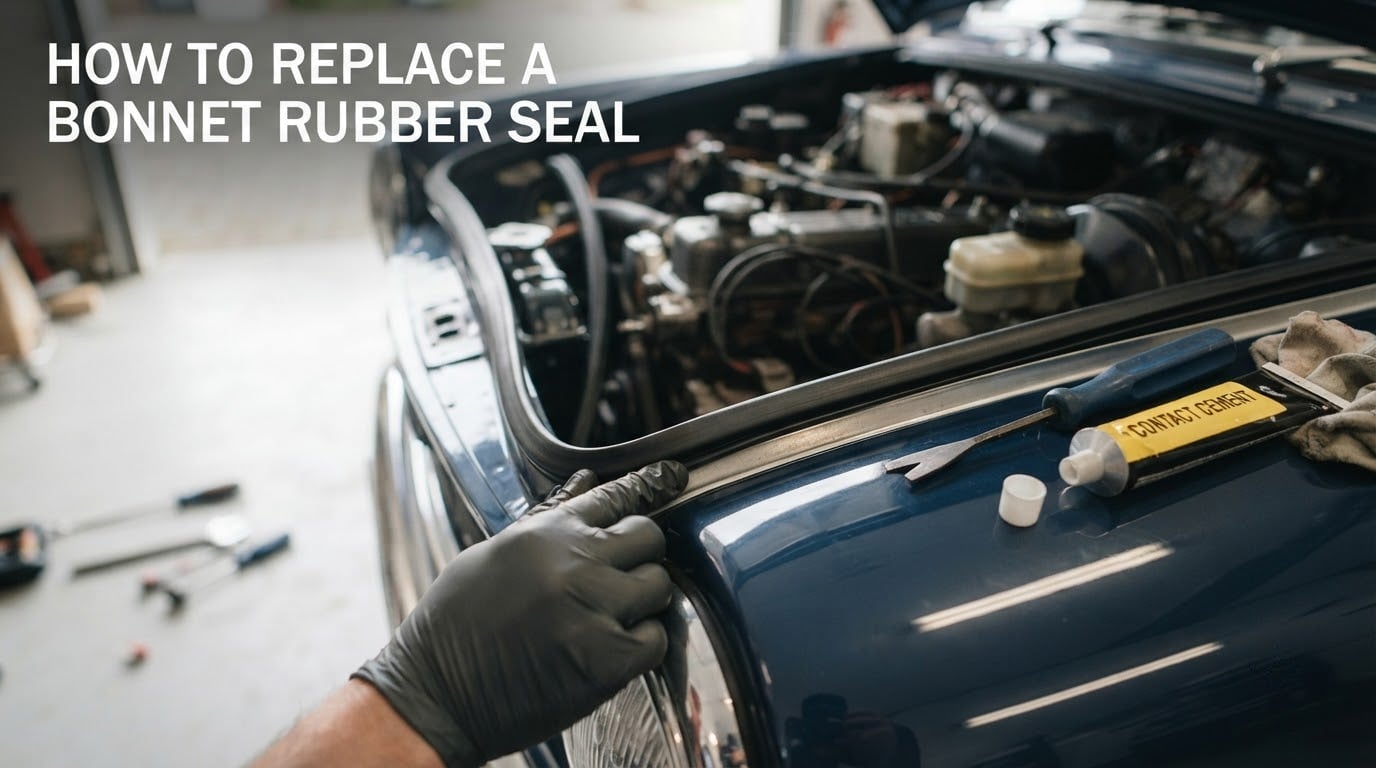
If you are searching for how to replace a bonnet rubber seal, the good news is this is a job you can do at home with basic tools, a clean workspace, and around one to two hours of patience. A bonnet seal (also called a hood seal or weatherstripping) is the flexible rubber strip that runs between the top of your engine bay and the underside of the bonnet. When it ages, melts, or falls off, water gets in, wind noise creeps up at speed, and engine bay heat escapes faster than it should.
Our team has put together this guide to walk you through the whole job. We cover the tools you need, the seal profile options, how to prep the surface, fit the new strip correctly, and what to do if something does not sit right. Use the jump links below to skip to the step you need.
Table of Contents
- Quick Overview: Replacing a Bonnet Rubber Seal in 30 Seconds
- Tools and Materials You Will Need
- Step 1: Remove the Old Bonnet Rubber Seal
- Step 2: Prepare the Surface
- Step 3: Fit the New Bonnet Seal
- Step 4: Test the Seal
- Front-Hinged vs Rear-Hinged Bonnet Differences
- Troubleshooting: Common Bonnet Seal Problems
- Frequently Asked Questions
- Conclusion
Quick Overview: Replacing a Bonnet Rubber Seal in 30 Seconds
The full job boils down to four moves: lift the bonnet, pull the old seal out and clean the channel, dry-fit the new seal to check length and orientation, then bond it in place with adhesive and test the closure.
- Time needed: 60 to 120 minutes for a first-timer, 30 to 45 minutes once you have done one.
- Skill level: beginner-friendly, no specialist tools required.
- Best working conditions: dry day, ambient temperature between 15 and 25 degrees C, bonnet fully open and supported.
- Result: a quiet, water-tight engine bay and a bonnet that still closes flush.
Tools and Materials You Will Need
You do not need a workshop full of gear. Most of what you need is already in a basic home toolbox.
Essential Tools
- Plastic trim removal tool or a wide flat-blade screwdriver wrapped in masking tape.
- Clean microfibre cloths and a small detailing brush.
- Isopropyl alcohol (rubbing alcohol) in a spray or squeeze bottle.
- Sharp trimming knife with snap-off blades.
- Measuring tape and a soft pencil or fine marker.
- A blunt screwdriver or a small nylon roller for seating the seal into a guide channel.
Adhesive Options
You have two clean choices for bonding the new seal. The right one depends on the seal profile your car uses and how permanent you want the fix to be.
- Contact cement (neoprene-based): brushed on both surfaces, allowed to tack off, then pressed together. Strong, heat-resistant, and the choice for most classic and modern bonnets with a flat seal channel.
- Self-adhesive backing (peel-and-stick 3M-style tape): the seal already has adhesive applied. Quicker, cleaner, and ideal for thin lip or bulb seals where the existing adhesive has failed.
If in doubt, contact cement is the safer bet for engine bay heat. Peel-and-stick works well on seals that sit on a vertical edge rather than inside a channel.
Choosing the Right Seal Profile
Before you order anything, confirm which seal profile fits your car. Pull a small section of the old seal out and look at the cross-section, or check the parts catalogue for your model.
- Bulb seal: a round hollow tube that compresses when the bonnet shuts. Common on classic cars and many front-hinged bonnets.
- Lip seal: an L or U-shape with a flexible flap that wipes against the body. Used where the bonnet closes onto a flat panel.
- Flat channel seal: a rectangular strip that sits inside a metal or plastic retainer. Found on many modern vehicles.
- Edge trim (U or C profile): clips onto a metal flange without adhesive, retained by friction.
Step 1: Remove the Old Bonnet Rubber Seal
Lift the bonnet and lock it in the fully open position. If your car uses a prop rod, make sure it is seated firmly. Wear gloves if your seal is old and crumbly — old rubber cuts easily.
Start at one end, usually a fender corner, and work the old seal out of its channel. If it is bonded, slide a plastic trim tool under one corner and lift gently. Do not pry hard against painted panels — you risk leaving a mark you will regret.
If the old seal is melted, brittle, or partially missing, pull what is left in one steady motion. Snap-off any stubs of adhesive left in the channel; a plastic scraper does this without scratching paint.
Step 2: Prepare the Surface
New adhesive will not stick to dirty, oily, or waxy metal. Spend five minutes here and you add years to the new seal’s life.
Wipe the channel with a cloth dampened in isopropyl alcohol to remove oil, dust, and old adhesive residue. Use the detailing brush to work the alcohol into corners. Let the metal flash off fully — it should be touch-dry within a minute in normal room temperature.
Inspect the channel for sharp edges, rust, or distortion. A quick rub with fine wet-and-dry paper and a wipe of rust inhibitor is worth doing now rather than later.
Step 3: Fit the New Bonnet Seal
Do not start by sticking anything down. Dry-fit the full length of the new seal first.
Starting Point and Direction
Most fitments start at one front corner of the bonnet and work towards the opposite front corner. On rear-hinged bonnets (bonnet hinges at the windscreen) you typically start at one front corner and finish at the other. On front-hinged bonnets, start at one front corner and finish at the opposite front corner to keep cuts away from the hinge area.
Lay the seal along the channel without removing the backing tape. Mark where it needs trimming with a pencil. A useful rule is to leave around 5 mm extra at each end to tuck into the channel wall.
Cut and Test
Trim the seal to length with the sharp knife. Cut at 90 degrees for flat profile seals and at a slight mitre for bulb seals so the joint sits flush.
Press the seal into position dry once more. Open and close the bonnet slowly. Check that the bonnet closes flush with the body, that there is even compression along the full length, and that no part of the seal puckers or stands proud.
Bond the Seal
Once you are happy with the dry fit, lift the seal back out and apply your chosen adhesive.
- For contact cement: brush a thin, even coat onto both the back of the seal and the metal channel. Wait 5 to 10 minutes until the surface is tacky but not wet when touched. Press the seal into place working from one end to the other.
- For self-adhesive: peel back around 100 mm of the backing tape. Align the seal and press that section home. Continue peeling and pressing in short sections so the seal does not drift out of line.
A small nylon roller or the rounded handle of a trim tool helps seat the seal into a deep channel without damaging the rubber.
Step 4: Test the Seal
Leave the bonnet open for the adhesive to cure. Contact cement typically needs 24 hours for full strength; self-adhesive reaches handling strength in minutes but full bond in 24 hours. Check the adhesive manufacturer’s guidance.
After curing, close the bonnet gently. Walk around the car and look for daylight gaps at the corners. Run your finger along the join to feel for uniform compression. Close the bonnet firmly and listen for any wind whistle at speed — a short test drive on a dual carriageway at 60 mph is a fair check.
Pour a small amount of water along the top of the closed bonnet with a watering can. The engine bay should stay dry. If you see water ingress, the seal is misaligned or compressed unevenly.
Front-Hinged vs Rear-Hinged Bonnet Differences
The hinge position changes a couple of things. A rear-hinged bonnet (hinges at the windscreen, opens towards you) usually has a flat channel around the front scuttle panel, and the seal compresses as the bonnet falls onto the body. Start fitting from one front corner and finish at the other to keep any joins away from corners where water collects.
A front-hinged bonnet (hinges at the front, flips up away from you) often uses a bulb or lip seal that sits on the rear edge near the windscreen. The seal is mostly there to keep water and wind out of the scuttle panel rather than the engine bay. The fitting method is the same but the seal usually sits more vertically than horizontally.
Troubleshooting: Common Bonnet Seal Problems
If the new seal does not behave on the first attempt, work through this list before you assume the seal is wrong.
- Seal keeps falling off: usually the surface was not clean, or the contact cement was applied too thickly so it never fully tacked. Strip the seal, clean again with alcohol, and re-bond with two thin coats rather than one heavy one.
- Bonnet appears out of alignment after fitting: the seal is likely too thick. A bonnet that used to close flush and now sits proud means you have the wrong profile height. Try a 2 to 3 mm lower seal.
- Wind whistle at speed: most often a corner is compressed more than the rest. Open the bonnet and check the corner seals are seated fully. A small dab of extra contact cement on a loose spot fixes most whistles.
- Seal puckers at a curve: warm the rubber with a hair dryer or pour hot water over it. The rubber softens enough to follow the curve without creasing.
- Paint damage where the seal touches: check that the seal’s outer edge has not lifted and is rubbing. A dab of adhesive under the lifted edge holds it down and stops the rub.
Frequently Asked Questions
Can a rubber seal be repaired?
Yes, a rubber seal can be repaired in some cases. If the damage is a small tear or a section that has lifted from the channel, a clean-and-rebond with contact cement often restores it. If the rubber is cracked, melted, or compressed flat across its whole length, replacement is the longer-lasting fix.
My car door rubber seal is coming off. How can I fix it?
Clean the channel with isopropyl alcohol, let it dry, and rebond the loose section with contact cement or replace the peel-and-stick backing. Hold the seal in place with painter’s tape for 24 hours while the adhesive cures. If the rubber has lost its shape, fit a new section rather than reusing the old one.
How to seal a rubber gasket?
To reseal a rubber gasket, remove the part, clean both sealing faces, apply a thin bead of the correct sealant or fresh contact cement to one face only, reassemble, and torque to the manufacturer’s specification. Let the sealant skin over before reassembly for the strongest bond.
How can I fix a rubber door seal on my car?
Lift the loose section, clean the bonding surface with isopropyl alcohol, and apply contact cement to both the seal and the body. Press the seal back into place, tape it down for 24 hours, and check the compression once cured. Replace the seal if the rubber has hardened or torn.
Conclusion
Knowing how to replace a bonnet rubber seal saves a workshop bill and gives your engine bay a quiet, dry home again. Take your time with the surface prep, dry-fit before you commit to adhesive, and match the seal profile to your bonnet. Once the new seal is in, close the bonnet, walk around the car, and pour a little water along the top to confirm the fit. A small test drive is the final confirmation that the wind noise is gone and the job is done.