
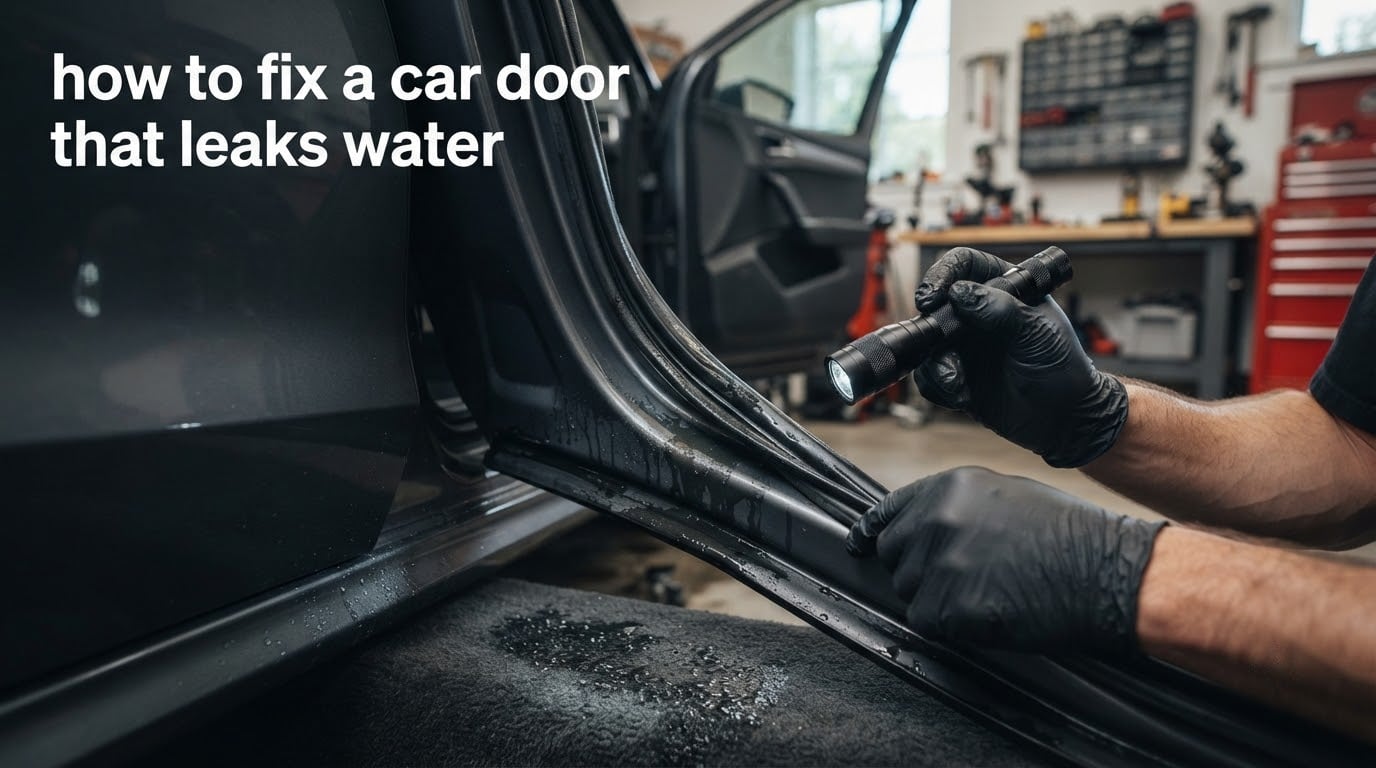
Learning how to fix a car door that leaks water can save you hundreds in repair costs and prevent serious damage to your vehicle’s interior. A leaking car door isn’t just annoying—it can ruin carpets, trigger mold growth, and even damage sensitive electronics mounted under your seats. In my experience working on everything from older Toyotas to luxury SUVs, most door leaks trace back to one of five culprits: worn weatherstripping, clogged drain holes, a failed door membrane, misaligned doors, or failed component gaskets around speakers and handles. This guide walks you through diagnosing the exact source of your leak and fixing it yourself, step by step.
You will notice a leaking car door by wet floor mats, water stains on door panels, musty odors after rain, or increased wind noise at highway speeds. Some leaks are obvious, but many require systematic detective work to trace. The good news? Most door leaks are repairable in an afternoon with basic tools and materials that cost far less than a dealership quote. I have helped dozens of car owners track down and fix persistent door leaks, and the diagnostic process I share below has proven reliable across makes and models.
Table of Contents
- How Car Door Water Leaks Happen
- Diagnosing Your Car Door Leak
- How to Fix a Car Door That Leaks Water
- When to Call a Professional
- Frequently Asked Questions
- How do I stop water leaking in my car door?
- Why does my car door leak water when it rains?
- Is it normal for a car to leak water while parked?
- Can I repair a torn door seal or do I need to replace it?
- Where are car door drainage holes located?
- How much does it cost to replace car door weatherstripping?
- Will replacing the door seal fix my water leak permanently?
- Do door seals cause wind noise as well as water leaks?
- Conclusion
How Car Door Water Leaks Happen
Water enters your car door through gaps in the weatherstripping seal, clogged drain holes that prevent proper drainage, or tears in the door’s internal vapor barrier membrane. Your car door is designed with multiple defense layers against water intrusion, but each layer can fail over time. Understanding how these systems work helps you identify which one has broken down in your vehicle.
The weatherstripping seal around your door frame is the first line of defense. This rubber seal compresses when you close the door, creating a watertight barrier. Over time, exposure to sun, extreme temperatures, and moisture causes the rubber to harden, crack, or lose its shape. Once the seal can no longer maintain consistent contact with the door frame, water finds its way through during rain or car washes. Compression set—a permanent deformation of the rubber—is particularly common on older vehicles and doors that see frequent use.
Inside your door, a plastic or foam vapor barrier membrane protects the interior from water that inevitably gets past the window seals and into the door cavity. This membrane sticks to the door frame using butyl tape or adhesive. When that seal fails or the membrane tears, water that should drain out through the bottom of the door instead seeps into the cabin. Many car owners never realize this membrane exists until a leak brings it to their attention.
Door drain holes at the bottom of your door allow water that enters the door cavity to exit before it reaches interior components. Leaves, debris, dirt, and road grime can clog these small holes over time. When blocked, water pools inside the door and eventually overflows into your car. Regular cleaning of these drain holes is one of the simplest preventive measures you can take.
Door alignment also plays a role in sealing. If your door has shifted due to worn hinges or door pins, the weatherstripping may no longer align properly with the door frame. Even a slight misalignment can create gaps that let water through. This is particularly common on vehicles where doors have been removed for summer driving and reinstalled imperfectly.
Symptoms of a failing door seal include wet carpets after rain, visible water stains on door panels, a persistent musty smell in the cabin, increased wind noise at speed, and in severe cases, electrical issues with power windows, locks, or speakers. Water that reaches floor-level electronics can cause expensive damage, so addressing leaks promptly protects both your comfort and your wallet.
Diagnosing Your Car Door Leak
Finding the exact source of a car door water leak requires a systematic approach that eliminates possibilities one by one. I recommend starting with a simple water test before pulling apart door panels. This method has helped me trace leaks in everything from daily drivers to vintage restorations.
Close yourself inside the vehicle with a bright flashlight. Have someone spray water from a garden hose around the door frame, starting at the top and working down. Watch for any water droplets entering through the weatherstripping seal. Move the spray to different areas of the door, window, and handle. Note where water appears inside. This spray test is the most reliable way to pinpoint a seal failure.
If the spray test reveals water entering at the weatherstripping, inspect the rubber closely. Look for cracks, tears, hardened areas, or sections where the seal has pulled away from its mounting surface. Press on the seal with your finger—it should spring back. If it stays compressed or feels brittle, the rubber has failed.
Check the door alignment by examining the gaps between the door and the body. The gap should be consistent from top to bottom and front to back. Stand back and look at the door from multiple angles. If the door appears slightly offset or sits too far in or out, alignment is likely your issue.
Inspect the drain holes at the bottom of your door. These are small openings on the underside of the door that allow water to exit. Shine a light into each hole and look for blockages. A thin wire or compressed air can confirm whether the holes are clear.
If you have had speakers or other components replaced in your doors, examine those areas carefully. On many vehicles, factory speakers form part of the water seal. Aftermarket speakers without proper gaskets can create a direct path for water to enter the cabin. One Civic owner I helped discovered that swapping in aftermarket speakers had removed the watertight seal—the factory speakers went back in and the leak stopped.
Not all water that appears near your door comes from the door itself. HVAC drain lines, sunroof drains, and windshield seals can all fail and create similar symptoms. The spray test helps distinguish a door leak from these other sources. If water enters only when you spray the door specifically, you have found your culprit.
How to Fix a Car Door That Leaks Water
Once you have identified the source of your leak, the fix depends on which component has failed. Below I cover repairs for each of the five common causes, from simplest to most involved. Gather your tools before starting: you will need a flashlight, screwdrivers, a trim removal tool, butyl tape or weatherstripping adhesive, a wire or compressed air for drain holes, and replacement parts if necessary.
Fix 1: Inspecting and Replacing Weatherstripping
Worn weatherstripping is the most common cause of door leaks and often the easiest to fix. Start by thoroughly cleaning the existing seal with mild soap and water. Dirt and grime can prevent seals from seating properly. After cleaning, examine every inch of the weatherstripping for damage.
Small tears or separations can sometimes be repaired with weatherstripping adhesive. Clean both surfaces thoroughly, apply the adhesive according to product directions, and hold the surfaces together until set. This works best for minor damage where the rubber itself is still pliable.
For badly damaged or hardened seals, replacement is the better option. You can find OEM weatherstripping from dealerships or quality aftermarket options from auto parts suppliers. Remove the old seal by pulling it gently from its mounting channel. Clean the channel completely, removing old adhesive residue. Install the new seal by pressing it firmly into the channel, working from one end to the other to avoid stretching.
After installation, apply a thin layer of silicone lubricant to the new seal. This helps maintain pliability and ensures a proper seal when the door closes. Close and open the door several times to help the seal conform to the door frame.
Fix 2: Clearing Door Drain Holes
Clogged drain holes are simple to fix and cost nothing. Locate the drain holes on the bottom edge of your door—typically two or three small openings. On some vehicles, you may need to look underneath the door to see them clearly.
Insert a thin wire, such as an unfolded paperclip or piece of mechanics wire, into each hole. Gently work the wire around to break up any debris. Compressed air can help blow out remaining particles. Be careful not to push debris further into the door.
After clearing, test the drains by pouring a small amount of water into the window channel or door cavity. You should see water exiting from the drain holes. If water does not drain, there may be a blockage higher in the door or a damaged drainage path requiring further investigation.
Make clearing your door drain holes part of your regular maintenance routine. A quick check every few months, especially after autumn when leaves accumulate, prevents most clog-related leaks.
Fix 3: Repairing the Door Membrane and Vapor Barrier
The door membrane or vapor barrier is a plastic or foam sheet that seals the interior side of your door frame. When this barrier fails, water that enters the door cavity seeps directly into the cabin. Repairing it requires removing the interior door panel.
Remove the door panel by taking out screws—usually hidden behind trim caps or in the armrest—and gently prying the panel away from the door with a trim removal tool. Disconnect any electrical connectors for windows, locks, and speakers. Set the panel aside carefully.
Inspect the vapor barrier membrane for tears, rips, or areas where it has pulled away from the door frame. The membrane typically attaches with butyl tape—a thick, sticky, tar-like material that remains pliable. Over time, this tape dries out and loses adhesion.
For minor separations, you can sometimes reseal the existing membrane by pressing it back into place. Clean the door frame surface and apply fresh butyl tape where needed. Press the membrane firmly into the tape, working out any wrinkles or bubbles.
If the membrane is badly torn or missing, you can create a replacement using heavy-gauge plastic sheeting and butyl tape. Cut the plastic to match the door frame shape, allowing extra material at the edges. Apply butyl tape around the perimeter of the door frame opening, then press the plastic sheet into place. Ensure complete coverage with no gaps. This DIY approach works well and costs a fraction of an OEM replacement.
Reinstall the door panel by reversing the removal process. Reconnect all electrical components before securing the panel in place.
Fix 4: Checking Door Alignment
Door misalignment often goes unnoticed but can create seal gaps that let water through. This issue is common on older vehicles with worn hinge pins or on vehicles where doors have been removed and reinstalled, such as Jeeps used for summer doorless driving.
Check alignment by examining the door gap consistency. The space between the door and body should be uniform around the entire perimeter. Look for areas where the gap widens or narrows significantly. A door that sits too high, too low, or too far in or out will not seal properly.
Worn hinge pins and bushings are a frequent cause. Replace these components if inspection reveals slop or play in the hinges. This repair varies by vehicle, but most auto parts stores sell hinge pin kits for common models.
Adjust the door striker—the U-shaped bracket on the body that the door latch engages—if the door is not closing fully against the seal. Loosen the striker bolts slightly, adjust the striker inward or outward, and retighten. Test the door seal after each adjustment. This is a trial-and-error process that may take several attempts.
After any alignment adjustment, retest with the spray method to confirm the leak is resolved.
Fix 5: Inspecting Speaker and Component Gaskets
Speakers, door handles, and other components that penetrate the door skin can create leak paths if their gaskets fail. This cause is often overlooked and can persist after you have replaced weatherstripping and cleared drain holes.
Remove the speaker grille and inspect the speaker mounting. Many factory speakers include a foam or rubber gasket that seals the speaker basket against the door. If an aftermarket speaker was installed without a proper gasket, water can flow around the speaker and into the cabin.
Check for gaps around the speaker opening and between the speaker frame and door sheet metal. Install a foam gasket or apply silicone sealant around the speaker mounting surface. Ensure the speaker wire pass-through is also sealed.
Door handles and lock cylinders can also leak if their internal seals fail. Spray water directly around these components during your diagnostic test. If water enters here, removing the handle to replace or reseal the component may be necessary.
When to Call a Professional
Most door leaks are fixable with DIY methods, but some situations call for professional help. If you have worked through all five common causes and the leak persists, a mechanic or auto body specialist can perform more advanced diagnostics. They have experience with unusual leak sources and access to technical service bulletins that may reveal known issues with your specific vehicle.
Water leaks that reach electronic components require immediate professional attention. Many modern vehicles have control modules, amplifiers, and other sensitive electronics mounted under seats or behind interior panels. A Mercedes GL-Class owner on a forum I researched discovered that a door leak caused over one thousand dollars in damage to rear SAM modules. If your vehicle has exhibited electrical glitches or warning lights along with the leak, have a professional inspect the affected systems.
Professional repair costs vary widely depending on the cause and your vehicle. Expect to pay more at a dealership than an independent shop. Some leaks require only an hour of labor, while others—like vapor barrier replacement—may take several hours. Request a detailed estimate before authorizing any work.
Consider professional help if you lack the tools or confidence to remove door panels. Modern vehicles often have fragile trim pieces and complex electrical connectors that can be damaged by inexperienced hands. A professional can complete the repair efficiently and may spot additional issues you would miss.
Preventive maintenance helps avoid future leaks. Apply silicone spray to weatherstripping every few months to keep it pliable. Check and clear drain holes seasonally. Address any water intrusion promptly before it damages interior components or creates mold problems.
Frequently Asked Questions
How do I stop water leaking in my car door?
Stop water leaking in your car door by identifying the source—usually worn weatherstripping, clogged drain holes, or a failed vapor barrier membrane. Clean and inspect the rubber seal, clear any debris from drain holes at the bottom of the door, and check the door membrane for tears or separation. Most leaks can be fixed with basic tools and replacement seals or butyl tape.
Why does my car door leak water when it rains?
Your car door leaks water when it rains because the weatherstripping seal has cracked or hardened, the door drain holes are clogged with debris, the vapor barrier membrane inside the door has failed, or the door is misaligned and not sealing properly against the frame. Heavy rain overwhelms these compromised defenses and water enters the cabin.
Is it normal for a car to leak water while parked?
No, it is not normal for a car to leak water while parked. If water enters your vehicle while parked, you have a seal failure somewhere in the body. Parked leaks often indicate a weatherstripping failure or clogged drain channel. Address this promptly to prevent interior damage and mold growth.
Can I repair a torn door seal or do I need to replace it?
You can repair small tears in a door seal using weatherstripping adhesive if the rubber is still pliable. Clean both surfaces, apply adhesive, and hold until set. For hardened, cracked, or extensively damaged seals, replacement is the better long-term solution. Replacement ensures consistent sealing and proper fit.
Where are car door drainage holes located?
Car door drainage holes are located on the bottom edge of the door, typically visible from underneath. Most doors have two or three small holes that allow water that enters the door cavity to drain out. These holes can become clogged with leaves, dirt, and road debris, causing water to pool inside the door.
How much does it cost to replace car door weatherstripping?
The cost to replace car door weatherstripping varies by vehicle and whether you use OEM or aftermarket parts. DIY replacement typically costs less than professional installation at a shop. OEM weatherstripping from a dealership costs more than aftermarket options. Labor adds significantly if you hire a professional, but the repair is straightforward for most DIYers with basic tools.
Will replacing the door seal fix my water leak permanently?
Replacing the door seal will fix your water leak permanently if the seal was the cause. However, door leaks can have multiple sources. If your leak persists after replacing weatherstripping, check drain holes, the vapor barrier membrane, door alignment, and component gaskets around speakers and handles. A systematic approach ensures you address all failure points.
Do door seals cause wind noise as well as water leaks?
Yes, door seals cause wind noise as well as water leaks. A failing weatherstripping seal allows both air and water to enter the cabin. If you notice increased wind noise at highway speeds, inspect your door seals even if you have not yet seen water intrusion. Addressing seal issues early prevents both annoyances and protects your interior from moisture damage.
Conclusion
Fixing a car door that leaks water requires a methodical approach, but the repair is well within reach for most car owners. Start with the spray test to pinpoint the leak source, then work through the five common causes: weatherstripping, drain holes, vapor barrier, door alignment, and component gaskets. Most fixes cost a fraction of professional repair quotes and can be completed in a single afternoon.
Regular maintenance prevents most door leaks before they start. Keep your weatherstripping conditioned with silicone spray, clear drain holes seasonally, and address any water intrusion immediately. Water damage compounds over time—what starts as a minor annoyance can become expensive mold remediation or electronic repairs if ignored. Take action now to keep your cabin dry and your vehicle protected for years to come.