
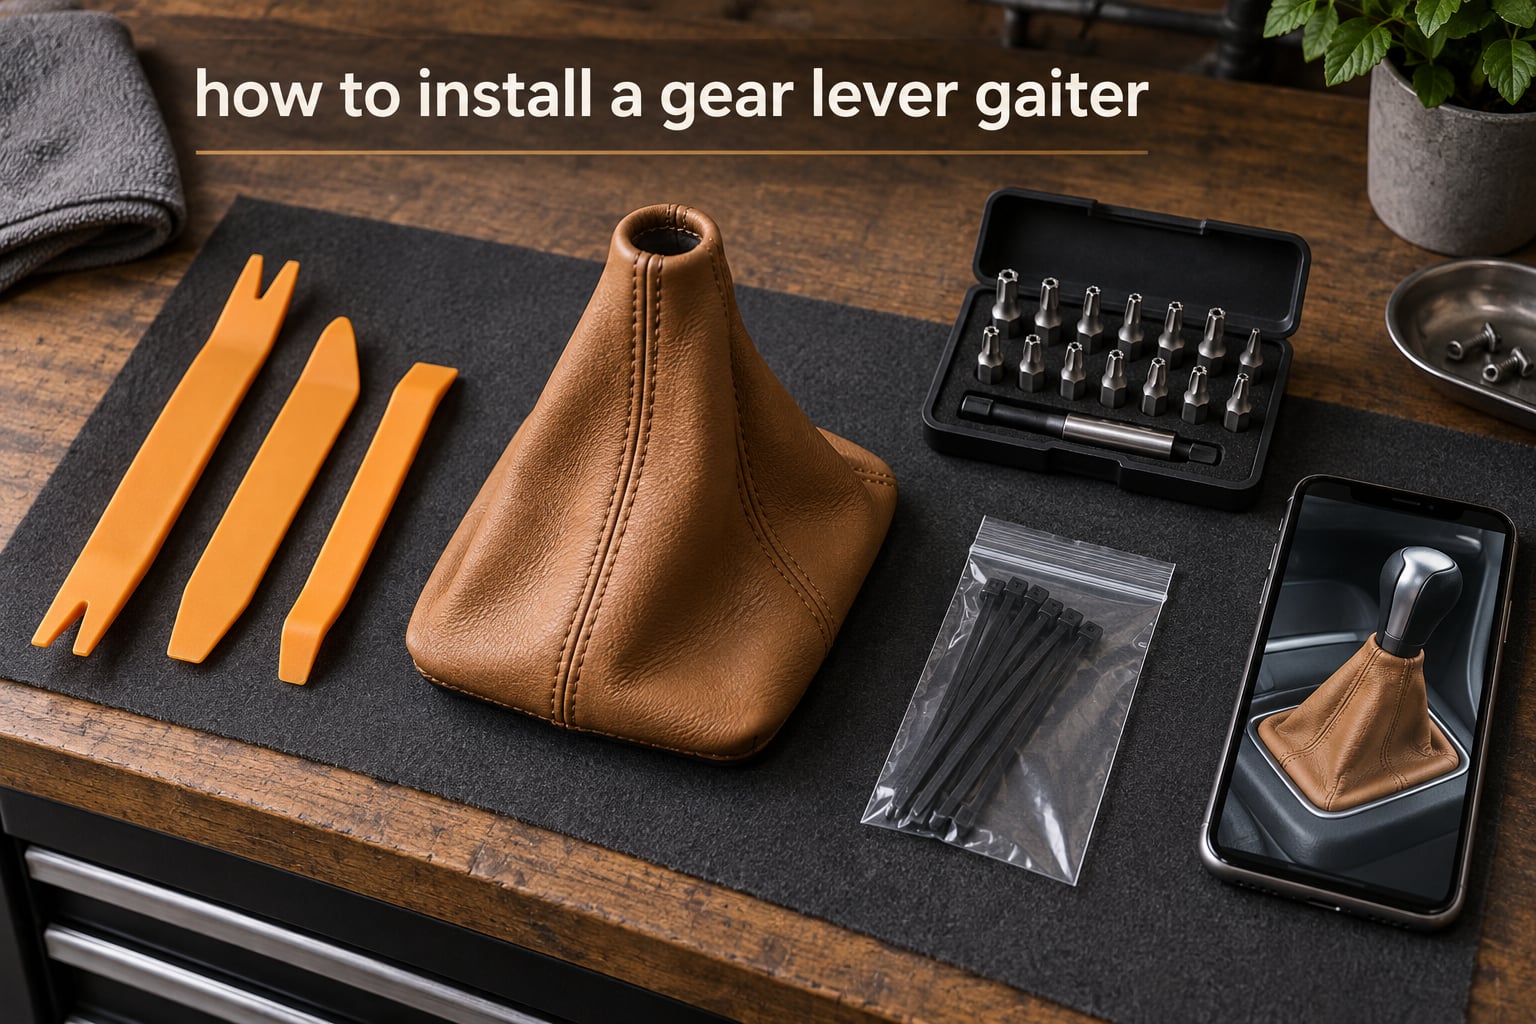
If you want to know how to install a gear lever gaiter, the short version is this: photograph the assembly, remove the gear knob and console trim, slip the new gaiter on inside-out, secure it, then test every gear. Most first-time DIYers finish in 45 to 90 minutes with basic tools.
I have walked plenty of customers and forum regulars through this exact job. A worn or torn gaiter is one of the most visible interior blemishes you can fix without a lift. In this guide I will show you every step, the tools you need, which material to pick, and the mistakes that turn a 30 minute job into a Saturday afternoon.
Table of Contents
- What Is a Gear Lever Gaiter and Why Replace It
- Tools and Materials You Will Need
- How to Install a Gear Lever Gaiter: Step by Step
- Choosing the Right Material for Your New Gaiter
- Common Mistakes to Avoid During Installation
- DIY vs Dealership Cost: Is It Worth Doing Yourself
- Pairing the New Gaiter With a Gear Knob Upgrade
- Frequently Asked Questions
- Final Thoughts on How to Install a Gear Lever Gaiter
What Is a Gear Lever Gaiter and Why Replace It
A gear lever gaiter is the flexible boot that covers the base of your gear stick where it exits the centre console. You will also hear it called a shift boot, gear stick gaiter, shifter boot, or gear lever cover. Whatever name you use, the job is the same: it stops dust, crumbs, and debris from falling down into the shifter mechanism.
Most factory gaiters are vinyl or basic cloth. They work, but they do not last forever. UV exposure, hand sweat, and constant flexing cause the stitching to fray and the fabric to split at the fold seams.
There are four clear signs yours is due for replacement:
- Visible tears or splits along the fold or stitching
- Sagging or collapsing around the lever, exposing the mechanism
- Frayed edges where the gaiter meets the trim or the knob
- A gritty or stiff shifting feel caused by debris reaching the linkage
Replacing a torn gaiter is not just about looks. Reviewers on car talk forums consistently report a noticeable shift quality improvement after the swap, because the new boot seals the mechanism properly and the fresh material feels taut and precise under the hand. It also lifts the whole cabin, and a tidy cabin is one of the first things buyers notice when you resell.
Tools and Materials You Will Need
You probably already own most of what you need. Here is the kit I lay out on a clean towel before starting any car:
- Plastic trim removal tools (a flat spudger plus a forked tip)
- Torx bit set, usually T20 or T25, plus a small flat screwdriver
- Needle nose pliers
- Sharp scissors or a craft knife
- Cable ties or zip ties (4 mm width works on most cars)
- Fabric adhesive or a staple gun if your gaiter uses a glued or stapled base
- A camera or phone for reference photos at every stage
- A clean microfibre cloth and a small torch
Optional but worth having: a magnetic tray for the small spring and clip that often hide under the gear knob, plus a can of compressed air to clean the exposed shifter mechanism before the new gaiter goes on.
How to Install a Gear Lever Gaiter: Step by Step
This is the main event. Take your time on step 1, race through nothing, and the rest follows. The order below is the order I use and the order recommended by every detailed walkthrough I have cross-checked.
Step 1: Photograph the existing assembly
Before you touch anything, take three quick photos with your phone: the gaiter as it sits, the underside of the console where the gaiter meets the trim, and a close-up of the top fastening near the gear knob. These images are your reference when you reassemble, especially if your car uses an unusual clip or a specific cable tie routing.
Step 2: Remove the gear knob and trim
Most modern gear knobs unscrew counter-clockwise once the cap on top is lifted. The cap usually pulls straight up, but on some cars it hides a small Torx bolt that releases the knob from the lever itself. Underneath that cap you will often find a tiny spring. Do not lose it. I use a magnetic tray so the spring and any clips stay together.
With the knob off, use your plastic trim tool to gently lever the surrounding console trim away from the gaiter frame. Work from one corner, never pry across the whole panel at once, and stop the moment you feel strong resistance. Trim clips are cheap but brittle, and snapping one turns a clean job into a parts hunt.
Step 3: Detach the old gaiter from the frame
Lift the gaiter and its frame out of the console as one piece. Now examine how the old gaiter is fastened. You will typically see one of three setups:
- A plastic retaining ring that snaps into a groove on the lever
- A thin metal band or wire that hooks into the frame
- A cable tie looped through a slot and pulled tight
Cut the old cable tie with scissors, prise the metal band off with needle nose pliers, or pop the plastic retaining ring with a flat spudger. Note exactly how it sat before you remove it. Reviewers who skip this step are the ones who message forums a week later asking why their new gaiter keeps sliding down.
Step 4: Fit the new gaiter inside-out
This is the trick most beginners miss. To fit a gear gaiter cleanly, turn the new one inside out first, slide it over the gear lever, then flip it right-side out once it sits on the frame. The inside-out method lets the folds seat into the corners of the mounting frame without bunching or twisting.
Once the gaiter is seated, refit the retaining ring, band, or fresh cable tie exactly the way the original was secured. Pull any zip tie snug but not so tight that it cuts through the new material. Trim the tail of the tie flush so it does not catch on your hand when shifting.
Step 5: Reassemble and test every gear
Lower the console trim back into place, pressing until every clip clicks. Refit the gear knob, replace the small spring under the cap if your car uses one, and tighten any Torx bolt that holds the knob down.
Now sit in the driver seat and run the lever through every gear, including reverse. The gaiter should fold evenly without pulling the trim. If the lever feels stiff in any gear, the gaiter is probably caught on the frame, and you need to lift the trim and reseat it.
Choosing the Right Material for Your New Gaiter
Material choice has a bigger impact on how the finished job feels than most people expect. Here is how the four most common options stack up.
Genuine leather is the gold standard. It lasts for years, develops a soft patina, and gives the cabin an OEM-plus feel that buyers notice. It is the most expensive option and benefits from a dab of leather conditioner every few months.
Alcantara is the sporty choice. It offers excellent grip, especially in hot weather when bare leather can feel slick. Alcantara is a synthetic microfibre, so it is vegan-friendly, but it does attract dust and benefits from a soft brush every now and then.
Faux leather is the budget choice. Modern faux leather has come a long way and looks close to the real thing at a glance. It will not patina the way genuine leather does, and it can crack after a few years of heavy use, but it is a smart pick for daily drivers and rental-style cars.
Suede or cloth suits a factory-style restoration. Several manufacturers ship cloth gaiters from the factory, and a quality cloth replacement will look perfectly original while feeling softer than vinyl under the hand.
On fastening methods, the choice is simpler. Zip ties are the easiest and most universal. A staple gun gives the cleanest finish if you are fitting a gaiter to a frame that you are re-upholstering. Fabric adhesive works well on small universal gaiters, but takes longer to set and gives you less margin for error.
Common Mistakes to Avoid During Installation
After watching dozens of first-timers tackle this job, I have seen the same handful of mistakes cause 90 percent of headaches. Avoid these and the rest of the job goes smoothly.
Forcing stuck trim clips. If a clip will not release, it is either the wrong clip or it has a hidden secondary catch. Stop, check your reference photo, and try a different angle with your trim tool. Snapped clips mean a rattling trim later.
Installing the gaiter the wrong way around. The seam should sit at the back of the lever, away from where your hand rests. A quick check before tightening the cable tie saves a full strip-down later.
Losing the small spring under the knob cap. That spring is what gives the knob its self-centring feel. Magnetic trays exist for exactly this reason.
Using a metal screwdriver on plastic trim. Metal digs into plastic and leaves bright marks. Plastic trim tools cost almost nothing and prevent damage that no amount of detailing will hide.
Skipping the test-all-gears step. Always cycle through every gear, including reverse, before you button the trim up. A caught gaiter on one gear is far easier to fix while the console is still loose.
Forgetting to disconnect the battery on cars with electronic shifters. Most manual gear gaiters sit on a purely mechanical lever and the battery is fine where it is. If your car has an electronic shift mode or a console-mounted mode dial, disconnect the negative terminal before pulling trim, just to be safe.
DIY vs Dealership Cost: Is It Worth Doing Yourself
This is the question I get most often from readers. The honest answer is that a gaiter swap is one of the best ROI DIY jobs in the cabin. The new gaiter itself is inexpensive, the tools are basic, and the labour at a dealer is mostly the trim removal and refit, which is exactly the part you are doing anyway.
Doing it yourself means you set the pace. You can photograph every step for your records, swap the gear knob at the same time, and inspect the shifter mechanism while it is exposed. A dealer will not do any of that, and the booking itself often costs more than the parts.
Where a dealership earns its keep is on cars with integrated shift mode buttons, electronic parking brakes routed through the console, or trim that requires special clips you cannot buy at the local parts shop. If your car uses any of those, a professional installer can save you a weekend of head-scratching.
Pairing the New Gaiter With a Gear Knob Upgrade
While the console is apart, this is the perfect moment to upgrade the gear knob as well. A fresh gaiter paired with a battered plastic knob looks unfinished, and reviews on enthusiast forums consistently call out the mismatch.
Common knob upgrades include weighted metal knobs for a more precise shift feel, leather-wrapped knobs that match the gaiter material, and classic round wooden knobs for a vintage touch. Whatever you choose, check that the thread pattern matches your lever. Most Japanese and European cars use M10 or M12 threads, and the wrong size will simply not screw on.
If you want a coordinated look, match the gaiter and knob stitching colour. Black on black is the safe default, while coloured contrast stitch can lift a cabin that is otherwise all black or all grey.
Frequently Asked Questions
How do you replace a gear lever cover?
To replace a gear lever cover, first photograph the existing assembly. Then remove the gear knob and console trim, lift out the gaiter and its frame, and detach the old cover from the frame using the retaining ring, band, or zip tie. Fit the new cover inside-out over the lever, secure it the same way, refit the console trim, and test every gear.
What is a gear gaiter?
A gear gaiter is a flexible leather or fabric boot that sits over the base of the gear lever where it exits the centre console. It keeps dust and debris out of the shifter mechanism, improves the feel of each shift, and tidies up the interior of the cabin. It is also called a shift boot or gear stick gaiter.
Can you replace a shifter stick?
Yes. To replace a shifter stick, lift the cap on top of the gear knob to expose the Torx bolt or retaining spring, remove it, and unscrew the knob counter-clockwise. The lever itself is usually bolted to the shifter mechanism below the console, which means you will need to remove the full console to access the bolts. Most drivers replace the knob and gaiter without disturbing the lever itself.
How do you remove a stuck gear knob?
To remove a stuck gear knob, first lift the cap on top to expose the Torx bolt or clip underneath. Apply a small amount of penetrating oil around the base of the knob where it meets the lever, give it a minute to soak, and then use a strap wrench or a cloth-wrapped grip to twist the knob counter-clockwise. Avoid using locking pliers directly on the knob, as they will scar the finish.
Is a zip tie strong enough to hold a new shift boot in place?
Yes, a standard 4 mm nylon zip tie is strong enough to hold a new shift boot in place on most cars. The original cable tie or metal band on your factory gaiter is the same fastening method, often just a thicker zip tie. Use a new tie rather than reusing the old one, pull it snug but not so tight that it cuts through the new material, and trim the tail flush.
Final Thoughts on How to Install a Gear Lever Gaiter
That is the full job. Photograph everything, remove the knob and trim, detach the old gaiter, fit the new one inside-out, and test every gear before you button it up. With the right tools and a quiet hour, you can replace a torn gear lever gaiter yourself and lift the whole cabin in the process.
If you have already tackled this on your own car, drop a comment with your make and model. Real-world notes from other vehicles help the next reader avoid surprises, and there is always a quirky clip or hidden screw that did not make it into this guide.