
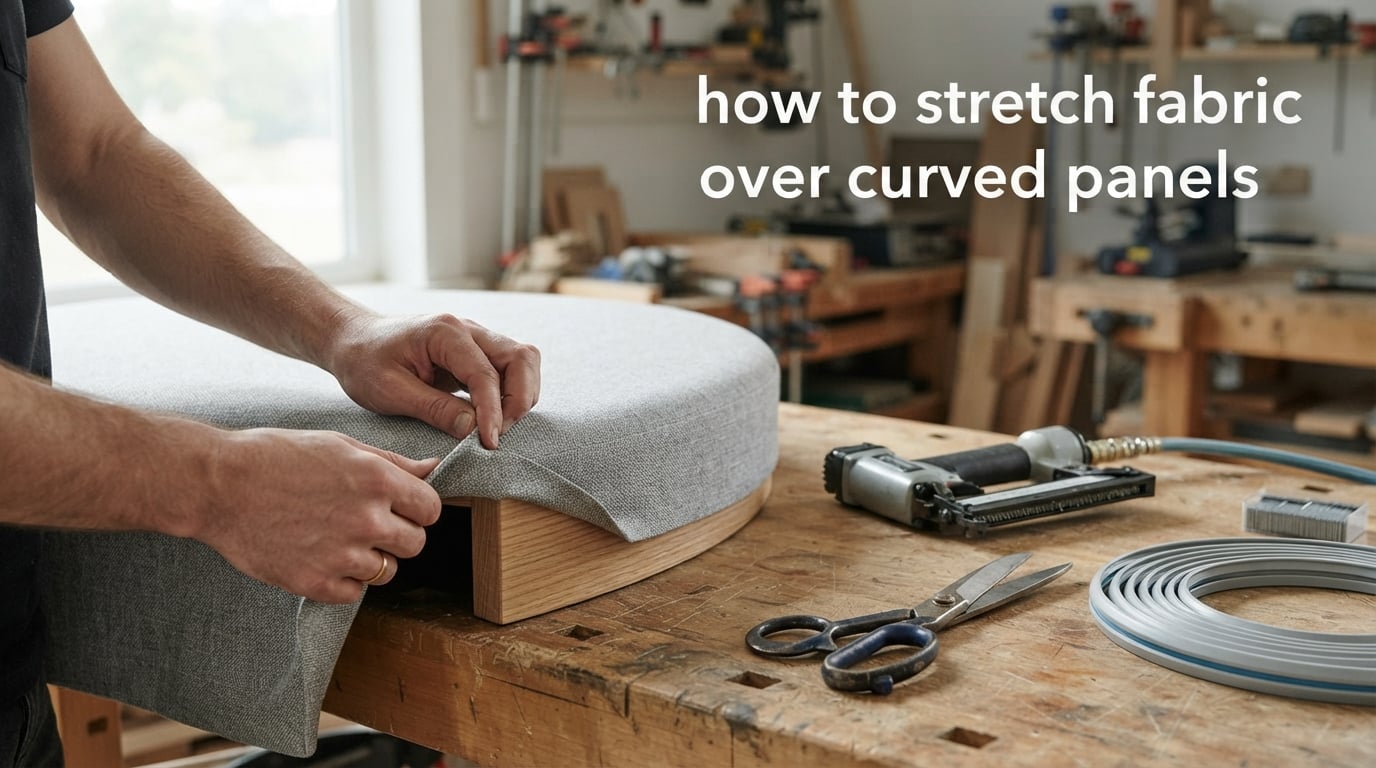
Curved panels have a way of exposing every shortcut. If you’ve ever pressed fabric flat against a gently arched wall only to watch it ripple the moment you let go, you already know that “stretch and hope” is not a strategy. Learning how to stretch fabric over curved panels is really about controlling tension from anchor point to anchor point, and I want to walk you through exactly how I do it on the jobs in my own shop.
I’ve stretched fabric over curved acoustic panels, headliner arches, scooter body sections, and a few oddly shaped exhibition pieces. The same five-stage rhythm keeps showing up: prepare, anchor, tension, secure, finish. Below, I break that rhythm into the actual moves you can repeat at home, whether you’re working with stretchy knits or non-woven acoustic cloth, and whether the curve is shallow or tight.
Table of Contents
- Quick Answer: How Do You Stretch Fabric Over a Frame?
- Tools and Materials You Need for Stretching Fabric Over Curved Panels
- How to Prepare Curved Panels and Fabric Before Stretching
- How to Stretch Fabric Over Curved Panels: Step-by-Step Technique
- Stretching Methods Compared: Adhesive vs Track System vs Mechanical Fastening
- Finishing Edges and Securing the Fabric on Curved Panels
- Troubleshooting Bubbling, Creasing and Tension Problems on Curves
- Common Mistakes to Avoid When Stretching Fabric on Curved Panels
- Frequently Asked Questions
- Final Thoughts on Stretching Fabric Over Curved Panels
Quick Answer: How Do You Stretch Fabric Over a Frame?
The fastest way to stretch fabric over a curved frame is to start at the center of one edge, anchor it with a staple or track bead, then work outward in opposite directions while keeping tension even. Pull the fabric across the curve from each anchor point, secure the opposite edge first, then return to the sides. Trim excess and finish the perimeter with a bead, trim, or return-fold for a wrinkle-free result.
Tools and Materials You Need for Stretching Fabric Over Curved Panels
Before you touch the fabric, get your tools ready. Curved panels reward preparation, and the wrong tool mid-pull is what causes most of the bubbles I see in client photos.
The Core Toolkit
- Staple gun (manual or pneumatic) with 6 mm and 10 mm staples. A pneumatic gun is friendlier on long runs, but a good manual gun works for small panels.
- Fabric scissors or a sharp rotary cutter. Dull blades chew stretch fabric and start creasing problems before you even pull.
- Stretch fabric or acoustic cloth. Lycra, polyester knit, and most acoustic stretch fabrics behave differently; pick the one that matches your curve radius.
- Track system or plastic separator track (for hidden edge finishes). These are the slim PVC or aluminum channels that hold fabric in place without visible staples.
- Spray adhesive or contact adhesive. Choose a low-tack, repositionable spray for fabric-to-panel work so you can lift and re-seat if needed.
- Measuring tape, chalk marker, and a long straight edge.
Nice-to-Have Extras
- Heat gun for relaxing stubborn creases on vinyl and acoustic cloth.
- Twill tape or binding for clean seam edges on stretch knits.
- Wooden dowels or roller bars for rolling fabric into tracks.
- Clamp helpers to hold tension while you staple.
- A second pair of hands. Truly. Curves and stretch fabric are a two-person job once the panel is over 2 ft.
If you only have a staple gun, scissors, and spray adhesive, you can still complete the job. The track system just gives you a cleaner, removable finish, which is why acoustic panel installers prefer it.
How to Prepare Curved Panels and Fabric Before Stretching
Most failed stretching jobs start here. If the panel or the fabric isn’t ready, no amount of pulling will fix it later.
Step 1: Inspect the Panel Substrate
Run your hand across the surface. You’re feeling for screw heads, splinters, raised edges, or old adhesive. Anything protruding will telegraph through the fabric. Sand it down, set screws flush, and vacuum the dust off.
Step 2: Check the Curve Radius
A gentle curve (radius over 60 cm) accepts almost any stretch fabric. A tight curve (radius under 30 cm) demands a 4-way stretch fabric with at least 50% stretch in both directions. Knowing your radius tells you which fabric and which tension level to plan for.
Step 3: Cut the Fabric With Allowance
Lay the panel on the fabric and add at least 5 cm of excess on every side. For tight curves or patterned fabric, add 8-10 cm so you have room to pull from each anchor point without running out. Stretch fabric can shrink up to 10% once tensioned, so always cut larger than you think.
Step 4: Pre-Stretch the Fabric (Optional but Helpful)
For very stretchy knits, hang the cut piece over a chair back for 15 minutes and gently pull at the corners. This relaxes the memory in the fibers and reduces surprise shrinkage later. I do this on every Lycra panel over 1 m.
Step 5: Mark Anchor Points
Using chalk, mark the center top, center bottom, and the two side centers of the panel on the fabric. These four marks become your starting anchors, and they keep the fabric aligned with the panel’s geometry.
How to Stretch Fabric Over Curved Panels: Step-by-Step Technique
This is the core method I use, and it works on outside curves (convex) and inside curves (concave) with minor adjustments. I’ll call out the differences inside each step.
Step 1: Anchor the Center Top
Place the fabric’s top center mark at the panel’s top center. Pull the fabric taut toward you and secure with a staple, track bead, or clamp. On outside curves, keep the pull perpendicular to the surface. On inside curves, pull slightly away from the curve’s center to encourage the fabric to settle into the trough.
Step 2: Anchor the Center Bottom
Move to the opposite edge. Pull the fabric downward with even tension and anchor it. If you feel the fabric pulling unevenly across the curve, ease off slightly. The goal here is even tension, not maximum tension.
Step 3: Work Outward From Each Anchor in Alternating Sides
Starting from the top anchor, work halfway toward the right corner. Pull the fabric outward, hold the tension, and staple or track every 3-5 cm. Then move to the bottom anchor and repeat on the same side. Alternating sides keeps the tension balanced.
Step 4: Secure the Side Centers
Once both top and bottom are anchored outward to the corners, anchor the side centers. Pull horizontally with the same tension you used on the top and bottom, and secure. This step is critical on inside curves because it prevents the fabric from sagging into the curve’s center.
Step 5: Move to the Corners Last
Corners hold the most tension memory and the most risk of creasing. Pull the fabric corner-to-corner diagonally first, then settle it into the panel corner with a single staple. Avoid folding; instead, work the fabric into the corner with your fingertips in small increments.
Step 6: Walk the Perimeter and Check Tension
Run your palm lightly across the entire surface. You’re feeling for slack pockets. If you find one, lift the nearest staple, re-pull from that point outward, and re-secure. For inside curves, also look at the panel from the side; the fabric should follow the curve smoothly without bowing outward.
Stretching Methods Compared: Adhesive vs Track System vs Mechanical Fastening
Not every curve calls for the same finishing approach. Here’s how the three main methods compare on the things DIY and trade readers ask about most.
Adhesive Bonding
Spray or contact adhesive works best on hard, non-porous panels and on shallow curves. The advantage is speed and the ability to wrap complex shapes. The disadvantage is that the bond is permanent, which means a future re-cover means scraping adhesive off the panel. Adhesive also gives you less room to reposition once the two surfaces touch.
Track System
A track (sometimes called a separator track or plastic track) is a slim channel that grips the fabric with a bead or spline. Acoustic installers favor this method because the fabric can be removed and replaced without damaging the panel. On curves, the track can be kerf-cut on the back to follow the radius. The finish is clean and modern, and there’s no staple visible.
Mechanical Fastening (Staples, Screws, Clips)
Staples and screws are the workhorse method for upholstery and DIY projects. They’re fast, forgiving, and easy to remove. The downside is visible fastener heads, which is why I cover them with trim, binding, or a return-fold of fabric. On tight curves, mechanical fastening holds tension more predictably than adhesive.
Which Should You Choose?
For acoustic wall panels and ceilings, go with a track system. For upholstery on furniture, staples with a return-fold edge. For scooter panels, automotive headliners, and exhibition builds, spray adhesive plus perimeter staples is the most reliable mix.
Finishing Edges and Securing the Fabric on Curved Panels
The edge work is what separates a clean panel from a “homemade” one. Take your time here.
Trimming Excess Fabric
Leave 2 cm of fabric past the final anchor point and trim the rest with sharp scissors. Cutting too close to the staple or bead leaves no margin if the fabric shifts later.
Return-Fold for Hidden Edges
For upholstered projects, fold the excess fabric back over the anchor line so the raw edge is hidden, and staple through both layers. This creates a clean, finished edge that looks professional from any angle.
Hiding Staples and Fasteners
On visible edges, cover staples with a length of twill tape, gimp, or matching fabric strip. Adhesive-backed braid is the simplest option for small panels. On automotive-style projects, a bead of plastic trim or chrome molding snaps over the staple line and locks everything in place.
Seam Considerations on Stretch Knits
If your panel is wider than your fabric, you’ll need a seam. Sew the seam with a zigzag stitch (not a straight stitch) so the seam itself can stretch. Press the seam open and toward the back before stretching, and avoid placing the seam at the panel’s most visible point.
Troubleshooting Bubbling, Creasing and Tension Problems on Curves
Even experienced installers hit these issues. Here’s what to do when you spot them.
Bubbling in the Center of the Panel
Cause: not enough tension at the center anchors, or stretch fabric with too much memory. Fix: lift the nearest side anchors, re-pull diagonally from corner to corner, and re-secure with more staples. A heat gun on a low setting also relaxes fibers so they re-seat cleanly.
Creasing at the Edges
Cause: pulling too aggressively from one anchor before the opposite side is secured. Fix: remove the offending staples, anchor the opposite side first, and re-tension gradually. Always alternate sides rather than completing one side fully before starting the other.
Fabric Bowing Outward on an Inside Curve
This is the classic problem on concave frames. The fabric wants to take the shortest path between anchors, which is a straight line. To fix it, anchor at closer intervals (every 2-3 cm instead of 5 cm) along the curve’s deepest section, and use a fabric with high stretch percentage (50%+).
Seam Puckering
Cause: straight stitching on stretch fabric, or seam allowance too wide. Fix: rip the seam and resew with a narrow zigzag or use a serger. Trim the seam allowance to 6 mm and press toward the back before stretching.
Fabric Slipping After Installation
Cause: insufficient staples, or track not seated fully. Fix: add staples at closer intervals, or press the bead back into the track with a roller tool. For adhesive failures, lift the section, reapply spray adhesive, and let it become tacky before re-bonding.
Common Mistakes to Avoid When Stretching Fabric on Curved Panels
These are the pitfalls I see most often in client photos and DIY forum posts.
Cutting the Fabric Too Small
Stretch fabric shrinks under tension. If you cut to the exact panel size, you’ll end up 5-10% short. Always cut with generous allowance.
Anchoring One Side Completely Before Starting the Other
This locks tension into one direction and creates ripples when you start the opposite side. Always alternate sides.
Using the Wrong Fabric for the Curve Radius
A 2-way stretch on a tight inside curve will fight you. Match the fabric’s stretch percentage to the curve’s radius; tighter curves need higher stretch.
Skipping the Substrate Prep
Screw heads, splinters, and dust telegraph through fabric. A 5-minute sanding and vacuum saves an hour of troubleshooting.
Pulling Too Hard
More tension is not better. Over-stretched fabric distorts pattern, snaps at the anchors, and can tear on inside curves. Aim for “taut and smooth,” not “drum tight.”
Ignoring Temperature and Humidity
Fabric tension changes with temperature. Stretching fabric in a cold room and then bringing the panel into a warm one can cause sagging. Stretch in conditions similar to where the panel will live.
Frequently Asked Questions
What fabric works best for stretching over curved panels?
Polyester knit, Lycra blends, and acoustic stretch fabrics all work well. The best choice depends on curve radius: tight inside curves need 4-way stretch fabric with at least 50% stretch in both directions, while shallow curves accept most medium-weight knits.
How do I prevent fabric from bubbling on curved surfaces?
Anchor the fabric at center top and center bottom first, then alternate sides while keeping tension even. Avoid completing one side before starting the other, and use a heat gun on a low setting to relax stubborn fibers.
Can you stretch fabric over sharp inside curves?
Yes, but it requires 4-way stretch fabric with high stretch percentage and staples placed every 2 to 3 cm along the curve’s deepest section. Fabric naturally wants to take the shortest path between anchors, so closer anchoring forces it to follow the curve.
What adhesive works best for fabric on curved panels?
Low-tack spray adhesive is the most forgiving option because it allows repositioning. Contact adhesive gives a stronger bond but less working time. For most DIY projects, a repositionable spray is the safer choice.
How tight should I pull the fabric when stretching over a curve?
Aim for taut and smooth, not drum tight. Over-stretching distorts pattern, snaps anchors, and tears fabric on inside curves. The fabric should follow the curve without bowing outward and without visible slack.
Final Thoughts on Stretching Fabric Over Curved Panels
Curves reward patience. The five-stage rhythm of prepare, anchor, tension, secure, finish works because each stage feeds the next; skip one and the next one fights you. If you’re tackling your first curved panel, start with a small piece of plywood and some inexpensive polyester knit. Run the full method once, troubleshoot a bubble or two, and you’ll feel the tension pattern in your hands. After that, the same hands will handle a 4 ft acoustic wall or a vintage headliner with the same confidence.
Take your time with substrate prep, alternate sides while anchoring, and finish the edges cleanly. Those three habits cover about 90% of what makes a stretched fabric panel look professional.