
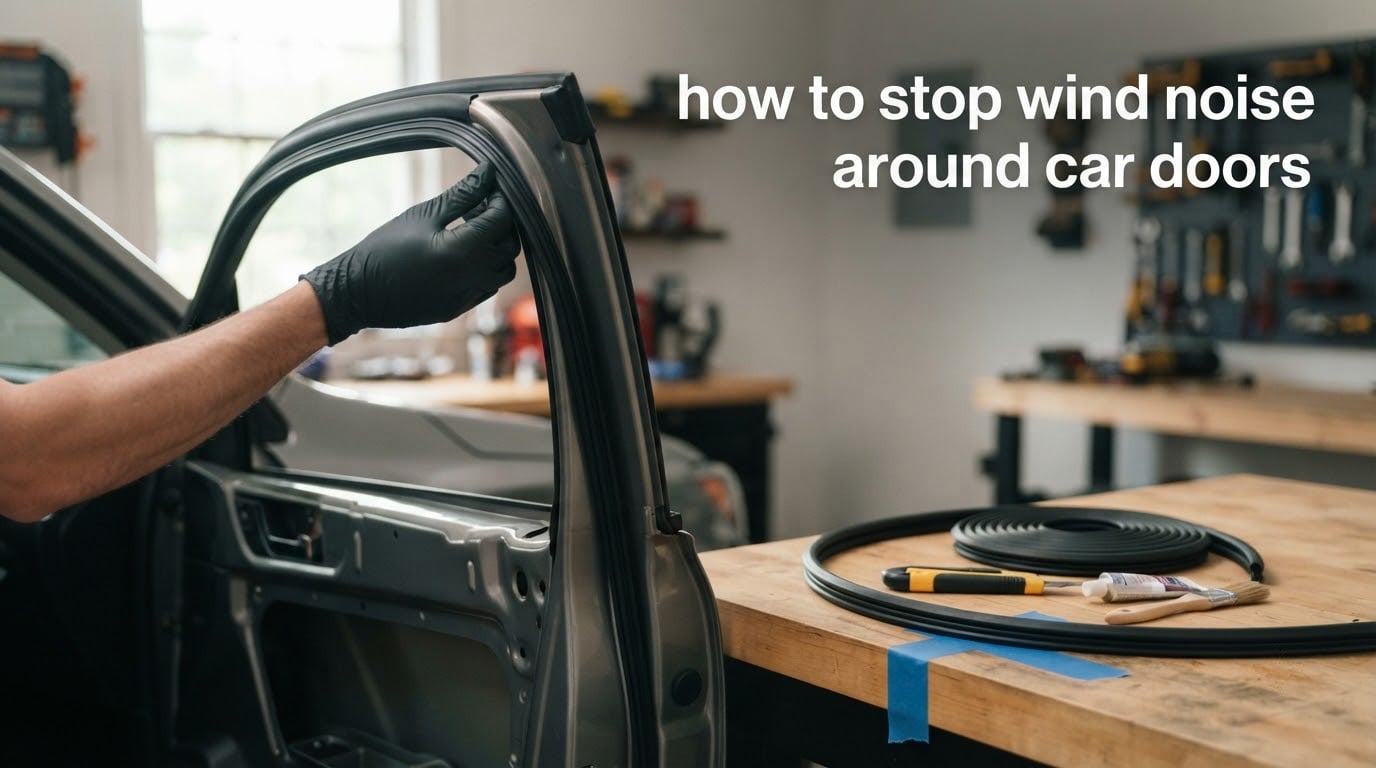
If you’ve ever cranked up the radio just to drown out an irritating whistle at 65 mph, you already know why learning how to stop wind noise around car doors matters. That rushing, whooshing, or high-pitched sound is more than an annoyance — it signals air escaping where it shouldn’t, and it wears on you over long drives.
I’ve spent the past few months researching seal materials, interviewing restorers, and digging through forums on ClubLexus, the 4Runner subreddit, and BimmerForums to put together a complete DIY guide. Below, you’ll find a systematic approach that takes you from diagnosis to a finished fix, plus the maintenance habits that keep the noise from coming back.
Table of Contents
- What Causes Wind Noise Around Car Doors
- How to Identify the Source of Wind Noise
- Tools and Materials You’ll Need
- Step-by-Step Guide: Replacing Door Weather Stripping
- Alternative DIY Fixes That Actually Work
- Sound Deadening: A Complementary Solution
- OEM vs Aftermarket Seals: How to Choose
- Maintenance and Prevention Tips
- When to Call a Professional
- Frequently Asked Questions
- Conclusion
What Causes Wind Noise Around Car Doors
Wind noise around car doors comes from air sneaking through gaps that should be airtight. When your vehicle moves, air pressure builds around the door shell and tries to escape into the cabin. If any seal has hardened, shrunk, torn, or shifted out of position, that air whistles or roars through the opening.
The most common culprits are worn weather stripping, misaligned door latches, and missing or crushed secondary seals. On a five-year-old vehicle, the rubber on the door frame often starts to lose flexibility. On older restorations, the felt-lined channels around frameless windows can compress so much that they no longer contact the glass.
Common leak points to check first
- The main door-to-body weatherstrip along the top and back of the frame
- The belt molding or inner seal at the door’s top edge
- The door wedge or “belt” pieces at the front and rear corners
- The B-pillar and A-pillar seals where the door meets the fixed body
- The lower door skin where it meets the rocker panel
Why it gets worse at highway speeds
Aerodynamic noise scales with the square of your speed, so what sounds like a faint whistle at 45 mph can turn into a roar at 70 mph. Even a hairline gap that doesn’t bother you in town becomes a problem on the highway. This is why so many owners first notice the problem on long road trips — the noise wasn’t there before because they never drove that fast for that long.
How to Identify the Source of Wind Noise
Before you buy a single part, you need to know where the leak actually is. Wind noise loves to play tricks — fixing one gap often makes another one more obvious, because your brain was previously filtering it out. A systematic diagnosis saves hours of guessing.
Visual inspection checklist
Start with the door closed and the window up. Walk around the vehicle with a flashlight and look at every seal edge. You’re hunting for:
- Cracks, splits, or flattened sections in the rubber
- Pulled-away adhesive on self-stick seals
- Seals that no longer meet the opposing surface when the door is closed
- Paint transfer or wear marks indicating the door has sagged
Open and close each door slowly. Listen for any hiss that changes as the latch catches. If the door needs a slam to seal, the latch striker is probably out of adjustment.
The smoke test method for finding leaks
One trick mechanics use is the smoke test. Close all doors and windows, then hold a lit incense stick or a vape pen near each seal joint while a helper watches from inside the cabin. Wherever smoke gets pulled in, that’s your leak. It works at idle because the cabin pressurizes slightly when the HVAC fan runs on high.
Road test at different speeds
If you can’t reproduce the noise in the driveway, take the car on the highway. Note the exact speed where the noise starts and where it changes pitch. If it disappears above 75 mph, you may have a vortex issue rather than a leak. If it gets louder the faster you go, you’ve got a real air path somewhere.
Tools and Materials You’ll Need
Most of the work requires tools you probably already own. I keep a dedicated kit in a small toolbox so I can pull it out whenever a seal needs attention.
Essential tools
- Plastic trim removal tools (avoid metal — they cut weatherstrip)
- A roll of painter’s tape and a Sharpie
- Isopropyl alcohol and clean microfiber cloths
- A 3M Scotch-Brite pad or fine scuff pad
- A heat gun or hair dryer (for softening old adhesive)
- A small pry bar or hook tool for removing door panels if needed
Materials breakdown
- Replacement weather stripping (profile-matched to your vehicle)
- 3M 08090 adhesive or equivalent high-tack weatherstrip adhesive
- Silicone spray or rubber conditioner
- Grease and wax remover for prep work
- Butyl tape or extra adhesive promoter if installing on bare metal
Step-by-Step Guide: Replacing Door Weather Stripping
This is the core fix that solves most wind noise complaints. Take your time with prep — it determines whether the new seal will actually bond.
Step 1: Remove the old weather stripping
Start at the top center of the door frame. Pull slowly and evenly so you don’t crack any paint. If the adhesive fights you, warm it gently with the heat gun on low. Don’t yank — the paint underneath is part of your seal’s mating surface, and a chip here becomes a rust spot later.
Step 2: Clean and prep the surface
Wipe the channel with grease and wax remover first to remove any oily residue. Follow with isopropyl alcohol to get the surface truly dry. Lightly scuff the bonding area with the Scotch-Brite pad so the adhesive has tooth. Wipe again, then let it flash off for a few minutes.
Step 3: Dry-fit the new seal
Before any adhesive touches the car, lay the new seal in position. Most pieces have a “starting point” molded into them — line that up with your door’s reference mark. Confirm the corners wrap correctly and the ends meet without a gap. If anything looks off, return the part.
Step 4: Apply adhesive and install
Apply a thin bead of 3M adhesive to the channel — too much is worse than too little, because squeeze-out won’t stick to anything but your fingers. Press the seal into place starting at the top center and work outward in both directions. Keep even pressure for 60 seconds per section so the adhesive grabs.
Step 5: Test the fit
Close the door gently. It should latch with the same effort as before — no harder, no softer. If you have to slam, the seal is too thick or the door has shifted. Open the door and check for uniform compression marks along the entire seal. Any spot without a mark is a leak waiting to happen.
Alternative DIY Fixes That Actually Work
Sometimes you don’t need a full replacement. These methods have earned solid reputations across the forums I surveyed.
Silicone spray method
A light coat of silicone spray on existing seals rehydrates the rubber and can quiet minor whistles. It won’t fix cracked or compressed seals, but as a five-minute temporary fix, reviewers report it works surprisingly well. Wipe excess off paint and glass immediately.
AT-205 reseal technique
AT-205 is a rubber rejuvenator that penetrates dried-out seals. Apply it with a brush, let it soak overnight, and wipe off the excess. On seals that have gone stiff but aren’t physically damaged, it can restore enough flexibility to close small gaps. Don’t use it on foam-filled seals — it dissolves the foam.
Foam pipe insulation tape
Several Nissan and Xterra owners swear by foam pipe insulation tape as a temporary fix for the top-of-door wind noise. Cut it to length, peel the backing, and stick it along the door’s upper edge. It’s cheap, available at any hardware store, and lasts a season or two. It’s not pretty, but it works.
The rope trick
For a frameless-window car (Miata, certain BMWs), a length of weatherstrip rope tucked into the seal channel can take up slack from compression set. Pull the old seal slightly, lay the rope behind it, and reinstall. This compresses the seal just enough to contact the glass without overstressing it.
Sound Deadening: A Complementary Solution
Sound deadening material doesn’t stop air leaks — only sealing does — but it transforms the cabin acoustics once you’ve fixed the airflow problem. Closed-cell foam mats and constrained-layer damping sheets absorb panel resonance, so what little wind noise remains becomes a dull hush instead of a roar.
Apply damping material to the inner door skin after you’ve removed the panel. Cover at least 25% of the surface for noticeable improvement, and pay extra attention to the outer skin where air passes right behind it. Several forum threads on ClubLexus and BimmerForums confirm that pairing a proper seal with sound deadening gives a quieter cabin than either fix alone.
OEM vs Aftermarket Seals: How to Choose
The big debate in every forum I read comes down to OEM versus aftermarket. Both can work, but they have trade-offs worth understanding.
Material types explained
EPDM rubber handles UV and ozone better than neoprene, which is why most modern OEM seals use it. Neoprene stays flexible in cold weather but breaks down faster in sunlight. TPE (thermoplastic elastomer) is the budget option — fine for a daily driver, but it tends to harden within five years. For classic restorations, period-correct materials often matter as much as fit.
Fit and longevity comparison
OEM seals are molded to the exact door profile, so the fit is typically trouble-free. Aftermarket seals can be excellent or can require trimming and adhesive tricks to seat properly. Several ClubLexus members reported aftermarket pieces that fit beautifully for two years and then began shrinking; OEM equivalents lasted over a decade. If your car is older and you plan to keep it, OEM is usually worth the search.
Maintenance and Prevention Tips
A seal that gets five minutes of attention twice a year will outlast one that’s ignored for a decade. The trick is consistency, not products.
Cleaning routine
Wipe each seal with a damp microfiber cloth monthly. Avoid petroleum-based cleaners, which dry rubber out. A spritz of silicone conditioner every three months keeps the surface supple without attracting dust.
Seasonal maintenance
Before winter, check every seal for cracking — cold air magnifies tiny gaps. Before summer, lubricate the door latches and hinges so the door closes without a slam that stresses the weatherstrip. Twice a year is enough; more often is wasted effort.
When to Call a Professional
If your diagnosis shows that the door itself has shifted on its hinges, or if the noise persists after a proper seal replacement, it’s time to visit a body shop. Door alignment affects every seal in the system, and small adjustments require shims and a measuring fixture that most home mechanics don’t have. The same goes for water leaks that accompany wind noise — if you see damp carpet or fogging glass, a pro should pressure-test the cabin before you chase seals on your own.
Frequently Asked Questions
How can I make my car doors close quieter?
Clean and lubricate the weather stripping with silicone conditioner, check that the door latch striker is properly adjusted, and replace any seals that have hardened or cracked. A door that needs a slam to close usually has a misaligned striker rather than a seal problem.
Do car wind deflectors reduce noise?
Wind deflectors redirect airflow away from the side windows, which can cut wind noise at highway speeds. They work best when paired with intact weather stripping rather than as a substitute for it.
Can weather stripping block door noise?
Yes. Fresh weather stripping creates an airtight seal between the door and the body, which blocks the air leaks that cause wind noise. Worn or compressed seals are the single most common reason wind noise appears in older vehicles.
How long does weather stripping last before needing replacement?
Most EPDM seals last eight to twelve years with basic care. Neoprene may need replacement sooner, and TPE often hardens within five years. Cars kept outdoors in direct sunlight age seals faster than garage-kept vehicles.
Why does wind noise seem worse at highway speeds?
Aerodynamic noise scales with the square of your speed, so a small gap becomes much louder as you accelerate. Wind noise that appears only above 60 mph usually points to a real air leak somewhere along the door frame or B-pillar.
Conclusion
Stopping wind noise around car doors comes down to finding the leak, prepping the surface properly, and fitting the right seal. Start with a careful visual inspection, use the smoke test to confirm suspect areas, and replace any weather stripping that has hardened or cracked. Pair the new seal with basic seasonal maintenance, and you’ll likely keep the cabin quiet for the next decade.
For most drivers, learning how to stop wind noise around car doors is a weekend project that pays back every mile afterward. If your diagnosis points to a misaligned door or a leak you can’t trace, bring it to a professional before spending on parts — the right diagnosis always beats the right product.