
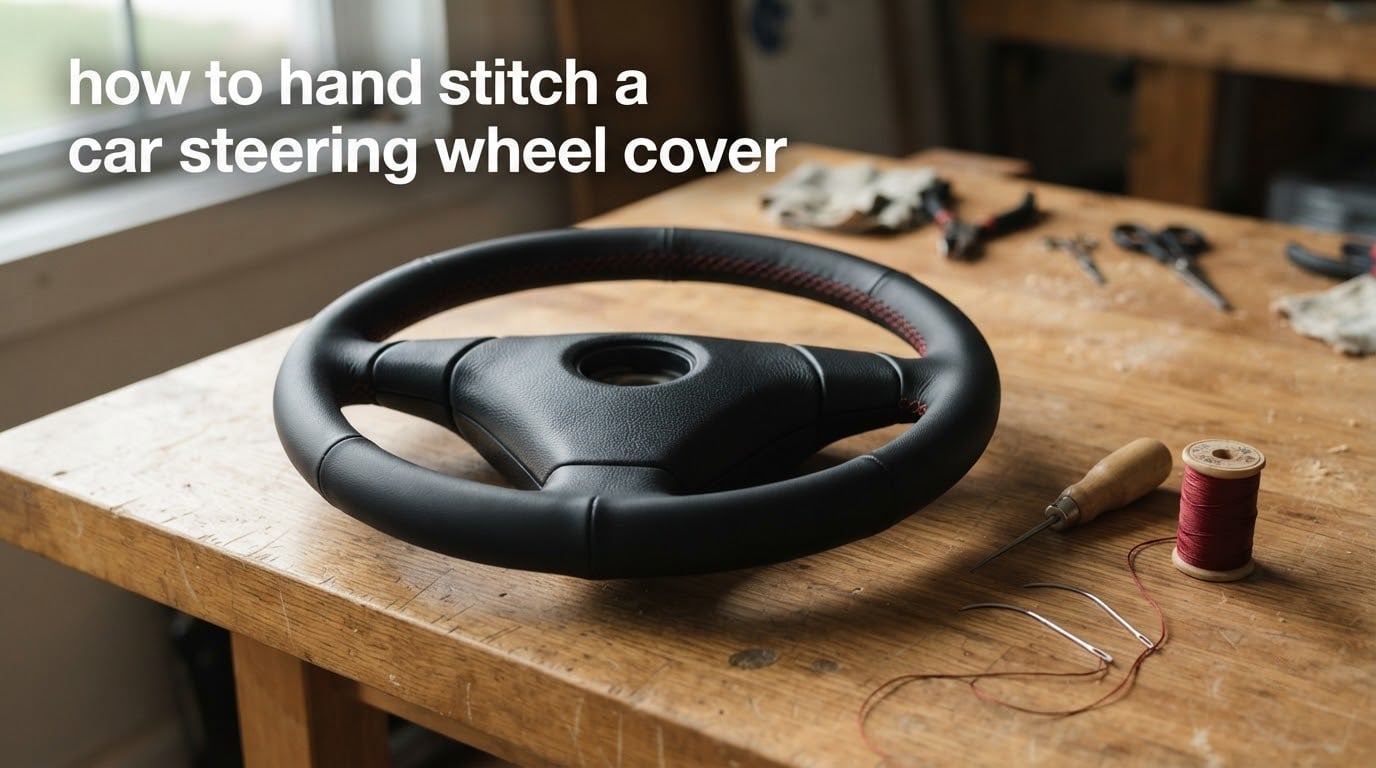
If you want to know how to hand stitch a car steering wheel cover, the short answer is this: measure the rim, cut a leather panel, punch evenly spaced stitch holes with an awl, and work a two-needle saddle stitch around the seam while pulling the leather snug onto the wheel.
I learned this the slow way during a winter project on my own daily driver, and I have rebuilt torn seams, blown-out stitch holes, and puckered gussets more times than I would like to admit. This guide walks you through the entire process from the first tape measure reading to the final conditioning coat, with the safety warnings and troubleshooting tips that no video tutorial ever shows you.
By the end, you will know which tools actually matter, which leather thickness fits a real production wheel, and how to keep the airbag deployment zone clear so your finished cover never causes an SRS fault. Let us get into it.
Table of Contents
- What Is a Hand-Stitched Steering Wheel Cover
- Tools and Materials You Will Need
- Choosing Your Leather and Thread
- How to Hand Stitch a Car Steering Wheel Cover: Step by Step
- Choosing Your Stitch Pattern
- Installing the Finished Cover Safely
- Troubleshooting: Common Failures and Fixes
- Frequently Asked Questions
- What is the best stitch pattern for stitching a steering wheel cover?
- How to install a stitch on a steering wheel cover?
- How much does it cost to stitch a car steering cover?
- What material is best for a steering wheel cover?
- What kind of thread is used for steering wheels?
- Is it illegal to have steering wheel covers?
- How to make a steering wheel cover tight?
- How long does it take to hand stitch a steering wheel cover?
- Final Thoughts
What Is a Hand-Stitched Steering Wheel Cover
A hand-stitched steering wheel cover is a custom leather or vinyl wrap sewn directly onto the rim with a saddle stitch rather than slipped over it like a universal elastic cover.
The difference matters. A slip-on cover stretches to fit and slips back the moment you torque the wheel hard. A hand-stitched cover is trimmed, pre-punched, and tensioned onto the wheel by the stitches themselves, so it grips the changing radius at each spoke and stays put under hard driving.
Mechanically, a hand-stitched seam is also stronger than the lockstitch a sewing machine leaves behind. Two needles pass through the same hole with one continuous thread, so if either thread breaks the other holds the seam together. A machine lockstitch unravels the moment either thread lets go. That is why serious leatherworkers, saddle makers, and trim shops still hand-stitch every steering wheel cover that leaves their bench.
Two practical situations usually push people toward this project. The first is a worn or peeling OEM rim where the foam is fine but the factory leather has cracked and is shedding. The second is a custom interior colour scheme where the only way to match the seat stitching is to build the cover yourself with the same thread and the same hide.
Tools and Materials You Will Need
Every text competitor assumes you already own a leatherwork bench. In reality, almost nobody does on their first project, so this is the part where beginners lose the most time hunting for kit lists.
Here is the exact tool set I keep on my bench for a steering wheel cover build.
Essential tools
- Stitching awl with a diamond-point or scratch awl blade for piercing clean, even holes in 0.8mm to 1.0mm leather
- Two sharp curved needles (also called harness needles or glovers needles) sized for your thread
- Waxed polyester thread, size 0.6mm to 0.8mm, in your chosen colour
- Stitching chisel or pricking iron with 4mm to 5mm pitch for marking hole spacing on long seams
- Self-healing cutting mat and a sharp swivel knife or heavy shears for cutting panels
- Edge beveler for rounding the top and bottom corners of every stitched seam
- Edge creaser set 4mm from the edge to mark a parallel stitch line
- Rubber mallet for tapping your awl through thicker back panels without splitting the leather
- Wooden burnisher or canvas cloth for slicking edges after sanding
- Masking tape or painter’s tape to hold seam allowances in place while you stitch
Materials
- Top-grain leather in vegetable-tanned or chrome-tanned finish, 0.8mm to 1.0mm thick for the face panels
- Lining leather at 0.5mm to 0.6mm for the back side that touches the OEM rim
- Contact cement rated for leather-to-leather bonds
- Leather conditioner with UV protection for the post-install coat
- Card stock or kraft paper for the template
A common beginner mistake is to buy a generic leather punch instead of a stitching awl. A punch stamps a clean round hole but it crushes the fibres around the hole, so the leather tears the first time you pull a stitch tight. An awl parts the fibres instead of crushing them, which is why every saddlery shop uses one.
Choosing Your Leather and Thread
Pick your leather and thread before you cut a single template. Material choice drives every measurement downstream.
Top-grain leather in the 0.8mm to 1.0mm range is the sweet spot for steering wheel covers. Heavier than 1.2mm and the cover will not bend smoothly around the tight radius at the spokes, so you will end up with visible wrinkles at 9 and 3 o’clock. Thinner than 0.7mm and the leather stretches under tension and feels cheap against the palm.
Nappa leather is the softest option and the most comfortable for daily driving, but it scuffs faster than a tight-grained top-grain hide. Perforated leather breathes well in hot climates but adds an extra cutting and punching step because every hole has to be aligned through both the face and the lining.
Waxed polyester thread is the standard. It resists UV exposure, holds dye evenly, and the wax coating keeps the thread from snagging as you pull each stitch tight. Bonded nylon is cheaper but it fuzzes after a year in the sun. Linen thread looks beautiful on a show car but it rots if you ever use a leather conditioner with a heavy oil base, so save it for indoor builds.
For colour, contrast thread on a dark wheel makes the stitching pop and hides small inconsistencies in stitch spacing. Tone-on-tone thread reads as a premium factory finish but every skipped or uneven stitch becomes obvious. If this is your first cover, contrast thread in a slightly lighter shade is forgiving.
How to Hand Stitch a Car Steering Wheel Cover: Step by Step
Plan on a full weekend for a first build, and double that if you have never run a saddle stitch before. The cutting is fast. The stitching is the long, patient part.
Step 1: Measure the rim and build a paper template
Wrap a flexible measuring tape around the outside circumference of the wheel at the centre of the rim, then measure the width from spoke to spoke on both sides. Most production wheels land between 36cm and 38cm in diameter, so the circumference usually sits between 113cm and 120cm.
Transfer those numbers onto card stock, add a 5mm seam allowance on every edge, and cut your paper template. Test-fit the paper around the wheel before you touch the leather. If the paper wrinkles at a spoke or the seam lands on a thumb rest, redraw it.
Step 2: Cut the leather panels
Lay the template on the back (flesh) side of the hide and trace it with a silver pen or scratch awl. Cut slowly with a sharp swivel knife for curves and heavy shears for straight runs. A dull blade stretches the leather and you will fight that stretch for the rest of the build.
Step 3: Skive and prepare the edges
Skive (thin) the seam allowances down by half on every panel that will overlap another panel. Run the edge beveler over both sides of every seam, then slick the edges with a wooden burnisher until they have a slight gloss. Prepped edges make the finished cover look factory-built rather than homemade.
Step 4: Mark and punch the stitch holes
Set your stitching chisel to a 4mm to 5mm pitch and run it along the marked stitch line on a hard, flat surface. Even spacing is the single biggest predictor of how professional the finished seam looks, so take your time here.
Once the chisel marks are in place, pierce each mark with your stitching awl at a consistent 20-degree back-lean. The back-lean lets the stitch lock into the leather instead of slipping out under tension.
Step 5: Glue the panels to the wheel for a test fit
Brush a thin coat of contact cement on the back of each panel and on the corresponding section of the OEM rim. Let it flash off until tacky, then wrap the panels around the wheel and tape the seams together with painter’s tape. This dry run lets you find any puckering or alignment issue before you stitch.
Step 6: Saddle stitch the seam
Cut a length of waxed thread roughly four times the seam length. Thread both needles, anchor the thread at one end with a back-stitch, and work the saddle stitch: pass needle one through the next hole from front to back, pass needle two through the same hole from back to front, then pull both ends even before moving to the next hole.
Pull tension snugly but never aggressively. Over-tensioning compresses the foam core of the wheel (a phenomenon called compression set) and the cover will never sit right again. Lock the seam with two back-stitches at the end and trim both threads flush.
Step 7: Finish the edges and condition the leather
Apply a thin coat of leather edge finish, let it dry, and buff with a soft cloth. Condition the entire cover with a UV-protective leather balm and let it cure for 24 hours before driving.
Choosing Your Stitch Pattern
The stitch pattern you choose changes both the look and the strength of the finished cover. Use the table below to pick the right one for your skill level and the look you want.
| Pattern | Difficulty | Look | Grip feel | Best for |
|---|---|---|---|---|
| Single running stitch | Beginner | Casual, visible | Soft | First practice cover, indoor builds |
| Saddle stitch (two needles) | Intermediate | Premium factory look | Firm | Daily drivers, restored classics |
| Diamond weave | Advanced | Sporty, textured | High-friction | Track day wheels, performance interiors |
| Cross stitch (X-pattern) | Advanced | Decorative, vintage | Medium | Show cars, custom colour schemes |
Saddle stitch is the pattern I recommend for a first real build. It is the technique every saddlery uses, the stitch is mechanically strong on its own, and the rhythm is forgiving once you settle into it.
Installing the Finished Cover Safely
Install the cover onto the wheel with the same dry-fit process you used for the test fit: glue, wrap, tape, then final stitch. The single hardest part of installation is keeping the airbag deployment seam unobstructed.
Never stitch across the burst seam on the back of the steering wheel. The airbag exits through that seam in a fraction of a second, and any thread or seam allowance that crosses it can deflect the airbag or rip under deployment pressure. Leave at least a 25mm gap on either side of the seam and run your binding parallel to it, never over it.
If your car requires you to remove the steering wheel to install the cover, disconnect the battery and wait the manufacturer-specified discharge time before you unplug the airbag connector. Resetting an SRS fault code is a dealer-only job on most vehicles, so the cost of a missed step is real.
Once installed, condition the cover with a UV-protective leather balm and let it cure for 24 hours. Avoid heavy grip pressure for the first week so the leather can settle onto the rim without stretching.
Troubleshooting: Common Failures and Fixes
Every first build hits at least one of these problems. Here is what causes each one and how to recover.
| Problem | Likely cause | Fix |
|---|---|---|
| Stitch holes tearing | Punching with a leather punch instead of an awl, or pulling stitches too tight | Re-pierce holes with an awl, ease off tension, glue a thin lining patch behind torn holes |
| Uneven stitch spacing | Freehand marking instead of a stitching chisel | Unpick the seam, re-mark with a chisel at consistent pitch, restitch |
| Puckering at the spokes | Leather too thick to bend smoothly, or grain direction running against the curve | Skive the seam allowance thinner, rotate the panel so the grain runs parallel to the spoke, warm the leather with a hair dryer before final stitch |
| Thread breaking mid-seam | Needle too small for the thread, or thread snagging on rough hole edges | Switch to a larger needle, lightly bevel the inside of each hole, re-thread and continue from the last good stitch |
| Cover feels loose after install | Seam allowance too generous, or wheel measured on the worn (oversize) rim | Re-measure with the old cover removed, cut a new template with a 2mm tighter allowance, restitch |
Forum builders on the r/Leathercraft community and the long-running EvolutionM thread both flag tension control as the single biggest cause of failed first builds. Pull just snug enough to close the seam, not hard enough to dimple the leather.
Frequently Asked Questions
What is the best stitch pattern for stitching a steering wheel cover?
Saddle stitch is the best all-around pattern for a steering wheel cover. Two needles pass through the same pre-punched hole with one continuous waxed thread, so the seam stays intact even if one thread breaks. Diamond weave offers more grip and a sportier look but it takes longer and is harder to keep even on the curved seams at the spokes.
How to install a stitch on a steering wheel cover?
Glue the cut and pre-punched leather panels to the OEM rim with contact cement, tape the seams together with painter’s tape for a dry fit, then work a saddle stitch along the pre-punched holes. Pull each stitch snug but never hard enough to dimple the leather, and never stitch across the airbag burst seam on the back of the wheel.
How much does it cost to stitch a car steering cover?
A first DIY build usually lands between eighty and one hundred eighty dollars in materials depending on hide quality, plus 6 to 12 hours of labour. Top-grain leather, waxed polyester thread, contact cement, and a leather conditioner make up most of the cost. Mistakes on the first panel often double the hide cost for a beginner, so plan for wastage.
What material is best for a steering wheel cover?
Top-grain leather at 0.8mm to 1.0mm thickness is the best material for a daily-driver steering wheel cover. Nappa is softer but scuffs faster, perforated leather breathes well but adds extra punching work, and synthetic leather is cheaper but does not age as well as a real hide.
What kind of thread is used for steering wheels?
Waxed polyester thread in the 0.6mm to 0.8mm range is the standard for hand-stitched steering wheel covers. The wax coating keeps the thread from snagging as you pull each stitch tight, and polyester resists UV exposure far better than bonded nylon or linen in a sun-heated cabin.
Is it illegal to have steering wheel covers?
In most jurisdictions steering wheel covers are legal as long as they do not obstruct the airbag deployment zone or interfere with steering wheel controls. Stitching across the airbag burst seam on the back of the wheel can deflect the airbag during deployment, which creates a real safety risk even where the cover itself is not illegal.
How to make a steering wheel cover tight?
Re-measure the wheel with the old cover removed so you are not sizing to a stretched rim, cut the template 2mm tighter than the measured circumference, and pull each saddle stitch snug enough to close the seam without dimpling the leather. A cover that loosens after install usually means the seam allowance was too generous or the tension was uneven.
How long does it take to hand stitch a steering wheel cover?
Plan on 6 to 12 hours of hands-on work for a first build, spread across a full weekend. Measuring, templating, and cutting the panels takes 2 to 3 hours. The actual saddle stitch is the long part at 3 to 6 hours depending on seam length and stitch pitch. Finishing, edge burnishing, and conditioning add another hour.
Final Thoughts
Learning how to hand stitch a car steering wheel cover is one of the most satisfying first leather projects you can take on, and the skill transfers directly to bags, belts, and saddlery. Take your time on the template, use a stitching awl instead of a punch, and leave the airbag burst seam clear. If this is your first build, expect a weekend of patient work and a finished cover that looks like it left a professional trim shop.