
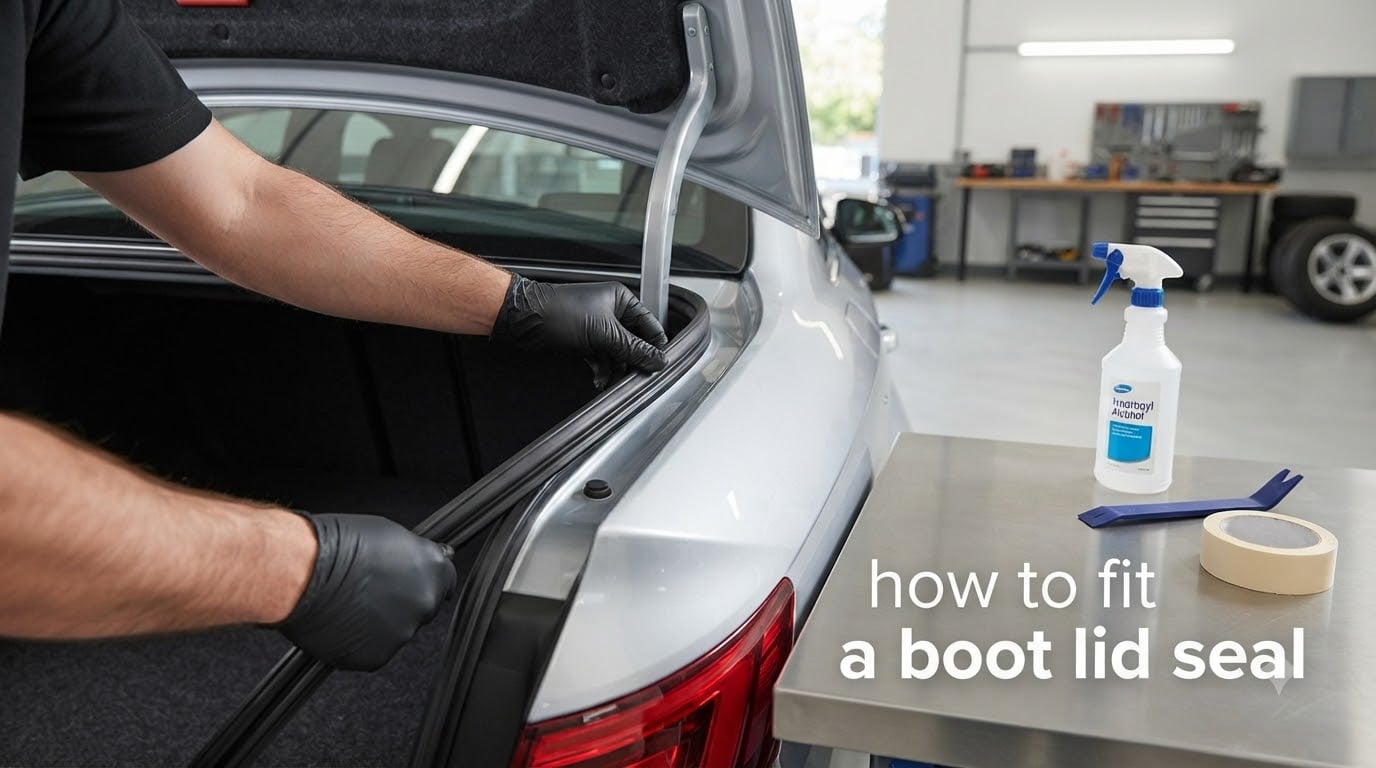
If you have ever opened your trunk after a rainstorm and found a damp carpet or a musty smell, you already know why a good boot lid seal matters. The boot lid seal (also called a trunk seal, trunk lid gasket, or weatherstrip) is a continuous rubber gasket that runs around the perimeter of your trunk opening. When the lid closes, that gasket compresses and creates a watertight barrier that keeps rain, dust, road grime, and exhaust fumes out of the cargo area and cabin.
In this guide, I will walk you through how to fit a boot lid seal the way our team has done on dozens of customer cars over the years. We will cover how to spot the symptoms of a failing seal, which tools you actually need, how to remove the old gasket without scratching the paint, the great debate about adhesive versus friction fit, and how to test the finished job so you never deal with a wet trunk again.
Table of Contents
- What Is a Boot Lid Seal and Why It Matters
- How to Fit a Boot Lid Seal: Quick Overview
- Symptoms of a Failing Boot Lid Seal (and How to Diagnose the Leak)
- Tools and Materials You Will Need
- Removing the Old Boot Lid Seal
- Cleaning and Prepping the Installation Channel
- Installing the New Boot Lid Seal: Step by Step
- Testing and Verifying the New Seal
- Frequently Asked Questions
- Final Thoughts and Preventative Maintenance
What Is a Boot Lid Seal and Why It Matters
A boot lid seal is a continuous rubber weatherstrip that sits in a channel around the trunk opening (or in some vehicles, around the lid itself). When you close the boot, the lid presses down on the gasket and the rubber compresses to form a tight seal. Most modern seals are made from EPDM rubber, which resists UV, ozone, and temperature swings far better than older natural rubber compounds.
A working seal protects more than just your groceries. On many cars, the trunk houses the battery, the navigation drive, the audio amplifier, the tire mobility kit, and the spare tire well. A small leak that you ignore for a season can rot out a sound system or corrode a battery tray. A good seal also quiets the cabin by blocking road and wind noise from the rear.
How to Fit a Boot Lid Seal: Quick Overview
If you only have 60 seconds, here is the short version. To fit a boot lid seal, you remove the old gasket by pulling it out of its channel, clean the channel with isopropyl alcohol, then press the new seal into place starting at the centre of the lid and working around in both directions. Use 3M black adhesive if your service manual calls for it, or rely on a friction fit if it does not. Compress the seal as you go, leave the joint at the top centre near the latch or gas filler, and let any adhesive cure overnight before closing the boot.
The full step-by-step walkthrough is below, along with how to diagnose whether the seal is really the source of your leak.
Symptoms of a Failing Boot Lid Seal (and How to Diagnose the Leak)
Before you buy a new boot lid seal, confirm the gasket is actually the leak source. Reviewers on owner forums report spending hours fitting a new seal only to find water still dripping in from a blocked drain channel or a perished license plate trim gasket. Use this checklist first.
Common Symptoms of a Worn Boot Lid Seal
- Water pooled in the trunk after rain or a car wash
- Musty smell or visible mildew on the trunk carpet or side trim
- Brittle, cracked, or visibly flattened rubber around the trunk opening
- Increased wind noise or road noise from the rear of the cabin
- The boot lid feels harder to close, or does not latch on the first try
- Exhaust fumes reach the cabin through the trunk pass-through
Rule Out Alternative Leak Sources First
Three other spots leak as often as the seal itself. Check them before you order parts.
- Sunroof and tailgate drain channels: leaves and debris clog the small drain holes, and water backs up into the cabin or trunk. Clear with compressed air or a flexible pipe cleaner.
- Tail light gaskets: the foam or rubber gasket behind each tail light housing can harden and let water wick in. Inspect for dampness around the lamp wiring.
- License plate trim or rear hatch trim seals: one forum user with a Mercedes E-Class traced a persistent leak to the license plate trim gasket and fixed it with clear silicone, no new boot seal needed.
If none of those are wet and the rubber on your trunk opening is cracked or squashed flat, the boot lid seal is your culprit.
Tools and Materials You Will Need
You can fit most boot lid seals with a handful of basic tools. Gather everything before you start so you are not running back to the garage mid-job.
- Replacement boot lid seal (OEM part number preferred; measure the old seal length before ordering)
- Plastic trim removal tool or wide flat-blade screwdriver wrapped in masking tape
- Rubber mallet
- Clean microfibre rags
- Isopropyl alcohol (90 percent or higher) or a mild solvent such as pre-paint cleaner
- 3M black weatherstrip adhesive (only if your service manual recommends adhesive)
- Automotive masking tape or painter’s tape
- Small bristle brush for clearing debris from the channel
- Optional: clear vinyl tubing (about 8 mm internal diameter) to reinforce any sections that tend to collapse
One word on adhesive. Do not reach for a generic superglue or a silicone sealant from the hardware store. 3M black adhesive is the product forum users and trim shops keep coming back to because it stays flexible, resists heat, and does not attack EPDM rubber.
Removing the Old Boot Lid Seal
Most old boot lid seals pull out by hand, but a few are glued in at the joint or along the bottom edge. Take your time here; the goal is to get the seal out without bending the metal channel or chipping the paint on the lip.
- Open the boot fully so you have clear access to the entire perimeter. If your boot has cargo cover rails or a parcel shelf, remove them first.
- Locate the joint where the two ends of the old seal meet. This is usually at the top centre of the trunk opening, near the latch striker or the gas filler neck. The joint is where the seal is often glued or vulcanised.
- Use your plastic trim tool (or taped screwdriver) to gently lift the joint away from the channel first. Work slowly. If the seal resists, apply a little heat from a hairdryer to soften old adhesive.
- Once the joint is free, grip the seal with both hands and pull it out of the channel in one continuous motion. Work your way around the perimeter rather than yanking from one spot.
- Inspect the metal channel underneath. Look for bent tabs, old adhesive blobs, rust, or any place where the channel has lost its grip. Straighten any bent tabs with needle-nose pliers.
If your old seal is glued along its length rather than just at the joint, do not panic. Soak a rag in isopropyl alcohol and work it under the rubber as you pull. The alcohol softens most body glues enough to release them.
Cleaning and Prepping the Installation Channel
Most leaks after a new boot lid seal is fitted come from a dirty channel, not a bad seal. Old adhesive, dirt, and corrosion stop the new rubber from seating fully. Spend ten minutes here and save yourself a second removal job.
- Vacuum or brush out loose debris from the channel. A small paintbrush works well for the corners.
- Wipe the entire channel with a clean rag soaked in isopropyl alcohol. Use a back-and-forth motion, not a circular one, and change the rag frequently.
- For stubborn old adhesive residue, use a plastic scraper (never a metal blade on painted metal) and a drop of mild solvent such as pre-paint cleaner.
- Let the channel dry fully for ten to fifteen minutes. EPDM rubber will not bond to a wet channel.
- Inspect the paint around the lip for chips or rust. Touch up any bare metal before fitting the new seal, so water cannot wick under the gasket.
Installing the New Boot Lid Seal: Step by Step
This is the part everyone wants to get right, so work slowly and check your progress every quarter turn. The general rule of thumb our team uses: if the factory installed it with adhesive, use adhesive. If the service manual says friction fit, do not add glue.
Adhesive vs Friction Fit: Which Does Your Car Need?
The honest answer is that it depends on your vehicle. A modern BMW G30 5-Series uses a friction-fit rubber seal with no adhesive at all. A classic Volvo Amazon uses body glue and is taped overnight while it cures. Before you squeeze a tube, check your service manual or a model-specific forum thread.
- Use adhesive when the factory did, or when the new seal sits loosely in the channel and pulls out with light finger pressure.
- Skip adhesive when the seal locks into a tight pinch channel and the manual calls for a press fit. Adding glue to a friction-fit seal makes future removal painful.
Step-by-Step Installation
- Lay the new seal out on a flat surface in the shape of the trunk opening for a few minutes. This relaxes the rubber and prevents immediate shrinkage.
- Locate the joint on the new seal. Some aftermarket seals ship as a single long strip; others come with a pre-moulded corner or a marked cut point.
- Start at the centre of the boot lid edge (or at the joint, whichever your manual specifies). Press the seal into the channel with your thumbs.
- Work outwards from the centre in both directions at the same time. Pulling from one corner first is what causes the seal to stretch and leave a gap at the joint.
- Compress the seal as you go. One forum user on the 6-Pack Car Club forum recommends really making an attempt to compress it as you go around the rim, so the final length matches the channel rather than relying on rubber memory.
- If using 3M black adhesive, apply a thin bead to the channel before pressing the seal in, and tape the seal to the body with automotive masking tape every 15 to 20 cm. Leave the tape on overnight.
- Where the two ends meet, cut both ends cleanly with a sharp blade at a 45-degree angle and butt them together. Do not overlap. A small dab of adhesive on the joint prevents it from shifting.
- If a section of the seal keeps collapsing under its own weight, slip a short length of clear vinyl tubing (around 8 mm internal diameter) inside the rubber at that spot. The tubing acts as a hidden backbone without changing the outside profile.
- Close the boot lid and listen for the latch click. The lid should shut with the same feel it had before, no harder, no softer.
- Run your finger along the closed seam from the outside. You should feel even compression all the way around, with no high spots or gaps at the corners.
- Do a water test. Have someone inside the cabin with a torch aimed at the trunk carpet, while you spray the closed boot with a garden hose for two to three minutes. Focus on the corners and the bottom edge.
- Check the trunk for damp spots. Pay special attention to the battery compartment (if fitted) and the spare tire well, since water collects there first.
- If you find a leak, do not assume the new seal is faulty. Re-check the tail light gaskets, drain channels, and license plate trim first.
Tip: most installers agree the joint should sit at the top centre near the latch or gas filler, where it is least exposed to wind-driven water. A factory-fitted seal often has its joint in this exact spot for the same reason.
Testing and Verifying the New Seal
Do not close the boot and assume the job is done. A five-minute test confirms the seal is doing its job before you load the trunk with shopping or tools.
If you used adhesive, leave the masking tape in place overnight and avoid slamming the boot for 24 hours. The rubber needs that time to settle and recover its shape.
Frequently Asked Questions
Do I need adhesive to fit a boot lid seal?
Only if your vehicle’s service manual calls for it. Most modern cars use a friction-fit rubber seal that sits in a pinch channel, and adding glue makes future removal harder. Use 3M black weatherstrip adhesive when the factory used adhesive or when the new seal sits loosely and pulls out with light finger pressure.
What glue should I use on a car boot seal?
3M black weatherstrip adhesive is the standard choice in trim shops and on owner forums. It stays flexible, resists engine-bay temperatures, and does not attack EPDM rubber. Avoid generic superglue, hot glue, and clear silicone on EPDM seals, as they stiffen the rubber and shorten its life.
Where should the joint of the new seal sit?
Place the joint at the top centre of the trunk opening, near the latch or the gas filler neck. This is the spot least exposed to wind-driven water and matches where most factory seals have their joint. Cut both ends at a 45-degree angle and butt them together without overlap.
How long does a boot lid seal last?
An EPDM rubber seal typically lasts 8 to 12 years before it starts to harden, crack, or take a compression set. Seals in hot climates and cars parked outside year-round tend to fail sooner. Inspect the rubber once a year and clean it with a rubber conditioner to extend its life.
My trunk still leaks after fitting a new seal. What now?
Check the sunroof and tailgate drain channels for blockages, inspect the tail light gaskets for dampness, and reseal the license plate trim area with clear silicone. These three spots leak as often as the boot lid seal itself, and one forum user traced a stubborn Mercedes leak to the license plate trim rather than the trunk gasket.
Can I reuse an old boot lid seal?
Generally no. Once rubber has taken a compression set or hardened with age, it will not spring back to a watertight seal. A used seal from a low-mileage donor car can work in a pinch, but always fit a new EPDM seal if you can. The cost difference is small compared to the cost of water-damaged electronics in the trunk.
Final Thoughts and Preventative Maintenance
Fitting a boot lid seal is one of the more satisfying DIY jobs because the result is immediate and obvious. No more wet trunk carpet, no more musty smell, and the cabin gets noticeably quieter on the motorway. Take your time with the channel cleaning, work the new seal in from the centre outwards, and resist the urge to stretch the rubber to make it fit.
A couple of small habits will double the life of your new seal. Wipe the gasket down with a rubber conditioner or a dilute solution of mild soap and water twice a year. Clear any leaves from the trunk drains at the same time. And if you ever replace a tail light bulb, check the tail light gasket while you are in there. Five minutes of attention each spring saves a Saturday of drying out a soggy trunk later.
That is how to fit a boot lid seal the way our team does it on customer cars, with patience, the right adhesive only when the manual asks for it, and a proper water test at the end. Take it slow, follow the steps, and your trunk will stay dry for the next decade.