
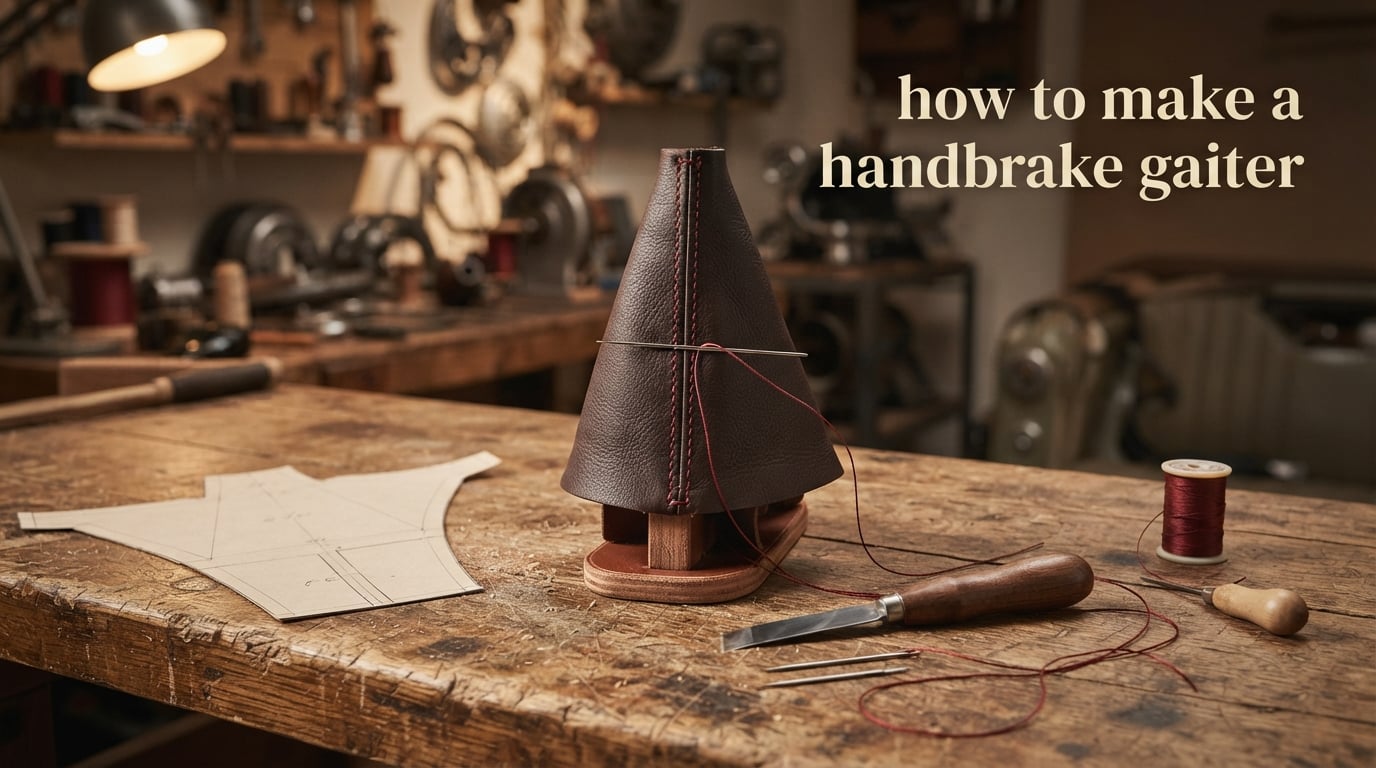
A handbrake gaiter is the leather or suede boot that covers the handbrake lever where it meets the centre console, hiding and protecting the lever pivot. It is a small, usually pattern-specific trim part that clips, stretches or screws onto a plastic frame, base clips or retaining ring, and it is commonly replaced when the original leather cracks, sags or splits.
I wrote this guide because the search results for “how to make a handbrake gaiter” return forum threads and a single made-to-order service page. No dedicated how-to article ranks. That gap is what we are filling here.
In roughly twenty minutes of reading you will know how to remove your old gaiter without snapping clips, draft a pattern, cut and stitch a replacement, and fit it back over the frame. You will also learn when it is smarter to send the job to a specialist trimmer instead.
Table of Contents
- Why You Might Need to Make a Handbrake Gaiter
- Tools and Materials You Will Need
- Identify Your Fixing Method Before You Cut
- How to Make a Handbrake Gaiter (Step by Step)
- Step 1: Remove the Old Gaiter Safely
- Step 2: Make a Paper Template from the Original
- Step 3: Transfer the Pattern to Leather With Seam Allowance
- Step 4: Cut the Panels With Grain Running Vertically
- Step 5: Skive the Seam Edges
- Step 6: Stitch by Hand (Saddle Stitch) or Machine
- Step 7: Fit the Gaiter Back Over the Frame or Console
- Step 8: Finish Edges With Edge Paint and Burnisher
- Common Mistakes and How to Avoid Them
- Repair or Replace: When to DIY and When to Pay a Trimmer
- Making a Gaiter Without an Original to Copy
- Frequently Asked Questions
- Wrapping Up: Your Next Step
Why You Might Need to Make a Handbrake Gaiter
There are four common trigger problems that send car owners looking for a new gaiter. Each one calls for a slightly different approach.
Torn or cracked leather is the most common. Years of hand flex harden the grain and the leather eventually splits along the fold line. A cracked gaiter cannot be patched convincingly because the surface around the tear has already lost its stretch.
Sagging rubber or vinyl is the second trigger. Lower-grade factory gaiters were often rubber or vinyl rather than leather. They sag in summer heat and the wrinkles then telegraph through the centre console.
A broken plastic frame with good leather is the case I see most often on classic cars. The frame cracks at the lever pivot, but the leather itself is still perfectly usable. In that situation you can keep the leather and only replace the frame.
Full interior retrim or restoration is the fourth case. Anyone colour-coding a cabin, matching a new steering wheel, or building a classic back to original spec usually wants the gaiter made from the same hide as the seats and gear gaiter.
Tools and Materials You Will Need
Before you cut anything, lay out every tool on the bench. A missing skiving knife halfway through a build is the most common reason a gaiter ends up looking home-made rather than factory.
Tools Checklist
| Tool | Use | Optional? |
|---|---|---|
| Sharp scissors or round knife | Cutting leather panels | No |
| Skiving knife or French edger | Thinning seam edges | No |
| Rotary hole punch | Belt holes for stitching | No |
| Awl | Marking and starting stitch holes | No |
| Two harness needles (size 18) | Saddle stitch by hand | Yes if using machine |
| Stitching pony or clamp | Holding panels under tension | Helpful |
| Edge beveler | Rounding panel edges | Yes |
| Wooden burnisher | Smoothing and polishing edges | Yes |
| Paper, masking tape, marker pen | Making and transferring template | No |
| Heavy-duty sewing machine | Machine-stitched seams | Alternative to hand stitch |
Materials Checklist
| Material | Specification | Quantity |
|---|---|---|
| Automotive leather | 1.2 to 1.4 mm thick, full grain | One A4-sized piece |
| Lining leather (optional) | 0.8 mm thin, soft | Same size |
| Waxed polyester thread | Tex 90 or bonded nylon UV | One 50 m spool |
| Contact or stitching cement | For skived seams | Small tin |
| Edge paint | Colour-matched to top grain | One small bottle |
| Beeswax or gum tragacanth | For burnishing | Small block |
| Replacement plastic frame | Pattern-specific to your car | One |
Material Comparison: Leather vs Alcantara vs Vinyl
| Material | Grip | Durability | Difficulty |
|---|---|---|---|
| Automotive leather (1.2-1.4 mm) | High | 10+ years | Medium |
| Alcantara or suede | Highest | 8 to 10 years | Medium-high |
| Vinyl (proper automotive grade) | Medium | 5 to 7 years | Low |
| Furniture or upholstery leather | Medium | Stretches within months | Low |
Avoid furniture or upholstery leather. Reviewers on classic-car forums warn repeatedly that furniture-grade hides stretch out of shape within months under the heat of a cabin. Automotive leather is vegetable-tanned and finished to a tighter tolerance, which is why it holds its shape around the lever pivot.
Identify Your Fixing Method Before You Cut
Every car fixes its handbrake gaiter to the centre console in one of five ways. Identify yours before you cut any leather, because the template shape and the seam positions both depend on the fixing method.
Plastic Frame
The most common type. A rigid plastic frame sits at the top of the lever pivot. The gaiter stretches over the frame and is held by friction. You will see the gaiter lip disappear under a circular plastic ring.
Base Clips
Small plastic clips push into the console at the base of the gaiter. Common on Vauxhall, Ford and older BMWs. Pull straight up; the clips release with an audible click if you have not already broken them.
Knob-End Retaining Ring
Premium manufacturers (Audi, Mercedes, Porsche) often use a ring that screws or clips over the gaiter top, hiding the seam completely. Removing the ring usually requires a trim tool, not a screwdriver.
Rubber Band Friction Fit
Some British classics (MG-Rover era) hold the gaiter with a simple rubber band wrapped around the base. Roll the gaiter up off the handle and the band releases.
Sewn Into the Tunnel Mat
A small number of cars (some Alfa Romeo and Lancia models) have the gaiter physically sewn into the rubber tunnel mat itself, with twenty or more rubber plugs securing the boot. In this case the gaiter is part of the mat, not a separate trim part.
How to Make a Handbrake Gaiter (Step by Step)
This is the main build. Eight steps, in order. Read through all eight before you start so you understand how each step feeds the next.
Step 1: Remove the Old Gaiter Safely
Work on a dry day with the handbrake fully released. Slide the front seats forward and tilt the steering column down for clearance.
If your car uses base clips, prise the gaiter straight up with a plastic trim tool. A flat-bladed screwdriver will snap the clips, so do not use one. If your car uses a knob-end retaining ring, locate the ring’s release tab (usually at six o’clock from the driver’s seat) and depress it with a pick.
If the gaiter is screwed to a console base, undo the two Torx screws hidden under rubber bungs at the base. They are easy to miss if the bungs are filled with debris.
Roll the gaiter up off the handle as you lift. Forcing it sideways tears the leather at the seam line. The gaiter should slide off with light, even upward pressure.
Step 2: Make a Paper Template from the Original
Lay the removed gaiter flat, seam side up. Carefully unpick one seam with a seam ripper so you can flatten the panel without distortion.
Place the flattened panel on paper and trace around it with a marker. Mark the grain direction with an arrow. Mark every fixing hole, notch and corner with a small cross.
If you cannot unpick a seam without destroying the gaiter (the leather is too fragile), wrap the gaiter in cling film and trace around it while it is still three-dimensional. Add a vertical centre line as a reference.
Step 3: Transfer the Pattern to Leather With Seam Allowance
Place the paper template on the back (flesh side) of your leather. Add 5 to 6 mm of seam allowance on every edge that will be stitched. Mark the grain direction arrow on the leather so it matches the template.
Cut the panel out with sharp scissors or a round knife. Keep the cuts clean; ragged edges are difficult to skive and impossible to hide.
Step 4: Cut the Panels With Grain Running Vertically
Grain direction is the single biggest reason a finished gaiter looks factory or amateur. The grain must run vertically around the lever, not horizontally.
If you cut the panel with the grain running around the cone instead of up the cone, the gaiter will stretch sideways after a few weeks in the car and the seam will pucker.
Check the back of the hide for the visible fibre direction before you cut. Mark the grain arrow on every panel.
Step 5: Skive the Seam Edges
Skiving means thinning the leather at the seam so two thinned edges pressed together sit flat, not lumpy. Skive both seam edges down to roughly half thickness over a 5 mm strip.
Apply a thin coat of contact cement to both skived surfaces, let it tack off, and press them together. This is the bond that carries the load once stitched.
Step 6: Stitch by Hand (Saddle Stitch) or Machine
Saddle stitch is two needles on one thread, each needle passing through the same hole from opposite sides. If one stitch breaks, the rest of the seam holds. A lock-stitch machine seam unravels completely when a single stitch fails.
Use two harness needles (size 18) and waxed polyester thread. Lock each end with a back-stitch of three holes.
If you are using a machine, use a walking foot industrial machine with a leather needle. A domestic machine will struggle with 1.2 mm leather at the seam intersections.
Step 7: Fit the Gaiter Back Over the Frame or Console
Wet-fit the gaiter (a light mist of water allows the leather to stretch and then dry tight). Slide it over the lever from the top down.
Seat the base first, then ease the top over the frame. Pull evenly around the circumference; pulling from one side twists the seam.
If you are using base clips, listen for the click as each clip seats. If you are using a retaining ring, rotate the ring until the tab lines up with the release slot and press it home.
Step 8: Finish Edges With Edge Paint and Burnisher
Apply two to three thin coats of edge paint to all visible cut edges, sanding lightly with 1000-grit between coats.
For a natural finish, dampen the edge with water and burnish hard with a wooden burnisher dipped in beeswax or gum tragacanth. The friction heats the collagen and the edge takes on a polished, dark sheen.
The finished gaiter should sit in the console with no visible twist, no puckered seam, and no daylight between the gaiter lip and the console surround.
Common Mistakes and How to Avoid Them
These are the five mistakes I see most often on first builds. Each one is well documented in owner forums.
Using Furniture Leather
Reviewers on a Corvette retrim thread warn that furniture leather stretches within months and the gaiter goes slack. Always specify automotive-grade leather at 1.2 to 1.4 mm.
Cutting on the Bias
The bias is any direction that is not parallel or perpendicular to the grain. Bias-cut leather stretches. Cut with the grain running vertically around the lever.
Over-Tight Thread Tension
Over-tight thread on a saddle stitch pulls the seam into a curve. Tension should be just enough to lay the thread flat in the stitch hole. If you can see the leather between stitches, it is too loose.
Forgetting Seam Allowance
Every stitched edge needs 5 to 6 mm of seam allowance. If you cut to the final line without allowance, you have nothing to sew into and the seam will pull apart.
Wrong Grain Direction
If the grain runs horizontally, the gaiter stretches sideways and the seam puckers within weeks. Mark the grain on the template and on the panel before you cut.
Repair or Replace: When to DIY and When to Pay a Trimmer
Not every gaiter needs a full rebuild. The right decision depends on what has actually failed.
Re-Stitch a Torn Gaiter
If the leather is sound but the stitching has given up at one seam, unpick the failed seam, re-skive the edges and re-stitch. This is a one-hour repair and worth doing before considering a full replacement.
Replace Just the Plastic Frame
If the leather is fine but the plastic frame has cracked, you only need a new frame. Many specialists sell pattern-specific frames for popular models. Keep the original gaiter and fit it to the new frame.
Replace the Whole Gaiter
If the leather is cracked, hardened or torn across multiple seams, replace the whole gaiter. This is the case where a DIY build pays off because a specialist will charge more for the labour than the materials cost you.
Send to a Specialist Trimmer
If your gaiter is sewn into the tunnel mat, or if you want a hide-matched set with the gear gaiter cut from the same piece, send the job to a trimmer who works by post. You send your original gaiter (or photos if the original is missing) and they return a made-to-order replacement.
Making a Gaiter Without an Original to Copy
If your original gaiter is missing or too destroyed to use as a pattern, you can still draft one. The trick is to build the geometry up from measurements rather than from an existing part.
Measure the Lever and Surround
Measure the lever height from the pivot to the button. Measure the surround diameter at the base and at the top. Note the fixing type (frame, clip, ring, rubber band or sewn-in).
Calculate the Cone Geometry
A handbrake gaiter is a truncated cone. The cone height equals the lever height plus 10 mm. The base circumference equals the surround diameter times pi. The top circumference equals the smaller fixing diameter times pi.
Draft a Paper Cone and Test Fit
Cut a paper sector with these two radii and the calculated arc lengths. Roll it into a cone, tape it, and hold it over the lever to check the fit. Adjust the sector angle until the cone sits cleanly with no twist.
Transfer With Full Seam Allowance
Once the paper cone fits, flatten it, add 5 to 6 mm of seam allowance on every edge, and transfer to the leather as in Step 3 above. Mark the grain direction with an arrow before you cut.
Frequently Asked Questions
What is a handbrake gaiter?
A handbrake gaiter is the leather or suede boot that covers the handbrake lever where it meets the centre console, hiding and protecting the lever pivot. It is a small, pattern-specific trim part that clips, stretches or screws onto a plastic frame, base clips or retaining ring, and is commonly replaced when the original leather cracks, sags or splits.
How do I remove a handbrake gaiter without breaking the clips?
Work on a dry day with the handbrake fully released. Slide the front seats forward for clearance. If your car uses base clips, prise the gaiter straight up with a plastic trim tool rather than a screwdriver. If it uses a knob-end retaining ring, locate the release tab at six o’clock from the driver’s seat and depress it with a pick. Roll the gaiter up off the handle as you lift; pulling sideways tears the seam line.
What thread and needle should I use to sew a leather gaiter?
Use waxed polyester thread at Tex 90 thickness, or bonded nylon UV thread for cars that sit in strong sunlight. For hand saddle-stitching, use two harness needles size 18. For a machine, fit a leather needle and a walking foot. Domestic machine thread is too thin and will saw through 1.2 to 1.4 mm automotive leather at seam intersections.
Can I sew a handbrake gaiter by hand?
Yes. Hand saddle-stitch is the traditional method and produces a stronger seam than a domestic lock-stitch machine because each stitch is independent. Two needles pass through the same hole from opposite sides, so if one stitch breaks the rest of the seam holds. Budget about two to three hours for a first build at a comfortable pace.
Is it cheaper to replace a gaiter or retrim the whole console?
A handbrake gaiter is one of the cheapest trim parts to make yourself: a single A4 panel of automotive leather, one spool of thread and a few hours of work. A full console retrim involves the console shell, gear gaiter, handbrake gaiter, armrest and often the dashboard strip, so the labour cost is several times higher. If only the gaiter has failed, replace the gaiter. If the surrounding trim is also worn, retrim the whole console for a matched finish.
Wrapping Up: Your Next Step
You now have a complete picture of how to make a handbrake gaiter: identify your fixing method, build a paper template, transfer it to automotive leather with seam allowance, cut with the grain running vertically, skive the seams, saddle-stitch by hand, and fit it back over the frame.
If your gaiter is sewn into the tunnel mat, or you would rather have a hide-matched set with the gear gaiter cut from the same piece, send the job to a specialist trimmer who works by post. For everyone else, the build is well within reach of a careful first-timer with a weekend afternoon.