
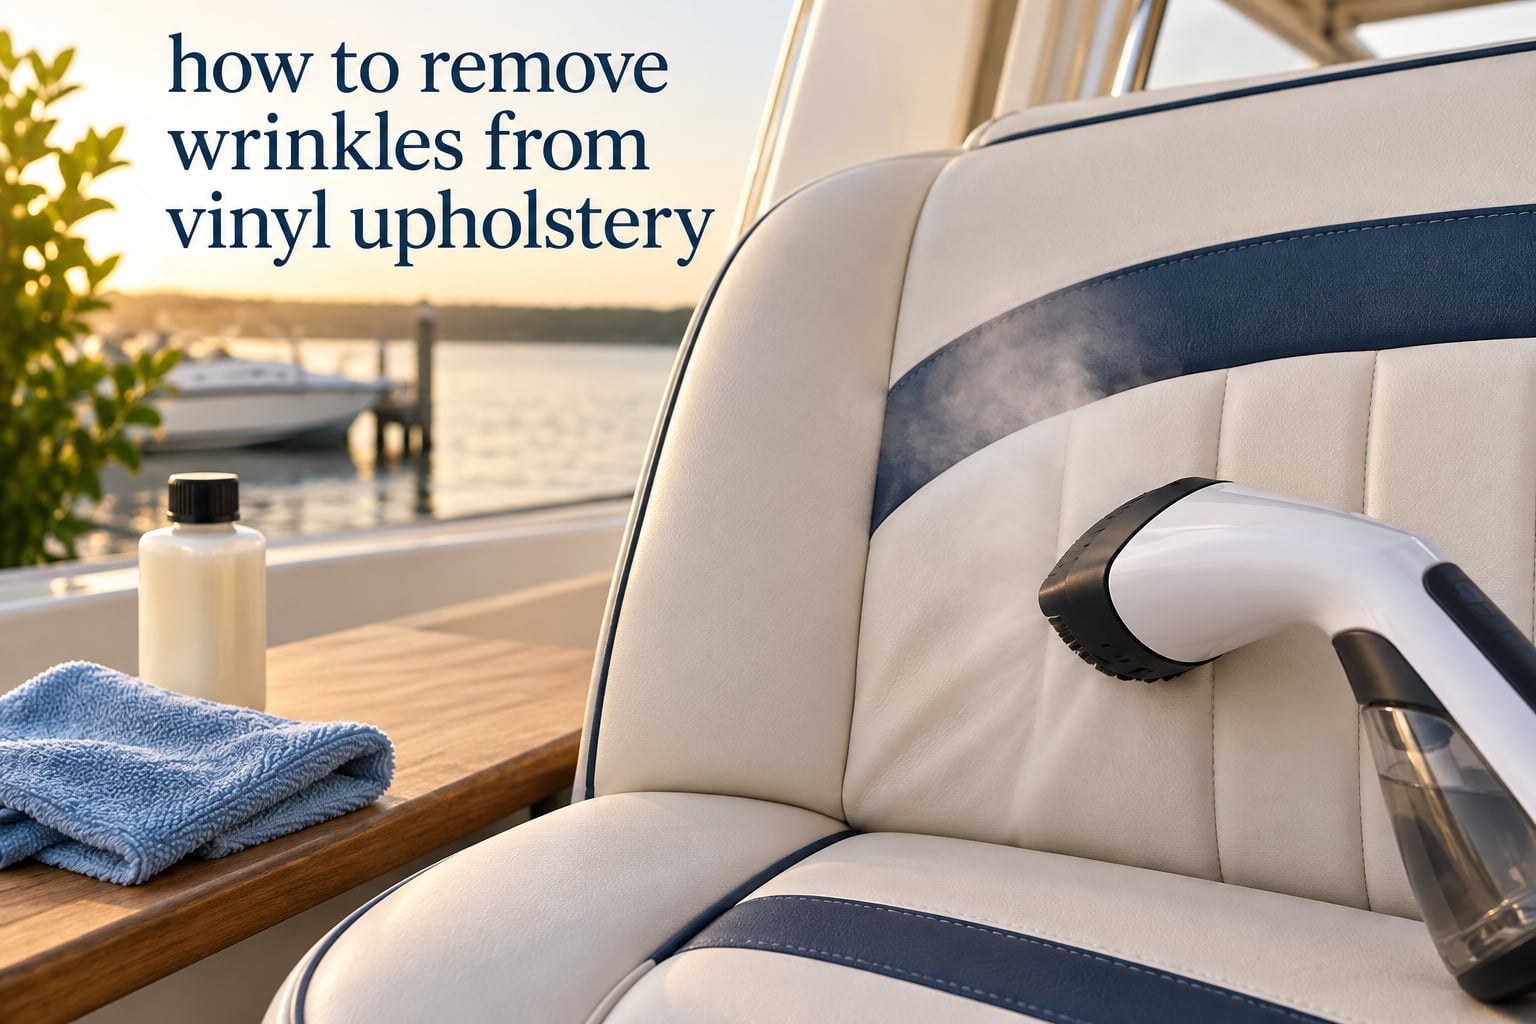
Vinyl upholstery wrinkles are frustrating, especially when they show up the moment you finish installing a fresh seat cover or pull a headliner taut for the first time. I have spent years working with marine vinyl, automotive seat covers and home furniture vinyl, and I can tell you the cause is almost always the same: the material never reached proper tension before it was tacked down. Once you understand that, learning how to remove wrinkles from vinyl upholstery becomes a matter of using the right combination of heat, steam and physical stretch.
This guide covers the three methods I trust most, the safety limits you must respect, and the prevention habits that stop wrinkles from coming back. By the end, you will have a complete workflow that works on car seats, boat cushions, sofas and headliners.
Table of Contents
- Quick Answer: How to Get Wrinkles Out of Vinyl
- Tools and Materials You Will Need
- How to Prepare Vinyl Upholstery Before Treatment
- Method 1: Using a Garment Steamer (Safest Option)
- Method 2: Using a Hairdryer or Heat Gun
- Method 3: Steam and Stretch Combination
- Comparing the Three Methods
- Safety Warnings: What NOT to Do
- When Wrinkles Are Permanent
- Preventing Wrinkles in New Vinyl Upholstery
- Frequently Asked Questions
- Conclusion
Quick Answer: How to Get Wrinkles Out of Vinyl
The fastest way to remove wrinkles from vinyl upholstery is to apply gentle heat or steam while pulling the material tight. Start with a garment steamer held 4 to 6 inches from the surface, work the wrinkles outward with a microfiber cloth, then tack or clamp the material while it is still warm. For stubborn folds, a hairdryer on medium heat works in a pinch. Avoid irons and high-heat guns unless you have experience, because vinyl can melt or become permanently discoloured above 170 degrees Fahrenheit.
Tools and Materials You Will Need
Before you start, gather everything in one place. Rummaging for a tool mid-job is when most vinyl damage happens, because people rush the heat step.
- Garment steamer (preferred) or steam iron with a hose attachment
- Hairdryer with medium and low heat settings
- Heat gun (only for experienced users, on the lowest setting)
- Microfiber cloths, two or three
- Terry cloth towel
- Fabric stretcher or wide-mouth pliers
- Vinyl or leather conditioner (Lexol, mink oil, or a marine vinyl conditioner)
- Mild upholstery cleaner and distilled water
- Spray bottle
- Heat-resistant gloves
- Clamps or tacking staples, depending on the substrate
- Infrared thermometer (helpful but optional)
How to Prepare Vinyl Upholstery Before Treatment
Preparation is the step most DIYers skip, and it is the difference between a clean result and a melted mess. Vinyl holds dust, body oils and old conditioner in its surface texture. When you apply heat, those residues scorch and stain the material permanently. Spend ten minutes on prep and you will save yourself hours of rework.
Vacuum the entire surface with a brush attachment to lift loose debris. Mix a few drops of mild upholstery cleaner with distilled water in a spray bottle, lightly mist a microfiber cloth (never the vinyl directly), and wipe in overlapping circles. Let the surface dry fully for at least thirty minutes before any heat treatment.
While you wait, inspect each wrinkle. Light folds and creases from packaging respond well to steam. Deep, sharp creases that have set over months usually need a combination of stretch and steam. Permanent compression wrinkles, where the vinyl has lost elasticity, will not respond to heat at all and may need replacement.
Method 1: Using a Garment Steamer (Safest Option)
A garment steamer is the tool I recommend for first-timers. It delivers moist heat at a safe temperature and gives you a wide margin for error. Steam relaxes the plasticizers inside vinyl without scorching the surface, which is why upholsterers reach for it when working on marine vinyl and high-end automotive interiors.
- Hang or lay the vinyl piece flat if possible, with the back side accessible.
- Fill the steamer with distilled water and let it heat to full steam for two minutes.
- Hold the steamer head 4 to 6 inches from the vinyl. Never touch the surface.
- Move the steamer slowly along the wrinkle line in one direction, not back and forth.
- Use a clean microfiber cloth in your free hand to gently smooth the wrinkle outward from the centre.
- Keep the cloth moving so it never sits on one spot long enough to trap heat.
- Once the wrinkle relaxes, reposition the vinyl under light tension and tack or clamp it in place.
- Let the material cool completely before removing the clamps. Cooling sets the new shape.
If you are working on an installed seat cover, you cannot lay it flat. Instead, work in small sections. Steam one panel, smooth with your hand protected by a microfiber glove, and move on. Do not try to steam an entire seat in one pass or the earlier sections will cool and re-wrinkle before you finish.
Method 2: Using a Hairdryer or Heat Gun
Dry heat works faster than steam but carries more risk. A hairdryer is the safer choice. A heat gun is a specialist tool that can produce beautiful results in skilled hands and a melted disaster in beginner hands. Use it only when you have tested the method on a scrap piece first.
Hairdryer Method
- Set the hairdryer to medium heat and low airflow.
- Hold the nozzle 6 to 8 inches from the vinyl and keep it moving in slow circles.
- As the vinyl warms and softens, use your free hand (wearing a heat glove) to pull the wrinkle outward.
- Continue heating for 30 to 45 seconds per section. If you smell vinyl, stop immediately.
- Clamp or tack the warm section in its stretched position and let it cool fully.
Heat Gun Method (Experienced Users)
- Set the heat gun to its lowest setting, ideally around 200 to 250 degrees Fahrenheit if your model displays temperature.
- Keep the nozzle at least 8 inches from the vinyl and never stop moving.
- Sweep the gun in long, even passes, never lingering in one spot.
- Work the wrinkle with a terry cloth towel in your other hand, pulling the material taut as it warms.
- Apply vinyl conditioner once the surface cools to restore plasticizers lost to heat.
A word of caution from the forums. A poster on r/upholstery shared that a heat gun turned soft wrinkles into permanent creases when held too close during re-stretching. Treat the heat gun like a blowtorch: respect the distance, keep it moving, and never use it on cold vinyl that has been stored below 50 degrees.
Method 3: Steam and Stretch Combination
When wrinkles refuse to budge with steam alone, the issue is usually mechanical, not thermal. The vinyl needs to be physically tensioned across the frame before heat can lock in a smooth finish. This is the method professional upholsterers use on boat seats and classic car interiors, and it is the one the trifive.com community credits for clean headliner results.
- Remove the vinyl from the frame if possible. Lay it flat on a clean work surface, backing side up.
- Identify the direction of the wrinkle and the grain of the vinyl. Wrinkles almost always form perpendicular to the longest stretch.
- Apply steam evenly across the entire panel until it relaxes and feels pliable.
- Working with a helper if the piece is large, pull the material in the direction that flattens the wrinkle. Use a fabric stretcher or wide pliers to grip evenly without pinching.
- While the vinyl is still warm and stretched, refit it to the frame and tack the centre first, then the edges, then the corners.
- Steam each tacked section lightly once more to release any new micro-wrinkles created by the re-fitting.
- Condition the surface once everything has cooled to room temperature.
If you are re-covering a car seat or boat cushion in place, the same logic applies: pull the slack toward the wrinkle, tack it, then steam the surrounding area. Tension is everything. Heat without tension only softens the vinyl. Tension without heat lets it spring back. You need both.
Comparing the Three Methods
Here is a quick reference table I use when advising customers on which method to try first. Match the wrinkle type and your comfort level to the right tool.
| Method | Best For | Risk Level | Time Required | Skill Level |
|---|---|---|---|---|
| Garment Steamer | Light to moderate wrinkles, all vinyl types | Low | 20 to 40 minutes per section | Beginner |
| Hairdryer | Small folds and creases, quick fixes | Low to medium | 15 to 30 minutes | Beginner |
| Heat Gun | Deep, stubborn wrinkles on marine vinyl | High | 10 to 20 minutes | Experienced |
| Steam and Stretch | Re-covering projects, headliners, full panels | Low | 45 to 90 minutes | Intermediate |
| Steam Iron (direct) | Not recommended | Very high | N/A | Expert only |
Safety Warnings: What NOT to Do
Vinyl is forgiving until it is not. The line between a perfect finish and a melted panel can be a single second of misplaced heat. These are the mistakes I see most often, and the ones you want to avoid at all costs.
- Do not use a clothing iron directly on vinyl. Even with a cloth barrier, the sole plate exceeds 300 degrees and will scorch or weld the vinyl to the cloth.
- Do not hold a heat gun closer than 6 inches. Vinyl melts between 150 and 200 degrees depending on the formulation, and direct radiant heat is far hotter than the air temperature.
- Do not steam vinyl that is cold from outdoor storage. Bring it to room temperature first or the temperature shock will cause cracking.
- Do not use vinegar as a wrinkle remover. Vinegar is a cleaner, not a softener. It will not relax vinyl and may cloud the surface.
- Do not skip conditioner after heat treatment. Heat strips plasticizers from vinyl, and without replenishment the surface will crack within months.
- Do not work on vinyl that is glued, not tacked. Heat reactivates contact adhesive and you may end up with bubbles worse than the original wrinkles.
When Wrinkles Are Permanent
Not every wrinkle can be removed. Vinyl that has been compressed for years, exposed to extreme cold, or stored folded under weight may have permanently deformed the material’s memory. You will recognise permanent wrinkles by these signs:
- The wrinkle is white or pale compared to the surrounding surface. That whitening is micro-cracking in the top layer.
- The vinyl feels stiff or board-like in the affected area, even after warming.
- The wrinkle returns within hours of smoothing, no matter how well you stretched and clamped it.
- You can see a crease line that has penetrated through to the backing fabric.
For permanent wrinkles, your two options are professional reupholstery or replacement. A marine upholsterer can usually source matching vinyl by the yard and re-cover a seat for less than the cost of a new cushion. If the vinyl is on a car seat with integrated foam, replacement of the whole cover is usually the cleaner answer.
Preventing Wrinkles in New Vinyl Upholstery
Prevention is the part of the job nobody enjoys but everybody wishes they had done. Most wrinkles in freshly installed vinyl come from one of three causes: not enough tension during fitting, uneven tacking order, and storing the material in cold conditions. Address those and you will rarely see a wrinkle at all.
Stretch Properly Before Tacking
Always start tacking at the centre of each side and work outward. This is the opposite of instinct, because most people start at the corners. Corner-first tacking leaves slack in the middle, and slack becomes wrinkles as soon as the vinyl warms in the sun. Pull the material past where you want it to end up, because vinyl relaxes slightly after tacking.
Acclimate the Vinyl First
Cold vinyl is brittle and unforgiving. If your seat covers arrived in a shipping container in February, let them sit in a warm room for 24 hours before installation. Trying to stretch cold vinyl is like trying to fold a frozen towel: you will crack it long before you smooth it.
Condition Twice a Year
Vinyl loses plasticizers through evaporation and UV exposure. A light coat of marine vinyl conditioner or Lexol every six months keeps the material pliable and resistant to compression wrinkles. Think of it as moisturiser for your seats.
Park in Shade When Possible
Direct sun heats vinyl past 150 degrees inside a closed car. Repeated heating cycles expand and contract the material unevenly, which sets up wrinkle patterns along the highest-stress lines. A sunshade or covered parking breaks that cycle.
Tack and Smooth in the Right Order
The order matters. Tack the centre of the longest run first, then the opposite centre, then the corners. This sequence keeps tension balanced. If you staple a corner first and stretch from the opposite corner second, the material bunches in the middle and creates a permanent wrinkle line.
Frequently Asked Questions
Can you steam vinyl fabric?
Yes. A garment steamer is the safest tool for removing wrinkles from vinyl fabric. Hold the steamer 4 to 6 inches from the surface and keep the head moving. Use a microfiber cloth to smooth the wrinkle outward as the vinyl relaxes.
Can vinyl fabric be ironed?
No. Direct ironing will melt or scorch vinyl because household irons exceed 300 degrees Fahrenheit. If you must use an iron, only as a steam source held above the fabric, never in contact.
Does vinegar take out wrinkles?
No. Vinegar is a cleaning agent and will not relax vinyl plasticizers. It can actually dull the finish of some marine vinyl. Use steam, controlled dry heat, or a dedicated vinyl conditioner instead.
How do you get permanent wrinkles out of fabric?
Permanent wrinkles from compression or long-term folding usually cannot be fully removed. Steam and stretch will improve the appearance but the crease line often remains. Replacement of the affected panel is the only true fix.
Why does vinyl upholstery wrinkle?
Vinyl wrinkles from three main causes: insufficient tension during installation, temperature swings that expand and contract the material unevenly, and compression from folding or weight over long periods.
Is a heat gun safe for vinyl?
Only with experience. Keep the heat gun on its lowest setting, at least 8 inches from the surface, and never stop moving. Vinyl melts between 150 and 200 degrees depending on formulation.
Conclusion
Learning how to remove wrinkles from vinyl upholstery comes down to respecting three principles: use the lowest effective heat, always combine heat with physical tension, and condition the material once it cools. A garment steamer handles most cases. A hairdryer covers the small stuff. A heat gun is the specialist tool for stubborn marine vinyl jobs. If wrinkles keep returning or the surface has whitened and cracked, the honest answer is reupholstery rather than another round of heat.
Start with a clean surface, work in small sections, and pull the material past where you want it to end before tacking. Do that and your next vinyl project will come out smooth, tight and ready for years of service.