
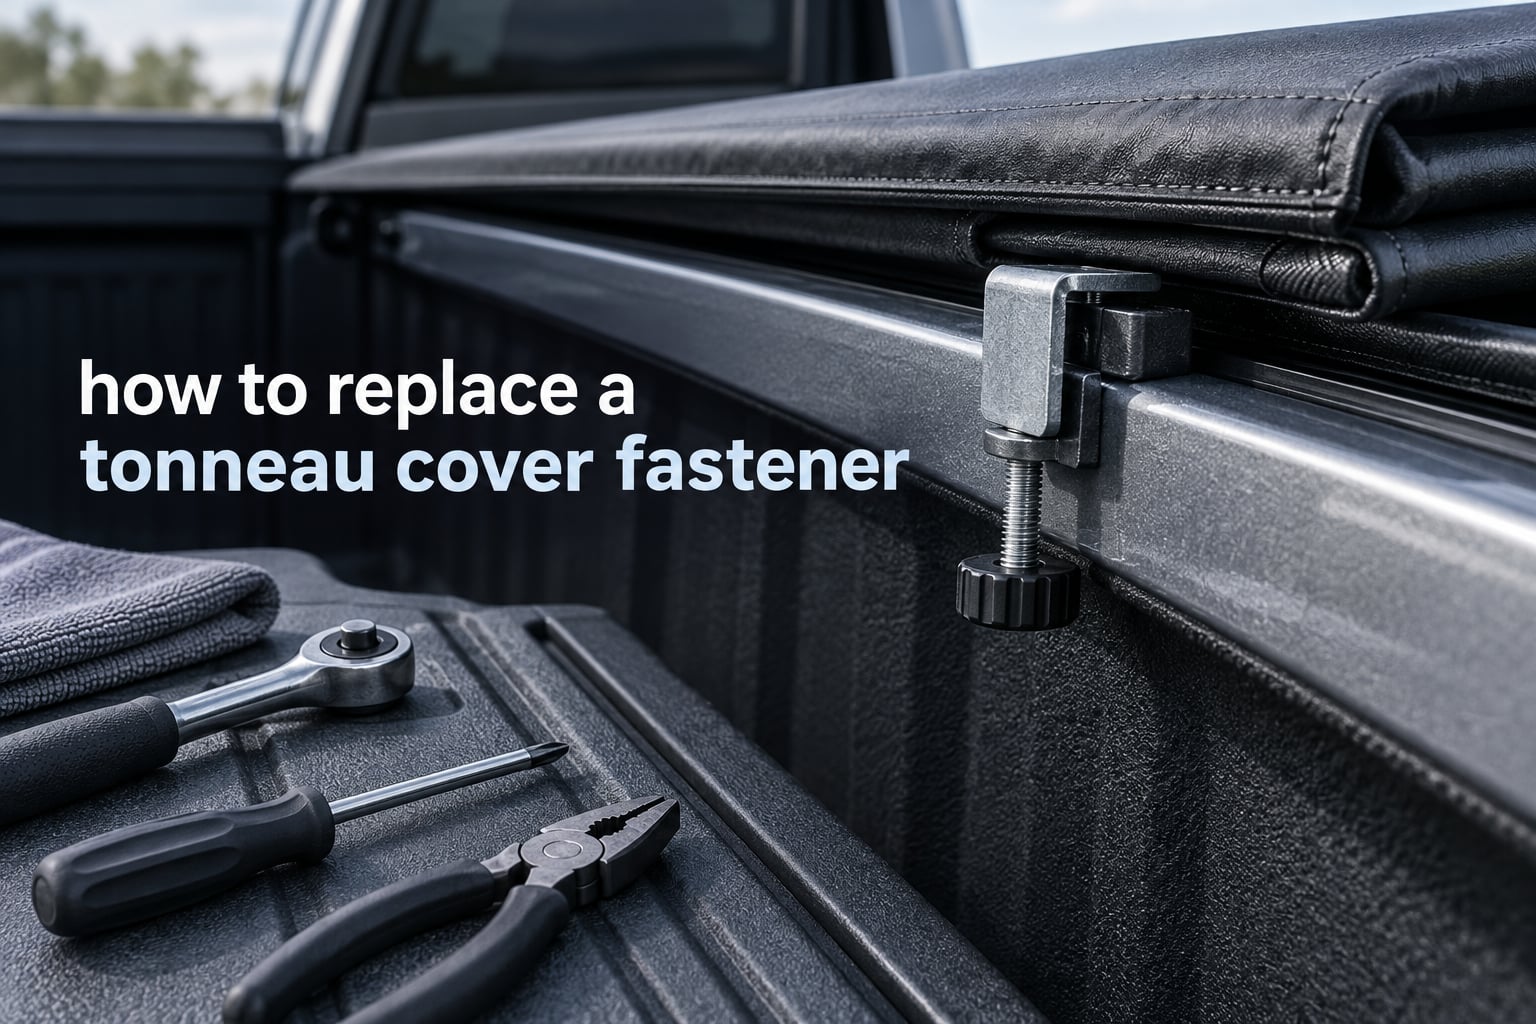
Yes, you can replace a tonneau cover fastener yourself. Most of these jobs take 15 to 30 minutes with basic hand tools, and the hardest part is usually reaching the fastener on a soft cover, not the fastener itself. In this guide I walk through how to identify what you have, how to remove the broken piece, and how to fit the replacement so the cover holds tension again.
If you are here because your cover flops open in the wind, this is the fix. If you are here because a new cover arrived with missing hardware, skip to the sourcing section, because that situation has a different answer.
Tools and parts checklist before you start: a flathead and a Phillips screwdriver, a socket set or nut driver, penetrating oil, a plastic trim wedge or wooden block, a 10 mm wrench, and a Phillips-head fastener for the replacement hardware. If your cover uses a Torx bolt, add a T-25 and T-30 driver. If you have no hand tools at all, this is the point to stop and borrow some, because a stripped bed rail costs far more to repair than the fastener you came here to replace.
Table of Contents
- What Kind of Tonneau Cover Fastener Do You Have?
- Tools and Parts You’ll Need
- How to Replace a Tonneau Cover Fastener: Step by Step
- Removing a Stuck or Seized Fastener
- Replacing Hook and Loop (Velcro) Strips
- Reattaching the Cover and Checking Tension
- Finding Replacement Parts for a Discontinued Cover
- Choosing the Right Replacement Fastener
- Common Mistakes When Replacing a Fastener
- When to Replace the Whole Cover Instead
- Frequently Asked Questions
- How long does it take to replace a tonneau cover fastener?
- Can I replace a tonneau cover fastener myself?
- Why won’t my tonneau cover latch?
- My truck tonneau cover velcro isn’t sticking. How can I fix it?
- Are tonneau cover replacement parts available?
- What tools do I need to replace a tonneau cover fastener?
- Bottom Line
What Kind of Tonneau Cover Fastener Do You Have?
You cannot follow any removal instruction until you know which of five fastener types you are dealing with. Owners on r/Trucks and r/ToyotaTacoma repeatedly describe parts with no branding and no part number, so identification by description matters more here than almost any other repair on the vehicle.
- Bed rail clamp — a stamped or cast metal or plastic bracket that hooks under the bed rail and pulls the cover down with a bolt or stud. This is the most common fastener on hard and soft tri-fold covers.
- T-lock stud — a stud that slides into the cover’s T-shaped channel and locks into a base on the rail. Common on roll-up and folding covers where the rail is a track rather than a flat edge.
- Hook and loop strip — the VELCRO-style tape on soft covers. The loop half usually attaches to the rail, the hook half to the tarp. This is the first thing to fail because it is a wear item.
- End cap or header guide screw — the fasteners holding the end cap or spring-loaded header guide at the front or rear of the rail. A spring-loaded header guide is standard on self-adjusting security strap systems.
- Latch and striker — the lock mechanism on the tailgate section. A latch rarely fails outright, but its striker bolt loosens and the latch stops catching.
Match your symptom against this table before you touch a tool.
| Fastener type | Symptom when it fails | Replacement part | Tool needed |
|---|---|---|---|
| Bed rail clamp | Cover lifts or flaps at one corner, rattling in wind | Clamp assembly with bolt and nut | Socket or nut driver, 10 mm wrench |
| T-lock stud | Cover slides along the rail, will not tension | T-lock stud and matching rail base | Flat screwdriver to release, Phillips to secure |
| Hook and loop strip | Cover will not hold down, peels up in the middle | Rail strip plus stitched tarp strip | Screwdriver, sewing machine or awl for the tarp |
| End cap or header guide screw | Strap will not retract, cover bunches at the front | Header guide assembly | Phillips, T-25 or T-30 Torx |
| Latch or striker bolt | Tailgate section will not snap closed | Striker bolt, latch cylinder or cam | Phillips, Torx, pick set if locked |
Tools and Parts You’ll Need
Assemble these before starting. Most owners who bail out mid-job do it because they are missing one item.
- Flathead and Phillips screwdrivers, plus a socket set or nut driver
- Torx T-25 and T-30 drivers for many rail and header hardware
- A 10 mm wrench for clamp nuts on most pickup rails
- Penetrating oil for seized hardware
- A plastic trim wedge or a small wooden block to protect the rail and spread load
- A rubber mallet for shock-free rail taps
- The replacement fastener itself, matched to your cover type
For a soft cover with hidden fasteners, add a plastic trim removal tool. Interior trim is brittle and clips are easy to snap, and the advice that saves the job is simply to work slowly and lift each clip at its edge rather than pulling straight out.
How to Replace a Tonneau Cover Fastener: Step by Step
Open the tailgate, lay the cover flat across the bed, then remove the old fastener, fit the replacement, and re-tension the cover. Allow 15 to 30 minutes for a standard clamp or strap job, longer if interior trim has to come off. Work on level ground in daylight, and keep the tailgate closed until the cover is re-tensioned so the fabric does not twist.
- Open the tailgate and lay the cover flat. Release any latch or lock first. Laying the cover flat gives you access to both the rail and the tarp side, and it stops the fabric from fighting you as tension changes.
- Identify the fastener and mark its position. Take a photo before you remove anything, and mark the hole location with tape. When the new fastener goes in, the hole has to go back in the same spot or the cover will not sit square.
- Loosen the fastener before pulling it off. Back the bolt or screw out fully while holding the fastener body. For a clamp, hold the nut with a wrench and turn the bolt; for a stud, release the T-lock with a flat screwdriver before pulling the cover edge back.
- Remove the old fastener and inspect the hole. Look for stripped threads, a rounded head, or a cracked rail insert. Clean debris out of the hole with a pick or a small drill bit so the replacement threads bite into solid material.
- Fit the replacement fastener in the same orientation. Clamps go on with the hook under the rail and the body outside it. Studs slide into the channel from the end. Get the orientation wrong and the cover will sit proud of the rail and flap.
- Tighten until firm, then check by hand. Do not use a torque wrench or lean on the driver. Snug is correct. You should be able to lift the cover edge slightly and feel resistance.
- Work around the rail, alternating sides. If you are replacing several fasteners, move from one corner to the opposite corner and back. Alternating keeps the tension even and stops the fabric from drifting to one side.
- Re-tension and verify. Close the tailgate, then pull up on each rail in turn. See the checking section below for the full test.
Soft folding and hard tri-fold covers
These use rail clamps or T-lock studs along the side rail. The only extra step is keeping the panel or fabric square while you work, which is why the tape mark in step 2 matters. Corner fasteners carry more load than middle ones, so check a corner twice as carefully.
Roll-up and canister covers
Roll-up covers tension through a cable, spool, or bow mechanism rather than per-clamp pressure. A damaged side-rail fastener on a roll-up cover is usually one of two things: a stud holding the rail trim that the cable housing is routed through, or a clamp at the rear that sets the cable housing anchor. If the cover rolls freely but sits loose when closed, suspect the anchor. If it binds while retracting, suspect the rail trim stud.
Self-adjusting security strap covers
Strap-driven covers with automatic tension control route the strap through a spring-loaded header guide at the front of the bed. To replace the strap, remove the end cap first, then slide the header guide out and pull the old strap free. Fitted correctly, the tension is set once and the spring maintains it. Confirm the spring is compressed by pressing the plunger with a flathead screwdriver; if it feels solid with no travel, the strap will not self-adjust.
Latch-equipped covers
On a latching cover, the latch is usually the last piece to go back on. Leave it off until the rails are tensioned, then align the striker with the latch body and bolt it through the tailgate. Test the latch with a hard pull before you re-tension, because a striker in the wrong position puts a constant load on the rail fasteners.
Warning: do not drive with a partially secured cover. Wind can lift a loose tonneau cover off the bed at highway speed, and owners on r/Trucks describe that lift as the most frightening driving moment of their ownership. If you cannot complete the repair, tie the cover down and drive slowly, or leave the tailgate open and secure the cover with ratchet straps until the fastener is fitted.
Removing a Stuck or Seized Fastener
This is where most attempts stall, and no competitor page covers it. Work up this ladder in order, stopping as soon as the fastener comes free.
- Work the fastener loose with the correct tool. Match the driver to the fastener exactly and apply steady pressure in the same axis as the bolt. Side-loading rounds heads fast.
- Soak it with penetrating oil. Apply, then wait 10 to 20 minutes, then apply again. Spraying and immediately prying wastes the oil.
- Add controlled heat. A heat gun on low, held 20 to 30 cm away, expands the surrounding metal and the dried penetrating oil. Use it on metal fasteners only, never on vinyl or fabric trim, and keep it moving.
- Use a plastic wedge, not steel. Slide a trim wedge or wooden block between the fastener and the rail to spread the load. A screwdriver used as a pry bar against painted aluminium will dent it permanently.
- Shock the mount, not the fastener. Tap the rail just beside the fastener with a rubber mallet while holding torque on the tool. This breaks the corrosion bond without hammering the threads.
If the fastener head is rounded or sheared, a screw extractor bit or a nut on the stripped end is usually faster than any chemical. Protect the rail with masking tape before you do it, because the damage to a stripped rail thread is the expensive failure in this whole job.
For a loose stud fastener that keeps backing out rather than seizing, a second nut and a small amount of thread-locking compound will stop it without replacing the part. Owners have reported that fix working on later model-year trucks.
Replacing Hook and Loop (Velcro) Strips
Hook and loop is the only permanent fix if the strip is sewn into the cover tarp: it has to be stitched back on. eTrailer’s expert response to a reader asking about gluing a replacement strip back onto a tarp was that the manufacturer stitches it and contact cement or similar is a temporary fix at best. That distinction matters, because the tarp peels away from every failed glue attempt under load and road vibration.
The rail half is easier. Remove the screws at each end of the strip, peel the old strip off the rail, clean the adhesive residue, and screw the new strip down in the same position. Even a 1-inch by 17-foot strip is reported as a two-person job, because holding a long strip square while starting screws at both ends is the fiddly part, not the driving.
Only the tarp-side strip needs a sewing machine or a heavy-gauge awl and heavy thread. If you do not have one, a repair shop or an upholsterer will do it in minutes.
Reattaching the Cover and Checking Tension
Nearly every guide stops at the bolt. The check is what tells you whether the repair worked, and it takes 30 seconds.
- Pull test each rail. Lift the cover edge at every fastener. There should be firm resistance and no lift. A gap anywhere means that fastener is not set.
- Compression check on spring hardware. Press the header guide plunger with a flathead screwdriver. Some travel means the spring is working and will hold tension; none means the strap will sag.
- Hand-close the tailgate. The tailgate should latch under its own weight, not need lifting. If it does, the cover is over-tensioned and the rail fasteners are taking the load.
- Walk the perimeter. Check that the fabric is square and the seal is even along the rail, with no gap at a corner.
- Water test. Run a hose along the closed seam for a minute. Water tracking inside means the seal is not compressed, which is a tension problem rather than a fastener problem.
Re-check tension after the first drive and again after a week. New hook and loop strips need a break-in period, and a cover that has been sitting loose usually needs a second adjustment once the fabric relaxes.
Finding Replacement Parts for a Discontinued Cover
Discontinued covers are the loudest complaint across r/Trucks, r/ToyotaTacoma, r/DodgeRam, and r/ram_trucks. People report searching exhaustively, including image search, with no result. This lookup order resolves most cases.
- Identify precisely. Record the truck year, make, model, bed length, cover brand, and the cover part number stamped on a label or molded into the end cap. Photos of the fastener from several angles help when there is no number at all.
- Go straight to manufacturer customer service. Ask for the spare parts list for your cover, and give the part number. Manufacturer support is more effective than owners expect: a Tacoma owner reported a company calling them back, finding they had no screw specs on file, and shipping replacement brackets and screws at no charge.
- Cross-reference by cover system. If the brand is gone, look for the mounting system instead. Clamp-based, T-lock, and hook-and-loop covers share hardware with other brands far more often than expected, and universal clamp and stud kits exist for exactly this reason.
- Salvage and substitute. A donor cover at a scrapyard, a working rail assembly from a wrecked truck of the same generation, or a universal clamp bracketed to the rail will hold a cover down even when the original part is unavailable.
One recurring cost surprise: replacement straps are often sold only as a full header assembly rather than as a single strap. If your rail hardware is still sound, ask explicitly for the individual strap before buying the assembly.
Choosing the Right Replacement Fastener
Match the part on four points rather than on appearance alone.
- Rail type. A top-rail clamp and a bed-rail side clamp are different parts, and a flush rail needs a flush-mount base.
- Cover system. T-lock studs only work in a T-channel. Ordering a stud for a cover that has hook-and-loop rails means it will sit loose.
- Mounting method. Bolted-through and hook-under are not interchangeable. Check whether the original clamped under the rail or screwed through a threaded insert.
- Material. Coated or stainless hardware resists the road salt that eats plain steel clamps. This is the cheapest durability decision you can make.
Buying by gauge of steel is a false economy. An over-thick clamp that will not sit flush puts constant bending load on the rail, and that is how rails crack.
Common Mistakes When Replacing a Fastener
- Using a steel pry bar against the rail instead of a plastic wedge, which dents or gouges painted aluminium
- Over-tightening to stop a flapping cover, when the real cause is a fastener in the wrong hole
- Fitting the clamp backwards, so the hook faces outward and the cover sits proud of the rail
- Glueing hook and loop to a tarp instead of stitching it, which always fails again
- Snapping interior trim clips while reaching a hidden fastener, the most common report on the S2KI thread that covers access to a hidden stud
- Replacing one fastener on a rail and leaving the opposite corner loose, which puts the whole load on the new part
- Forcing a stuck tailgate or latch; the latch gives before the rail hardware does
When to Replace the Whole Cover Instead
Replace the whole cover when the fault is in the cover rather than the fastener. Signs of that include a tarp stretched out of shape and unable to lay flat, a split seam or rotted stitching along a rail edge, hardened or crumbling foam weather seals, or a rusted or cracked rail insert with no thread left. If the same rail position has failed twice after correct installation, the problem is the mounting surface, not the part. Covers with automatic tension systems are worth a closer look because their spring mechanism can be failing while the straps look fine.
Frequently Asked Questions
How long does it take to replace a tonneau cover fastener?
Most clamp, stud, end-cap, and latch replacements take 15 to 30 minutes with basic hand tools. Add 20 to 40 minutes if interior trim has to come off to reach a hidden fastener on a soft cover. Hook and loop sewn to a tarp needs extra time at a sewing machine.
Can I replace a tonneau cover fastener myself?
Yes. Owners describe the job as beginner-level once you can see the fastener, and the most common difficulty is access rather than the hardware itself. If your fastener is hidden behind door sill trim or trim under a roll-over hoop, allow extra time and work the clips gently, since they break easily.
Why won’t my tonneau cover latch?
Usually the striker bolt has loosened or shifted, so the latch no longer lines up with the catch. Other common causes are a bent latch body, a stretched cover pulling the tailgate out of alignment, or a cover under too much tension. Check the striker position against the latch before blaming the rail fasteners.
My truck tonneau cover velcro isn’t sticking. How can I fix it?
Clean both surfaces first, since road dust and grime stop hook and loop from engaging. The rail-side strip can be replaced with screws. If the strip is sewn into the cover tarp, it must be stitched back on, because adhesives only give a temporary fix. Replace both strips at once so the new loop matches the old hook.
Are tonneau cover replacement parts available?
For current covers, yes, from the manufacturer and from universal clamp and stud kits. For a discontinued cover, work through the manufacturer’s spare parts list, then cross-reference by mounting system rather than brand. A donor cover or a universal clamp is the usual fallback when no exact part exists.
What tools do I need to replace a tonneau cover fastener?
You need a flathead and Phillips screwdriver, a socket or nut driver, a 10 mm wrench, and a plastic trim wedge. Add Torx T-25 and T-30 drivers for many rail and header bolts, plus penetrating oil and a rubber mallet for seized fasteners.
Bottom Line
To replace a tonneau cover fastener, identify which of the five types you have, photograph and mark the hole, loosen before pulling, fit the replacement in the same orientation, and tighten only until snug. That last check is the part most guides skip: pull up on every rail, confirm the latch closes under its own weight, and the job is finished. If the fastener is seized, work up the removal ladder slowly and keep steel off the rail. This guide was updated for 2026, and the step order holds for the wide range of truck bed covers in use today.