
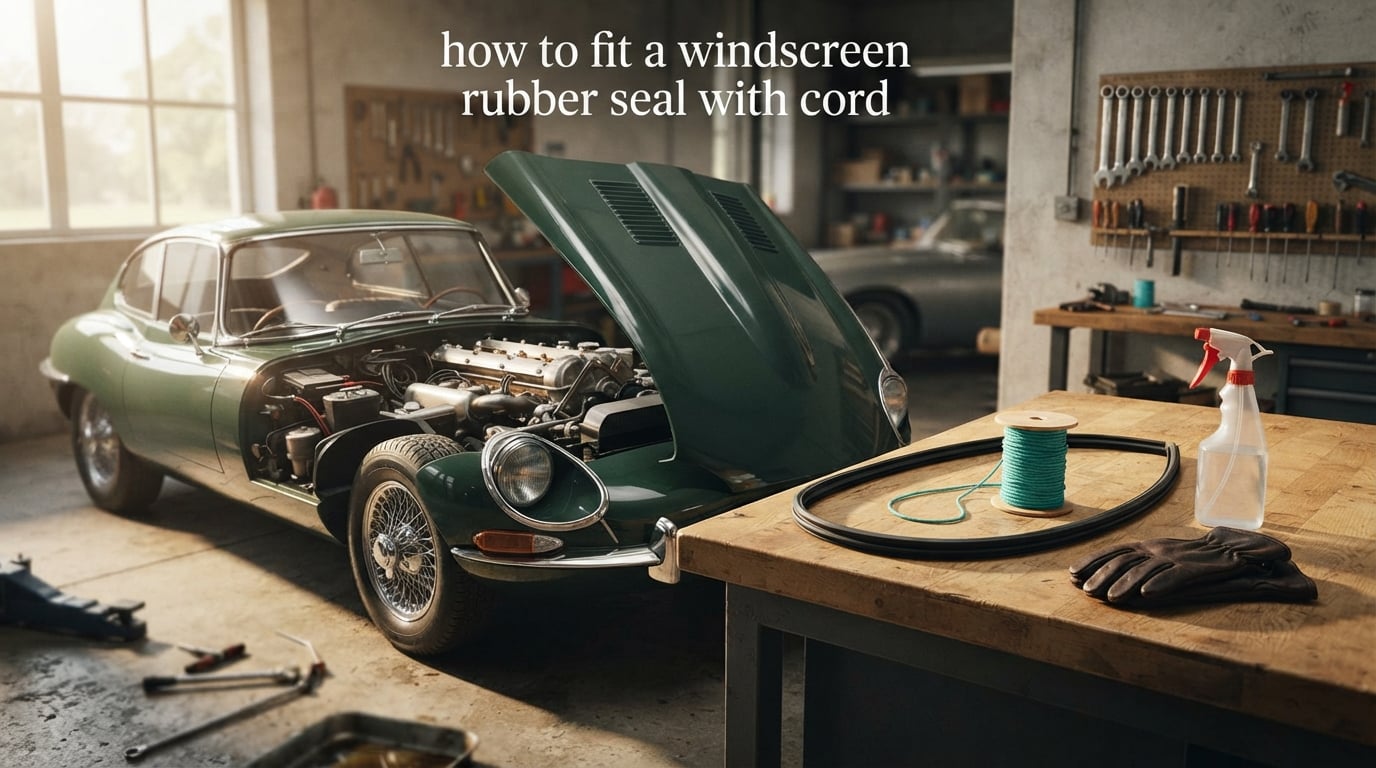
Learning how to fit a windscreen rubber seal with cord is one of those classic skills that saves you a workshop bill and gives you real satisfaction. The cord method is the traditional technique used by restorers and DIY enthusiasts for decades, and it still works brilliantly on modern cars as well as classics.
The basic idea is simple: a nylon cord sits in the groove of the rubber seal, and as you pull it from inside the cabin, the rubber lip rolls up and seats itself into the frame channel. We have used this method on dozens of vehicles at our trim shop, and it remains the most reliable way to get a leak-free result without specialist tools.
This guide walks you through every step, from choosing the right cord diameter to handling stubborn corners. By the end, you will know exactly what tools to gather, how to prepare the frame, and how to pull the cord so the seal sits correctly the first time.
Table of Contents
- Tools and Materials You Will Need
- Preparing the Frame and the New Rubber Seal
- How to Fit a Windscreen Rubber Seal With Cord: Step-by-Step
- Choosing the Right Lubricant for Windscreen Rubber
- Troubleshooting Common Windscreen Seal Problems
- Alternative Installation Methods
- Safety Precautions and Common Mistakes to Avoid
- Frequently Asked Questions
- What size rope should I use to install a windscreen rubber seal?
- How do I apply windscreen sealant correctly?
- Can I fit a windscreen rubber seal myself?
- How do I remove an old car windscreen seal?
- What is the best lubricant for fitting a windscreen rubber seal?
- How do I fit a windscreen rubber seal at the corners?
- Conclusion
Tools and Materials You Will Need
Before you start, gather everything on this checklist. Scrambling mid-job for a missing tool is the most common cause of a poorly seated seal.
- Nylon cord (around 3 mm to 4 mm diameter, roughly twice the windscreen perimeter in length)
- New windscreen rubber seal matched to your vehicle
- Glass cleaner and a lint-free cloth
- Small brush or old toothbrush for the channel
- Silicone spray, soapy water, baby powder, or silicone brake fluid (your chosen lubricant)
- Spray bottle if using soapy water
- Flat-head screwdriver or popsicle stick for corners
- Pliers with smooth jaws (or tape-wrapped tips)
- Sharp knife or scissors for trimming cord ends
- Wooden blocks or wedges to support the glass
- Assistant (a second pair of hands makes the job far easier)
- Clean rags or paper towels
- Optional: a ratchet strap or wide elastic strap
- Optional: masking tape to mark seal position
For the cord itself, most restorers settle on braided nylon because it grips the rubber groove without cutting into it. Avoid anything too thin (it slips) or too thick (it does not sit in the channel). A general rule is that the cord should sit snugly in the seal’s inner groove but not bulge the rubber outward.
You will also want a clean, flat work area outdoors or in a garage. Windscreen fitting is not a kitchen-table job, and any grit that gets between the rubber and glass will cause a leak later.
Preparing the Frame and the New Rubber Seal
Good preparation is what separates a leak-free install from one that lets water into the cabin. Take your time here.
Removing the Old Seal
Start by peeling the old rubber away from the frame. On most vehicles, the inner lip of the seal pulls out by hand once you find the starting point. Work slowly around the perimeter, supporting the glass with a helper or wooden blocks so it does not fall inward.
If the old seal is glued or has hardened over decades, a flat-head screwdriver wrapped in tape helps lift the lip without scratching the paint. Watch for hidden clips or screws holding the trim; modern cars often have a few along the top edge that need to come out first.
Once the rubber is off, lift the glass out carefully and set it on a padded surface. Lay it face-down if you can, with cardboard or rags underneath to protect against chips.
Cleaning the Channel
The frame channel is the slot the rubber seats into around the body opening. Over years it collects dirt, old sealant, rust, and bits of broken rubber. Clean it thoroughly:
- Vacuum or brush out loose debris
- Scrape old sealant with a plastic scraper
- Wipe with a cloth dampened in isopropyl alcohol
- Inspect for rust; treat any surface rust with a rust converter before continuing
- Dry the channel completely
A clean channel lets the rubber slide into place smoothly and gives the sealant something to bond to later.
Inspecting the New Rubber Seal
Unroll the new seal and lay it in sunlight or a warm room for an hour. Cold rubber is stiff and fights you at every turn. Check the seal for the right profile: it should have an inner lip (which grips the glass) and an outer lip (which seats in the frame channel).
Measure the glass thickness and compare it to the seal’s groove. The compressed rubber plus your glass thickness must be less than the slot width in the frame, otherwise the seal simply will not seat. This single check prevents the most common fitting frustration reported in classic car forums.
Try a dry fit by pushing the seal onto the glass without any cord. It should slide on with firm hand pressure but not flop loosely. If it does not, the wrong seal has been supplied.
How to Fit a Windscreen Rubber Seal With Cord: Step-by-Step
This is the heart of the guide. Read through all the steps once before you start so the rhythm of the method makes sense.
Step 1: Position the Glass and Seal
Lay the new rubber seal onto a clean, flat surface with the inner groove facing up. Place the glass on top, making sure it sits centred within the seal’s inner lip. The outer lip of the rubber should drape evenly around all four sides.
Step 2: Thread the Cord Into the Seal Groove
Starting at the bottom centre, work the nylon cord into the groove between the inner and outer lips of the rubber. The cord needs to lie in the channel all the way around the glass, with a tail of about 30 cm sticking out where you started.
For tricky moulded corners, use a popsicle stick or the rounded end of a screwdriver to push the cord into place. Take care not to stretch or kink the cord as you go. When you reach your starting point, overlap the cord ends by about 10 cm so there is no gap.
Step 3: Apply Lubricant
Spray or wipe your chosen lubricant along the outer lip of the seal and into the frame channel. Lubricant reduces friction and lets the rubber slide into the slot when you pull the cord. We cover lubricant options in detail in the comparison section below.
Step 4: Position the Assembly in the Frame
With your helper, lift the glass and seal together and lower them into the body opening. Make sure the seal’s outer lip lines up with the frame channel all the way around. Adjust the glass so equal margins are visible on both sides.
At this stage, the seal is just resting in the channel, not seated. That comes next.
Step 5: Seat the Bottom Lip First
From inside the cabin, pull the cord slowly outward while pressing on the glass from outside. As the cord moves, the outer lip of the rubber rolls up and into the frame channel.
Start at the bottom centre, then work a few centimetres to each side. Pull a little, press a little, then move along. The rhythm matters: pulling too fast skips sections, pulling too slowly lets the rubber pop back out.
Step 6: Work Up the Sides
Once the bottom is fully seated, move up one side. Pull the cord while pressing the glass outward so the rubber lips around the side engage the channel. Some fitters prefer to work up both sides at the same rate so the glass stays centred.
Step 7: Finish the Top Last
The top of the windscreen is where most fitters struggle because the rubber tends to pop out as you pull. Hold the glass firmly outward and pull the cord in short, controlled tugs. Your assistant should press along the top edge from outside as you pull from inside.
Step 8: Remove the Cord and Trim
When the entire seal sits in the channel, pull the cord fully out from inside. Trim any cord tail that protrudes. Check the seal all the way around by pressing with your fingers; any spot that pops back out needs the cord re-threaded locally and the process repeated.
The job is done when the outer lip is invisible from outside, the glass sits centred, and pressing inward on the glass produces no movement of the seal.
Choosing the Right Lubricant for Windscreen Rubber
Lubricant choice is one of the most debated topics in windscreen fitting forums. Each option has clear strengths and weaknesses.
Silicone spray is the most popular choice among professional trimmers. It lasts long, does not wash away with water once cured, and leaves the rubber slightly slippery without making it gummy. It costs more than the alternatives but a single can lasts for many installations.
Soapy water is the classic DIY option. Mix a few drops of washing-up liquid in a spray bottle of water. It is cheap, easy to apply, and washes away cleanly. The drawback is that it dries quickly and offers less lubrication over a long pull.
Baby powder (talc) is the traditional answer for classic car restorers. It coats the rubber with a dry film that reduces friction surprisingly well. It does not attract dirt and disappears after the first rain. It is the least messy option if you are working indoors.
Silicone brake fluid is the heavy-duty choice. It is thick, long-lasting, and works exceptionally well on stiff old rubber. The catch is that it is messy, stains paint if spilled, and is overkill on a modern flexible seal.
For most jobs, silicone spray or soapy water will do the job cleanly. Save the brake fluid for classic seals that simply will not budge.
Troubleshooting Common Windscreen Seal Problems
Even with careful preparation, you can hit snags. Here are the issues we see most often, and how to fix them.
The Seal Pops Out During Fitting
If the outer lip refuses to stay in the channel, the most common cause is under-sized rubber for the channel width. Check that your glass thickness plus the compressed rubber height is genuinely less than the channel slot. If sizing is correct, the next culprit is insufficient lubricant; reapply and try again.
Some fitters have success with the counter-intuitive top-in-first method: start by seating the top corners, then work down each side to the bottom. This works particularly well on rear screens and shorter seals.
Corners Will Not Seat
Corners are where the rubber has to bend most sharply, and they are where seals fail most often. Use a popsicle stick or the rounded end of a screwdriver to hold the outer lip into the channel while your helper pulls the cord a few centimetres at a time. Take it slowly; rushing corners is the fastest path to a popped seal.
On moulded-corner seals, warm the rubber gently with a hairdryer or in the sun before fitting. Warm rubber bends more easily and holds its shape after seating.
Water Leaks After Installation
A leak after fitting usually means debris is sitting between the rubber and the glass, or between the rubber and the channel. Remove the seal, clean both surfaces thoroughly, and refit. If the leak persists, run a bead of windscreen sealant along the outer channel lip after the rubber is seated.
Do not apply sealant before fitting the rubber; it will smear and prevent the seal from seating properly.
The Rubber Is Too Stiff to Move
Cold rubber is the most common reason for excessive stiffness. Warm the seal in sunlight for an hour or use a hairdryer to gently warm stubborn sections. If the rubber is genuinely stiff from age, silicone brake fluid is the most effective lubricant for softening the surface during fitting.
Seal Dimensions Do Not Match the Frame
Sometimes the only fix is to reorder the correct seal. Manufacturers change profiles over production years, and the same model can take different seals depending on the build date. Always cross-reference the part number with the vehicle’s VIN or chassis number before ordering.
Alternative Installation Methods
The cord method is the gold standard, but it is not the only way to fit a windscreen rubber seal. Three other techniques come up regularly in restorer forums.
Ratchet strap method. Wrap a ratchet strap around the outside of the windscreen frame and tighten it gradually. The strap squeezes the rubber lips inward into the channel. This works on flat, even frames but struggles on deeply curved corners. Use it as a backup if the cord keeps slipping.
Direct push method. Skip the cord entirely and simply press the rubber into the channel by hand, working around the perimeter. This works only on very flexible seals with shallow channels. It is the slowest method but requires the fewest tools.
Popsicle stick or screwdriver method. Push the outer lip into the channel directly with a popsicle stick or a wide flat-blade screwdriver. This is most useful as a supplementary technique for stubborn corners after the main fitting is done with the cord.
In our experience at the trim shop, the cord method gives the most consistent results across vehicle types. The alternatives earn their place when the cord keeps tearing on a particularly tight seal.
Safety Precautions and Common Mistakes to Avoid
Windscreen fitting looks simple but it involves heavy glass under tension. A few safety habits protect both you and the car.
Wear gloves. Laminated windscreen glass has sharp edges when broken, and old rubber often hides broken glass fragments inside the old seal. Cut-resistant gloves prevent the most common workshop injury.
Wear eye protection. When prying old seals out, hidden clips can fly loose. Safety glasses stop debris before it stops your work for the day.
Never work alone on heavy glass. Even a small windscreen weighs more than most people can safely manoeuvre alone. A helper is mandatory for safe fitting.
Do not over-tighten ratchet straps. Excess pressure cracks the glass. Tighten just enough to seat the rubber, no further.
Do not use petroleum-based lubricants. Petroleum products swell and degrade natural rubber. Stick to silicone, soapy water, talc, or silicone brake fluid.
Do not skip the dry fit. A dry fit catches a wrong-size seal before you have threaded 4 m of cord into it.
Do not fit seals in cold weather. Rubber below about 10 degrees Celsius becomes rigid. Warm seals are cooperative seals.
Frequently Asked Questions
What size rope should I use to install a windscreen rubber seal?
Use a braided nylon cord around 3 mm to 4 mm in diameter. It should be roughly twice the windscreen perimeter in length so you have enough to wrap fully around with a tail left over for pulling.
How do I apply windscreen sealant correctly?
Fit the rubber seal first, then run a thin bead of sealant along the outer edge of the channel where the rubber meets the frame. Do not apply sealant before fitting the rubber or it will smear and prevent proper seating. Allow the sealant to cure for at least 24 hours before exposing the car to heavy rain.
Can I fit a windscreen rubber seal myself?
Yes, most DIY enthusiasts can fit a windscreen rubber seal using the cord method with basic tools and a helper. Allow two to three hours for a first attempt on a classic car. Modern cars with bonded seals or integrated sensors are more complex and may warrant professional installation.
How do I remove an old car windscreen seal?
Pull the inner lip of the rubber away from the glass by hand, working slowly around the perimeter. Support the glass with a helper or wooden blocks so it does not fall inward. Use a tape-wrapped flat-head screwdriver to lift stubborn sections, and remove any hidden clips or screws along the top edge before fully extracting the seal.
What is the best lubricant for fitting a windscreen rubber seal?
Silicone spray is the most popular all-round lubricant because it lasts well and leaves the rubber slippery without residue. Soapy water is the cheapest and easiest DIY option. Baby powder works well for classic seals, and silicone brake fluid is the heavy-duty choice for very stiff rubber.
How do I fit a windscreen rubber seal at the corners?
Warm the corners gently with a hairdryer before fitting, and use a popsicle stick or rounded screwdriver to hold the outer lip into the channel while your helper pulls the cord a few centimetres at a time. Take it slowly, as rushing corners is the most common cause of a popped seal.
Conclusion
Knowing how to fit a windscreen rubber seal with cord is a skill that pays for itself the first time you use it. With the right cord, a good lubricant, and a patient rhythm of pull-and-press, you can seat a seal cleanly in an afternoon and avoid the workshop bill entirely.
Start by gathering the tools, prepare the channel properly, and take the corners slowly. If you hit a snag, the troubleshooting section above covers the most common issues we see on the trim shop floor.