
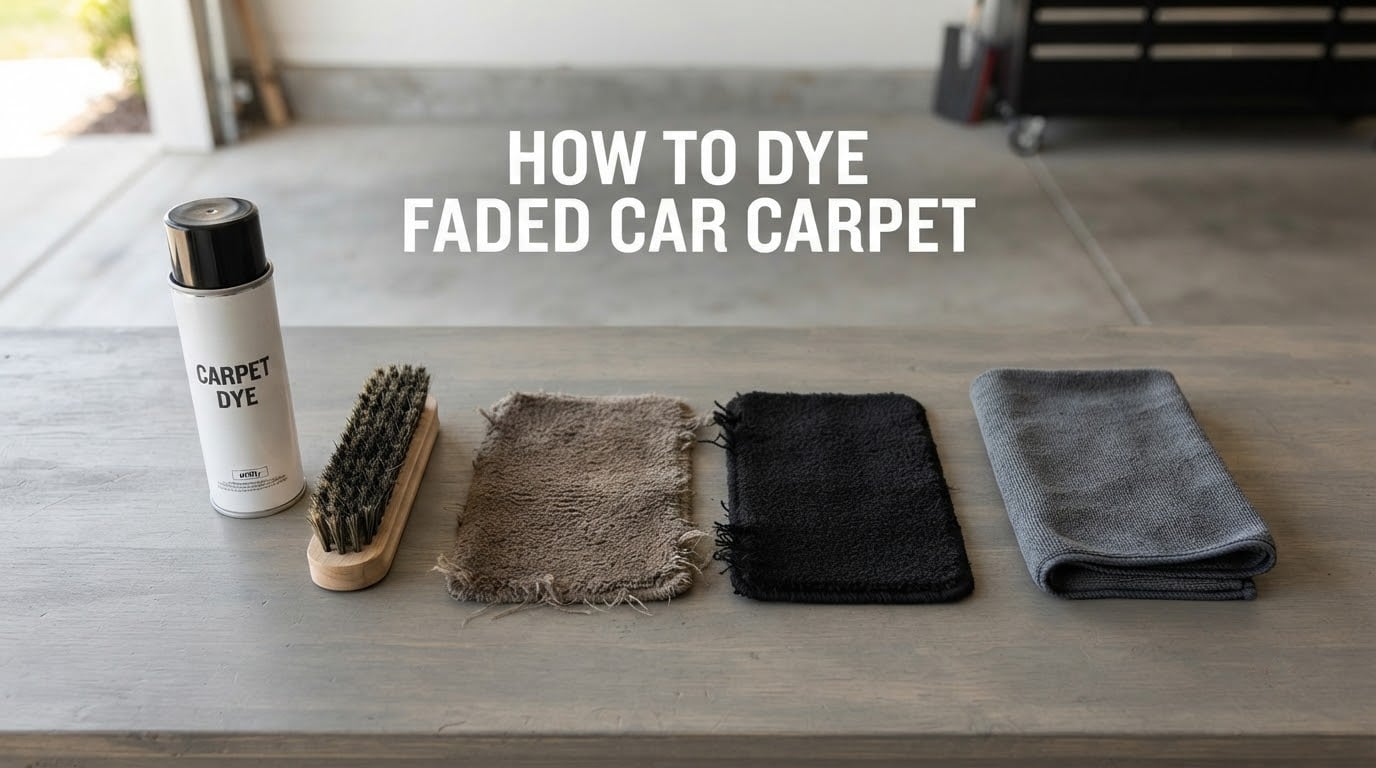
Yes, you can dye a faded car carpet, and for most drivers it’s the smartest way to bring back that factory-fresh look without pulling the interior apart. I have restored three sets of car carpets over the years, and the process is more forgiving than people expect when you work in thin coats and respect the cure time.
The short version: you clean the carpet thoroughly, mask off anything you do not want dyed, apply an automotive carpet spray dye in light coats while brushing it into the pile, and let it cure for 24 hours before walking on it. Total project time is about 3 to 4 hours of active work, plus a full day of curing.
This guide walks through exactly how to dye faded car carpet the right way, including which products real restorers trust, what to do when the color goes wrong, and how to dodge the usual mistakes that leave carpet stiff or patchy.
Table of Contents
- Can You Dye a Faded Car Carpet? Yes, and Here’s Why It’s Worth It
- Why Car Carpet Fades: The Real Causes Behind the Discoloration
- Products and Tools You’ll Need to Dye Car Carpet
- How to Dye Faded Car Carpet: Step-by-Step Guide
- Pro Tips from Our Team That Make the Difference
- Troubleshooting Common Car Carpet Dye Problems
- Frequently Asked Questions
- Final Verdict: Bringing Your Faded Carpet Back to Life
Can You Dye a Faded Car Carpet? Yes, and Here’s Why It’s Worth It
Automotive carpets can absolutely be dyed, and the results often look remarkably close to the original factory color. Specialized automotive fabric dye contains flexible pigments and binders designed to soak into carpet fibers without leaving them crunchy or stiff.
If you are staring at sun-bleached brown carpet that used to be black, or a once-vibrant red floor that has gone pink in the driver’s footwell, dyeing is almost always worth trying before you commit to replacement. The cost of dye and a few basic supplies is a fraction of a new carpet kit, and you preserve the original padding and backing that aftermarket replacements rarely match perfectly.
I want to set expectations honestly: dye will not fix physical damage like burns, tears, or worn-through fibers. It restores color, not structure. If your carpet backing is crumbling or the pile is matted flat from decades of wear, replacement is the better call. But for the much more common problem of fading and discoloration, dye is the right tool.
Why Car Carpet Fades: The Real Causes Behind the Discoloration
Before you learn how to dye faded car carpet, it helps to understand why it faded in the first place. The cause tells you whether dye will actually stick, or whether you are fighting a losing battle.
UV damage is the silent killer
Ultraviolet rays are the number one cause of carpet fading, and they hit the driver’s side and rear deck hardest because of the angle of sunlight through the glass. UV breaks down the dye molecules already in the carpet fibers, leaving them pale, chalky, and uneven.
A car parked outside daily in the sun can show visible fading in as little as 3 to 5 years. Garage-kept classics often survive decades with their original color intact, which is why condition varies so wildly between two cars of the same model year.
Wear, stains, and chemical residue
High-traffic areas like the driver’s footwell and the area under the steering wheel get hit with constant abrasion from shoes, plus spills of every kind: coffee, soda, mud, road salt, and whatever the kids drag in. These spots fade faster because the dye is physically worn away, not just broken down by UV.
Stains also leave behind residues that block new dye from soaking in evenly. Old coffee spots, for example, often leave a slightly waxy residue that causes fish-eyes in fresh dye. Thorough cleaning before you start is not optional, it is the single biggest factor in whether your dye job looks even or patchy.
When the backing is the real problem
There is one case where dyeing is wasted effort: when the carpet backing has deteriorated. The rubber or latex backing holds the fibers in place and gives carpet its structure. If you grab a tuft and it pulls out easily, or if the backing feels crumbly and stiff like old hard cheese, the carpet is past its service life.
Forum members with decades of restoration experience are firm on this point: check the backing before you start. A user on Corvette Forum put it bluntly when they told another restorer to inspect the rubber first, because no amount of dye will save a carpet that is falling apart underneath.
Products and Tools You’ll Need to Dye Car Carpet
The right supplies make this job dramatically easier. Here is what our team uses and what experienced forum restorers recommend.
Choosing the right dye: spray, RIT, or SEM
Three product types dominate real-world carpet restorations. Each has strengths and tradeoffs, so the right pick depends on your situation.
Automotive spray dye is the easiest option for most people. Brands like Duplicolor Carpet Dye and SEM come in aerosol cans designed for fabric, with flexible binders that move with the carpet instead of cracking off. They are fast, predictable, and forgiving for first-timers. A user on the r/944 subreddit restored a full set of factory carpets with a single can of Duplicolor, applying three coats per panel with great results.
RIT dye is the household standby and absolutely can be used on car carpet, but it requires more work. RIT is a fiber-reactive dye, so you mix it, apply it full-strength with a spray bottle or sponge, and work it into the pile with a stiff brush. A Corvette Forum thread documented a successful RIT restoration where the user sprayed the dye on and scrubbed it in with a drywall brush. The catch is that RIT gives less control over the final shade, and you need multiple applications to reach deep color.
SEM fabric and vinyl dye sits in the middle. SEM is widely used in professional restoration shops and praised by forum members for plastic and vinyl trim, but individual experiences on carpet vary. Some users love the color depth, others find it slightly stiffer than dedicated carpet dye.
Tools: brushes, masking tape, cleaner
Beyond dye, you need a small kit of supplies to do the job right.
- A stiff-bristled brush: a small scrub brush or even a clean drywall brush works well for working dye into the pile.
- Fabric or upholstery cleaner: a dedicated foaming cleaner like Folex or 303 cleaner lifts stains and residue. Avoid household carpet shampooers, which leave too much moisture.
- Microfiber towels: for blotting and drying between coats.
- Masking tape and paper: 1.5 inch or 2 inch painter’s tape and masking paper protect plastic trim, pedals, and seat rails.
- Plastic sheeting or garbage bags: to drape over seats and consoles.
- A box knife or scissors: for trimming any stray tufts after dye dries.
- Nitrile gloves and a respirator with organic vapor cartridges: dye fumes are no joke, and you want both skin and lung protection.
What to wear and how to ventilate
Work in a well-ventilated space with the doors open or the car in a shaded, breezy driveway. Automotive dyes and RIT both release fumes that are unpleasant at best and harmful at worst. A proper respirator is not paranoia, it is basic safety.
Wear old clothes you do not care about. Even cured dye can transfer a little to pants and shoes for the first few days. I keep a dedicated pair of shop shoes for dye work, and I still see faint black smudges on the soles after a project.
How to Dye Faded Car Carpet: Step-by-Step Guide
This is the core process. Work slowly, do not skip the prep, and resist the urge to lay down one heavy coat. Thin, even coats always look better than one thick coat.
Step 1: Deep clean the carpet
Vacuum thoroughly first, then go over every square foot with a stiff brush and foaming upholstery cleaner. Work the foam into the pile, let it dwell for 5 minutes, then blot with microfiber towels.
Pay extra attention to stains and high-traffic areas. Anything you leave on the carpet now will show through the dye later. Repeat the cleaning pass until your towels come up mostly clean.
Step 2: Mask off the no-go zones
Tape off every piece of plastic, vinyl, and metal you do not want dyed. That includes seat rails, seat belt anchors, door sills, center console trim, pedals, and any switches.
Drape plastic sheeting or garbage bags over the seats and the dashboard. Overspray drifts further than you expect, especially on a breezy day.
Step 3: Test color in a hidden spot
Find an inconspicuous area, like under the driver’s seat or behind the brake pedal, and apply a test coat. Wait 15 minutes for the dye to flash off and check the color match in natural light.
This is the single step that saves the most frustration. A color that looks perfect in the can can dry a shade off once it bonds with the fibers. Better to find out under a seat than across the whole footwell.
Step 4: Apply the first light coat
Hold the can 8 to 10 inches from the carpet and spray in slow, sweeping passes. Overlap each pass by about a third. The carpet should look damp but not soaked.
Work from the back of the car forward so you do not kneel in wet dye. Start with the less-visible areas and finish on the driver’s side and center tunnel, where evenness matters most.
Step 5: Work the dye into the pile
Immediately after spraying a section, scrub it with your stiff brush in multiple directions. This pushes the dye down to the base of the fibers and prevents the stiff, crusty result you get when dye sits on the surface.
The brush is doing real work here. I spend about 30 seconds per square foot, brushing in circles, then back and forth, then side to side. The carpet should look foamy and fully saturated after brushing.
Step 6: Add second and third coats
Let the first coat flash off for 15 to 20 minutes, then apply a second coat the same way. Most projects need two to three coats to reach a deep, even color.
Stop when the carpet is darker than you want while wet. Dye always dries slightly lighter than it looks when first applied, and you can always add another coat, but you cannot easily take one away.
Step 7: Let it cure for 24 hours
Once your final coat is brushed in and flashed off, leave the car untouched for at least 24 hours. Full chemical cure takes longer, but 24 hours is the minimum before light foot traffic.
Keep the car ventilated during this time. Airing out is the only reliable way to deal with the smell, which can linger for several days if the car sits closed up.
Step 8: Inspect and touch up
After curing, walk the carpet with a flashlight and look for any light spots, streaks, or overspray on trim. Light spots get a final touch-up coat. Overspray on plastic usually wipes off with a damp microfiber and a little rubbing alcohol, but the sooner you catch it, the easier it comes off.
A final vacuum with a brush attachment lifts any dyed fibers that clumped during the process and restores the original pile direction.
Pro Tips from Our Team That Make the Difference
After three full carpet restorations and a lot of trial and error, here is what our team has learned that the instructions on the can do not tell you.
Work in thin coats, not one heavy soak
One heavy coat almost always looks worse than three thin ones. Thick dye sits on top of the fibers, dries stiff, and wears off fast. Thin coats penetrate deeper, feel softer, and last longer.
It is also easier to fix mistakes with thin coats. A patchy thin coat just needs another light pass. A patchy thick coat often needs the whole section scrubbed off and restarted.
Watch the temperature and humidity
Dye behaves differently on a 60 degree day versus a 90 degree day. Cool, humid conditions slow drying and let dye penetrate deeper. Hot, dry conditions flash it off faster but can leave the surface crusty.
Our team prefers working in the 65 to 80 degree range with low humidity. If it is too hot, work in shorter sections so the dye does not dry before you brush it in.
How to avoid stiff carpet
Stiffness is the most common complaint after a dye job, and it almost always comes from too much dye in one spot. The fix is brushing, brushing, brushing. Every coat gets brushed into the pile until the carpet feels saturated but not crunchy.
If you finish and the carpet still feels stiff after curing, a pass with a damp microfiber and a stiff brush can pull out some of the excess. It is not a perfect fix, but it softens things noticeably.
Troubleshooting Common Car Carpet Dye Problems
Even careful projects hit snags. Here is how our team handles the four most common issues.
Patchy or uneven color
Patchy results almost always trace back to uneven cleaning or missed prep. The fix is another light coat over the entire section, not just the light spots. Spot-treating makes the color difference worse.
If the patches are severe, scrub the area with a damp brush to lift the existing dye, dry it, and start that section fresh with proper cleaning.
Dye rubbing off on shoes
If dye transfers to your shoes or socks, the carpet was not fully cured. Give it another 24 to 48 hours with the car ventilated before driving.
Persistent rub-off after a full week usually means too much dye was applied. A light pass with a damp microfiber removes surface dye, and another full cure cycle sets the rest.
Lingering smell
Automotive dye smell dissipates with airing out, but it can take a week or more in cool weather. Leave windows cracked when the car is parked, run the fan with fresh air mode for 15 minutes after each drive, and avoid leaving the car sealed up for long stretches.
Baking soda sprinkled lightly on the dry carpet, left overnight, and vacuumed up helps pull odor out of the fibers.
Carpet feels stiff
Stiffness after curing means either too much dye or insufficient brushing. Brush the area firmly with a stiff-bristled brush in all directions. Most stiffness works out within a week of normal foot traffic as the fibers flex.
Persistent stiffness is the one issue you usually cannot fully reverse, which is another reason to start with thin coats.
Frequently Asked Questions
Is there a spray that can dye auto carpets?
Yes. Automotive carpet spray dyes like Duplicolor Carpet Dye and SEM fabric dye are made specifically for car interiors. They come in aerosol cans, spray on evenly, and contain flexible binders that keep carpet soft after curing. For most DIYers, spray dye is the easiest and most predictable option.
What is the best automotive carpet dye?
For first-time projects, Duplicolor Carpet Dye is the most popular pick among forum restorers because it sprays evenly and stays flexible after curing. SEM fabric dye is a strong alternative favored by professional shops. RIT dye works on carpet but requires more effort and gives less control over the final shade.
Will rubbing alcohol dye carpet?
No. Rubbing alcohol will not dye carpet. It can be used to lift dye overspray off plastic trim, but it does not add color to fabric. For actual color restoration on carpet you need a dedicated fabric or carpet dye.
Can I dye carpet a lighter color?
Dye can only darken carpet, not lighten it. Carpet that has faded from black to brown cannot be dyed back to true black using standard dyes. Going lighter requires either bleaching the existing color or replacing the carpet entirely.
How long does the smell last?
Automotive dye smell typically fades within 3 to 7 days when the car is ventilated. Keep windows cracked when parked and run the fan on fresh-air mode during drives. Baking soda left on the carpet overnight helps pull odor out of the fibers faster.
Does dye rub off on shoes after it dries?
Properly cured dye should not rub off on shoes. If you see transfer after 48 hours of cure time, the carpet likely had too much dye applied. A damp microfiber pass and another full cure cycle usually fixes it.
Should I remove the carpet or dye it in the car?
Dyeing in place works well for spot fading and full-cabin refreshes. Removing the carpet gives better access to edges and corners but adds several hours of disassembly. For most DIYers, in-car dyeing is the right tradeoff.
Final Verdict: Bringing Your Faded Carpet Back to Life
Learning how to dye faded car carpet is one of the highest-value DIY skills for any car owner. For a small investment of time and a few basic supplies, you can restore factory-fresh color to a sun-bleached interior and skip the cost and labor of full carpet replacement.
Start with a deep clean, mask off your trim, test the color in a hidden spot, and apply thin coats brushed thoroughly into the pile. Give it a full 24 hours to cure, and air the car out well afterward. If you do those things, the result will look closer to a professional restoration than a weekend project.
Pick a day with mild weather, lay out your supplies, and give your carpet the refresh it has been waiting for.