
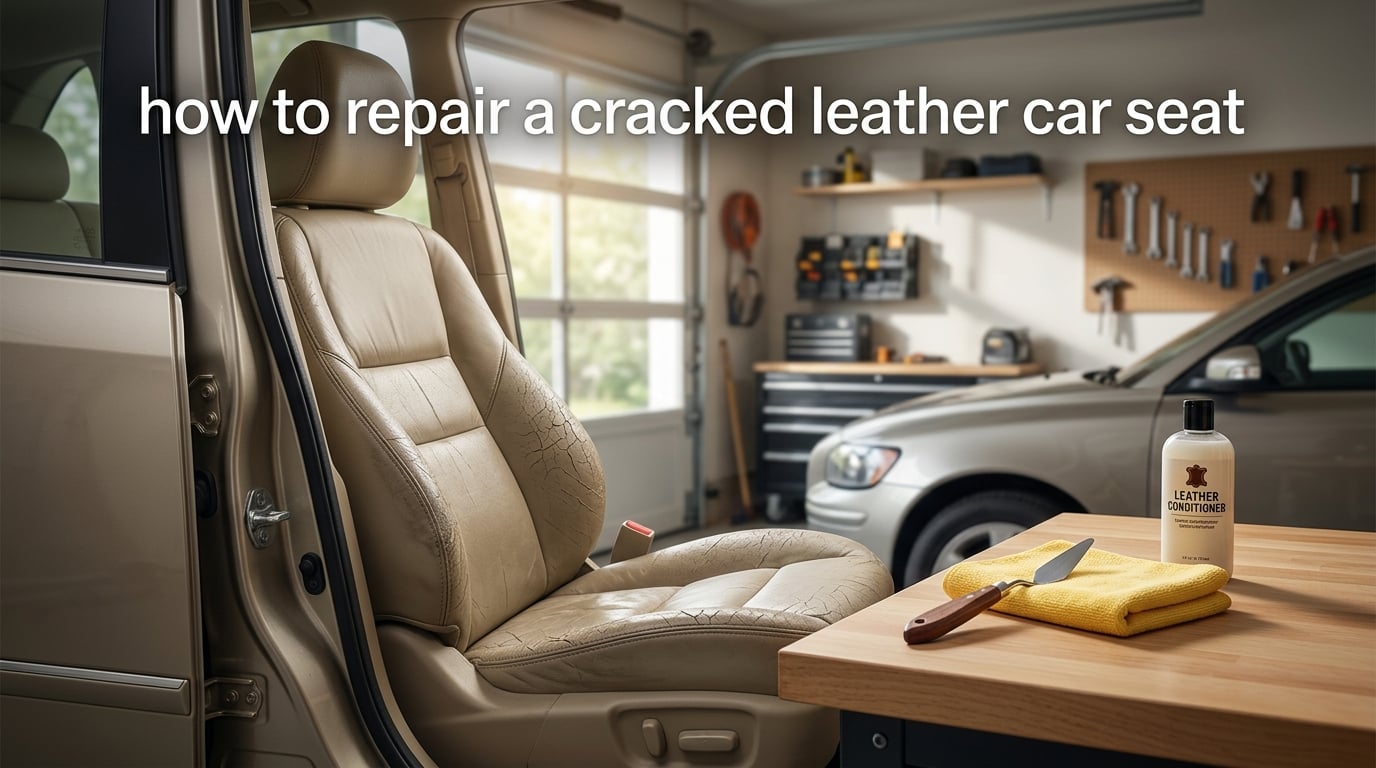
If you’re staring at a cracked leather car seat and wondering whether you can fix it yourself, the short answer is yes — for most surface cracks and shallow splits, a careful DIY repair holds up well and saves the cost of full reupholstery. Our team at Segal Motor Trimmings has restored thousands of leather interiors over the years, and in this guide we’ll walk you through exactly how to repair a cracked leather car seat the way a professional shop would.
By the end, you’ll know which cracks are realistic DIY projects, which materials actually work, how long the job really takes, and when it’s smarter to hand the seat over to a specialist.
Table of Contents
- What Causes Leather Car Seats to Crack
- When to Repair vs Replace a Cracked Leather Seat
- Materials and Safety Prep
- How to Repair a Cracked Leather Car Seat: Step-by-Step
- DIY vs Professional Leather Seat Repair: Cost and Durability
- Maintenance Tips to Prevent Future Cracks
- Common Mistakes to Avoid During Leather Seat Repair
- Frequently Asked Questions
- Conclusion
What Causes Leather Car Seats to Crack
Cracked leather seats almost always come down to one root cause: the leather has dried out and the protective top coat has split. Sun exposure is the biggest culprit, followed by age, body oils, and infrequent conditioning.
Sun and UV damage
UV rays slowly bake the moisture out of leather and break down the polyurethane top coat. In sunbelt states, drivers often see the driver’s side bolster crack years before the passenger side, simply because that panel catches more direct sun through the window.
Dried-out coated leather
Most modern automotive leather is “coated” leather — a pigmented urethane layer sits on top of the actual hide. That coating protects against stains but, once it dries out, it becomes brittle and starts to craze like old paint.
Wear and tear at high-contact points
The bolsters, seat base edges, and the lower cushion take the most flexing every time you get in and out. Combine that flex with dryness and you get the classic web of fine cracks running along the stitching line.
When to Repair vs Replace a Cracked Leather Seat
Repair cracked leather car seats yourself when the damage is cosmetic — fine surface cracks, shallow splits, and small worn patches. Replace or professionally reupholster when the cracks go deep, the leather is peeling in sheets, or the foam underneath has collapsed.
Repairable: surface cracks and shallow splits
If you can run a fingernail across the crack and feel only a slight groove with no flaking edges, you’re in DIY territory. Filler, dye, and conditioner will restore the look and stop further cracking for years.
Replace when cracks run deep
If the top coat is peeling away in pieces, if you can see the backing fabric through the crack, or if the leather has gone hard and brittle like old cardboard, fillers won’t bond properly. At that point, new seat skins or full reupholstery is the honest answer.
Materials and Safety Prep
Before you start, gather everything on this checklist. Nothing is worse than being halfway through a filler application and realizing you’re missing a tool.
Cleaning supplies
- Mild leather cleaner (pH-balanced, no harsh solvents)
- Microfiber cloths, several lint-free
- Isopropyl alcohol for degreasing
- Painter’s tape to mask off stitching and surrounding panels
Filler and dye supplies
- Leather crack filler (flexible, water-based)
- Color-matched leather dye — match your OEM color code if possible
- Leather sealant or top coat
- Leather conditioner (for the final step)
Application tools
- Fine sandpaper (1000 to 2000 grit)
- Palette knife or plastic spreader for filler
- Small foam sponges and a soft brush for dye
- Heat gun or hairdryer for curing
Safety basics
Work in a well-ventilated space — open the garage door or work outdoors on a calm day. Wear nitrile gloves to keep dye off your hands, and a dust mask when sanding. Keep dyes and fillers away from children and pets.
How to Repair a Cracked Leather Car Seat: Step-by-Step
This is the core process our shop uses on customer cars. Plan on 4 to 6 hours including cure times, usually split across two afternoons.
Step 1: Deep clean the area
Spray the leather cleaner onto a microfiber cloth (not directly on the seat) and wipe the cracked area in overlapping passes. Follow with a wipe of isopropyl alcohol on a clean cloth to strip old conditioner and body oils. Let the surface dry fully before moving on — trapped moisture under filler causes poor adhesion.
Step 2: Lightly sand the cracked surface
Fold a piece of 2000-grit sandpaper into a small pad and gently scuff the cracked area. You’re not removing leather — you’re giving the filler something to bite into. Wipe away dust with a slightly damp microfiber cloth and let it dry.
Step 3: Fill the cracks with leather filler
Using a palette knife, press a thin layer of flexible leather filler into each crack. Work it in from multiple directions to push out air pockets. Don’t try to fill deep cracks in one pass — multiple thin layers cure harder and crack less than one thick glob. Common fillers people reach for include dedicated leather crack filler pastes; in a pinch, reviewers report that thin layers of color-matched leather dye alone can soften the look of very fine cracks.
Step 4: Sand smooth and let it cure
Let each filler layer dry until it’s no longer tacky to the touch — most water-based fillers cure in 20 to 40 minutes at room temperature, and a quick pass with a heat gun on low speeds things up. Lightly sand with 2000-grit between layers. Two to three thin layers usually beats one thick one.
Step 5: Apply color-matched dye
Shake the dye bottle well. Apply with a small foam sponge in thin, even coats, dabbing rather than wiping to avoid streaks. Let each coat dry fully before the next. Two to four thin coats blend the filled cracks into the surrounding leather. Heat application helps the dye penetrate and bond, especially on coated leather.
Step 6: Seal and condition
Once the dye is dry to the touch, mist or brush on a leather sealant to lock in the color. After the sealant cures, finish with a quality leather conditioner. The conditioner restores flexibility to the surrounding leather so the next flex doesn’t reopen the repair.
DIY vs Professional Leather Seat Repair: Cost and Durability
DIY leather repair typically costs a fraction of professional work, but the durability gap has narrowed as kits have improved. Here’s how the two routes stack up.
Typical DIY cost
A basic leather repair kit plus cleaner, conditioner, and color-matched dye generally runs well under what a shop charges for labor alone. The trade-off is your time — count on an afternoon for one seat and a full weekend if you’re doing both front seats.
Typical pro cost
Professional crack repair on a single panel usually lands in the low-to-mid hundreds per seat, depending on the leather type and how many cracks there are. Full seat-skin replacement is several times higher.
Durability expectations
A well-done DIY filler and dye repair typically lasts 2 to 4 years before you see any sign of the cracks reappearing, longer if you keep the leather conditioned. Professional repairs with commercial-grade fillers and OEM dyes often last 5 years or more. The deciding factor isn’t always who does the work — it’s how well the leather is conditioned afterward.
Maintenance Tips to Prevent Future Cracks
Prevention is cheaper than any repair. Once your seats are back to looking right, build a small habit around them.
- Condition the leather every 3 months with a quality leather conditioner
- Park in the shade or use a windshield sun shade to cut UV exposure
- Wipe down seats monthly with a damp microfiber cloth to remove body oils
- Avoid silicone-based “leather” products — they sit on the surface and dry out the hide
- Reapply dye touch-ups the moment a crack reappears, before it spreads
If you live in a hot, dry climate, condition more often — every 6 to 8 weeks during summer — and consider a tinted window film to reduce cabin temperatures.
Common Mistakes to Avoid During Leather Seat Repair
Most DIY leather repairs fail for the same handful of reasons. Avoid these and you’ll beat the average outcome.
- Skipping the cleaning step — filler won’t stick to oily leather
- Filling cracks in one thick layer instead of multiple thin ones
- Using regular super glue or silicone caulk instead of real leather filler
- Skipping color matching and ending up with a darker patch that screams “fix”
- Not conditioning afterward, so the surrounding leather dries out and cracks again
- Working on coated leather with products designed for uncoated leather
Frequently Asked Questions
What is the best leather crack filler?
A flexible, water-based leather crack filler designed for automotive seats is the best starting point. Look for one that stays flexible after curing so it flexes with the seat instead of cracking again. Avoid super glue, silicone caulk, or shoe polish as long-term fixes — they harden, flake, or transfer onto clothing.
Does AutoZone sell leather repair?
Yes, most AutoZone stores carry basic leather repair kits, fillers, dyes, and cleaners. For the best color match, bring your vehicle’s interior color code (usually on a tag under the seat or in the owner’s manual) so you can match the dye to your OEM color rather than guessing from a rack of generic swatches.
Can dry cracked leather be repaired?
Yes, dry cracked leather can be repaired as long as the top coat hasn’t fully peeled away and the backing fabric isn’t exposed. Deep-clean the leather, condition it to restore some flexibility, then fill the cracks and re-dye. If the leather is crumbling or peeling in sheets, the damage is too advanced for a filler repair and the panel needs to be replaced.
What can I use to fill cracks in leather?
Use a flexible leather crack filler applied with a palette knife in thin layers. For very fine surface cracks, reviewers report that thin coats of color-matched leather dye alone can soften the visible cracking. For deeper splits, build up filler in multiple thin layers, letting each cure before sanding and adding the next.
How long does leather crack filler take to dry?
Most water-based leather crack fillers are dry to the touch in 20 to 40 minutes at room temperature and fully cured in 24 hours. A heat gun on low from a safe distance speeds up the surface dry. Don’t sand or dye over the filler until each layer has stopped feeling tacky — trapping wet filler under dye causes cloudiness and poor adhesion.
Conclusion
Knowing how to repair a cracked leather car seat comes down to three honest decisions: whether the leather is actually repairable, whether you have the patience for thin layers and cure times, and whether you’ll keep up with conditioning afterward. Get those three right and a DIY repair will hold up for years.
If your seats are past the point of filler, our team at Segal Motor Trimmings has been matching OEM leather and re-trimming interiors for decades — reach out for a quote and we’ll give you an honest read on whether a repair or a re-trim makes more sense for your car.