
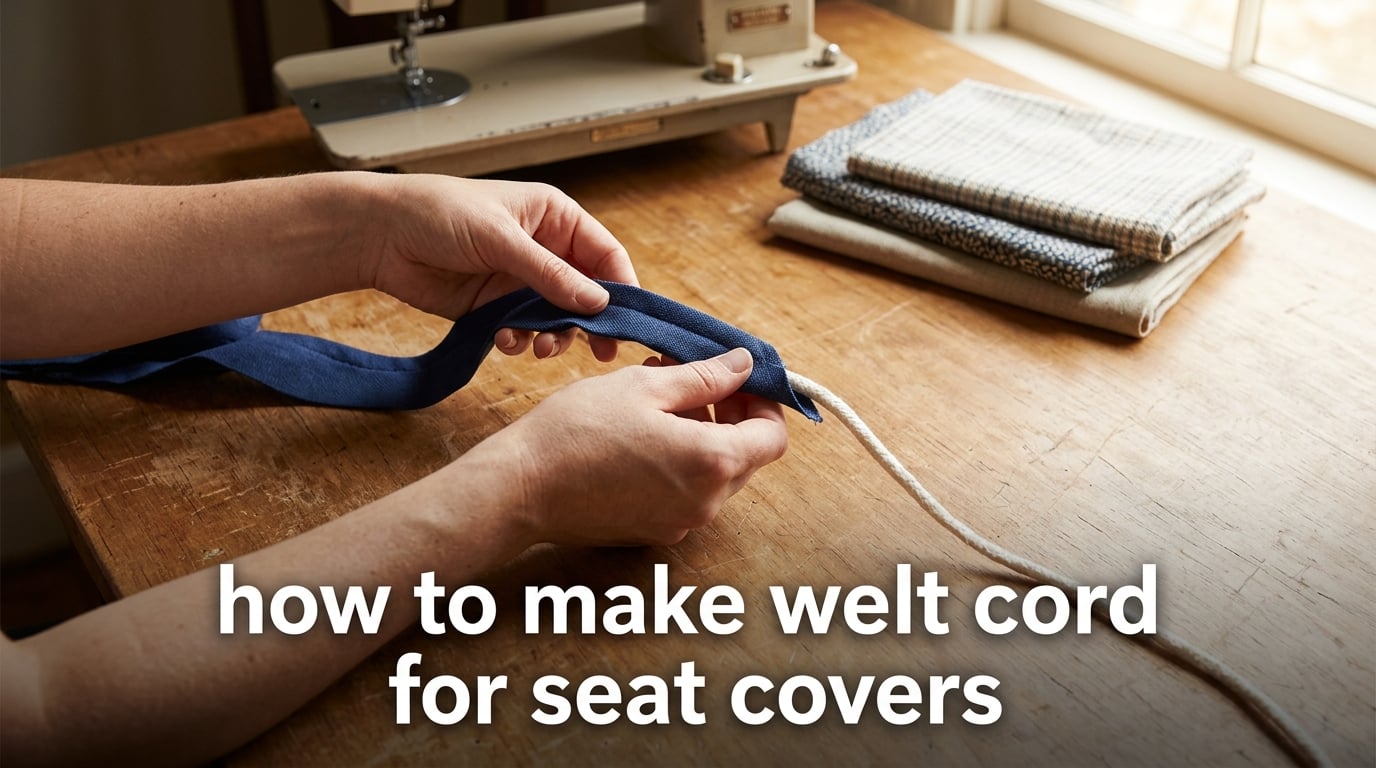
If you want to know how to make welt cord for seat covers that actually looks professional, you are in the right place. Welt cord (also called piping) is the fabric-covered trim that runs along seams on upholstered furniture, and it is what separates a homemade seat cover from a store-bought one.
I have been making welt cord for seat covers for years, and I can tell you the technique is far easier than it looks. In this guide I will walk you through exactly what welt cord is, the materials and tools you need, how to bias cut your fabric strips, and how to sew both single and double welt cord. We will also cover attaching it to seat covers, joining cord ends seamlessly, and fixing the most common mistakes beginners run into.
By the end, you will be able to make welt cord for seat covers with confidence, whether you are reupholstering a dining chair, building slipcovers, or refreshing a tired bench seat.
Table of Contents
- What Is Welt Cord?
- Materials and Tools You Will Need
- Choosing the Right Cord Size
- Bias Cutting Explained
- How to Make Single Welt Cord for Seat Covers
- How to Make Double Welt Cord for Seat Covers
- How to Attach Welt Cord to Seat Covers
- How to Join Welt Cord Ends Seamlessly
- Common Mistakes and How to Fix Them
- Frequently Asked Questions
- Final Thoughts on Making Welt Cord for Seat Covers
What Is Welt Cord?
Welt cord is a fabric-covered cord sewn into the seams of upholstered items to add a decorative edge and a clean, finished look. It consists of a flexible filler cord (usually cotton, polyester, or a synthetic blend) wrapped tightly in a strip of fabric and stitched in place. On seat covers, welt cord hides raw seam edges, covers staples and tacks, and adds the tailored ridge you see along cushions, armrests, and back panels.
The same trim is also called piping in sewing circles, and welting in older upholstery manuals. In short, welt cord, piping, and welting refer to the same thing: fabric-wrapped cording sewn into a seam.
Gimp, on the other hand, is a flatter braided trim that serves a similar decorative purpose but is glued on rather than sewn into the seam. Knowing the difference matters when you are matching a vintage piece or planning a custom look.
Materials and Tools You Will Need
Before you start sewing, gather everything on this list. Having the right tools on hand is the difference between a frustrating afternoon and a satisfying project.
- Upholstery fabric for the seat cover and the welt strip. The welt can match the cover or be a contrasting fabric for a pop of color.
- Filler cord: 5/32 inch (about 4 mm) polyester or cotton cording is the most common upholstery size.
- Cutting tools: fabric shears or a rotary cutter with a mat and a ruler or yardstick for straight cuts.
- Sewing machine with a zipper foot (for single welt) or a piping foot (for double welt).
- Thread matching your fabric, or contrasting thread if you want the stitching to show.
- Pins or fabric clips to hold the cord in the fabric strip while sewing.
- Measuring tape and a fabric marking pen or chalk.
- Attachment supplies: hot glue gun and glue sticks, upholstery staples (if you are working on a frame), or hand-sewing needle and strong thread.
If you do not own a piping foot, a zipper foot is a perfectly good substitute for single welt cord. For double welt, a double-welt foot is much easier, but you can still get by with a zipper foot and careful hand guiding.
Choosing the Right Cord Size
Cord size is one of the most common questions I get from first-time upholsterers. The answer depends on the thickness of your seat cover and the look you want.
For most seat covers using standard-weight upholstery fabric, 5/32 inch (around 4 mm) filler cord is the workhorse size. It creates a defined ridge without looking bulky, and it stitches cleanly under a zipper or piping foot. This is the size I default to for dining chair seats, bench cushions, and most sofa seat cushions.
For thinner fabrics like lightweight cotton or linen, drop to 1/8 inch (3 mm) cording. For heavy vinyl, leather, or thick canvas (think boat seats or motorcycle seats), bump up to 3/16 inch or 1/4 inch filler cord so the ridge stays visible.
A quick test: wrap your chosen cord in a strip of your cover fabric and look at the resulting welt. If it looks too thick or too thin against your seam allowance, switch sizes. You want the welt to look proportional to the cushion, not like a rope glued to a pillow.
Bias Cutting Explained
Bias cutting is the single most important technique for making welt cord that bends smoothly around corners. The bias is the 45-degree diagonal across the weave of your fabric. Strips cut on the bias stretch slightly, which lets the welt curve around seat corners and rounded cushion edges without puckering or pulling.
To cut strips on the bias, lay your fabric flat with the selvage edge running horizontally. Fold one corner diagonally so the fold lines up with the opposite selvage edge. The folded edge is your bias line. Cut along that fold to establish a true 45-degree edge, then cut parallel strips from it.
How wide should the strips be? A reliable formula: twice the diameter of your filler cord, plus 1 inch (about 25 mm) for the seam allowance that wraps around the cord. For 5/32 inch cord, cut strips about 1.25 inches (32 mm) wide. For thicker 1/4 inch cord, cut strips around 1.5 inches (38 mm) wide. Adjust slightly based on your seam allowance.
If your seat cover has only straight seams, you can use straight-grain strips cut parallel to the selvage. They are easier to cut and slightly more stable. Save bias cuts for projects with curves, rounded corners, or tight radii.
How to Make Single Welt Cord for Seat Covers
Single welt shows one cord on the front of the seam and a flat strip of fabric on the back. It is the cleanest option for seat covers where the welt sits along a single visible edge, such as the top of a cushion or the front of a dining chair seat.
Step 1. Cut your bias or straight-grain strips to the calculated width. Join shorter strips end-to-end with a 45-degree seam to make one long continuous strip. Press the seams open.
Step 2. Lay the filler cord along the center of the wrong side of one fabric strip. Fold the fabric over the cord so the two long edges meet, enclosing the cord in a tube of fabric.
Step 3. Pin or clip every 4 to 6 inches to hold the cord in the fabric. Avoid using too many pins because they get in the way of the presser foot.
Step 4. Attach a zipper foot to your sewing machine. Set the stitch length to a medium-long straight stitch (about 2.5 to 3 mm). Position the cord so the needle stitches as close to the cord as possible without breaking needles or skipping stitches.
Step 5. Sew slowly, using your fingers to keep the fabric taut around the cord and guide it evenly under the foot. Do not stretch the fabric. Just keep the cord rolling smoothly into the groove of the zipper foot.
Step 6. When you reach the end of your cord, backstitch and trim the excess fabric strip, leaving about 1 inch of bare cord beyond the last stitch. This bare tail is what you will use to splice with the next length.
You now have a continuous length of single welt cord ready to sew into your seat cover seam.
How to Make Double Welt Cord for Seat Covers
Double welt shows two parallel cords along the seam, which is the traditional look on dining chairs, automotive seats, and classic upholstery. It is more decorative than single welt and is what most people picture when they imagine professional upholstery trim.
Step 1. Cut your bias strips 1.5 times wider than for single welt. For 5/32 inch cord, that is about 1.75 to 2 inches (45 to 50 mm) wide. The extra width lets the strip wrap around two cords.
Step 2. Lay two parallel filler cords along the center of the wrong side of the fabric strip. Keep them touching but not overlapping. Pin in place every 4 inches.
Step 3. Fold the fabric over both cords so the long edges meet, enclosing the two cords in the tube.
Step 4. Use a piping foot (also called a double-welt foot) if you have one. The groove under the foot guides the two cords while the needle stitches between them. If you do not have a piping foot, a zipper foot works: position the foot so the needle falls between the two cords.
Step 5. Sew with a straight stitch, length 3 mm. Stitch between the two cords, not on top of either one. Slow, steady speed gives the cleanest result.
Step 6. Backstitch at the start and end. Leave 1 inch of bare cord beyond the stitching at each end so you can join lengths later.
Community upholsterers repeatedly confirm that double welt looks intimidating but is the same process as single welt, just with one extra cord. Once you sew a few inches, the rhythm becomes natural.
How to Attach Welt Cord to Seat Covers
Making the cord is only half the job. Attaching it correctly is what makes the finished seat cover look tailored. There are three common methods, and each works best in a different situation.
Hot Glue
Hot glue is the fastest method and the one most DIY upholsterers reach for first. Run a thin bead of high-temperature hot glue along the edge of the seat cover, press the welt into the glue, and hold for a few seconds while it sets. Hot glue is ideal for slipcovers, decorative trim, and pieces that do not see heavy daily abuse.
Staples
Staples are the professional choice when attaching welt to a wooden frame, such as the underside of a dining chair seat or a bench. Place staples between the two cords of a double welt (never through them) so the staple heads are hidden when the welt is pressed flat. Staple every 1 to 2 inches for a tight, even hold.
Stitching
Stitching the welt into the seam of a sewn seat cover is the most secure and reversible method. Sew the welt into the seam allowance between the cover panels, with the ridge of the cord pointing toward the front of the cover. This is the method used on fitted slipcovers and most factory-made seat covers.
If you want the most professional result on a wooden seat, combine methods: staple the welt to the frame first, then run a bead of hot glue over the staples to lock everything in place and prevent the staples from working loose over time.
How to Join Welt Cord Ends Seamlessly
Few things ruin a seat cover faster than a visible welt splice. The good news is that joining cord ends neatly is a quick skill to learn.
Strip about 1 inch of fabric from the end of each welt length, exposing the bare filler cord. Overlap the two bare cords by about half an inch. Wrap a small scrap of your welt fabric around the overlap and hand-stitch it in place, hiding the splice completely. Tuck the joined section into a corner or under a seam where it is least visible.
For the cleanest result, plan your welt so any splice lands on the back or underside of the seat, not along a visible front edge.
Common Mistakes and How to Fix Them
Even experienced upholsterers run into trouble. Here are the problems I see most often and how to solve them.
Puckering fabric. Your welt pulls and wrinkles instead of laying flat. The cause is almost always stretching the fabric while sewing. Let the fabric feed naturally and use your fingers only to guide, not pull.
Broken needles. If your needle snaps when stitching close to the cord, you are sewing too close to the filler or hitting the metal foot plate. Switch to a heavier denim or upholstery needle (size 16 or 18), slow down, and adjust the foot position.
Fabric stretching on the bias. Bias strips stretch, which is great for curves but a problem if you overhandle them. Cut, pin, and sew in one session rather than letting bias strips sit stretched on the table overnight.
Welt is too thick or too thin. Either swap your filler cord size or adjust the width of your fabric strip. Remember the formula: strip width equals twice the cord diameter plus seam allowance.
Cord slipping out of the fabric. Your filler cord is sliding around inside the welt. You are not stitching close enough. Move the needle as close to the cord as your foot allows and the cord will lock into the seam.
Frequently Asked Questions
What is welt cord?
Welt cord is a fabric-covered cord sewn into the seams of upholstered items to add a decorative ridge and hide raw edges. On seat covers it is the tailored trim you see along cushions, chair seats, and back panels, and it is also called piping or welting.
How do I make my own piping?
Cut fabric into bias strips about 1.25 inches wide for standard 5/32 inch filler cord, wrap the cord in the strip, and sew it tightly with a zipper or piping foot. Stitch as close to the cord as possible, then sew the finished piping into the seam of your seat cover.
What size cording should I use for upholstery?
5/32 inch (about 4 mm) filler cord is the most common size for standard upholstery seat covers. Use 1/8 inch for thin fabrics and 3/16 to 1/4 inch for heavy vinyl, leather, or thick canvas where you want the ridge to stay visible.
Do I need a special presser foot to make welt cord?
For single welt a regular zipper foot is enough. For double welt a piping foot makes the job much easier because the groove guides both cords under the needle, but a zipper foot positioned between the two cords also works.
How do I join the ends of welt cord seamlessly?
Strip about 1 inch of fabric from each welt end to expose the bare filler cord, overlap the bare cords by half an inch, and wrap the joint with a small scrap of welt fabric. Hand-stitch the wrap closed and tuck the splice into a corner or under a seam where it will not be seen.
Is hot glue strong enough to hold welt cord on furniture?
High-temperature hot glue holds welt cord firmly on decorative pieces, slipcovers, and light-use seat covers. For heavy daily seating combine hot glue with staples into the wooden frame for a long-lasting hold.
What fabric works best for covering cording?
Medium-weight woven upholstery fabric works best because it wraps tightly around the cord and sews without stretching. Avoid very stretchy knits, which distort when sewn on the bias, and very stiff fabrics like vinyl, which fight the curve at corners.
Final Thoughts on Making Welt Cord for Seat Covers
Learning how to make welt cord for seat covers gives you a skill you will use on every upholstery project from now on. Once you have the bias strips cut, the right cord size picked, and a few inches sewn, the rest of the process becomes muscle memory.
Start with a single welt on a small project like a dining chair seat. Build up to double welt on a cushion or bench once you are comfortable. Match the welt fabric to your seat cover for a clean classic look, or use a contrasting welt for a custom designer touch.
Take your time with the bias cutting and the stitching close to the cord. Those two details are what separate a homemade seat cover from one that looks like it came out of a professional workshop. With a little practice, you will be making welt cord for seat covers faster than you ever thought possible.