
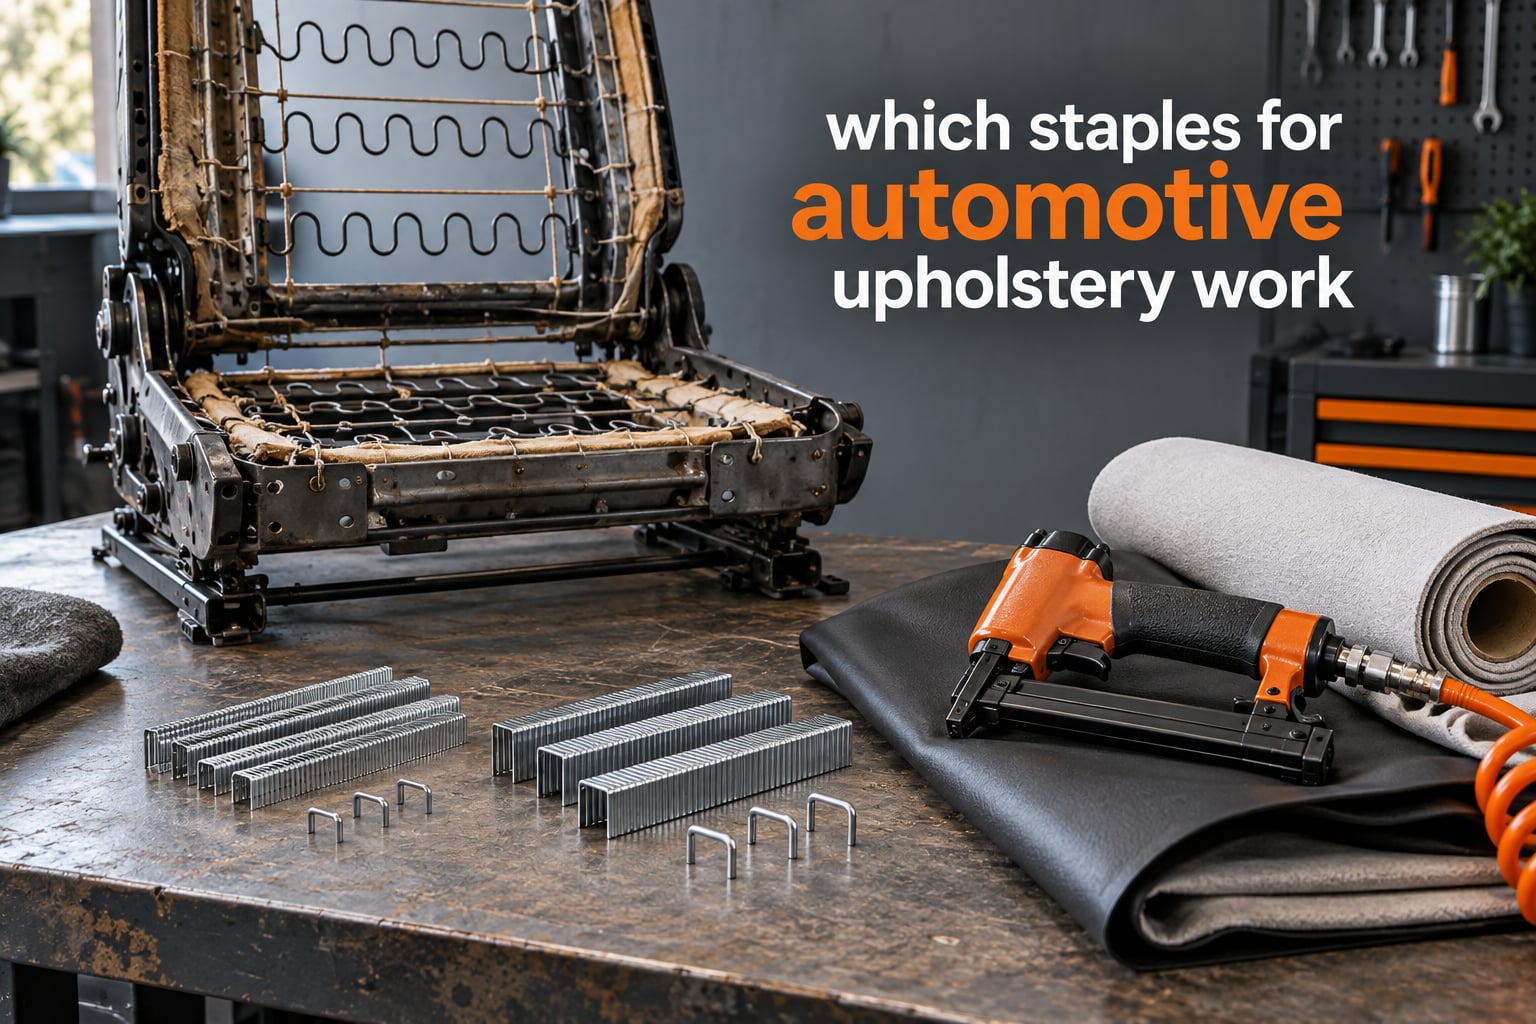
Which staples for automotive upholstery work? Use 22 gauge 71 series staples with a 3/8 inch (9.1 mm) crown and a 6-10 mm leg for headliners, door cards and fine trim, and 20 gauge T50 staples with a 3/8 to 1/2 inch (10.2 mm) crown and a 10-14 mm leg for seat frames, carpet and heavier panels. Specify stainless steel for any interior that sees moisture.
That answer only helps if the three numbers behind it mean something. Every staple box, collator box and tool manual describes a staple the same way: a gauge for wire thickness, a crown for the width across the top, and a leg length for how far it drives into the frame. Get those three right and almost any automotive trim job goes together. Get them wrong and the cover sags in a month, splits the plywood, or shows a rust stain through fresh vinyl.
Most of the confusion on this topic comes from mixing up two numbering systems. T50 and 71 series are routinely treated as the same thing in forum threads, and they are not. They differ in wire thickness, they differ in crown width, and a tool built for one will jam, misfire or refuse to load the other. Once that distinction is clear, the rest of the decision is mostly about which panel you are tacking and how wet that panel gets.
This guide covers the staple series that automotive trim shops actually use, how to read a box spec, which staple suits which material and panel, why stainless steel matters in a car, which tools fire which staples, and the technique that keeps a staple line invisible. I have pulled the sizing conventions used across the trade and cross-checked them against what restorers report on the upholstery forums, because the useful knowledge on this subject is scattered across a dozen threads and no single answer.
Table of Contents
- What Staples for Automotive Upholstery? The Short Answer
- How Staple Sizing Works – Gauge, Crown, and Leg Length Explained
- The Staples Used in Automotive Upholstery
- Choosing by Material – Vinyl, Leather, Headliner Cloth, Carpet, and Foam
- Choosing by Panel – Seats, Door Cards, Headliner, Dash and Trim, Carpet
- Galvanized vs Stainless Steel Staples for Car Interiors
- Staple Guns That Fire Automotive Staples
- Technique – Spacing, Tacking, and Avoiding Visible Damage
- Buying Guide – How to Read a Staple Box Spec
- Frequently Asked Questions
- Are T50 staples good for upholstery?
- What gauge staples should I use for upholstery?
- Can I use T50 staples in a car, or do I need 71 series?
- What size staples for seat upholstery?
- What gauge are 71 series staples?
- What is the difference between 18 gauge and 20 gauge staples?
- What staple gun do upholsterers use for automotive work?
- Do you need special staples for upholstery?
- Conclusion
What Staples for Automotive Upholstery? The Short Answer
Two staple families cover almost all automotive upholstery work: 71 series for fine interior trim and T50 for structure. Everything else is a variation on gauge, crown and leg length within those two families.
| Staple | Gauge | Crown | Leg length | Typical automotive use |
|---|---|---|---|---|
| 71 series | 22 gauge, fine wire | 3/8 inch (9.1 mm) | 6-14 mm | Headliner cloth, door card edges, pillar trim, small panels |
| T50 | 20 gauge, medium wire | 3/8 inch (10.2 mm) standard, 1/2 inch also made | 6-14 mm | Seat frames, carpets, larger trim, general work |
| High crown vinyl staple | 21 gauge class | 9/16 inch (14 mm) high crown | 10-14 mm | Vinyl seat covers, convertible tops, thicker leather |
| 18 gauge trim staple | 18 gauge, medium wire | 3/8 inch | 6-12 mm | Dense trim, marine and heavy panel work |
| Heavy wire staple | 16 gauge class | Narrow crown | 12-16 mm | Structural tacking where frame stock is thick or hard |
Two rules sit behind that table. First, the crown must match the magazine and driver in your tool exactly, or the staple will not load. Second, in a car the corrosion resistance of the coating matters more than in furniture, because a vehicle interior collects condensation, road salt and damp carpets in ways a living room does not.
Our shop rule of thumb is simple: 71 series for anything you will see, T50 for anything that holds load, and stainless whenever the panel sits under a window, in a door, or over a floor.
How Staple Sizing Works – Gauge, Crown, and Leg Length Explained
Staple sizing is three independent choices that work together. A shop can mix a 20 gauge wire with a 3/8 inch crown and a 14 mm leg, or keep the crown and change only the length. Understanding what each number controls is the fastest way to answer any sizing question.
Gauge is the thickness of the wire, and the numbering runs backwards: a lower gauge number means thicker wire. A 16 gauge staple is heavy wire, 18 and 20 gauge are medium wire, and 22 gauge is fine wire. Thicker wire bends less and resists pull-out, which is why heavy wire is specified for structural tacking and fine wire is specified for panels where splitting is a risk.
Crown is the width of the top of the staple, measured across the outside of the legs. Crown is not a preference. It is set by the tool, and a staple with the wrong crown sits loose in the magazine, rides up into the driver blade and jams, or fires crooked. This is the single most common reason a stapler “will not work” when the staple strip looks perfectly ordinary.
Leg length is the depth of penetration, and it is the number that most often causes damage. Too short and the cover lifts, too long and you blow through thin plywood or shoot out the far side of a foam cushion. Leg length also has to be read in both units, because staples are sold in millimetres and inches and the two labels are not identical.
| Leg length (mm) | Closest sold inch size | Where it is used in a car |
|---|---|---|
| 6 mm | 1/4 inch (6.35 mm) | Thin trim, plastic panels, thin plywood edges |
| 8 mm | 5/16 inch (7.9 mm) | Headliner cloth, door card skins, light panels |
| 10 mm | 3/8 inch (9.5 mm) | Door cards, headliner on hardwood bows, general trim |
| 12 mm | 1/2 inch (12.7 mm) | Seat frames, carpet, thicker panels |
| 14 mm | 9/16 inch (14.3 mm) | Heavy foam, convertible tops, marine and truck seating |
| 16 mm | 5/8 inch (15.9 mm) | Thick hardwood or composite frames only |
Note the direction of the error in that table. A 10 mm staple is 9.5 mm, and a 12 mm staple is 12.7 mm, so picking the inch size and expecting the millimetre figure to match will always leave you slightly short. When in doubt, measure what the tool is rated for rather than converting in your head.
Collated simply means the staples are pre-stripped onto a glue-bound strip for magazine loading, and you will see it printed on nearly every box you buy. Loose staples are a different product for a different use, and most automotive tools will not feed them.
The Staples Used in Automotive Upholstery
The staple series numbers used across the trade are 71, 80 and 90, and the numbering is a legacy of the tool industry rather than a universal measurement standard. The reliable way to use it is as a family label: 71 series sits in the fine wire, 3/8 inch crown class, 80 series sits in the 18 gauge class, and 90 series is the heavy wire class. Confirm gauge, crown and length on the box for the specific brand in your hand.
| Series | Wire class | Crown | What it is for in a car | Tool it needs |
|---|---|---|---|---|
| 71 series | 22 gauge fine wire | 3/8 inch (9.1 mm) | Headliners, door cards, pillar and dash trim where appearance matters | A 22 gauge 71 series stapler, manual or pneumatic |
| 80 series | 18 gauge medium wire | 3/8 inch | Denser trim, heavier fabric, work where extra hold is needed without heavy wire | An 18 gauge tool |
| 90 series | 16 gauge heavy wire | Narrow crown | Structural tacking, thick hardwood or composite frames | A heavy wire tacker |
| T50 | 20 gauge medium wire | 3/8 or 1/2 inch (10.2 mm standard) | Seats, carpets, general interior work, convertible tops | A T50 tool, manual, electric or pneumatic |
| High crown vinyl staple | 21 gauge class | 9/16 inch high crown | Vinyl and leather where a wider bite spreads the load | A high crown tool |
T50 vs 71 Series – Why the Crown Widths Do Not Match
T50 staples and 71 series staples are not interchangeable, and treating them as the same staple is the most common error on automotive trim jobs. T50 is a 20 gauge staple with a crown of roughly 10.2 mm, while 71 series is a 22 gauge staple with a crown of roughly 9.1 mm. Different wire thickness, different crown, different driver.
A T50 tool will not load a 71 series strip properly, and a 71 series tool will not accept a standard T50 strip. There are wide crown T50 staples made for heavier work, and those go into wide crown T50 tools only. If a strip will not seat flat in the magazine, stop and check the crown marking rather than forcing it.
So which should you use? For a headliner or a door card where the staple line has to stay hidden, fine wire 71 series leaves a smaller, neater mark and is easier on thin bow stock. For seat frames, carpets and anywhere load matters, 20 gauge T50 has the extra wire thickness to hold a cover under tension. On forum threads you will see both defended as the whole answer, and each is right for its own panel.
One r/DIY reupholsterer runs a budget pneumatic tool on T50 staples and reports it working well for the whole interior. Someone else on the same hobby forums asked about a seat frame and was told a Harbor Freight tool handles a 1/2 inch crown on it, with 3/8 inch also workable. Those are real results, but they are results for a specific panel and a specific tool, not a rule that one staple covers everything.
Choosing by Material – Vinyl, Leather, Headliner Cloth, Carpet, and Foam
Material decides two things: how much bite the crown needs to give, and how long the leg has to be to reach the frame through the stack. Vinyl and leather resist the initial tear that cloth lets happen easily, so they need more width and a longer reach. Cloth and carpet grip on their own, so a smaller staple will hold.
| Material | Recommended staple | Leg length | Point type | Note |
|---|---|---|---|---|
| Vinyl | 20 gauge T50, or a high crown vinyl staple | 10-14 mm | Chisel point | Watch air pressure; a hard drive punches straight through the face |
| Leather | 20 gauge T50 or 18 gauge | 12-14 mm | Chisel point | Long legs reach through the foam to the frame beneath |
| Headliner cloth | 22 gauge 71 series | 6-10 mm | Spear or chisel | Short legs reduce the chance of punching through a thin bow |
| Door card vinyl or cloth | 22 gauge 71 series, 20 gauge for thick builds | 8-10 mm | Chisel point | Tack along a seam or fold so the line is hidden |
| Carpet | 20 gauge T50 | 10-12 mm | Chisel point | Stretch the carpet before tacking or it will creep |
| Foam over a frame | 20 gauge T50 | 12-14 mm | Spear point | Long legs cut through foam and bite the structure under it |
| Plastic trim panel | Fine wire, short leg | 6-8 mm | Spear point | Where the plastic has a thin wooden insert, short staples prevent blowout |
Leather is the material that punishes an under-length staple. The hide is heavy and it wants to pull back toward its original shape, so a cover held with short staples will pucker along the seam line within weeks.
Foam is the opposite problem. A short staple driven into a cushion stops in the foam and holds nothing, because foam has no structural strength. A user on carolinafirearmsforum.com described running a standard T50 hand stapler on plastic motorcycle seats and reaching for spear point staples to get into the substrate.
Choosing by Panel – Seats, Door Cards, Headliner, Dash and Trim, Carpet
Panel-by-panel is the practical version of the material rule, and it is where automotive work separates from general upholstery. The same staple that is right on a seat frame is wrong on a headliner bow.
| Panel | Typical staple | Leg length | Coating note |
|---|---|---|---|
| Seat frame and cover | 20 gauge T50 | 10-14 mm | Stainless if the seat is in a wet climate or a convertible |
| Seat cover welt and seam | 20 gauge T50 or 18 gauge | 8-12 mm | Stainless preferred, the line is often visible |
| Door card | 22 gauge 71 series | 8-10 mm | Stainless, doors take water in every climate |
| Headliner | 22 gauge 71 series | 6-10 mm | Stainless, condensation collects against the roof |
| Dash and pillar trim | 22 gauge 71 series | 6-8 mm | Stainless, visible from the passenger seat |
| Carpet and trunk lining | 20 gauge T50 | 10-12 mm | Stainless, the wettest area of the cabin |
| Convertible top or vinyl roof | High crown vinyl staple, 20 gauge | 9/16 inch (14 mm) | Stainless, exposed to rain by design |
| Motorcycle or marine seat | High crown or 20 gauge T50 | 12-14 mm | Stainless standard, both are wet environments |
Headliners deserve their own note. A factory headliner is often not stapled to solid wood but stretched over a series of bows and a rear cross member, which is why access matters as much as staple choice. One user on The Upholstery Forum picked a short-nose tool specifically to fit between headliner ribs on a Model A, and a long-nose stapler is the usual answer when a standard driver cannot reach the bow.
For the finish on a headliner, consider a cardboard back-tack. Stapling the cloth through a layer of thin card on the back keeps the driving face flat and stops the staple crowns from printing through the visible face of the cloth as it ages.
Galvanized vs Stainless Steel Staples for Car Interiors
Rust is the failure mode that brings covers off cars, and it is the reason automotive spec differs from furniture spec. A staple that will sit in a dry living room for a decade will stain a car interior in a fraction of that time if the coating is wrong.
On the upholstery forums, the standard answer to “will ordinary staples rust in a car” is stainless steel. One r/woodworking user put it plainly, telling people to ask any automotive upholstery shop to flip a staple over and look, because that is what the trade specifies.
| Coating | Rust resistance | Where it makes sense in a car |
|---|---|---|
| Zinc plated (bright) | Low | Dry interior trim only, and only for short-term or non-visible use |
| Galvanized | Moderate | General interior panels, trunk areas, budget work |
| Hot-dip galvanized | Better than standard galvanizing | Chassis-side and under-trim work exposed to road salt |
| 304 stainless steel | High | Heads, seats, door cards, carpets, convertible tops, anywhere visible or damp |
| Copper plated | Moderate, decorative tint | Occasionally specified for appearance, not corrosion-critical locations |
There is a trade-off. Stainless wire is softer, so it can bend in a drive or a hard frame and lose hold where a zinc staple would bite, and it costs more per box. Experienced trimers solve this by staying in the right gauge rather than escalating the material, keeping 20 or 22 gauge stainless for corrosion resistance and using 18 gauge where the frame is genuinely hard.
Moisture exposure, not steel grade alone, decides the coating. A roof panel sees condensation. A door card sees rain when the window seal ages. A carpet sees tracked-in water. Rust bleeds through vinyl and cloth and the stain is permanent, which is why the default for a car is stainless.
Staple Guns That Fire Automotive Staples
Upholsterers use three tool families: manual, electric and pneumatic. The right one depends on how much work you do and how tight the access is, not on the staples themselves.
Manual tackers are hammer-driven and quiet. They are the right choice for a single door card or a headliner, and they give you fine control of drive depth because the blow is entirely your arm. The trade-off is speed, and they are hard work on a full seat set.
Electric staplers strike on a trigger and need a mains lead. They sit between manual and pneumatic, work well for trim panels, and are a common first tool for someone learning this kind of work.
Pneumatic staplers are the shop standard for seats, carpets and full interior retrims. They are fast and they drive consistently, but they come with a pressure setting that has to be managed. A poster on themalibucrew.com using an Arrow T-50 put it clearly: the air tools are good, just do not turn the pressure up too high or it will punch right through the vinyl.
On crown compatibility, keep the rule simple: a tool fires the staple family it was built for. Standard crown T50, wide crown T50, 71 series, high crown and heavy wire are five different staples with five different magazines. Buying a cheap second tool for a second staple family is cheaper than a strip of jammed staples and a ruined afternoon.
Two access features are worth paying for in a car. A long-nose driver reaches between headliner bows and into the back of a seat frame. A trigger safety that you can disable or work around saves frustration on close tacking, and more than one Upholstery Forum user removes it.
On staple and tool brands, the community advice is consistent even though it is not a manufacturer rule: match the staple brand to the tool brand where you can, because a strip that was collated for a different magazine geometry is the most common cause of a jam.
Technique – Spacing, Tacking, and Avoiding Visible Damage
The staple choice only decides whether the job holds. Spacing, direction and drive pressure decide whether the finished car looks factory.
Space staples roughly half an inch apart, and set them in a straight, consistent line. A wandering line reads as amateur work the moment a door is open. When a cover is pulled tight, work from the middle out in both directions rather than tacking one corner first, which stretches the material unevenly and puts a permanent bow in it.
Tack where the line will be hidden. Run the staple row into a seam, a welt, a fold or a shadow gap, and the staples simply disappear. Where a raw edge is unavoidable, face the driving side of the staple toward the frame and slightly away from the closest visible surface.
Keep pressure low on a pneumatic tool until you know what you are driving into. Vinyl over foam can be blown through in one shot, and a divot in a leather face is a repair that means stripping the panel back down. A user working plastic motorcycle seats on carolinafirearmsforum.com found that spear point staples in a standard T50 got the job done where a fine chisel would have split the insert.
On hardwood frames, drop a gauge or shorten the leg rather than forcing a longer staple in. On softwood and plywood, the opposite applies, and the longer staple is the one that bites.
Removing Old Staples and Preparing the Frame
Removing old staples is the step most people rush, and it is the step that decides whether the new cover fits. The repeated advice across the forums is to never lever a staple out from under tension, because the flat bar moves with the cover attached to it.
Pry the cover off first, working from the edge in, then lift each staple straight out or slide the jaws of a plier under the crown and flatten it. Where a staple is buried in a fold and will not lift, cut the crown off with a small oscillating tool or a multi-tool blade rather than tearing the frame.
Once the frame is bare, check three things before the first staple goes in. Look for holes from the previous staples, because a new staple driven into an old hole will not hold. Confirm the board is sound and thick enough for the leg length you chose. And pull out any protruding hog rings or brads, because a staple driven over one of those will drive into the ring and stop short.
Clean the rail and the underside while it is open. It is far easier to do now than with a seat cover stapled back down.
Buying Guide – How to Read a Staple Box Spec
Most sizing confusion comes from buying by the number on the front of the box instead of reading the spec. Three steps cover it.
Step one: confirm the crown first. Match the crown marking on the box to the crown your tool is rated for. If the box says 3/8 inch and your tool is a wide crown tool, stop there and buy the wide crown strip. Crown is not adjustable and it is the one mismatch that prevents loading.
Step two: pick the wire class to match the job. Fine wire in the 22 gauge class for appearance panels, 20 gauge medium wire for seats and carpets, heavier wire only where the frame genuinely needs it. If a box lists several gauges, read which number sits next to the series or crown marking.
Step three: choose the leg length against the stack. Measure the material plus foam thickness, then confirm the frame underneath is thick enough to take it. Longer is not stronger here, it is just further through the board.
Also check four things before the box goes in the cart: the finish, because a car wants stainless; the quantity, because a full seat set and a headliner eat different amounts; the collation, which tells you the strip is strip-fed rather than loose; and the leg length unit, since the same length appears as 9/16 inch on one line of a distributor catalogue and 14 mm on another.
Series numbering has been stable for decades, so a spec printed in 2026 describes the same staple as one printed a decade ago. What changes is availability, so buying a full box of one specification in stainless beats assembling a mixed cart across several sizes.
Frequently Asked Questions
Are T50 staples good for upholstery?
Yes, for seats, carpets and general automotive trim. T50 is a 20 gauge staple with a crown of about 10.2 mm, and the thicker wire holds a cover under tension better than fine wire. For headliners and door cards, where the staple line has to stay hidden, 22 gauge 71 series leaves a neater mark. Use stainless steel in either case.
What gauge staples should I use for upholstery?
Use 20 gauge for seats, carpets and load-bearing panels, and 22 gauge for headliners, door cards and anything visible. Drop to 18 or 16 gauge only when the frame is genuinely hard or thick. Remember the numbering runs backwards: 16 gauge is the thickest wire and 22 gauge is the thinnest.
Can I use T50 staples in a car, or do I need 71 series?
You can, and many people do a whole interior with T50 staples. But T50 and 71 series are not interchangeable. T50 is 20 gauge with a roughly 10.2 mm crown, while 71 series is 22 gauge with a roughly 9.1 mm crown. A T50 tool will not load a 71 series strip and vice versa, so match the staple to the tool you own.
What size staples for seat upholstery?
For a car seat, use 20 gauge T50 staples in a 10 to 14 mm leg, which covers thin, medium and thick foam builds. A 9/16 inch (14 mm) leg reaches through a thick cushion into the frame. Match the crown to your tool: 3/8 inch for a standard T50, 1/2 inch or 9/16 inch for a high crown or wide crown tool.
What gauge are 71 series staples?
71 series staples are 22 gauge, which is fine wire, the thinnest class normally used in automotive upholstery. The crown is 3/8 inch, or about 9.1 mm. They are the standard choice for headliner cloth, door cards and small trim panels where a fine, discreet staple line matters more than raw holding power.
What is the difference between 18 gauge and 20 gauge staples?
The number runs backwards, so 18 gauge wire is thicker than 20 gauge. Thicker wire resists bending and pulls out of the substrate harder, at the cost of leaving a larger mark and being more likely to split thin plywood. Use 20 gauge for most interior work and step up to 18 gauge for hard frames or heavy fabric builds.
What staple gun do upholsterers use for automotive work?
A pneumatic stapler is the shop standard for seats, carpets and full interior retrims because it drives fast and consistently. Electric staplers suit trim panels and learning, and a manual tacker is ideal for a single door card or headliner. Look for a long-nose driver for work between headliner bows, and keep pressure low on vinyl to avoid punching through.
Do you need special staples for upholstery?
Upholstery staples are collated, fine-wire staples with a crown matched to a specific tool, and a standard office stapler will not fire them. For automotive work the additional requirement is corrosion resistance: stainless steel is the standard answer in the trade, because condensation, tracked-in water and road salt turn ordinary zinc staples into rust stains through vinyl and cloth.
Conclusion
Which staples for automotive upholstery work comes down to two families and three numbers. Fine wire 71 series in a 3/8 inch crown for anything visible, 20 gauge T50 in a 3/8 or 1/2 inch crown for anything holding load, leg length scaled to the material stack, and stainless steel anywhere the panel can get wet.
Check the crown against your tool before anything else, and that single step prevents most of the failures people run into. Everything after it is panel by panel judgment, and it is the part of the job that separates a trim that looks factory from one that looks refitted.