
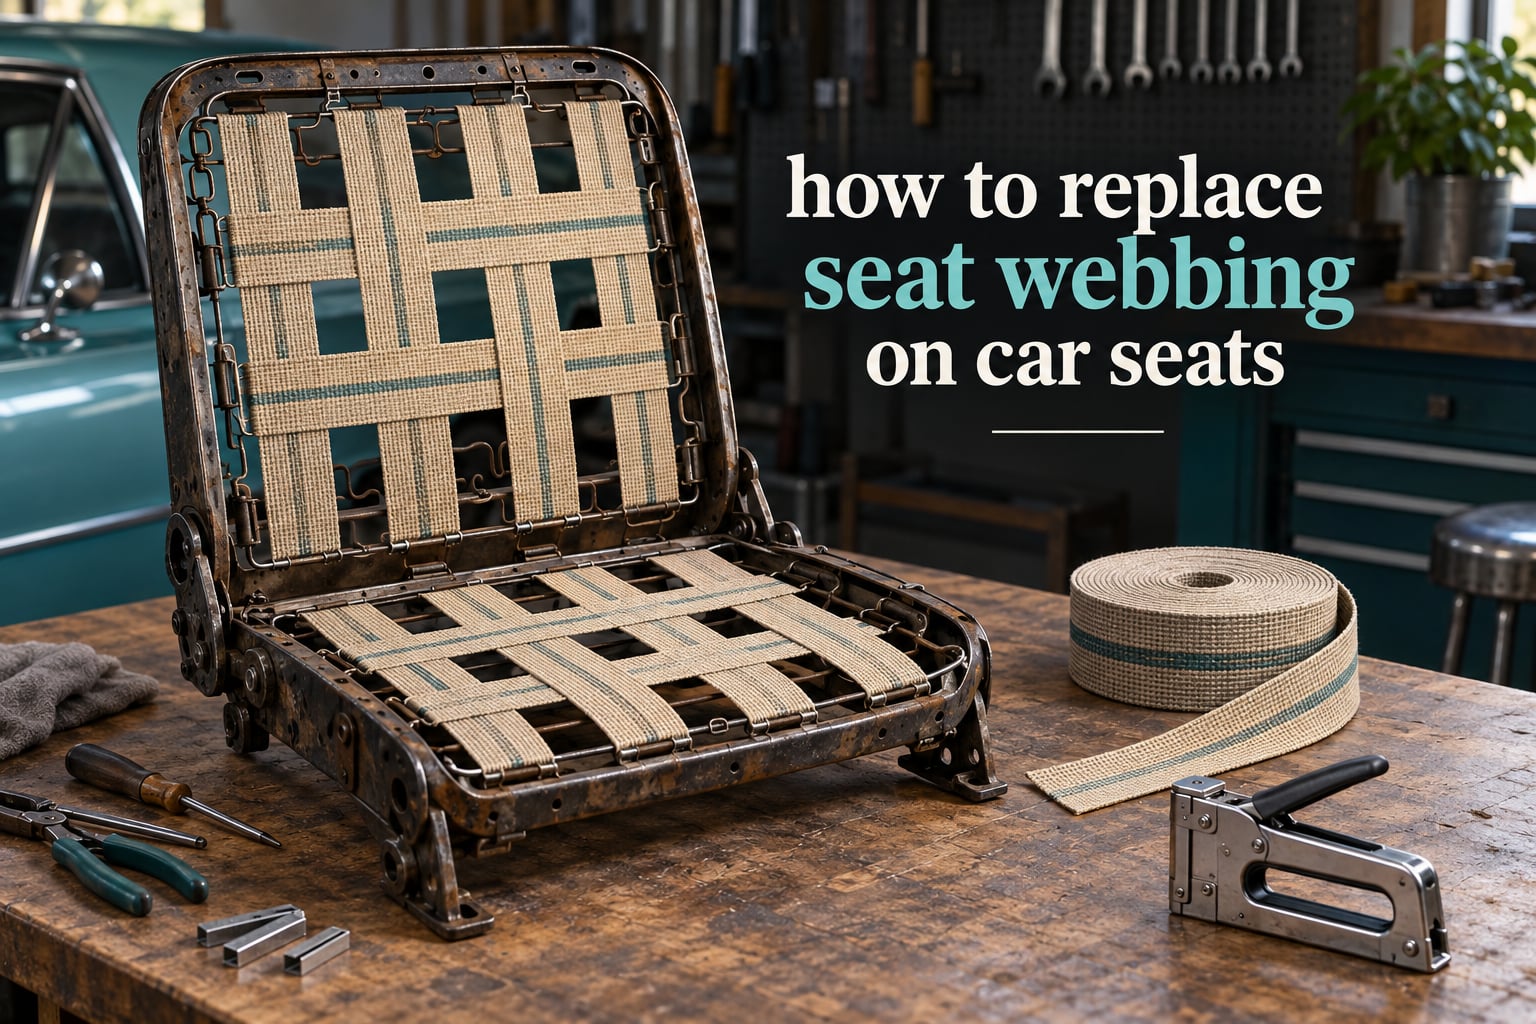
There are two completely different jobs hiding behind the phrase how to replace seat webbing on car seats, and picking the wrong one is how a weekend project turns into a scrapped seat frame. The first job is cosmetic and structural: the woven straps stretched across the underside of a seat cushion that support the foam, which stretch and let the seat sag. The second job is a safety job: the webbing inside the seat belt itself, which is part of the restraint system and has its own rules entirely. This guide covers both, in the order you should tackle them, with the tooling, tension technique and hardware transfer details that most guides skip.
I have pulled apart enough seat frames at the bench to know where the common jobs go wrong. Almost always it is not the cutting or the stapling. It is over-tensioning, using the wrong webbing for the load, or quietly ruining a belt that was never safe to re-web in the first place. None of the written guides currently ranking for this question make that distinction, and that is the gap this one fills.
Table of Contents
- What Seat Webbing Is and Why It Fails
- Tools and Materials You’ll Need
- Removing and Reinstalling the Seat Safely
- How to Replace Seat Webbing on Car Seats: Step by Step
- Setting the Correct Webbing Tension
- Choosing the Right Webbing Material
- Reusing the Original Hardware
- Re-Webbing a Seat Belt: The Restraint Job Done Properly
- Common Mistakes That Ruin a Seat Re-Web
- Troubleshooting: Symptom, Cause and Fix
- Re-Web, Clean or Replace: Deciding Before You Start
- Caring for New Webbing to Make It Last
- How Much Does It Cost to Replace Seat Webbing?
- Frequently Asked Questions
- How much does it cost to replace a car seat belt webbing?
- Can you change the fabric on a car seat?
- How can I repair the webbing on my seat belt?
- Can car seat straps be replaced?
- How tight should car seat webbing be?
- How can I restore faded fabric car seats?
- Can I reuse the original buckle and tongue when re-webbing?
- Conclusion
What Seat Webbing Is and Why It Fails
Seat webbing is the heavy woven strap system stretched across the underside of a car seat. The base webbing is stapled or tacked to the seat frame rails so the foam cushion rests on a taut, load-bearing surface rather than sinking onto the springs. Seat belt webbing is a separate, narrower strap that runs from the retractor, through the tongue and buckle, to the anchor bolt. Both are called webbing. Only one of them is decoration-adjacent.
Base webbing fails because polyester and jute fibres creep under sustained load. Sun, heat and humidity accelerate it. The straps stretch a fraction at a time, the foam settles into the dips between them, and the cushion develops the hammock shape that ruins a seat. A belt fails for far more serious reasons: abrasion from a twisted belt, cuts, UV degradation at the top loop, or chemical attack from a dye bath or solvent.
The practical difference in approach: base webbing can be tensioned by feel and refined until it looks right. Belt webbing cannot. Belt webbing is a certified restraint component with a load rating, and it either meets specification or it does not.
Tools and Materials You’ll Need
For the base webbing job you need: a staple gun with narrow-crown staples, aviation snips or a webbing cutter, a tape measure, a marker pen, a screwdriver and socket set, pliers, a pry bar, needle-nose pliers for the old staples, and a straightedge or square. Optional but genuinely useful: a pry bar, a plastic body hammer to avoid marking the frame, and a second pair of hands.
For the belt webbing job add: a sewing machine capable of dense stitching, heavy upholstery thread, a seam ripper, a heat knife or hot blade for cutting the old webbing cleanly without fraying, and thread for locking the fold. A rotary punch is worth having for the insert clip holes.
You will also want the right materials. For base webbing that means 2 inch or 3 inch webbing cut to the frame perimeter, plus listing strips or nail strips at the rail and the backstop. For belt webbing, buy certified automotive belt webbing in the correct width for your belt – usually 2 inch, sometimes 1.75 inch on older cars.
Tip: Buy more webbing than you think you need. You will waste a length on a bad tension set, and a scrapped seat means another trip to the shop.
Removing and Reinstalling the Seat Safely
Disconnect the negative battery terminal before you touch anything, and do it before you unbolt the rails rather than after. A modern seat carries seatbelt occupant sensors, a buckle switch, heated-seat elements and sometimes a seat position sensor, all on a multi-pin connector under the seat. Unplug it at the seat, not at the module side, so you know exactly which loom you are dealing with.
Loosen the seat bolts, keep the rails from sliding, and lift the seat out with a second person helping. On a floorpan-mounted car, removing the seat often means removing part of the interior first.
Access is the real blocker on many cars. Owners on the MGB and GT Forum describe the standard approach plainly: work from underneath, remove the seat from the car, strip the old webbing, swap the foam, fit the new webbing. But the British Car Forum TR6 thread and the Corvette Forum C3 thread both flag the same problem on classic frames – the underside of the squab can be almost completely enclosed, so on a narrow frame you may need to unbolt the back panel or split the job across two sessions.
Mark your wiring connectors with tape before disconnecting them. On reinstallation, re-torque the seat bolts to the manufacturer figure and reconnect the loom last, after the seat is bolted down.
Warning: If the seat has a pretensioner, an airbag, or a seatbelt reminder sensor, the belt job is not a DIY job until you know what the vehicle requires. Pretensioners are pyrotechnic devices. Read the next section before you decide.
How to Replace Seat Webbing on Car Seats: Step by Step
This is the base webbing procedure – the job that fixes a sagging seat. Work on a bench, not in the car.
- Remove the seat from the car and lay it on its back or on a trestle.
- Strip the seat cover, lift the foam out, and photograph the webbing layout before you remove anything.
- Pull every old staple, extract the listing strips, and clear the frame of old webbing fragments and corrosion.
- Inspect the frame welds and rivets, and treat bare or rusting steel with a rust-inhibiting primer.
- Measure each run of webbing off the old strap before cutting, adding 4 inches per run for the wrap and staple allowance.
- Cut the new webbing on a square so the edge is straight and the weave is not distorted.
- Fit one listing strip per rail and fasten it square, with the teeth facing the centre of the seat.
- Lay the new webbing over the frame in the same path as the original, pulling it hand-taut from the centre outward.
- Staple at every front anchor, then the side rails, then the backstop, checking tension between each staple run.
- Refit the foam, refit the cover, and before the seat goes back in the car press firmly on the cushion and confirm there is no visible slack.
Work the staples in the order in step 9. Starting at the front anchors and finishing at the backstop keeps the tension predictable, whereas stapling one end to the other lets the slack pile up in the middle where you can least see it.
Setting the Correct Webbing Tension
The right tension is firm enough that the foam sits on top of the webbing, not enough that the seat feels like a board. There is no universal figure because frame span, strap width and foam density all change the answer, so use a hand test rather than a number.
Press down hard on the finished cushion with the flat of your hand. The webbing should deflect slightly under load and stop. If you can push a folded finger under a strap, or if the foam compresses down to the frame, it is too loose. If the straps are drum-tight and the foam no longer reaches the surface, it is too tight and passengers will complain within a mile.
Practical checks worth running: push both front corners of the cushion, then both back corners, and compare the feel. Then sit in the seat properly. A correctly tensioned base gives a little under the sitter and nothing more. Owners across several classic car forums describe the job as forgiving – as long as the new strapping can be made taut enough to be comfortable, they say, it is not a difficult task.
If you have to compromise, err toward slightly tighter. A strap that is a fraction too tight can be eased later, but a seat that sags again after a month means redoing the whole job.
Choosing the Right Webbing Material
Jute, polypropylene and elasticated webbing are not interchangeable, and neither of the two most common written guides on this topic compares them at all. Pick by load and by how the seat is used.
| Material | Stretch | Durability | Appearance | Best for |
|---|---|---|---|---|
| Jute webbing | Low, holds tension well | High when kept dry | Matted natural fibre, vintage correct | Classic cars, period-correct restoration, moderate loads |
| Polypropylene webbing | Moderate, settles slightly | Very high, moisture and UV tolerant | Clean synthetic weave, colourfast | Modern cars, hot climates, daily-driven seats |
| Elasticated webbing | High by design | Moderate, stretches with use | Matches stretchy original trim | Replacing straps on seats that already used elasticated webbing |
Jute is what most classic seat bases were built with and it suits a restoration where matching the original matters. It does not enjoy a damp, sealed car. Polypropylene is the sensible default for a car that lives outside. Elasticated webbing is only correct when the seat was designed around it – forcing elastic webbing into a rigid base rebuild gives you a cushion that breathes but never stops moving.
Reusing the Original Hardware
Yes, you can reuse the original hardware, and that is the single most-asked question across the forum threads ranking for this query. The buckle, tongue, insert clip, retractor, anchor bolt and both frame anchors can all stay on the car. You do not need to buy a complete belt assembly to re-web it.
The one fiddly part is the insert clip – the small metal plate that locks the tongue into the buckle. The accepted method is to cut it off the old webbing and sew it onto the new webbing in exactly the same manner, which keeps the hardware original and the geometry correct. Cut the old strap close to the clip, leave the tail long enough to fold around the clip plate, lock the stitch through all layers, and keep the stitching pattern dense enough that the clip cannot be pulled off.
Some owners prefer to buy a new belt assembly from a supplier that offers the original style hardware, which is easier but often costs more. The restoration route is the one that keeps the chrome and plating you already have.
Check the buckle and tongue for pitting, cracked plating or a stiff or loose release button. The MyAirbags pretensioner board is blunt about this: webbing that is cut or ripped is a replacement item, not a repair item, and a belt assembly is not a decorative component.
Re-Webbing a Seat Belt: The Restraint Job Done Properly
This is a different job with a different risk profile. The webbing carries a load rating and is part of a certified restraint system, and the material must be automotive belt webbing, not upholstery webbing from a roll.
Safety first: A belt with frayed, cut or dye-damaged webbing is never a repair candidate. So is a belt that has been in a collision, or one where the retractor has been opened and the webbing has spun out beyond the drum. If the webbing is damaged, replace it with a certified assembly. If the vehicle has pretensioners or occupant sensors, have the work checked by a restraint specialist afterwards – a fault in that system can trigger a warning light or disable the belt indicator, and on some cars the airbag will not deploy correctly.
With a mechanically sound belt and genuine new webbing, the sequence is short. The MyAirbags pretensioner board confirms the standard approach: the old webbing can be replaced with new, in a choice of colours, and the existing hardware is fitted back afterwards.
- Unbolt the anchor bolt or remove the anchor plate and slide the old webbing out of the retractor drum.
- Release the retractor lock, feed the remaining webbing out, and note the routing through the tongue, the top loop and the adjuster.
- Cut the old webbing at both ends and cut the insert clip off square at the tail.
- Thread the new webbing through the same anchor point, adjuster, tongue, top loop and retractor, keeping the twist consistent from end to end.
- Fold and lock the tail through the insert clip, and sew it densely with heavy thread.
- Sew or bond the retractor end to the drum webbing, then re-tension the drum to the manufacturer specification.
- Re-bolt the anchor, check free webbing length against the original, and confirm the belt retracts and locks correctly.
Note the tension direction. A belt that is twisted in its run will saw through itself and the anchor over time, which is one of the most common causes of belt failure in older cars.
Common Mistakes That Ruin a Seat Re-Web
The list below is the set of things that come back to the bench most often, and several of them are recommended somewhere in the current ranking guides.
- Over-tensioning. The single most common error. Hand-taut, not ratchet-taut.
- Using hot glue on structural webbing. Glue is for fabric trim and temporary positioning, not for a load-bearing strap. It goes brittle and lets go.
- Reusing corroded staples or strips. Old fasteners pull out of rusted frame steel, which is why the seat sags again within weeks.
- Cutting webbing off-square or against the weave. A skewed cut leaves a short load path that frays at the corner.
- Twisting belt webbing during refitting. Causes abrasion and anchor wear. Keep the twist identical to the original.
- Skipping the backstop anchor. Two front anchors and two rails are not enough. The backstop carries the rebound load.
- Stapling the webbing before the frame is primed. Painting afterwards is too late; the corrosion is already under the strap.
The lacing shortcut that circulates online – running cord back and forth across the frame – works for a season. Owners who have tried it describe it as exactly that, a temporary measure that does not restore the original load path.
Troubleshooting: Symptom, Cause and Fix
| Symptom | Likely cause | Fix |
|---|---|---|
| Seat still sags after a re-web | Staples pulled out of corroded steel, or backstop never anchored | Strip the straps, treat and prime the frame, re-fit with new staples and anchor all four points |
| Wrinkles across the cushion face | Webbing tensioned unevenly, front to back | Release and re-tension from the centre outward |
| Belt runs rough or binds | Webbing twisted in its run, or routed through the tongue incorrectly | Remove and re-thread, matching the original twist |
| Buckle will not latch | Insert clip not sewn flat, or misaligned with the tongue | Re-sew the clip squarely and check tongue alignment |
| Retractor will not hold webbing | Drum tension lost, or the new strap not secured to the drum webbing | Re-tension the drum to specification and re-sew the drum end |
Re-Web, Clean or Replace: Deciding Before You Start
Not every tired seat needs new webbing. If the straps are intact but grimy or sun-bleached and the cushion still holds its shape, a clean and restore is the cheaper route. Owners report a pressure washer on a fan spray pattern doing remarkable work on webbing caked with road dirt, though check what your frame and foam can take first, and never do this to a belt without understanding the drum and sensor situation.
Bleached or faded belt webbing is a different matter. Re-dyeing is a recurring request on the Chevrolet and Buick boards and a recurring warning: certain dyes and dying processes weaken the webbing material. The damage is not visible and the belt looks fine right up until it is loaded. Treat dye-damaged belt webbing as a replacement item, not a restoration project.
For the seat base, faded is fine – webbing is hidden anyway, and replacement solves the appearance and the sag in one job.
Caring for New Webbing to Make It Last
Sunlight is what kills webbing. Keep the cabin covered when parked outdoors and use a UV protectant on visible belt webbing, which is also recommended on the Buick and Chevrolet boards for belts that are cleaned rather than replaced.
Every year or so, press the seat cushion firmly and look for the hammock shape coming back. Catching it at first sign is far cheaper than redoing a full strip-out. And keep dyes and solvents away from belt webbing, whatever the appearance gain is worth.
How Much Does It Cost to Replace Seat Webbing?
Cost here is driven almost entirely by two things: how many of the original fasteners survive, and whether anyone with restraint-system knowledge has to sign the job off afterwards. Here is the honest comparison, in relative terms rather than figures, because material prices move constantly.
| Route | What you pay for | Effort and outcome |
|---|---|---|
| DIY base webbing | Webbing by the metre, listing strips, staples, primer | Most of the cost is the frame rust treatment. Outcome is a firm, correctly tensioned seat and full control over material and colour |
| Trim shop base re-web | Labour, plus materials at trade rates | Removes the strip-out risk. Owners report full belt restores quoted in the several-hundred range with new webbing, re-chromed buckles and replated bases |
| DIY belt re-web | Certified belt webbing, thread, hardware only if you cannot reuse the original | Reuse the original buckle, tongue and insert clip to keep the cost down. Requires restraint competence |
| New complete belt assembly | The whole belt, retractor and hardware | Highest material cost, no judgement calls about the drum, but the original hardware is usually gone |
Reusing the original hardware is the single biggest lever on cost. Owners who want to avoid a full assembly quote are effectively deciding to cut the insert clip off and re-sew it, which is the technique described earlier in this guide.
Frequently Asked Questions
How much does it cost to replace a car seat belt webbing?
The cost is driven by three things: how much new certified webbing you need, whether you reuse the original buckle, tongue and insert clip, and whether a restraint specialist has to check the work afterwards. Reusing the original hardware is the biggest single saving. A trim shop will quote labour on top, and owners on classic car forums report several hundred for a full belt restore with new webbing and replated hardware, while a complete new belt assembly costs more in materials but removes the guesswork.
Can you change the fabric on a car seat?
Yes, and most owners combine it with a webbing job because the cover comes off anyway. The procedure further up this guide covers the strip-out, the frame inspection, the new webbing and the refit. If the cushion is sound and only the cover has faded, a re-trim on its own is a much shorter job.
How can I repair the webbing on my seat belt?
You cannot repair belt webbing, only replace it. Frayed, cut or dye-damaged strap is a replacement item, and the webbing inside a belt is a certified restraint component with a load rating. A cosmetic patch, a splice or a length of new webbing sewn onto the old is never acceptable on a seat belt.
Can car seat straps be replaced?
Yes, on both types of strap. Seat base straps are the structural webbing under the cushion and are replaced as part of a re-web. Belt straps are replaced by cutting the old webbing out and sewing the original insert clip onto new certified webbing in the same manner.
How tight should car seat webbing be?
Firm enough that the foam rests on the webbing, not tight enough that the seat feels like a board. Press the finished cushion hard with the flat of your hand. The webbing should deflect slightly and then stop. If you can push a finger under a strap, or the foam compresses down to the frame, it is too loose.
How can I restore faded fabric car seats?
For seat covers, restore comes down to cleaning, a fresh layer of foam where it has hardened, and a re-trim. For the webbing underneath, replacement solves both the fade and the sag. Faded belt webbing is different: re-dyeing can weaken the material, so treat it as a replacement item rather than a restoration project.
Can I reuse the original buckle and tongue when re-webbing?
Yes, and you should. The buckle, tongue, retractor, anchor bolt and frame anchors can all stay on the car. The insert clip has to be cut off the old webbing and re-sewn onto the new in exactly the same manner, which keeps the original hardware and the correct geometry.
Conclusion
Working out how to replace seat webbing on car seats comes down to naming the job first. A sagging cushion is a structural rebuild: strip the frame, prime any corrosion, cut the new webbing square, and tension it from the centre outward until the foam sits proud of the straps. A worn belt is a restraint job, and there the rule is simple enough to memorise – damaged webbing is replaced, never patched, and the original hardware is reused wherever it can be.
Photograph the layout before you strip anything, keep a second set of fasteners in reserve, and if the car carries pretensioners or seat sensors, get the belt side checked once the work is done. Get that right and the job is a genuinely satisfying one, with a seat that sits properly for years afterwards.