
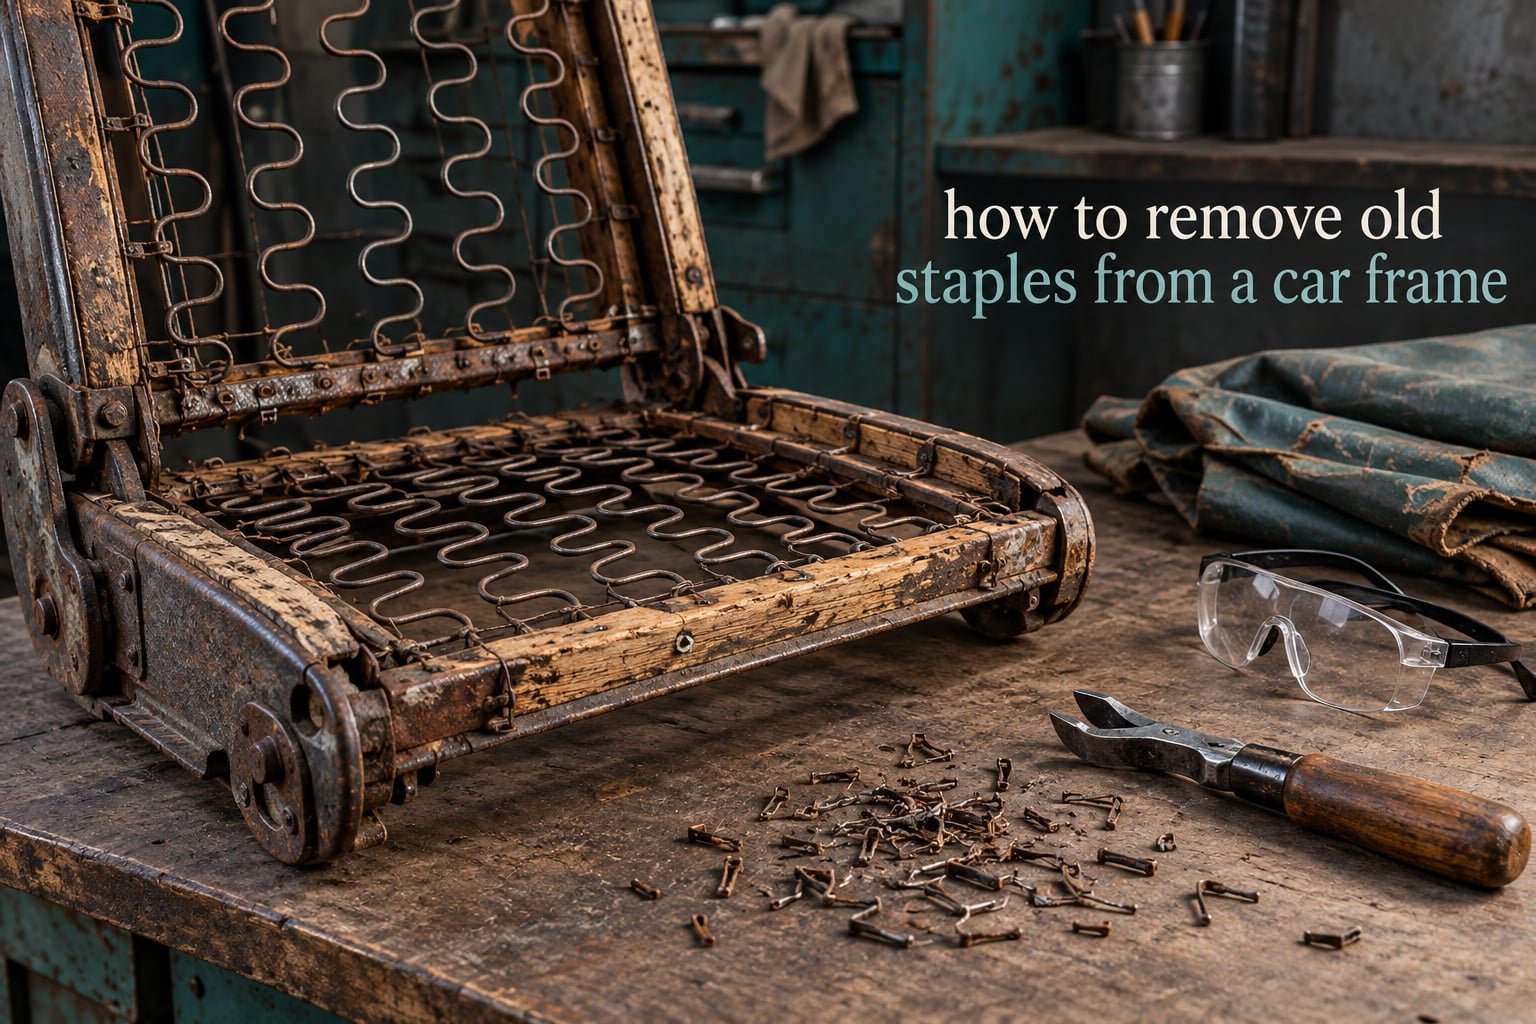
If you have ever pulled a flat-head screwdriver against an old staple in a car interior and watched it bend instead of move, you have hit the real problem. Staples in a car frame are the flat wire fasteners holding seat upholstery, door cards, carpet, headliners and trim to steel or wood underneath, and on cars older than about twenty years they are frequently rusted or made from hardened stainless steel. Those fasteners have clinched legs, meaning the two ends are folded tight against the underside of the material, so a hardened or corroded staple will not release. This guide covers how to remove old staples from a car frame using four methods, the tools for each, and the automotive hazards nobody mentions on generic upholstery pages. As of 2026, the fast, blunt truth is that these old staples are usually split or cut off flush rather than pried straight out.
I have watched restorers spend an entire weekend on a single door card and finish with a torn cover and a gouged frame. The skill is not strength. It is bracing the panel, working under the crown, and knowing when to stop pulling and start cutting.
Table of Contents
- What Old Staples on a Car Frame Actually Are
- Tools You Need Before You Start
- How to Remove Old Staples from a Car Frame
- Removing Stubborn, Rusted, or Hardened Staples
- Car-Specific Hazards to Check Before You Pry
- By Vehicle and Area: Where the Old Staples Hide
- What Not To Do
- Fixing the Damage You Do Inevitably Make
- Troubleshooting: When a Staple Will Not Come Out
- Frequently Asked Questions
- Why won’t the old staples come out of my car frame?
- What is the best tool for removing old staples from a car frame?
- Can I grind or cut old staples off a car frame?
- How do I remove staples without damaging the wood or gouging the frame?
- What do I do with holes and gouges after removing staples?
- Do I need to replace the staples when reupholstering a car?
- Conclusion
What Old Staples on a Car Frame Actually Are
Old staples on a car frame are flat wire fasteners with a wide crown and two straight legs that were driven through material and clinched underneath to hold it in place. They are the reason trim, carpet and covers stay put, and they come in three flavours: common plated steel tacks and staples, hardened stainless used in later factory interiors, and older fasteners that have turned to rust in place.
That clinch is the whole reason removal is hard. Pulling a staple means lifting its crown straight up against two folded legs, and a leg that has lost its temper, or a leg that has corroded and welded itself to the wood fibre around it, simply bends, snaps, or tears out a chunk of the frame on the way up.
Two facts catch first-timers out. First, hardened stainless has almost no give. A restorer rebuilding a 1960s-era convertible documented the problem plainly on classicoldsmobile: the old stainless staples appeared to be a hardened alloy, and the clinched legs were difficult to pry up and pull out. Second, the modern replacement stainless you are about to install is a softer alloy that bends far more easily, so the job is genuinely harder going in than the install will be.
Watch for rust bleed staining around each hole, which tells you electrolytic corrosion has been at work under the cover. Also look for factory pre-punched holes, small holes punched in trim strips and panels at the original staple positions. Finding them means you know exactly where the fasteners were, so you can cut or lever at a known point instead of hunting blind and gouging.
Tools You Need Before You Start
Assemble the tool before you pull the first staple, because the moment you find one that will not move is the moment you want a second option in your hand. A working set is small, and a staple lifter, the single tool made for this job, is worth owning rather than renting.
- Staple lifter or tack puller (Osborne is the reference name here) for the majority of fasteners
- Flat-head screwdriver and a scrap block of wood to put a fulcrum under the crown instead of against bare wood
- Needle-nose pliers and channel lock pliers for bending and extracting a leg
- Dremel with a cutting disc for splitting a hardened staple at the middle
- Multi-tool or angle grinder with a thin cut-off disc for large areas where the volume of staples is brutal
- Masking tape to mark fastener locations and protect painted surfaces
- Safety glasses, cut-resistant gloves and a respirator before any power tool comes into the car
Use this table to pick your method before you start pulling.
| Staple condition | Best tool | Technique | Watch out for |
|---|---|---|---|
| Plated steel, moves freely | Staple lifter or flat-head on a block | Brace the panel, lever under the crown, pull straight up | Wood fibres tearing at the edge of the cover |
| Surface rust, moderate grip | Flat-head screwdriver and wood block | Work under the crown with controlled leverage, one at a time | Prying against unsupported wood |
| Hardened stainless, clinched tight | Dremel with a cutting disc | Cut the staple in the middle, then lift out each half | Cutting into the panel instead of the wire |
| Severely rusted or seized | Needle-nose and channel lock pliers | Bend the leg down, twist to break the clinch, then pull | Leg snapping and leaving a stub in the hole |
| Dozens or hundreds of fasteners | Multi-tool or angle grinder | Cut off flush at the surface, then tap remnants down with a hammer | Sparks, dust, hidden wiring, fuel vapour |
How to Remove Old Staples from a Car Frame
This is the order I work in. Follow it top to bottom and most fasteners come out without a power tool at all.
- Photograph everything before you touch a fastener. Wide shot, then close shots of every corner fold, every belt path, every clip and every wire routing. When you want to know how a panel went back together in six months, the photos are the only record you will have.
- Strip the layers in order. Remove trim panels, then covers, then padding, then carpet. Never force a layer off while a hidden fastener is still holding it, because the fastener wins and the cover tears.
- Locate every fastener before you lever anything. Run your fingers along seams and run a magnet or flashlight along the edge. Hidden fasteners under layers are the single most common cause of torn covers, and the hidden ones near the centre of a panel are easy to forget.
- Brace the panel with your free hand. Put a palm or a scrap block behind the area you are working on. Almost every gouge in a frame happens when the full force of the pull goes into unsupported wood fibres instead of into the staple.
- Place the tool under the crown, not beside it. A staple lifter or a flat-head on a wood block goes between the crown and the surface. Lever from underneath. Levering sideways against the side of a crown splits the wood long before it moves the staple.
- Pull straight up, one staple at a time. Slow, steady, no twisting on the first attempt. Twist only after the crown has started to rise, and only to break the clinch. Rushing is what turns a clean removal into a gouge.
- Cut the middle when the crown will not lift. If the staple has not moved by the second firm attempt, stop pulling. Slice the crown in half with a Dremel cutting disc and remove each half as two small fasteners. Splitting one hard pull into two easy ones is the single most useful trick for hardened stainless.
- Bend and extract stubborn legs with pliers. Push the crown aside, bend the leg down with needle-nose pliers to release the clinch, clamp with channel locks and twist. If a leg snaps below the surface, leave it and move on, because chasing a buried stub does more damage than the stub itself.
- Sweep, then clear the holes. Vacuum or brush the debris out of the hole and off the frame before you install anything. Rust dust left in a hole under fresh material will stain the new cover later.
Removing Stubborn, Rusted, or Hardened Staples
When the standard method fails, work down this list from gentlest to most aggressive, and stop at the first path that works. Each step up costs you control and adds risk to the panel.
Path 1, pry and bend. Work a flat-head under the crown on a block, and use needle-nose pliers to bend one leg at a time. Sequential leg bending, one leg then the other, is far kinder to the wood than trying to lift both at once. This works on most plated staples and on light surface rust.
Path 2, split the staple with a Dremel. Cut the crown in the middle and pull each half separately. The classicoldsmobile builder described it as cutting the hardened staples in the middle so they were easier to pry out a half at a time. The trade-off is a visible cut line and a small chance of nicking the panel, so keep the disc flat and shallow.
Path 3, cut flush and hammer down. On The Upholstery Forum, a restorer laid out the fastest method plainly: instead of pulling every staple one by one, cut them off flush using an electric multi master tool, then come back and tap down any remnants with a hammer. Others use a 2 or 3 inch 24 grit disc on an angle grinder, and one shop runs a dedicated grinder purely because it cuts straight through staples and gives back hours of bench time. The originator stated the limitation himself, and that candour is why the method is trusted: you would not want to do this on super high end jobs, but for most jobs it is perfectly acceptable. A flat bi-metal blade also works, though a later follow-up in the same thread found it slower than a dedicated disc.
Path 4, cut a corrupted fastener in a fixed panel. If a staple is rusted so badly that it has fused to the panel, cut the surrounding material away in a small square around the hole and treat the panel as a discard zone. On a daily driver this is the fastest route. On an original or hard-to-replace panel, it is a last resort.
Car-Specific Hazards to Check Before You Pry
This is where a car interior differs from a furniture frame, and it is where generic upholstery advice goes quiet. Walk the list before you start.
- Wiring looms run behind door cards, kick panels, under the dash and along the seat base. Unplug connectors and move the loom aside, and tape the connector rather than trusting friction.
- Seatbelt anchors and retractors are bolted through the frame. Note the routing and the bolt positions in your photos, because a rusted anchor bolt is a much bigger job than the staple you were sent there to remove.
- SRS and airbag components must be disconnected correctly. Disconnect the battery before working behind dashboard-area trim and follow the service information for the vehicle rather than guessing at connector handling.
- Thin sheet metal at roughly 22 gauge dents and tears easily, and the classicoldsmobile build documented covers sitting directly on panels with surface rust on the backside. Watch for weak metal around each staple as you work.
- Belt line weatherstripping and glass channels are often stapled or drilled through. On convertible top frames, plan to reuse the existing holes where the weatherstrip will conceal them, a trick described on corvetteforum for soft tops.
- Hidden sound deadening patches and cardboard backers sit under covers and hide fasteners. A rear side panel on a 1972 Cutlass was documented as a hard fiberglass upper stapled to a two-piece cardboard backer, and you will not see a single fastener until that layer is off.
- Broken seat frame springs hide under the trim and routinely surface only after removal, so check them once the cover is clear.
- Fuel vapour and sparks. A grinder throwing hot sparks inside a car is a real risk. Disconnect the battery, ventilate, keep a fire extinguisher within reach, and never cut over a fuel line or filler neck.
- Bonded trim can often be released instead of de-stapled. A heat gun softens old tape and adhesive so it peels rather than tears, and on a sunlineclub thread the heat gun is called the friend of the job for exactly that reason.
By Vehicle and Area: Where the Old Staples Hide
Seat frames concentrate staples along the springs and at the corners, and the springs underneath hide breaks you will not see until the cover is off. Door cards are stapled through cardboard and sometimes through a curved steel substructure, and that steel edge is often not available as a reproduction part, so it is worth salvaging rather than cutting through. Carpet and floor pans are best entered from inside the cabin by pulling the trim staples from the floor, or by removing the chrome threshold cover first, the two entry points restorers on talkmorgan use. Headliners are stapled into a thin roof bow and tear easily, so work in short sections and never lever against the headlining material. Belt line strips on many cars are drilled through to the steel substructure, and the legs are bent over with long nose pliers then finished with channel locks, using small wood blocking to protect the new felt.
Convertible top frames are the exception to the whole method. Rather than de-stapling the fabric in place, a post on the maxperformanceinc forum describes unbolting the trimsticks under the rear opening and the top frame from the body shell, then lifting the entire frame off. If the frame is going out anyway, that is faster and safer than fighting staples.
What Not To Do
Do not put a belt sander on rusted staples. One restorer tried it and reported that it did not work all that well, unless you wanted little sharp pieces of metal all over the place. A belt sander also rounds off a crown so the lifter loses its grip, turning a slow job into a dangerous one.
Do not pry against unsupported wood. Every split frame joint you create will not hold the new staples later. A damaged joint means the reupholstery fails, and you will be doing this job twice.
Do not discard salvageable steel. Reproduction parts for original trim are slow to arrive and some are not made at all, so a curved steel door panel edge that will not come in a kit has to be saved.
Do not plan to pull staples by hand for a full day. Restorers repeatedly flag the physical toll, that pulling staples is really hard on the old hands, and one described spending at least a full year of his life just pulling staples. That is exactly the situation where a cut-off disc is the sensible answer.
Fixing the Damage You Do Inevitably Make
Nobody finishes an interior strip-out with a perfect frame, so plan the repair before you start and the damage costs you nothing.
- Fill gouges and torn fibres with a hard filler or epoxy putty, sand flush while the frame is still bare, and prime it. Deep gouges that split across a joint need a reinforcing spline or a new piece of frame stock.
- Fill leftover staple holes that show through thin material with wood filler or body filler, sanded level, rather than covering them and hoping.
- Treat rust on exposed steel before anything goes back on, because a cover hides a bleeding rust stain until it is too late.
- Order long lead parts before teardown. If you know a trim piece is needed, order it early; lead times run to many months and discovering a missing part after you have torn the interior apart is the expensive way to learn that.
Troubleshooting: When a Staple Will Not Come Out
| Symptom | Cause | Fix |
|---|---|---|
| Tool slips and gouges the frame | No fulcrum, prying beside the crown | Stop, fill the gouge, work under the crown on a wood block with a bracing hand behind the panel |
| Crown bends without rising | Hardened stainless with tight clinched legs | Cut the crown in the middle with a Dremel and remove each half |
| Leg snaps off below the surface | Corroded or work-hardened fastener twisted too far | Leave the stub, move to the next staple, clear stubs with a small bit after removal |
| Hole tears out around the staple | Wood fibre already destroyed by rust or by earlier prying | Fill after removal, and brace with a block so the lever load spreads |
| Dozens of staples still remaining | Volume, not difficulty | Cut off flush with a multi-tool or angle grinder and tap remnants down with a hammer |
| Tool skates off the crown | Crown rounded by a previous attempt or a belt sander | Cut the crown flat with a disc to create a fresh edge to grip |
Frequently Asked Questions
Why won’t the old staples come out of my car frame?
They are almost always hardened or corroded stainless with clinched legs. The two folded ends grip the underside of the material, and hardened or rusted legs bend, snap or tear wood instead of releasing. Splitting the staple in the middle or cutting it off flush works where pulling fails.
What is the best tool for removing old staples from a car frame?
A staple lifter, the Osborne being the reference tool, handles most fasteners. Add a flat-head screwdriver and a wood block for leverage, needle-nose and channel lock pliers for clinched legs, and a Dremel with a cutting disc for hardened stainless. For large volumes, a multi-tool or angle grinder cuts flush and the remnants are tapped down with a hammer.
Can I grind or cut old staples off a car frame?
Yes, and on a car with dozens of fasteners it is often the faster method. Cut flush at the surface, then tap any remnant down with a hammer. Disconnect the battery first, wear eye protection and a respirator, ventilate the car, and keep sparks away from fuel vapour, wiring looms and trim plastics. It is not the right choice on a rare original panel you intend to save.
How do I remove staples without damaging the wood or gouging the frame?
Brace the panel with your free hand and put a block of wood behind the work area. Work under the crown with a staple lifter or a flat-head screwdriver on the block, pull straight up without twisting on the first attempt, and remove one fastener at a time. Never lever sideways against the side of a crown, and switch to cutting the middle the moment a staple will not lift on the second attempt.
What do I do with holes and gouges after removing staples?
Fill gouges, torn fibres and deep staple holes with hard filler or epoxy putty while the frame is still bare, sand it flush, and prime it. A split across a frame joint needs a reinforcing spline or new frame stock. Treat any rust on the exposed steel before the new material goes on, because a cover will hide a bleeding rust stain until it is too late.
Do I need to replace the staples when reupholstering a car?
Yes, use fresh staples in factory pre-punched holes where they exist so the original fastening positions are preserved. Modern replacement stainless is a softer alloy than the hardened stainless used in many older cars, so the new staples bend and install far more easily than the old ones fought you.
Conclusion
Knowing how to remove old staples from a car frame comes down to three habits. Photograph everything before you touch a fastener, brace the panel so the pull goes into the staple rather than the wood, and work one fastener at a time with controlled leverage under the crown. When a hardened stainless staple refuses the second firm attempt, stop pulling and cut it in the middle, because that is not giving up, it is the method that works.
Before you start, walk the hazard list once more: wiring looms, seatbelt anchors, SRS components, weatherstripping, thin sheet metal and fuel vapour. And order any long lead trim parts before teardown, not after. That is the whole job, and the frame you hand to the next stage will be one you can actually build on.