
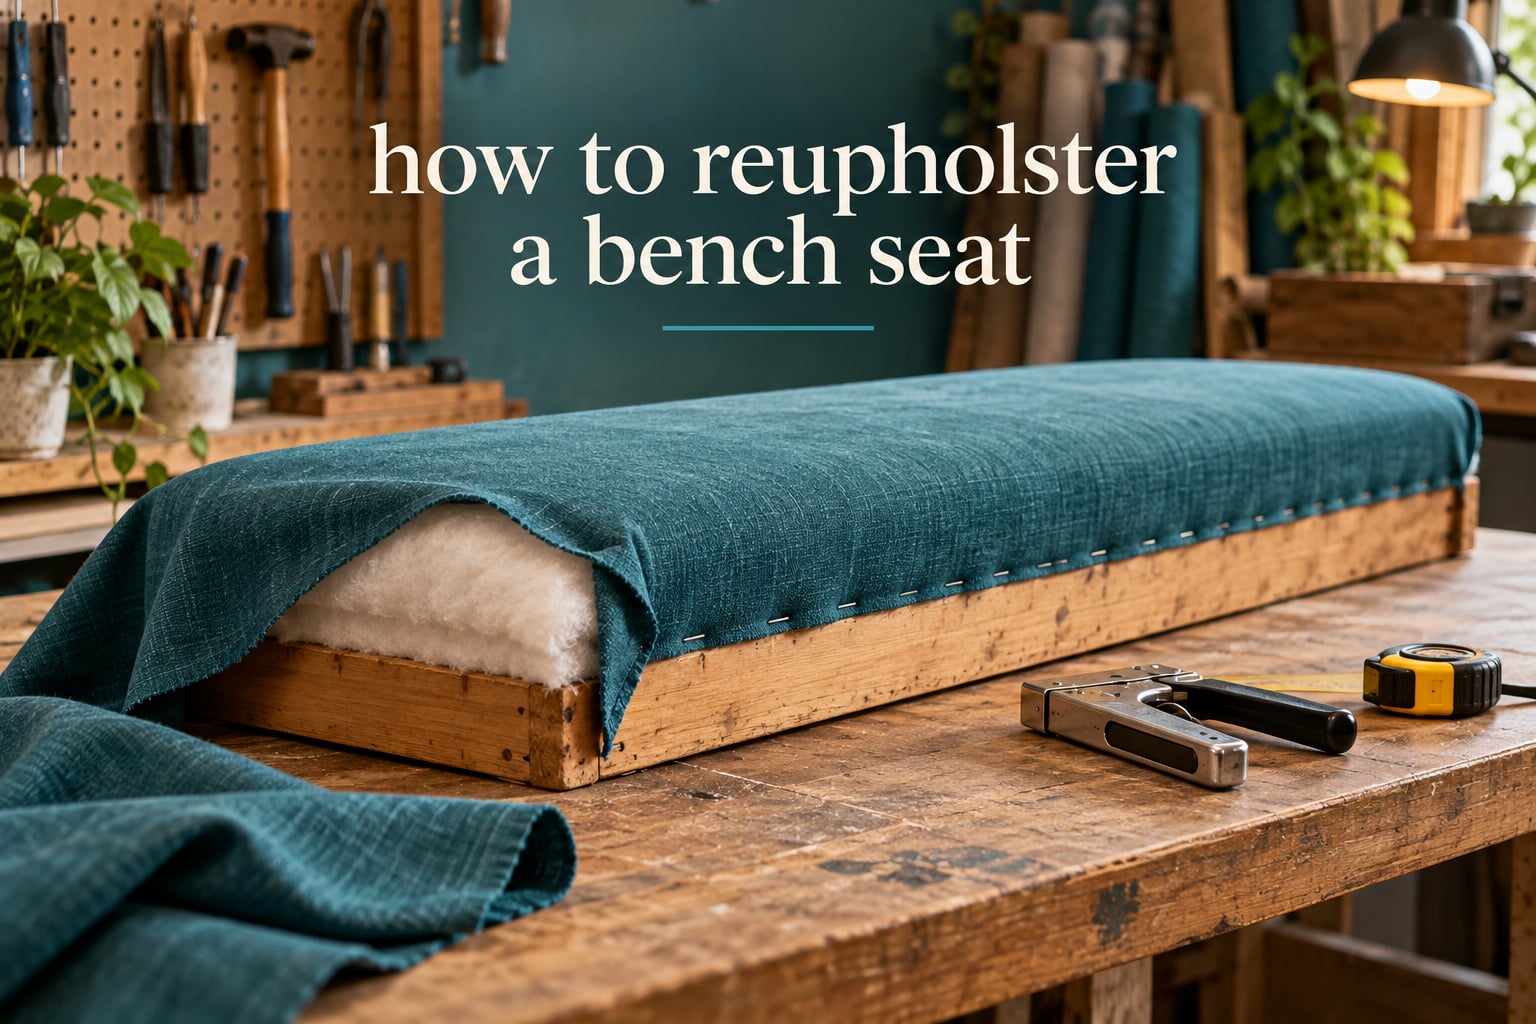
Learning how to reupholster a bench seat is mostly a matter of stripping the old cover, deciding what to do with the foam underneath, and stretching new fabric over the cushion in a steady center-outward sequence. If you can pull a staple with a remover and fire one with a stapler, you have every skill the job needs. Most of the work is patience, not technique.
A bench is trickier than a dining chair in exactly one way: it is wide. A 60 inch span gives fabric far more opportunity to sag in the middle, wrinkle along the long edge, or run short on material. Everything below accounts for that, including how to keep the center flat, how much yardage to buy, and what to do when the frame underneath will not hold a staple.
Plan on a full weekend for a bench seat. Disassembly and stripping take the bulk of it, and the stapling goes faster than you expect once the corners are out of the way.
Table of Contents
- What You Need: Tools and Materials for a Bench Seat
- How to Reupholster a Bench Seat: Step by Step
- Step 1: Document the bench and remove the seat
- Step 2: Strip the old fabric and staples
- Step 3: Inspect and replace the foam and batting
- Step 4: Measure and cut the new fabric
- Step 5: Staple the fabric working from the center out
- Step 6: Fold the corners
- Step 7: Add welting or piping (optional)
- Step 8: Reattach the seat to the frame
- How Much Fabric Do You Need for a Bench Seat?
- Choosing Upholstery Fabric for a Bench Seat
- Common Mistakes and How to Fix Them
- Bench Variations: Storage Benches, Outdoor Benches and Upholstered Backs
- Is Reupholstering a Bench Beginner-Friendly?
- Frequently Asked Questions
- How easy is it to reupholster a bench?
- How much does it cost to reupholster a bench seat?
- What is the best fabric to use for a bench seat?
- Can I reupholster over the existing fabric?
- What type of staple is best for upholstery?
- What is a good thickness for a bench cushion?
- How do I secure a seat cushion to a bench?
- How many yards of fabric do I need to reupholster a bench seat?
- Wrapping Up Your Bench Seat Project
What You Need: Tools and Materials for a Bench Seat
Gather everything before the seat comes off the frame, because a half-stripped cushion sitting on the floor all afternoon is how projects stall out.
- Heavy-duty stapler — a manual or electric gun that fires 3/8 inch upholstery staples. A light-duty office stapler will not penetrate a bench frame.
- Upholstery staples — 3/8 inch for softwood frames, 1/4 inch for thin plywood or MDF bases, 5/16 inch as a middle ground. Buy a box of 1,000 for a bench.
- Staple remover — a flat-blade style remover pops legs without gouging the wood. Pliers work in a pinch but nick the surface.
- Utility knife — with fresh blades for slicing batting and trimming fabric.
- Flathead and Phillips screwdrivers plus a socket set, for seat screws and any bolts holding the cushion frame together.
- Upholstery shears or heavy snips — for cutting fabric and batting.
- Measuring tape, straightedge, and fabric marker or chalk — a tailor’s chalk marks cleanly on most upholstery cloth.
- Polyester batting (Dacron) — one layer wrapped over the foam, plus a thin layer over the top for softness.
- Upholstery foam — only if the existing foam has crumbled or gone flat. See the sizing guidance below.
- Spray adhesive — a light coat holds batting and foam in place while you staple.
- Glue gun and welt cord — optional, for piping along the front edge.
- Rubber mallet and a second pair of hands — helpful, not required.
Add a tack puller and a bottle of wood glue if the frame uses upholstery tacks instead of staples, which antique and mid-century benches often do.
How to Reupholster a Bench Seat: Step by Step
Step 1: Document the bench and remove the seat
Photograph the bench from four sides before touching a screw, and label every part as it comes off. On a seat held by multiple brackets or a rear rail, those labels are the difference between a clean reassembly and an afternoon spent matching holes.
Flip the bench onto its back on a blanket, or lift it carefully if the frame is solid and the legs are short. Remove the seat screws, note which bolt goes where, and set the cushion aside.
If the seat is a fixed cushion stapled directly into a frame built around it, you are doing a partial reupholstery — staple the new fabric to the frame you can reach and accept that the underside stays as it is.
Step 2: Strip the old fabric and staples
Slide the remover under each staple head and lever it upward, keeping the blade flat against the wood. Work along the grain of the frame rather than across it, and go slowly on any spot where the wood is already stained darker than the rest — that usually means a staple buried close to the surface.
Pull nails with a claw hammer and a scrap of wood as a fulcrum. On softwood, a hammer strike is often safer than trying to extract a buried staple.
Once the frame is bare, decide whether you are stripping or covering. Covering the old fabric saves hours, and it works when the cushion is structurally sound and you are not changing its shape — just keep in mind the old cover adds a layer, so cut the new fabric with enough slack to sit smooth over it, and know that you will not be able to inspect the foam underneath.
Do not staple over old staples. Pulled legs left behind will pierce the new fabric the first time someone sits down.
Step 3: Inspect and replace the foam and batting
Foam that is still springy and free of crumbling yellowed edges can absolutely be reused, and plenty of upholsterers do. Replace it when it tears, smells musty, or has flattened into a pancake in the middle of the span.
For a bench seat, 3 to 4 inch high-density foam is the usual target, with 4 inch preferred if the bench takes a lot of daily weight. A long bench benefits from a layer of 1 to 2 inch softer foam over a firm base, which hides the joint between cushions and removes the pressure ridge down the middle.
Wrap the whole block in a single layer of polyester batting, pulling it slightly taut, and staple it with a light coating of spray adhesive. Add a second thin wrap on top if the foam is new and very blocky.
Check the base while the cover is off. Webbing that has gone slack or a row of sinuous springs with a rusty hook can be re-tacked or replaced, and it is far easier now than later. This is also the moment to touch up the frame itself with a couple of coats of paint or varnish while nothing is attached to it.
Step 4: Measure and cut the new fabric
Lay the old cover flat, smooth out the seams, and measure it. Cut the new fabric 3 inches larger on every side than the old cover, which gives you the pull needed to staple the underside without ending up with a short, strained edge.
Line up the grain before you cut. The fabric grain runs parallel to the long edge of the bench, and a cover cut off-grain will stretch sideways and bow the seat. For a printed pattern, match the repeat from the center of the old cover outward, using tape across the seam to hold the alignment while you staple.
Cut the piece for the top and any separate pieces you need for the dust cover on the underside, plus extra 6 inch by 36 inch strips if you plan welt cord along the front edge.
Step 5: Staple the fabric working from the center out
Center the fabric on top of the cushion, grain running lengthwise, and staple once in the middle to anchor it. Pull one side toward you, tension it evenly, and staple along that side from the center outward, spacing staples about 3 inches apart and pulling firmly at each one.
Do the opposite side, then the two short ends. Working outward from the center in every direction is what keeps wrinkles out — the fabric distributes evenly instead of bunching at one corner.
On a wide bench, this is the step that catches people. Break a long seat into sections: staple the middle third, check the tension, then work toward each end. If you try to pull the full 60 inch taut in one motion, one end always wins and the seat ends up skewed.
Trim the excess with a utility knife after the last staple, leaving about an inch of fabric folded under the bottom edge.
Step 6: Fold the corners
Corners are the part every beginner dreads, and the fix is to treat each one as wrapping a present rather than folding a napkin.
Pull the two loose edges of the side panels straight down and staple them flat against the frame, one side then the other, keeping them level with each other. Any excess beyond the corner gets trimmed off, not folded.
Take the small triangle of fabric at the corner, pull it toward you so it wraps cleanly around the edge, and staple it. The visible face should be a neat flat triangle with no pucker. A rubber mallet taps any staple proud of the surface down into the wood.
Repeat on all four corners, then check the front edge in daylight for any ripple. Slight ripples disappear once the seat is back in place and under load.
Step 7: Add welting or piping (optional)
Welt cord is a fabric-covered rope that runs along the front edge, and it gives a bench a finished look that bare stapled fabric never quite reaches.
If you have a sewing machine, sew the cord into a bias strip and stitch it to the front edge before the cover goes on. If you do not, wrap strips of fabric around the cord, secure with a glue gun, and trim the seam allowance with a zipper foot or careful scissor work.
Some people skip the cord and use a doubled edge of fabric for the same visual effect with no sewing at all. Either way, staple or glue the welt along the front edge as you attach the main cover, keeping the curve smooth with no gathers.
Step 8: Reattach the seat to the frame
Turn the cushion over, check that the dust cover or a scrap of fabric is stapled flat across the bottom, and set it back on the frame. Start each bolt loosely by hand so the seat stays centered, then tighten evenly across the width.
Flip the bench upright and press down on the cushion with your weight distributed along its length. If you feel a hollow dip in the middle, lift the seat and add another layer of batting before you finish.
Let the bench sit for a few hours before anyone uses it heavily. Foam and batting settle under load and recover better if they are not compressed straight away.
How Much Fabric Do You Need for a Bench Seat?
Use the old cover as your measurement and add a margin. The formula is simple: measure the finished cover width and length, add 6 inches to each dimension, then divide the result by 36 to get yards of 54 inch wide upholstery cloth.
For example, a 58 inch by 20 inch cover needs 64 inches by 26 inches of fabric, which comes out to 2 yards with a little spare. Any seat over about 4 feet long deserves one extra yard, because a mistake in a long single cut means reordering rather than patching.
Fabric width matters more than most people expect. Standard upholstery cloth runs 54 inches wide, which means a 20 inch deep bench seat can be cut with the grain and still leave workable margins.
For a loose bench cushion with boxing on all four sides, add a full yard, and add another quarter yard per welt cord strip. If your bench has a separate back cushion, measure and cut it as its own piece with the pattern repeat aligned to the seat.
Choosing Upholstery Fabric for a Bench Seat
A bench seat takes more abuse than a decorative chair back, so fabric choice matters more than it does elsewhere in the house. A dining bench gets sat on daily, an entryway bench gets bags and shoes dropped on it, and an outdoor bench gets weather.
Performance fabrics are woven tight and treated for stain resistance, which makes them the sensible default for a dining or mudroom bench. They wipe clean and handle spills without a protector spray.
Solution-dyed outdoor fabric holds its color under sunlight far better than anything dyed only at the surface, which is the deciding factor for a patio bench. Pair it with quick-dry foam if the seat will sit in damp conditions.
Decorative upholstery cloth — velvet, chenille, prints — looks the best and wears the worst in high-traffic spots. Velvet also shows pressure marks and pile shading, so if you choose it, accept a shorter life between replacements.
Oil cloth and coated cottons resist spills well but crease sharply at the corners, which can look deliberate or sloppy depending on the rest of the room.
Check the rub count if the retailer lists one, and match it to use: a formal dining room is a low-abuse spot, an entryway is not. Whatever you pick, avoid anything with a loose weave for a bench — it will snag.
For high-use benches, applying a protective treatment after the upholstery is finished adds another layer of protection, though it needs a curing period in a well-ventilated room.
Common Mistakes and How to Fix Them
Nearly every problem with a reupholstered bench traces back to tension, staple choice, or frame material. Here is what goes wrong, why, and what to do about it.
The seat sags in the middle. Usually one of three causes: the foam compressed, the batting was too thin, or the cover was stretched unevenly from one end. Fix by adding a layer of batting across the center span, or replacing flattened foam with a firm block topped by softer material.
Wrinkles across the long edge. The fabric was pulled too hard at one end or stapled at an angle. Pull with even pressure, staple square to the edge, and check your tension at the middle third before committing to the ends.
Corners look lumpy or puffy. Extra fabric was folded into the corner instead of trimmed. Pull the panels down flat, cut away the surplus, and only wrap the remaining triangle.
Staples will not go in fully. The frame is denser than the staple leg length, or the frame is MDF, particle board, or pressed wood. A short 1/4 inch staple will bite where 3/8 inch just bends. On particle board, switch to a construction adhesive and screw-down battens, or replace the base panel entirely.
The grain is off-center or a print does not match. The fabric was cut without laying it out first. Unfold and flatten the new fabric, mark the grain with chalk before cutting, and align from the center seam outward.
You ran out of fabric before the last end. Yardage was calculated from a single dimension. Buy a spare yard, and cut the final end from the offcut if you planned the pattern direction correctly.
Bending tacks instead of staples. The gun is too light for the material. Use a pneumatic stapler or a hammer and a rubber mallet to finish any proud staples.
A bench frame built from particle board or MDF will not hold staples reliably no matter which size you use. Check the base before you start — if it is engineered board, plan on screwing the upholstery to added solid battens rather than promising a staple-only job.
Bench Variations: Storage Benches, Outdoor Benches and Upholstered Backs
Storage benches often have a hinged seat you cannot remove. Leave the hinge attached and staple the new fabric directly to the top and inside edges of the lid, folding the cover into the interior and stapling it to the underside. Expect to replace the foam in sections rather than one block.
Outdoor benches need every metal fastener replaced with stainless or coated screws, sealed wood on any end grain, and a quick-dry or outdoor-rated foam if the seat gets wet. Seal cut fabric edges with a fabric-edge sealer so the weave cannot wick water.
Benches with an upholstered back double your yardage and double the corner work. Cut the back cover as a separate piece using the same center-outward method, and match the pattern across the seam between seat and back so the design reads as one continuous line.
Button-tufted benches need buttons set before the top cover goes on, with the tufting pull done in the batting layer. Mark the button centers on the old cover before you strip it — those marks are your only accurate guide for spacing.
Window seats and banquette seating follow the same method, but the length demands the segmented tension approach described in Step 5. Long spans are where even, moderate tension beats maximum tension every time.
Is Reupholstering a Bench Beginner-Friendly?
Yes, with one caveat. The mechanical skills are simple: remove screws, pull staples, cut fabric, and drive staples. A first-timer who has never stapled anything will manage a bench seat in a weekend, and the learning curve is mostly in the corners.
The honest difficulty rating: moderate. It is simpler than a chair with a curved back or a tufted seat, and harder than a flat dining chair pad because of the width. The tools are the same ones a stapler owner already has.
No sewing machine is strictly required. Welting, decorative trim, and a boxed cushion are easier with one, but a glue gun and a bias strip wrapped around cord will cover a basic bench without a machine.
Two people make a wide bench considerably easier. One person holds tension and smooths the fabric, the other staples — on a 5 or 6 foot span, that division of labor is the difference between a clean cover and a frustrating afternoon.
Give yourself permission to reuse the foam if it is in reasonable shape. Replacing both foam and batting adds time, and plenty of worn-looking seats are simply in need of a new cover.
Frequently Asked Questions
How easy is it to reupholster a bench?
Moderately. A bench seat needs no skills beyond pulling screws, removing staples, cutting fabric, and driving staples. Budget a full weekend for a standard bench, allow extra time for wide spans, and expect the corners to be the slowest part.
How much does it cost to reupholster a bench seat?
DIY cost comes almost entirely from fabric, foam, batting, staples, and any welt cord, and it varies with bench size and fabric choice. Professional quotes range widely by size, condition, and whether the frame needs repair, so get two or three written estimates and ask what each includes. Reupholstering almost always costs a fraction of replacing a solid-frame bench, which is the main reason people do it themselves.
What is the best fabric to use for a bench seat?
Performance upholstery fabric is the best all-round choice for a dining or entryway bench because it wipes clean and resists stains. Outdoor benches need solution-dyed acrylic rated for UV exposure. Velvet and chenille look best but show wear fastest in high-traffic spots.
Can I reupholster over the existing fabric?
You can, if the cushion is structurally sound and you are not changing its shape. Staple the new cover directly over the old one and cut it with enough slack for the added layer. You will not be able to inspect or replace the foam, and the extra thickness changes how the seat sits on the frame.
What type of staple is best for upholstery?
3/8 inch upholstery staples suit most solid wood bench frames, with 5/16 inch as a middle option and 1/4 inch for thin plywood, MDF, or particle board bases. Use a heavy-duty stapler rather than an office stapler, and always pull every old staple before covering.
What is a good thickness for a bench cushion?
3 to 4 inch foam suits most bench seats, with 4 inch better for heavy daily use. On a long bench, stack a firm base with 1 to 2 inch of softer foam on top to hide the seam between cushion sections and remove the pressure ridge down the middle.
How do I secure a seat cushion to a bench?
Start each bolt by hand with the seat centered, then tighten evenly across the width rather than fully tightening one corner at a time. If the seat is stapled rather than bolted, staple the cover to the cushion’s own bottom rail and refit the rail to the frame with the original hardware.
How many yards of fabric do I need to reupholster a bench seat?
Measure the old cover, add 6 inches to each dimension, and divide by 36 for yards of 54 inch upholstery cloth. Add one spare yard on any seat over 4 feet long, and add another yard if you are boxing a loose cushion on all four sides.
Wrapping Up Your Bench Seat Project
To reupholster a bench seat, document the piece, strip the old cover and every staple, decide whether the foam survives, cut the new fabric 3 inches larger than the old cover with the grain running lengthwise, and staple from the center outward in sections before folding the corners and refitting the seat.
The three things that separate a good result from a frustrating one are all simple: pull every old staple, work the tension from the center out in short sections rather than end to end, and trim the corners instead of folding the excess. Take your time with the four corners, keep a photo record as you go, and the frame you already own gets a new life instead of a trip to the tip.