
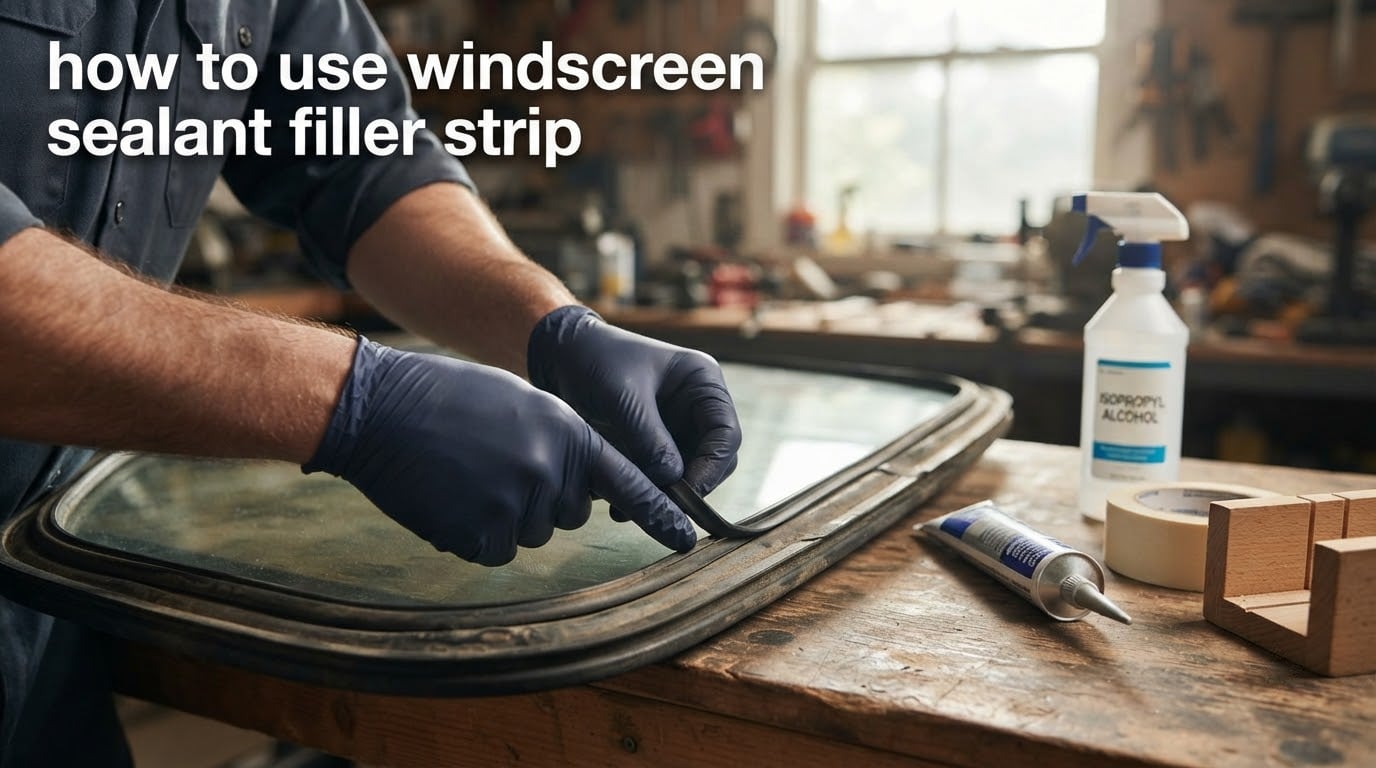
Learning how to use windscreen sealant filler strip can be the difference between a quiet, watertight cabin and a soggy headliner after the first rain. I have resealed enough windscreens on classics and daily drivers to know the filler strip is the unsung hero of the whole job.
Over the past several seasons I have fitted filler strips on everything from a 1968 Dodge Dart to a modern hatchback, and the same truth keeps showing up: the strip does the gap work, the sealant does the bonding, and skipping either one means leaks come back. In this guide I will walk you through the whole process I use, including the small tricks that stop filler strips from curling or dropping into corners.
This is a hands-on article written for 2026. Everything below comes from real fitting sessions, owner forums like the Lotus Elan and Mopar communities, and the factory service manual notes those owners reference. By the end you will know exactly which filler strip to choose, which sealant pairs with it, and how to install both for a long-lasting seal.
Table of Contents
- What Is a Windscreen Sealant Filler Strip?
- Tools and Materials You’ll Need
- Silicone vs Polyurethane Windscreen Sealant
- Step-by-Step Installation Guide: How to Use Windscreen Sealant Filler Strip
- Surface Preparation: Cleaning, Drying, and Primer
- Mitre Cutting Techniques for Corners
- Curing Time and Aftercare
- Common Installation Mistakes to Avoid
- Troubleshooting Leaks After Fitting
- Classic Cars vs Modern Vehicles
- Frequently Asked Questions
- Conclusion
What Is a Windscreen Sealant Filler Strip?
A windscreen sealant filler strip is a shaped length of rubber, usually EPDM, that slides into a channel in the windshield gasket or weatherstrip to fill the gap between the glass and the body of the car. It compresses evenly along the perimeter so the rubber seal sits flush against the glass, which keeps water, dust, and wind noise out of the cabin.
Think of it as the hidden shim inside the seal. Without it, the rubber weatherstrip alone cannot bridge the small but consistent gap between the chrome trim, the reveal molding, and the windshield. With it, the entire perimeter compresses the same amount and the seal actually does its job.
You will see three terms used almost interchangeably on forums and parts catalogs:
- Filler strip – the soft rubber insert that takes up space inside the gasket.
- Locking strip – a firmer spline that locks the gasket around the glass once the filler strip is in place.
- Reveal molding – the visible trim that sits against the body and finishes the look after the strip is fitted.
Modern vehicles often use a single molded rubber gasket with an integrated filler profile, while classic cars usually rely on separate strips you cut and fit by hand. Either way, the principle is the same: a filler strip fills the gap so the sealant has a uniform surface to bond to.
Tools and Materials You’ll Need
Gathering everything before you start is the single biggest time saver. I keep a dedicated tray for windscreen work so nothing walks off between sessions. Here is the kit I pull out for almost every filler strip job.
- Filler strip kit – matched to your gasket profile and vehicle year.
- Windscreen sealant – either neutral-cure silicone or polyurethane, depending on the body material.
- Petroleum jelly or soapy water – lubricant for sliding the strip into the channel.
- Isopropyl alcohol (90%+) – for cleaning glass and pinch weld before primer.
- Adhesion promoter or primer – recommended by the sealant maker.
- Masking tape and painter’s tape – protects paint from squeeze-out.
- Sharp utility knife and mitre box – for clean 45 degree corner cuts.
- Filler strip installation tool – a small nylon or brass roller that seats the strip without tearing it.
- Heat gun or warm water bath – softens cold rubber so it stops curling during fitting.
- Compressed air – for leak testing once the sealant has cured.
- Clean microfiber cloths – lint-free wipes for the glass and frame.
Silicone vs Polyurethane Windscreen Sealant
Choosing between silicone and polyurethane sealant matters more than most guides admit. The two chemistries behave differently on glass, cure at different speeds, and age in different climates. I keep both on the shelf and pick based on the vehicle and the environment.
| Property | Neutral-cure silicone | Polyurethane (PU) |
|---|---|---|
| Cure time to drive-away | 2 to 4 hours | 8 to 24 hours |
| UV resistance | Excellent | Good with primer |
| Paint compatibility | Safe on fresh paint | Can attack uncured paint |
| Flexibility after cure | High | Medium to high |
| Adhesion to glass | Excellent with primer | Excellent without primer |
| Best for | Classic restorations, painted steel | Modern vehicles, fleet use |
Silicone is my default for classic cars because it tolerates small body flex, resists UV, and will not lift uncured paintwork. Polyurethane is the choice on modern cars where the factory uses PU on the production line, so any reseal bonds to leftover PU and behaves like original equipment.
Whichever you choose, match the sealant chemistry to the primer. Silicone needs a silicone-rated primer, and PU needs its own PU primer. Skipping the primer or mixing them is the number one reason I get called back to fix leaks.
Step-by-Step Installation Guide: How to Use Windscreen Sealant Filler Strip
This is the sequence I follow every time. Treat each step as non-negotiable, especially surface prep and corner cuts. The bulk of failed seals I have seen come from skipping one of these steps because the installer was in a hurry.
Step 1 – Remove the existing seal and clean the channel. Pull the old weatherstrip and any leftover locking strip from the glass and body. Scrape off cured sealant with a plastic scraper so you do not scratch the pinch weld. Vacuum out debris.
Step 2 – Clean glass and frame with isopropyl alcohol. Wipe the bonding surfaces twice. The first pass removes dust; the second pass removes oils. Allow full flash-off before moving on.
Step 3 – Apply primer where the maker recommends. A thin, even coat on the glass and on the metal flange. Most PU systems need primer on both sides. Neutral-cure silicone usually needs primer only on the glass.
Step 4 – Mask the paintwork. Run painter’s tape along the body opening, leaving the bonding edge exposed. This is the cleanest way to control sealant squeeze-out, and reviewers across the Mopar and Triumph forums swear by it.
Step 5 – Apply a continuous bead of sealant. Lay a uniform bead along the body flange where the gasket will sit. Keep the bead the same width as the gasket footprint; too thick causes squeeze-out, too thin causes dry spots.
Step 6 – Warm and seat the filler strip into the gasket channel. Dip the strip in warm water, dry it quickly, and slide it into the channel using petroleum jelly or soapy water as lubricant. Work around the perimeter in one direction so the strip does not bunch.
Step 7 – Fit the gasket and filler strip to the glass. Place the glass on a padded surface, lay the gasket over it with the filler strip already in place, and feed the locking strip into the channel to clamp the gasket around the glass.
Step 8 – Set the assembly onto the body and press home. With a helper, lift the glass and gasket onto the car, align it with the body opening, and press evenly around the perimeter so the sealant squeezes into a consistent thickness.
Step 9 – Install the reveal molding and chrome trim. Snap or screw the trim in place according to the factory service manual. This locks the gasket against the body and finishes the seal.
Step 10 – Clean up and let it cure. Remove the masking tape before the sealant skins over. Do not drive the car until the sealant has reached drive-away strength, usually noted on the tube.
Surface Preparation: Cleaning, Drying, and Primer
Surface prep is the step that decides whether the seal lasts one season or ten. I have replaced sealants that failed in six months because someone cleaned the glass with a household cleaner that left a silicone film behind. The new sealant could not bond, and water crept in at the first pressure wash.
Start by wiping the glass and the body flange with isopropyl alcohol at 90% concentration or higher. Lower concentrations leave water residue, which interferes with primer chemistry. Use a clean, lint-free cloth for each pass so you are not redistributing the oils you are trying to remove.
Dry time matters too. After cleaning, let the surface air-dry for at least five minutes, or speed it up with a lint-free cloth. The primer will not penetrate moisture trapped in the seam, and trapped moisture is the most common cause of adhesion failure on the lower corners of the windshield.
Apply primer in thin coats. Thick primer does not bond better; it just sits on the surface and peels later. Most primer touch-dry windows sit between two and ten minutes. Get the sealant on while the primer is still active, not after it has fully cured.
Mitre Cutting Techniques for Corners
Corners are where filler strips fail first. The classic Lotus Elan forum recommends cutting the strip 1/8 inch overlength per foot of run so the strip gently compresses into the corner instead of leaving a gap. That formula has saved me on every curved screen I have fitted.
For square-cut corners, use a mitre box and a fresh utility knife blade. Cut at 45 degrees so the joint sits flush inside the gasket channel. A dull blade drags the rubber and leaves a ragged edge that never seats properly. I swap blades after every two corners.
On moulded corners where the factory supplied a pre-shaped curve, you do not need to mitre at all. Just trim the straight run slightly overlength and let the moulded section handle the radius. Forcing a mitre into a moulded corner almost always creates a leak path.
Curing Time and Aftercare
Curing time depends on the sealant chemistry, the ambient temperature, and humidity. Neutral-cure silicone typically skins over in 20 to 40 minutes and reaches drive-away strength in 2 to 4 hours. Polyurethane takes longer, often 8 to 24 hours for full cure and several days for ultimate strength.
Higher humidity slows some sealants and accelerates others. Read the technical data sheet for the exact product you used, then add a buffer. I usually wait the full upper limit before any road test, especially in cold or damp weather.
Aftercare is simple. Avoid high-pressure washing for at least 72 hours. Do not poke or pry the trim. If you see sealant squeeze-out on the paint, wipe it with a damp cloth before it skins over. Once cured, excess sealant comes off with a plastic scraper and isopropyl alcohol.
Common Installation Mistakes to Avoid
I keep a running list of mistakes because I have made most of them at least once. Sharing them saves time and money.
- Skipping primer. The sealant bonds to the primer, not directly to the glass. No primer means weak adhesion and an early leak.
- Using household silicone. Bathroom silicone releases acetic acid during cure, which fogs the glass and attacks paint.
- Fitting a cold filler strip. Cold rubber curls, fights the channel, and never seats at the bottom corners.
- Over-applying sealant. Excess sealant squeezes into the channel and blocks the filler strip from seating.
- Driving before cure. Body flex from driving twists the uncured seal and breaks adhesion.
- Mis-matched corner cuts. Square cuts on a moulded corner or mitre cuts where the gasket expects a straight run both create gaps.
Troubleshooting Leaks After Fitting
If water shows up after a refill, do not panic. Most post-installation leaks come from one of three places: a corner gap, a skipped primer patch, or a filler strip that folded during fitting. I diagnose leaks the same way every time.
Start with a water test. Run a gentle hose along the top of the windshield while a helper sits inside with a flashlight and a dry cloth. Have them watch the A-pillars, the headliner edges, and the dash vents. The first place water shows up is almost always the source of the leak.
If water is invisible, use compressed air. Seal the cabin, pressurize it through a door seal with a small blower, and listen for hiss around the gasket with a mechanic’s stethoscope or a length of hose. The hiss pinpoints the gap, and a small bead of sealant or a corner patch usually fixes it.
For persistent leaks at the lower corners, lift the reveal molding and check whether the filler strip actually seated. Reviewers on restoration forums often find the strip twisted or short by half an inch. Trimming a replacement to overlength and reseating that corner solves the leak without redoing the whole seal.
Classic Cars vs Modern Vehicles
Classic cars and modern vehicles use the same sealant and filler strip principles, but the execution is different. On a 1968 Dodge Dart, the factory service manual calls for a filler strip in the lower part of the weatherstrip, which most owners fit with separate EPDM strips and neutral-cure silicone. Modern cars typically ship with a single molded gasket and a one-part PU adhesive that needs a primer and a long cure.
Classic restorations reward patience. Body gaps are rarely perfectly uniform, so the filler strip has to compensate for small variations. A slightly overlength cut, a warm bath, and a two-person installation are the three things that make classic seals behave like modern ones.
For daily drivers, follow the OEM service manual. The factory specifies a sealant part number for a reason, and using a different chemistry can interfere with the original bond. When in doubt, call the dealer parts counter with the VIN and ask which sealant they stock for that windshield.
Frequently Asked Questions
How to apply windscreen sealant?
Clean the glass and body flange with isopropyl alcohol, let it dry, then apply primer if the maker requires it. Mask the paint, lay a uniform bead along the body opening, fit the gasket with the filler strip already seated, and press the assembly into place. Remove the tape before the sealant skins over and let it cure for the full drive-away time on the tube.
Does windscreen sealant actually work?
Yes, when applied to a clean, primed surface with a properly seated filler strip. The sealant bonds the glass to the body, the filler strip keeps the gasket gap uniform, and the combination stops water, dust, and wind noise. Skipping primer or fitting a cold filler strip is what causes most leaks reviewers report.
Can a car windscreen be resealed without removing the glass?
Minor leaks around the edge of an existing seal can sometimes be patched from the outside with a thin bead of sealant. For larger leaks, a proper reseal means removing the trim, lifting the glass, replacing the filler strip, and applying fresh sealant. The patch approach buys time but does not replace a full reseal on an old gasket.
What are the most common sealant application mistakes?
The biggest mistakes are skipping primer, using household silicone instead of automotive sealant, fitting a cold filler strip that twists in the channel, over-applying sealant so it blocks the strip, and driving before the cure time is up. Any one of these can break the seal within a season.
How long does windscreen sealant take to cure before driving?
Neutral-cure silicone usually reaches drive-away strength in 2 to 4 hours. Polyurethane sealants typically need 8 to 24 hours. Humidity, temperature, and bead thickness all affect the actual cure time, so waiting at the upper end of the maker’s range is the safer choice, especially in cool or damp weather.
Conclusion
Knowing how to use windscreen sealant filler strip comes down to three habits: clean the surface, fit the strip warm and slightly overlength, and give the sealant the full cure time before driving. Follow those three rules and the seal will outlast the gasket around it.
If you are resealing an older car, start by checking the factory service manual for the original filler strip profile and sealant recommendation. For a modern daily driver, stick with the OEM part numbers. Either way, the strip and the sealant work as a pair, and treating them that way is what makes a windscreen seal last.