
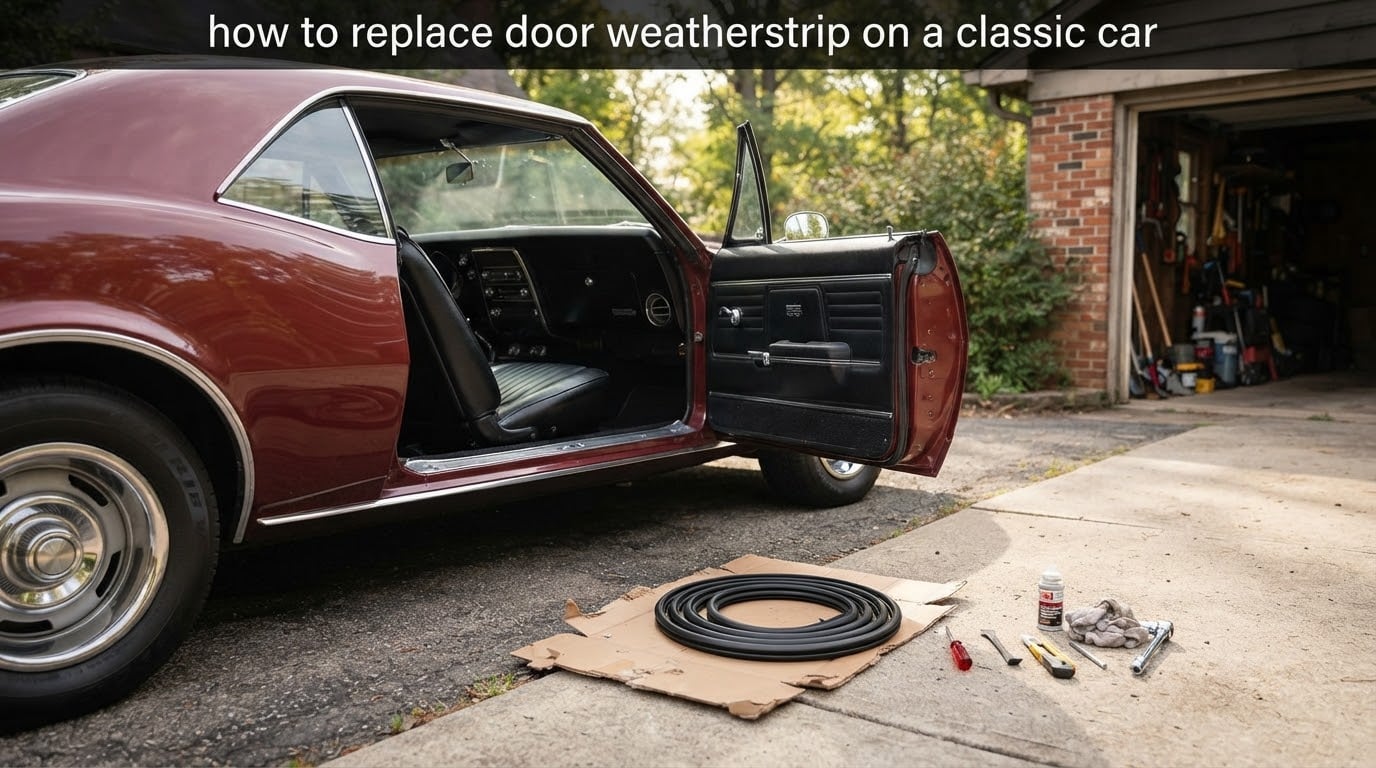
Yes, you can absolutely replace door weatherstrip on a classic car yourself, and most restorers do. The job usually takes 2 to 4 hours per door once you have the right adhesive, a clean jamb, and a little patience for the cure time. This guide walks you through every step our team uses on shop projects, with extra care for original paint, reproduction seals, and the quirks that older metal throws at you.
If you own a Mustang, Camaro, Corvette, Mopar, or any other vintage ride, worn door seals lead to water in the footwells, rust in the jambs, and that constant whistle on the highway. Replacing the weatherstrip is one of the most satisfying small jobs you can do, and the materials cost far less than a single panel of new sheet metal.
Table of Contents
- Why Classic Car Door Weatherstrip Replacement Matters
- Tools and Materials You Will Need
- How to Replace Door Weatherstrip on a Classic Car: Step-by-Step
- Choosing the Right Weatherstrip Material for a Classic Car
- Choosing the Right Adhesive for a Classic Car
- Common Mistakes and How to Avoid Them
- Maintenance Tips to Make Your New Seal Last
- Frequently Asked Questions
- Can you replace weather stripping on a car yourself?
- What is the best glue to use for weather stripping on cars?
- How much does it cost to replace the weather stripping on a car door?
- How do I reattach car door weather stripping?
- How do I properly apply weatherstrip adhesive?
- How long does it take for 3M weatherstrip adhesive to dry completely?
- Final Thoughts
Why Classic Car Door Weatherstrip Replacement Matters
Door weatherstrip is the rubber or foam seal around a classic car door that blocks water, wind, and noise while keeping the interior dry and quiet. When it is fresh, the door shuts with a satisfying solid thunk and the cabin stays tight in a storm. When it fails, water finds its way into the carpet, rust blooms behind the lower quarter panels, and wind noise turns a Sunday cruise into an annoyance.
On a classic car, the stakes are higher than on a daily driver. Original sheet metal is irreplaceable. A small leak that would be a nuisance on a 2015 commuter becomes a body-shop invoice on a numbers-matching restoration. That is why I treat door weatherstrip replacement as preventive medicine, not cosmetic work.
The most common failure I see on a 40 or 50 year old car is dried-out EPDM or neoprene. The rubber loses its plasticizers, the bulbs flatten, and the corners start to crack. Once you can see daylight through the seal, water is already getting in.
Tools and Materials You Will Need
Before you start, gather everything. Stopping halfway through to hunt for a paint-safe cleaner is how beginners damage fresh paint. Here is the kit I lay out on the bench for every classic car door seal job.
- A trim removal tool set (plastic, not metal, for paint safety)
- A roll of masking tape and a Sharpie for marking positions
- A scrapper or plastic razor blade for old adhesive
- A small brush and a can of wax and grease remover
- A clean, lint-free microfiber cloth stash
- 3M weatherstrip adhesive (yellow 08008 or black 08001, see the guide below)
- Adhesive remover rated paint-safe (3M 08984 or equivalent)
- A caulking gun if you choose the tube format of 3M 08011
- Pin-and-tape supplies: T-pins and blue painter’s tape
- A heat gun at low setting, for relaxing stiff reproduction seals
- Isopropyl alcohol for the final wipe-down
Two extras that are easy to forget: nitrile gloves and a box of toothpicks. Gloves keep oil off the adhesive bond, and toothpicks are perfect for cleaning out old adhesive from the tiny channel at the bottom of the jamb.
How to Replace Door Weatherstrip on a Classic Car: Step-by-Step
This is the procedure I run on every classic that rolls through our shop. Take your time at the adhesive step. That is where 90 percent of failures happen, and the rest is mostly patience.
Step 1: Assess and Document the Old Seal
Before you pull anything off, photograph the door open and shut from multiple angles. Use a marker to draw small reference lines at the top hinge and the latch, showing how the old seal sits relative to the body line. On reproduction seals, the molded corners almost never drop in at exactly the same spot as the factory original, so your reference marks will keep you honest during test-fitting.
Open and close the door slowly, and look for drag spots. If the door feels stiff partway through the swing, the old seal has swollen and is masking an alignment issue. You want to know that before installing new weatherstrip, because a stiff door will rip a fresh seal off in a week.
Step 2: Remove the Old Weatherstripping Safely
Start at the bottom corner near the hinge. Gently pry the seal away from the pinch weld with a plastic trim tool. Never use a flat blade screwdriver near the paint. On factory seals you will find small metal clips or staples that release with light upward pressure. Reproduction seals are usually glued only and peel away with steady, even tension.
Keep a trash bag close. Old adhesive blobs and dirt will fall into the rocker panel and rattle forever if you do not catch them. Work your way up the A-pillar, across the roofline, down the B-pillar, and around to the latch post. Number the major sections with tape as they come off. That sequence is the order you will install the new seal.
Step 3: Clean and Prep the Door Jamb
Old adhesive is the enemy of new adhesive. Scrape the channel with a plastic razor blade, then wipe down the entire bonding surface with wax and grease remover. If the car is freshly painted, give the wipe a second pass after waiting 10 minutes. Most paint-safe adhesive removers are gentle, but they still need a moment to flash off.
Take this chance to inspect the jamb for rust. If you find any, address it before installing the new seal. A bead of rust converter followed by a coat of seam sealer buys you decades of protection. Any flaking scale left under the new seal will telegraph through and create a leak path within months.
End your prep with an isopropyl alcohol wipe. Adhesive will not bond to oil from your fingertips, so put your nitrile gloves on now and keep them on.
Step 4: Test-Fit and Relax the New Seal
Unroll the new weatherstrip on a clean workbench and let it sit at room temperature for at least an hour. Reproduction seals ship coiled tight and arrive with a memory curve that fights you on the car. A heat gun at the lowest setting, passed quickly over the bulb, helps coax stubborn corners back to factory shape. Never concentrate heat in one spot. You are warming rubber, not baking a cake.
Now dry-fit the seal along the door without any glue. Start at the top of the B-pillar, the same spot you marked at the latch post in Step 1. The seal should seat into the channel and follow the body line without gaps at the corners. If you see daylight between the rubber and metal anywhere, the seal needs more relaxing time or a different starting point. Do not move forward until the dry fit looks right.
Step 5: Apply Adhesive the Right Way
This is the step that separates a one-year seal from a ten-year seal. Both surfaces need adhesive. The body channel gets a thin, even bead. The back of the weatherstrip also gets a thin coat. Lay the seal out on clean cardboard, brush a 1/16 inch coat along the bonding surface, and let it flash off until it is tacky to a clean fingertip but does not transfer to your glove.
That flash-off window is usually 2 to 5 minutes depending on temperature. In our shop we aim for tack time around 4 minutes in a 70 degree room. Cold weather slows the flash. Hot weather speeds it up. If you stick the seal down while the adhesive is still wet, the bond stays soft. If you wait too long and it is bone dry, the bond is starved. Test with a knuckle, not a glove finger, before you commit.
Step 6: Install With the Pin-and-Tape Method
The pin-and-tape method is the pro technique every forum thread ends up recommending. Once the weatherstrip is aligned, press it into the channel by hand pressure alone, starting at the midpoint and working toward each end. Pin the seal to the body every 6 to 8 inches with T-pins, just to hold the geometry while the adhesive cures.
Then lay strips of blue painter’s tape across the seal and onto the paint, every 4 inches. The tape holds the rubber into the channel with light, even pressure, so it can bond without sliding. Tape a strip above the door opening so the closed-door position presses the seal for you. Leave the pins and tape in place for a full 24 hours.
If you are working on a reproduction seal that has no factory guide pins or molded alignment tabs, the pin-and-tape method is the only thing that keeps the corners from drifting. We rely on it for almost every Mustang and Camaro door we do.
Step 7: Cure, Test, and Reinstall
3M weatherstrip adhesive reaches handling strength in about 24 hours and full bond strength at 72 hours. Do not close the door hard during that window. Open and close it gently, only enough to check alignment. A slam can shear the bond before it sets.
After 24 hours, pull the pins and tape and inspect the corners. If a small section lifted, push it back down with a fingertip and re-tape it for another 12 hours. Now is also the moment to reinstall any door panels, window felt, or end caps you removed. Wipe the seal down with rubber conditioner to keep it supple.
Finally, water-test it. Slowly pour a cup of water along the top of the door and the leading edge. If the headliner stays dry, you have a solid install. If a drip shows up inside, you usually find it at the door-to-roof corner near the mirror mount. A small dab of adhesive there usually fixes it without redoing the whole run.
Choosing the Right Weatherstrip Material for a Classic Car
The classic car door profiles on a 1960s or 1970s car were designed for dense, molded EPDM or neoprene. Foam seals and silicone seals exist, but they do not match the original feel or compression. Here is how the three main options compare for a vintage restoration.
- EPDM rubber: dense, factory-correct feel, excellent UV resistance, long service life, slightly harder to install because it is stiffer.
- Neoprene: classic material used on many original seals, good flexibility in cold weather, can dry out faster than EPDM on cars that sit outside.
- Silicone: outstanding temperature tolerance, soft and easy to fit, more expensive, and not period-correct for most vintage muscle builds.
- Foam: cheap and compressible, but it soaks up water and breaks down in a few years. We only use foam on daily drivers, never on a restoration.
For an original-style restoration, EPDM reproduction seals from a known maker such as Metro, Steele, or Dennis Carpenter are the safest bet. For a driver-quality daily that just needs to keep water out, a high-quality silicone or dense foam kit from a reputable aftermarket source will do the job.
Choosing the Right Adhesive for a Classic Car
Adhesive choice matters as much as the seal itself. The wrong glue fails fast, damages paint, or both. Here is how the three most common 3M products stack up for a vintage door.
- 3M 08008 Yellow Weatherstrip Adhesive: factory-correct color for Ford and Chevy classics, medium tack, bonds EPDM and neoprene well, the most common choice on restoration forums.
- 3M 08001 Black Weatherstrip Adhesive: better hiding on dark cars, slightly higher heat resistance, a smart pick for black or dark-colored classics.
- 3M 08011 Super Weatherstrip Adhesive: thicker paste in a tube, easier to control on vertical surfaces, slower flash, very strong final bond.
On a freshly painted car, the safe move is yellow 08008 in a thin coat. Apply the minimum amount that holds the seal. Heavy glue lines telegraph through the paint and never fully harden. Work in a shaded, dust-free area, and keep the tube capped between uses. Adhesive skins over in 10 minutes and turns into a lump in the nozzle.
Common Mistakes and How to Avoid Them
Most weatherstrip replacement failures come from the same handful of mistakes. Here are the ones our team sees over and over.
- Rushing the tack time. If the adhesive is still wet, the seal slides and never bonds. Wait until it is tacky to a clean knuckle.
- Skipping the wax and grease remover wipe. New seals carry mold release agents that repel adhesive. One wipe fixes the problem.
- Glue-only on the body side. You need adhesive on both surfaces, applied thin. Glue only on the metal and the seal peels in months.
- Closing the door hard before cure. A slam shears a soft bond. Leave the door slightly ajar or tape it open for 24 hours.
- Using metal tools near paint. A plastic trim tool pops the seal without leaving marks. A screwdriver scars the door permanently.
- Ignoring door alignment. A door that does not shut smoothly will rip any seal off. Adjust the hinges or the latch before installing new weatherstrip.
Maintenance Tips to Make Your New Seal Last
A good seal can last 10 years or more on a garage-kept classic. A neglected one gives up in two. The maintenance is simple and worth the few minutes a year.
Twice a year, wipe the seals down with a rubber conditioner. Avoid silicone spray. It softens the rubber for a few weeks then dries it out faster than before. A product designed for weatherstrip, like 303 Protectant, keeps the EPDM supple and adds UV protection.
Every fall, check the drain holes at the bottom of the door. A plugged drain turns a small leak into a rust problem by spring. A small screwdriver and a blast of compressed air clears them in seconds.
If you live where the car sits outside in winter, treat the door seals every wash with a thin coat of rubber conditioner before the temperature drops below freezing. That stops the rubber from sticking to the paint on cold mornings, which is the leading cause of torn door seals on daily-driven classics.
Frequently Asked Questions
Can you replace weather stripping on a car yourself?
Yes, most classic car owners can replace door weatherstrip at home with basic hand tools, a paint-safe adhesive remover, and a quality weatherstrip adhesive like 3M 08008. The job typically takes 2 to 4 hours per door including cure time, and most beginners can finish a single door in an afternoon after practicing on one.
What is the best glue to use for weather stripping on cars?
3M 08008 yellow weatherstrip adhesive is the most common choice among classic Ford and Chevy restorers because it matches the factory glue color and bonds EPDM and neoprene well. For dark cars, 3M 08001 black has slightly better heat tolerance and hides glue lines better.
How much does it cost to replace the weather stripping on a car door?
A DIY replacement typically costs between the price of the seal kit and a single can of adhesive, depending on your vehicle. Reproduction seal kits for popular classics run higher than universal seals, but the adhesive and prep supplies are the same regardless of car. Professional installation adds labor that often equals or exceeds the parts total.
How do I reattach car door weather stripping?
Clean both surfaces with wax and grease remover, apply a thin coat of adhesive to the body channel and the back of the seal, let it flash until tacky, then press the seal into place starting at the midpoint and working outward. Hold it with the pin-and-tape method for 24 hours, then close the door gently for another 48 hours until full cure.
How do I properly apply weatherstrip adhesive?
Brush a thin, even coat on both the body channel and the back of the seal, then wait 2 to 5 minutes for the adhesive to flash to a tacky state that does not transfer to a clean knuckle. Lay the seal into the channel starting at the midpoint, pin it every 6 to 8 inches, and tape it down with blue painter’s tape for 24 hours.
How long does it take for 3M weatherstrip adhesive to dry completely?
3M 08008 and 08001 reach handling strength in roughly 24 hours under typical room temperature and full bond strength after about 72 hours. Cold weather slows the cure, while hot weather speeds it up. Avoid slamming the door and skip washing the car for the first three days after installation.
Final Thoughts
Learning how to replace door weatherstrip on a classic car is one of those weekend jobs that pays off every time you drive in the rain. Take an extra hour for surface prep, respect the tack time, and walk away for 24 hours. The finished seal feels factory, the cabin goes quiet, and the rust you never saw coming never gets a chance to start.
Pull the door panels, vacuum the drain holes, and keep a small bottle of rubber conditioner in the garage. Your classic will thank you every time the weather turns.