
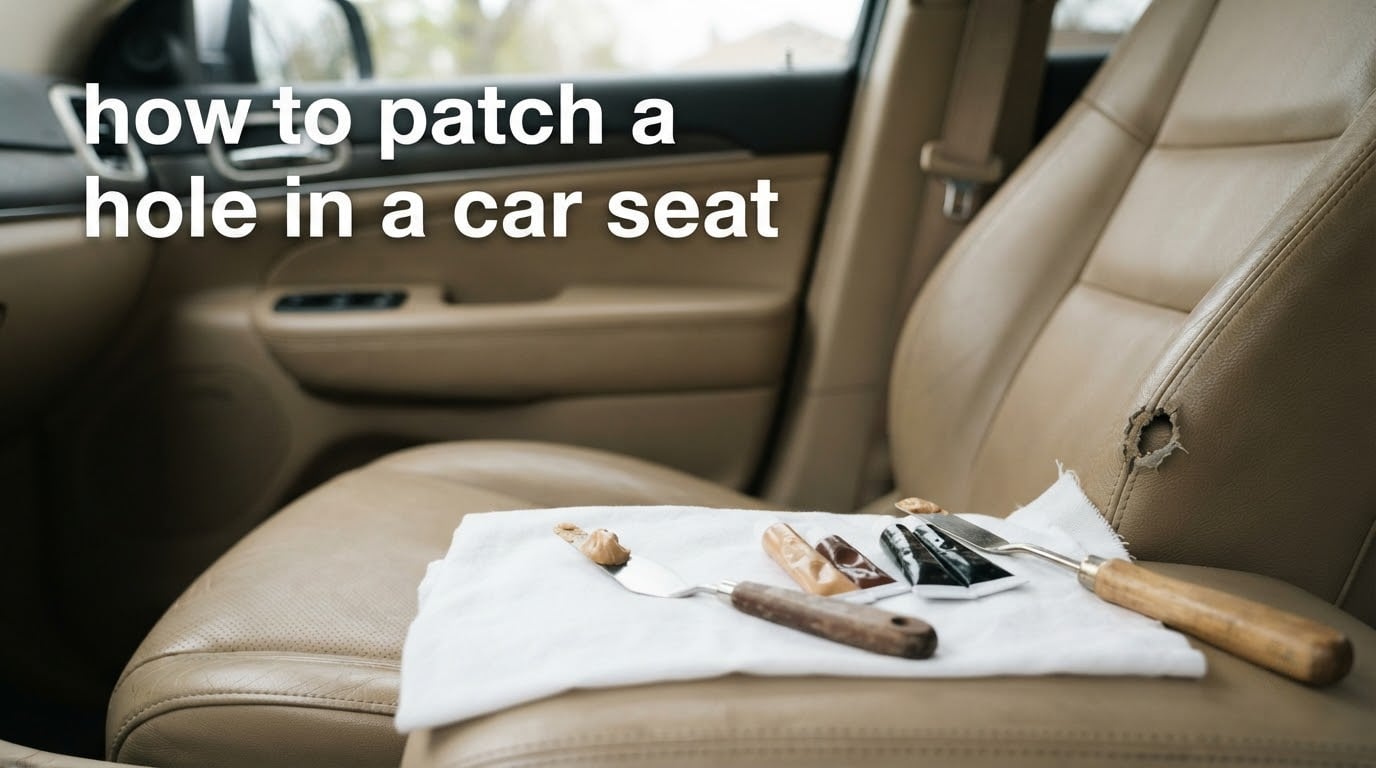
Yes, you can patch a hole in a car seat using a leather or vinyl repair kit, a backing subpatch, flexible filler, and a color compound matched to your upholstery. Most small to medium holes in leather, vinyl, and fabric seats can be repaired at home in an afternoon with a mid-grade kit and a steady hand.
I have repaired more car seats than I can count over the years, and most of the calls we get at the shop start the same way: a driver slides out of the car, catches the bolster on a belt buckle, and rips a small hole that grows by the week. The good news is that you do not need a full upholstery shop to make it right. With the right materials and a little patience, a DIY patch can last years.
This guide walks through exactly how to patch a hole in a car seat, from cleaning and backing the hole to color matching and finishing. We will cover leather, vinyl, and fabric, plus the special cases that trip most beginners: cigarette burns, perforated leather, and crushed foam underneath. If you have been staring at a tear and wondering whether to call a shop or try it yourself, this is for you.
Table of Contents
- Can You Patch a Hole in a Car Seat?
- Tools and Materials You Will Need
- How to Patch a Hole in a Car Seat: Step-by-Step
- How to Match Color on Black, Tan, and Gray Seats
- Perforated Leather Seat Repair: What Changes
- Cigarette Burns vs. Puncture Holes vs. Worn Bolsters
- When to Replace the Foam Underneath
- Common Mistakes to Avoid
- DIY Repair vs. Professional Upholstery Shop
- How to Prevent Future Tears
- Frequently Asked Questions
- Conclusion
Can You Patch a Hole in a Car Seat?
You can patch a hole in a car seat on leather, vinyl, and most fabric seats. The basic process is the same: clean the area, insert a backing patch behind the hole, fill the gap with a flexible compound, color-match the surface, and seal the repair.
Small holes under about the size of a quarter are usually the easiest place to start. Cigarette burns, pet scratches, and seam splits fall into this range and respond well to a mid-grade repair kit. Larger tears, missing chunks of material, or holes where the foam underneath is crushed may still be DIY-friendly, but they take more time and a steadier hand.
The two things that determine whether you can patch it yourself are the material and the size. Leather and vinyl take filler and color compound well. Cloth seats need a fabric patch and usually a sewing step rather than filler. If your seat is cloth, our upholstery shop page has more on fabric-only repairs.
Tools and Materials You Will Need
Before you touch the seat, gather everything in one place. Most repairs fail because someone runs out of glue halfway through or improvises with the wrong spreader.
Here is the kit list we use in our shop for a typical leather or vinyl seat patch:
- Leather and vinyl repair kit (includes filler, color compounds, subpatch fabric, grain sheet)
- Backing fabric or subpatch material – thin canvas or the included kit patch
- Flexible fabric glue or leather adhesive
- Alcohol-based cleaner and lint-free cloths
- Palette knife or plastic spatula for spreading filler
- Fine sandpaper (around 1000 grit) and a sanding block
- Heat spoon or hair dryer for faster curing and grain transfer
- Tweezers for placing the subpatch inside the hole
- Masking tape to keep filler off the spreader and surrounding leather
- Leather prep solution and a finishing sealant
Skip the cheap all-in-one kits that ship with pre-mixed filler. The color rarely matches and the filler shrinks more than a quality two-part system. A good kit runs a little more upfront, but the patch blends better and lasts longer.
If your seat is perforated, add a heated pick or sharp awl to the list. You will use it after the filler cures to re-create the perforation pattern. We will cover that step below.
How to Patch a Hole in a Car Seat: Step-by-Step
The repair breaks down into seven steps. Do them in order and resist the urge to rush the filler. Thin layers always beat one thick coat.
Step 1: Clean and Inspect the Damaged Area
Wipe the seat with an alcohol-based cleaner to remove body oils, conditioner residue, and dirt. Oils prevent glue and filler from bonding, and any grime left behind will show through the new color.
Once the area is dry, inspect the hole closely. Look for crushed foam, loose threads, and any torn leather that is still partially attached. Note the size and shape so you know how much backing fabric to cut.
Step 2: Trim Loose Threads and Remove the Lip
Use small scissors or a craft blade to trim frayed threads and remove any loose “lip” of torn material around the hole. Forum regulars on CorvetteForum and The Upholstery Forum swear by this step, because the lip prevents the patch from sitting flat.
Do not cut away good material. Only remove what is already torn or hanging. Sand the edges lightly with fine sandpaper to feather the transition into the surrounding leather.
Step 3: Insert and Glue the Backing Subpatch
Cut a piece of backing fabric roughly a half inch larger than the hole on every side. Slide it under the hole using tweezers, then center it so the hole is fully covered.
Apply flexible glue around the edges of the subpatch and press it against the underside of the leather or vinyl. Hold for a minute, then let it cure. The subpatch becomes the foundation that holds the filler in place. Without it, filler sags into the seat cavity and you end up with a visible dip.
Step 4: Apply Thin Layers of Filler
Mix the filler with a small amount of hardener if your kit uses two parts. Using your palette knife, spread a thin layer across the hole, pressing it into the weave of the subpatch. Keep the layer thin, no more than the thickness of a credit card.
Let it cure. Most fillers set in 10 to 20 minutes at room temperature, or faster with a heat spoon held a few inches away. Apply two or three more thin layers, letting each cure between coats, until the filled area is slightly proud of the surrounding surface.
This is the step most beginners get wrong. They glob on one thick coat, the filler shrinks as it cures, and the patch sinks below the surface. Thin layers prevent shrinkage and let you build up to the exact level you need.
Step 5: Sand the Filler Flush
Once the final layer has fully cured, sand the filled area flush with the surrounding leather. Use a sanding block and light pressure. You want the surface smooth and even, not dished out.
Wipe away dust with a dry cloth. If you can feel any step between the patch and the original material, add a little more filler, let it cure, and sand again.
Step 6: Color-Match and Apply the Grain
Mix the color compounds to match your seat. Start with the base color, then add darker or lighter tones in small drops until the swatch on white paper matches the seat under daylight. Account for fading if the seat is older, the original factory color is usually darker than what you see now.
Apply the color in thin coats with a sponge or airbrush, letting each coat dry before the next. Two to four thin coats build a richer, more accurate color than one heavy coat.
For texture, press a grain sheet from your kit onto the wet final coat. Hold a heat spoon a few inches above for 10 to 15 seconds to set the texture, then peel the sheet away. The pattern transfers to the patch and matches the surrounding leather.
Step 7: Seal and Condition
Once the color is fully dry, apply a finishing sealant to lock in the repair. Most kits include a matte or satin sealer. Lightly mist it across the patch and let it cure.
Finish by conditioning the whole panel with a quality leather conditioner. This blends the patch into the surrounding leather and protects both the repair and the original material from future wear.
How to Match Color on Black, Tan, and Gray Seats
Color matching is the step most people fear, and it is also where most DIY patches fail. The fix is patience and small batches.
For black seats, the job is easier because there is little room for color error. Mix a black base with a touch of brown if your seat has a slightly warm cast, or a touch of blue for a cooler cast. Build the color in two or three thin coats rather than one thick coat, and let each dry fully.
For tan and gray seats, work under daylight, not shop lighting. Mix small amounts at a time and dab a test swatch on the back of the seat or under a flap where it will not be seen. Adjust the mix until the swatch disappears into the surrounding leather.
One trick from forum regulars on r/DIY: take a photo of the test swatch next to the seat with your phone, then look at it in grayscale. If the swatch and seat are the same shade of gray, the color match is close. If one looks lighter or darker, adjust before going visible.
Perforated Leather Seat Repair: What Changes
Perforated leather is the case that breaks most beginners. Grain sheets cannot replicate the holes, so even a perfect color match still looks wrong if the perforations do not line up.
The fix is to re-pierce the cured filler with a heated pick or a sharp awl. After the final filler layer has cured and before you apply color, use a thin heated tool to poke a pattern of small holes that matches the surrounding perforation spacing. Work slowly and check the alignment against the existing holes every few piercings.
Keep the pick clean between piercings. Wipe it with alcohol so it does not drag filler into the new holes. Once the holes are pierced, apply the color compound carefully with a fine sponge so it does not fill the holes back in. A toothpick helps clear any color that gets in.
If the original seat has very tight or irregular perforations, this is the one case where a professional upholstery shop is usually the right call. The tooling and skill ceiling are higher than a typical DIY patch.
Cigarette Burns vs. Puncture Holes vs. Worn Bolsters
Different damage types need slightly different prep, but the core repair is the same. Here is how to adjust for the three most common cases.
Cigarette burns usually leave a small blackened crater in the leather. Clean the area with alcohol to lift the soot before you trim the edges, and sand lightly to remove any hardened surface. The hole is often smaller than it looks because the surrounding leather tightens from the heat. A backing patch and a single filler layer is usually enough.
Puncture holes from keys, belt buckles, or pet claws have clean edges. Trim any loose fibers, sand the edges flat, and back the hole as usual. These are the easiest patches because the filler has a clean shape to fill.
Worn bolsters are the toughest case. The leather is often thin from years of friction and the foam underneath is compressed. You will usually need to address the foam before the patch. Lift the seat cover, inspect the foam, and replace any crushed sections with fresh high-density foam before applying the leather patch.
When to Replace the Foam Underneath
If the foam under the hole is visibly crushed, crumbly, or missing, no amount of filler on the surface will give you a clean repair. The patch will sink into the soft spot and you will see a dip every time you sit down.
Replacing the foam is a separate job, but it is well within DIY range. Remove the seat from the car if possible, peel back the cover, and cut away the damaged foam with a sharp knife. Cut a replacement piece from high-density upholstery foam, leaving it slightly oversized so you can trim it to fit.
Glue the new foam in place with spray adhesive, then refit the cover. Once the foam is solid under the hole, your leather patch will sit on a firm base and the repair will look flat.
This step is one of the most skipped in beginner guides and one of the most common reasons DIY patches look amateur. If the foam is bad, fix the foam first.
Common Mistakes to Avoid
After watching a lot of first-time repairs go sideways, these are the mistakes we see over and over. Avoid them and your patch will look cleaner and last longer.
- Skipping the subpatch. Filler needs a foundation or it sags into the seat cavity.
- Applying filler too thick. Thick layers shrink and leave a visible dip after curing.
- Not feathering the edges. A sharp transition between patch and original leather catches the eye.
- Rushing cure time. Each filler layer needs to fully cure before the next goes on, or the layers separate later.
- Using pre-mixed filler from cheap kits. The color rarely matches and the filler shrinks more than a quality two-part system.
- Ignoring crushed foam. Patches over soft foam look dipped and feel uneven.
Most of these come back to one thing: patience. Thin layers, full cure times, and small color adjustments all add up to a patch that disappears into the seat.
DIY Repair vs. Professional Upholstery Shop
A DIY patch with a quality kit is dramatically cheaper than a professional upholstery job, and for small to medium holes the result is usually good enough that you have to look closely to find it. For larger tears, full panel replacement, or rare seat materials, a shop starts to make sense.
The general rule we use in our shop: if the hole is smaller than a silver dollar and the surrounding leather is in good condition, DIY is a strong option. If the tear is longer than your hand, the leather is cracked or peeling around it, or the seat is a rare color and material, call a shop.
Also consider resale value. If you are selling the car soon, a professional patch adds peace of mind for the buyer. If you are keeping the car another five years, a clean DIY patch is more than enough.
How to Prevent Future Tears
Once the patch is in, a little maintenance keeps new damage from showing up. Condition the leather every six months with a quality leather conditioner, which keeps the material flexible and less likely to crack.
Use a small cushion on the bolster where you slide in and out of the car. Belt buckles, keys, and zippers are the number one cause of new holes, and a cushion takes the abuse instead of the leather.
Keep sharp objects out of your back pockets. A loose key or a folding knife can open a fresh tear in a single entry or exit. It is a small habit that prevents a big repair.
Frequently Asked Questions
How can I repair a torn car seat?
Clean the damaged area with alcohol-based cleaner, trim loose threads, slide a backing subpatch under the tear, glue it in place, then fill the gap with thin layers of flexible filler. Sand flush, color-match with compound, and seal with a finish coat.
Can I fix a burn hole in a car seat?
Yes. Clean the soot with alcohol, trim any hardened edges, back the hole with a subpatch, then fill, color-match, and seal as you would for any other hole. Cigarette burns are usually smaller than they look because the surrounding leather tightens from the heat.
How much does it cost to fix a hole in a car seat?
A DIY repair with a quality leather or vinyl kit typically costs a fraction of what a shop charges. Professional upholstery for a single hole commonly runs several hundred dollars depending on the seat material, while a DIY patch with the same kit can be done for the cost of the kit and a few basic supplies.
Can a ripped car seat be fixed?
Yes. Most rips in leather, vinyl, and fabric seats can be repaired at home with a backing patch, flexible filler, and color compound. Larger rips that span a full panel or have crushed foam underneath are better handled by a professional upholstery shop.
What is the best glue for repairing leather car seats?
A flexible fabric glue or a dedicated leather adhesive is best. Standard super glue and rigid epoxies dry hard and crack when the seat flexes, which causes the patch to fail within weeks. Flexible glue stays soft and moves with the leather.
How do you fix a small tear in a leather car seat?
Clean and lightly sand the area, slide a backing subpatch under the tear, glue it down, then fill the gap with thin layers of flexible filler. Sand flush, color-match, transfer the grain with a grain sheet, and seal with a finishing coat.
Conclusion
Knowing how to patch a hole in a car seat turns what looks like an expensive upholstery job into an afternoon project. With a quality repair kit, a backing subpatch, thin layers of filler, and a careful color match, you can make most holes disappear into the original leather or vinyl.
Take your time on the filler layers, do not skip the subpatch, and address crushed foam before you patch the surface. If the damage is bigger than your hand or the seat is a rare material, call a local upholstery shop for a written quote before deciding. Either way, you do not have to live with that hole in your seat.