
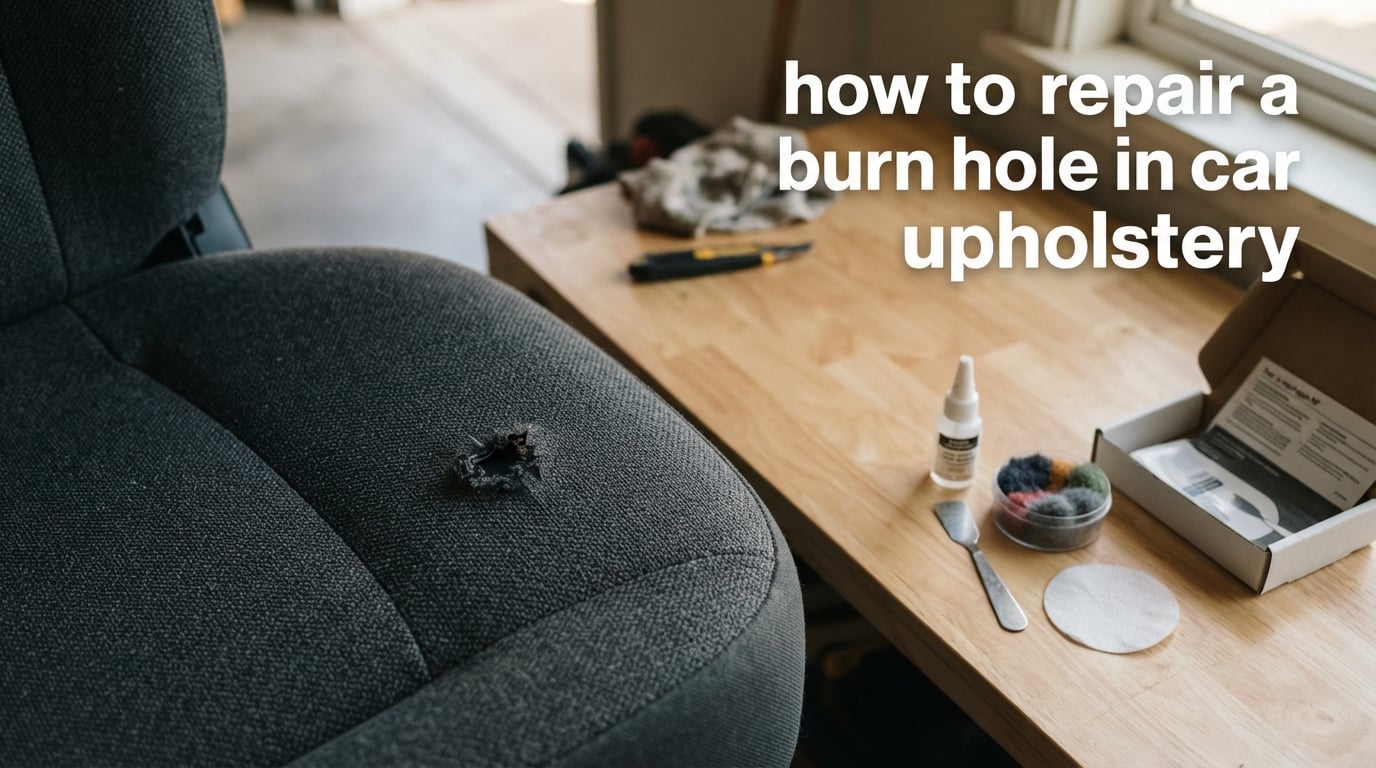
Yes, burn holes in car seats can be fixed at home. Most cigarette burns, heat damage, and small fabric holes respond well to a DIY repair using a fabric repair kit, backing fabric, and matching repair fibers or leather filler. We put this guide together after working through dozens of seat repairs, and the methods below work for cloth, leather, and vinyl upholstery.
In this article, you’ll learn how to identify your seat material, what safety checks to do before you start, exactly which tools and materials to grab, and the step-by-step process for both fabric and leather or vinyl seats. We also cover common mistakes, troubleshooting fixes, and when it makes more sense to call a professional.
Table of Contents
- How to Identify Your Car Upholstery Type Before Repair
- Safety First: Airbags, Seat Heaters, and When to Call a Professional
- Tools and Materials You Need to Repair a Burn Hole
- How to Repair a Burn Hole in Cloth Car Seats: Step by Step
- How to Repair a Burn Hole in Leather or Vinyl Seats
- Common Mistakes to Avoid When Repairing Car Upholstery Burns
- Troubleshooting Guide: When Your Repair Doesn’t Look Right
- DIY vs Professional Repair: Cost Comparison and Decision Guide
- Aftercare and Maintenance: Making Your Repair Last
- Frequently Asked Questions
- Final Thoughts on Repairing Burn Holes in Car Upholstery
How to Identify Your Car Upholstery Type Before Repair
The first step in any burn hole repair is figuring out what material you’re working with. Cloth, leather, and vinyl each need different repair products, and using the wrong kit is the fastest way to make a small problem worse.
Cloth car seats have a woven texture and a soft, flexible feel. Press your fingernail into the surface; cloth will show a temporary indent. Leather has a distinctive grain pattern and feels cooler to the touch. Vinyl often looks similar to leather but feels stiffer and has less depth to the grain pattern.
Check the seat edges or the underside of the removable headrest for a small tag. Many vehicles list the material code there. You can also check your owner’s manual or contact a dealership parts department with your VIN for an OEM color code if color matching matters to you.
Safety First: Airbags, Seat Heaters, and When to Call a Professional
Before you cut, sand, or apply any adhesive, you need to check for hidden safety components inside the seat. This is the step most DIY guides skip, and skipping it can disable your airbag or damage your seat heater.
Airbag seams: Side airbags deploy through specialized seams in the seat side bolster. Never cut into a seam that runs along the outer edge of the seat back or the side of the seat bottom. These seams are designed to tear apart during deployment. Damaging them can prevent the airbag from working in a crash.
Seat heaters: Heated seats have thin heating element wires woven through the cushion and back. If your burn was caused by a malfunctioning seat heater, stop using that heater immediately and have it inspected. Repairing upholstery over a still-failing heater will just burn through your repair.
Load-bearing seams: Avoid cutting into seams that hold the seat together structurally. The stitching around the seat cushion perimeter and where the back meets the bottom is usually structural.
Call a professional auto upholstery shop if the burn covers an area larger than a quarter, the foam padding is charred or melted, the burn is on a seam mentioned above, or your car has side airbags integrated into the seat. A shop can source OEM fabric and structural repair materials that most DIY kits don’t include.
Tools and Materials You Need to Repair a Burn Hole
Your tool list depends on the seat material, but here’s a complete checklist that covers all three types.
For cloth seats: Fabric repair kit (such as Coconix Fabric and Carpet Repair Kit), backing fabric or canvas patch, cotton wadding, fabric cement or clear-drying glue, sharp scissors, tweezers, fine sandpaper (400 to 600 grit), and matching repair fibers or fabric shavings from a hidden part of the car.
For leather seats: Leather filler compound, flexible glue, fine sandpaper, grain texture paper, leather prep cleaner, color-matched leather dye or paint, clear coat sealer, palette knife or spatula tool, and a heat gun or hairdryer.
For vinyl seats: Vinyl repair kit with filler, vinyl color compound, backing fabric, spatula tool, and texture pad.
Universal supplies: Microfiber cloth, isopropyl alcohol, painter’s tape, small mixing cups, and a well-lit workspace. Lay everything out before you start so you’re not hunting for supplies mid-repair.
How to Repair a Burn Hole in Cloth Car Seats: Step by Step
This method works for cigarette burns, small ember holes, and singe marks on woven fabric seats. Plan on 45 minutes to 90 minutes for a first repair.
Step 1: Clean the area. Vacuum loose fibers and debris from the burn hole. Wipe the surrounding fabric with a microfiber cloth lightly dampened with isopropyl alcohol. Let it dry fully before moving on.
Step 2: Trim the damage. Use sharp scissors to trim away any melted or charred fabric edges. You want a clean, even hole rather than ragged burnt edges. Cut away as little healthy fabric as possible.
Step 3: Insert backing fabric. Cut a piece of backing fabric or canvas that is at least three-eighths of an inch larger than the hole on all sides. Slide it underneath the hole using tweezers. The backing gives the adhesive something to grab onto and prevents the repair from sagging into the foam.
Step 4: Apply fabric cement. Lift one edge of the hole slightly and apply a thin layer of clear-drying fabric cement or fabric glue to the backing fabric where it contacts the underside of the seat material. Press the seat fabric down onto the backing and hold for 30 seconds.
Step 5: Fill with cotton wadding. For deeper holes, gently push small pieces of cotton wadding into the cavity with tweezers until the fill is level with the surrounding fabric surface. Don’t pack it tightly; you want it slightly fluffy.
Step 6: Add repair fibers. Sprinkle matching fabric shavings or repair fibers over the wet glue. Press them in gently with the spatula tool. Let the glue cure for the time listed on the bottle, usually 30 minutes to an hour.
Step 7: Blend the texture. Once dry, use fine sandpaper very lightly to level any high spots. Avoid aggressive sanding; you want to blend, not grind down.
How to Repair a Burn Hole in Leather or Vinyl Seats
Leather and vinyl need a different approach because you can’t simply glue fibers into them. You’ll build up the missing material with a flexible filler, then match the color and grain.
Step 1: Clean and prep. Wipe the area with leather prep cleaner or isopropyl alcohol. This removes body oils, conditioners, and dressings that would prevent the filler from bonding.
Step 2: Trim loose material. Cut away any charred leather or vinyl with a razor blade. The edges should be clean and sit flat against the surrounding material.
Step 3: Apply backing if needed. For holes larger than a pea, slide a small piece of backing fabric underneath and secure it with flexible glue. This prevents the filler from sinking into the foam.
Step 4: Apply leather filler. Using a palette knife or spatula tool, spread a thin layer of leather filler over the hole. Feather the edges so the filler blends into the surrounding surface. Let each layer dry fully before adding the next; most repairs need three to five thin layers.
Step 5: Sand smooth. Once the final layer is fully cured, lightly sand with 600 grit sandpaper until the repair is flush with the surrounding leather. Wipe away all dust with a microfiber cloth.
Step 6: Match the color. Mix your leather dye or color compound to match your OEM color code. Apply thin coats with a sponge, letting each coat dry before adding the next. Build up the color gradually rather than trying to match in one pass.
Step 7: Restore the grain. Press grain texture paper onto the still-tacky final coat to recreate the leather’s natural pattern. Hold for 10 to 15 seconds, then carefully lift.
Step 8: Seal. Apply a clear coat sealer to lock in the color and protect the repair. Let it cure for 24 hours before sitting on the seat.
Common Mistakes to Avoid When Repairing Car Upholstery Burns
Most DIY burn repairs fail because of the same handful of mistakes. Skip these and you’ll get a far better result.
Skipping the backing fabric. Without backing, your filler or glue sags into the foam and your repair develops a dent within weeks. Always add backing for any hole larger than a pinprick.
Using too much glue. Clear-drying glue spreads further than you think. A heavy bead soaks through the fabric and creates a stiff, dark patch that won’t blend. Use thin layers and let each one dry.
Rushing the cure time. Most adhesives and leather fillers need a full 24 hours to reach full strength. Sitting on the seat or closing the door against it before then can distort the repair.
Ignoring the grain pattern. Leather has a directional grain. If you apply texture paper at the wrong angle, the repair will look obvious even with perfect color matching. Study the surrounding grain before pressing.
Color matching in bad light. Always color match in daylight or under a full-spectrum bulb. Warm household lighting distorts colors and you’ll end up with a repair that’s visibly different.
Cutting into airbag or load-bearing seams. We covered this in the safety section, but it comes up often enough to repeat. Never cut along the outer side bolster seams or the perimeter stitching on the seat cushion.
Repairing over a still-active heater burn. If the seat heater caused the burn, fix the heater first. Otherwise your repair will just burn through again.
Sanding too aggressively. Fine sandpaper removes material quickly. Use light pressure and check your progress every few strokes. You can always sand more; you can’t un-sand.
Troubleshooting Guide: When Your Repair Doesn’t Look Right
Even careful repairs sometimes need adjustments. Here are the most common issues and how to fix them.
Problem: The repair looks darker than the surrounding fabric. Cause: too much glue soaked through the fibers. Solution: Lightly dab the area with a cloth dampened with rubbing alcohol to remove excess glue. For leather, apply another coat of color.
Problem: Visible edges around the patch. Cause: filler or glue stopped abruptly instead of feathering out. Solution: Sand the edges smooth and reapply a thinner layer that blends into the surrounding surface.
Problem: Color mismatch. Cause: color matched under artificial light or without the OEM code. Solution: Strip the color with prep cleaner and remix using a daylight-balanced light source.
Problem: Repair feels stiff or crunchy. Cause: too much filler or glue in one spot. Solution: Soften with a cloth dampened in warm water (cloth only) or apply leather conditioner (leather only) to restore flexibility.
Problem: The dent reappeared after a few weeks. Cause: missing or inadequate backing fabric. Solution: Open the repair, add proper backing, and refill.
DIY vs Professional Repair: Cost Comparison and Decision Guide
The cost to repair a burn hole in a car seat varies widely based on material, size, and whether you go DIY or hire a shop. Here’s what to expect.
DIY repair costs: A basic fabric repair kit runs between 15 and 50 depending on the brand. Leather repair kits with color compounds range higher. Add 10 to 25 for backing fabric, filler, and sandpaper if your kit doesn’t include them. Total DIY cost for a typical cigarette burn: roughly 20 to 75.
Professional repair costs: A small cigarette burn on a cloth seat starts around 80 to 150 at most upholstery shops. Leather and vinyl repairs run higher, often 150 to 300 for a single burn. Full panel replacement, which some shops push as the only option, can run 400 to 900 per panel.
Seat cover alternative: Universal-fit seat covers cost between 25 and 80 and install in under an hour. Custom-fit covers run 150 to 400. Seat covers don’t repair the burn; they hide it. They’re the right call if the seat is heavily damaged, you’re preparing the car for sale, or you’d rather replace the entire look anyway.
DIY makes sense when: the burn is small (under a quarter), the seat material is in good condition otherwise, you’re comfortable with the tools, and color match doesn’t need to be perfect.
Call a professional when: the burn is large, the foam is damaged, the seat has integrated airbags in the affected area, the OEM fabric is discontinued or hard to match, or you want a guaranteed invisible result.
Forum users on r/Cartalk and r/upholstery often point out that many upholstery shops will quote full panel replacement when a smaller spot repair would work. Get a second opinion if a shop refuses to attempt a localized fix.
Aftercare and Maintenance: Making Your Repair Last
Once your repair is cured, a few simple habits will keep it looking good for years.
Avoid sitting on the repair for at least 24 hours after the final coat. Apply a fabric or leather protector spray to the entire seat to lock out UV rays and body oils. Clean the area with a damp microfiber cloth rather than harsh chemical cleaners, which can soften adhesives over time.
For leather repairs, condition the seat every three to four months with a quality leather conditioner. This keeps the surrounding leather supple so it doesn’t pull away from the repair.
Frequently Asked Questions
Can burn holes in car seats be fixed?
Yes, most burn holes in car seats can be fixed at home using a fabric repair kit for cloth or a leather filler kit for leather and vinyl. Small cigarette burns and ember holes respond especially well to DIY repair. Larger burns or damage that affects the foam padding may need professional help.
Can you fix burn holes in upholstery?
Yes, burn holes in upholstery can be repaired by adding backing fabric, filling the cavity with adhesive and matching fibers or filler, then color and texture matching the surface. The exact process depends on whether the upholstery is cloth, leather, or vinyl.
How much does it cost to repair a burn hole in a car seat?
A DIY repair typically costs 20 to 75 for a fabric or leather kit plus small supplies. Professional repair of a small burn runs 80 to 150 on cloth and 150 to 300 on leather or vinyl. Full panel replacement can cost 400 to 900 per panel, which is why many owners opt for a localized DIY fix.
How to patch a burn hole in fabric?
Patch a burn hole in fabric by trimming the charred edges, sliding a piece of backing fabric underneath the hole, securing it with fabric cement, filling the cavity with matching fibers, and blending the texture once the glue cures. Most repairs take 45 to 90 minutes plus cure time.
How long does a car seat burn repair take?
A first-time DIY repair usually takes 45 to 90 minutes of active work, plus 30 minutes to 24 hours of cure time depending on the adhesive. Leather and vinyl repairs take longer because of the multiple filler layers and color coats.
Can I repair a burn hole myself or do I need a professional?
You can repair a small burn hole yourself if the damage is under a quarter in size, the seat material is in good condition, and the burn is not near an airbag seam or load-bearing seam. Call a professional for larger burns, damaged foam, airbag-equipped seats, or if you need an invisible result on premium leather.
Final Thoughts on Repairing Burn Holes in Car Upholstery
Learning how to repair a burn hole in car upholstery saves you money and gives your interior a second life. Start by identifying your material, run the safety checks for airbags and heaters, then follow the step-by-step method that matches your seat type. Avoid the common mistakes we covered, give the repair proper cure time, and you’ll have a result that holds up for years.
If you’d rather not DIY or the damage is too large, an auto upholstery shop can handle the repair. Get a quote for a localized spot repair before agreeing to full panel replacement; it’s often all you need.