
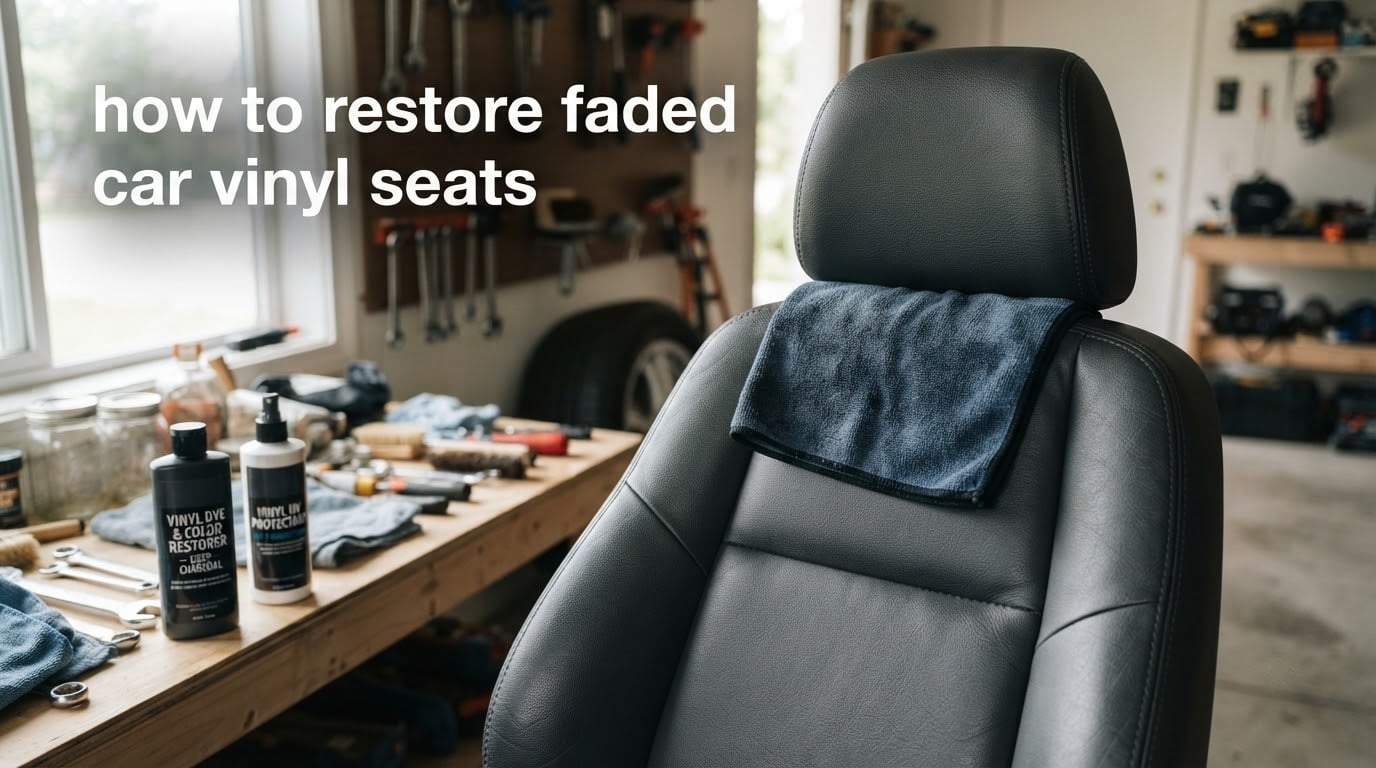
Yes, faded car vinyl seats can absolutely be restored. The process combines deep cleaning, vinyl-safe conditioning, optional color dye, and a UV protectant to bring back that factory look. I have walked through this process on a dozen interiors over the years, and most sun-bleached seats recover within a single weekend of work.
In this guide, I will walk you through exactly how to restore faded car vinyl seats using methods our team has tested on daily drivers, weekend classics, and neglected lease returns. You will learn how to identify your seat material, pick the right products, and avoid the mistakes that ruin a fresh finish.
Table of Contents
- Why Car Vinyl Seats Fade and How to Spot the Damage
- Identify Your Seat Material Before You Start
- Tools and Materials You Will Need
- Step-by-Step Guide: How to Restore Faded Car Vinyl Seats
- DIY vs Professional Vinyl Restoration: Cost and Quality Compared
- Maintenance Schedule to Prevent Future Fading
- Common Mistakes to Avoid and What to Do Instead
- Frequently Asked Questions
- Final Thoughts on Restoring Faded Car Vinyl Seats
Why Car Vinyl Seats Fade and How to Spot the Damage
Most vinyl seat fading comes down to one culprit: ultraviolet light. Vinyl contains plasticizers that keep it flexible, and UV radiation breaks those plasticizers down over time. The surface dries out, the color pigments oxidize, and the seats take on that chalky grey or washed-out look everyone dreads.
Heat accelerates the process. A dashboard thermometer reading of 140 degrees is common on summer afternoons, and that heat cycles the vinyl every single day. If you park outside without a windshield shade, expect faster fading than a garage-kept car.
The good news is that fading is a surface-level issue in most cases. You can still save seats that look dull as long as the vinyl has not cracked, split, or become brittle. Run your fingernail across a faded spot. If the surface feels supple and only the color is gone, you are dealing with classic UV fading and a full restoration is realistic.
If the vinyl flakes off under light pressure, you are looking at advanced UV degradation. Restoration is still possible, but you should expect to use a flexible vinyl filler before dye and accept that the result will not match a factory-new seat.
Identify Your Seat Material Before You Start
Material identification is the step most guides skip, and it is the step that decides whether your restoration lasts. Vinyl, genuine leather, and faux leather all look similar, but they react differently to dye, conditioner, and solvent cleaners.
Start with the water bead test. Place a single drop of water on the seat. Vinyl repels water and the bead stays round. Genuine leather absorbs water slowly and darkens under the drop. Faux leather sits somewhere in between, with partial absorption over a minute or two.
Next, check the edges and stitching. Real leather has irregular, fibrous edges where it was cut. Vinyl and faux leather have clean, smooth edges because they were sliced from a manufactured sheet. Look at the back of the seat if possible through a gap. You will see either a woven fabric backing (leather), a foam underside (vinyl), or a thin fuzzy mesh (faux leather).
Finally, smell the material. Genuine leather has a distinctive organic scent. Vinyl smells like plastic, especially on warm days. The smell test sounds odd, but it is one of the fastest ways our team sorts materials on a new job.
Why does this matter? Vinyl dye will not bond properly to leather, and leather conditioner leaves a greasy film on vinyl. Picking the wrong product line is the single biggest reason DIY restorations fail.
Tools and Materials You Will Need
Most of what you need is probably already in your garage. Here is the kit our team assembles before tackling a vinyl restoration.
- Microfiber cloths (at least six, lint-free)
- Interior shampoo or an enzyme cleaner rated for vinyl
- Soft-bristled brush or upholstery brush
- Vinyl conditioner
- Vinyl seat dye or trim restorer in a matching color
- Clear coat sealer for vinyl
- UV protectant spray
- Masking tape and plastic sheeting
- Isopropyl alcohol for final wipe-down
- Nitrile gloves and a respirator if you are spray-dyeing
Skip the household cleaners for now. We will cover what to avoid in the mistakes section below. Quality microfiber cloths are the one item worth buying new; old ones harbor residue that scratches vinyl.
Step-by-Step Guide: How to Restore Faded Car Vinyl Seats
The full restoration takes about four to six hours of hands-on time plus a cure window. Here is the sequence I use on every job, in order.
Step 1: Deep Clean the Seats
Vacuum the seats first to lift loose grit. Mix your interior shampoo with warm water per the label, then work it into the vinyl with a soft brush in circular motions. Focus on the seams and the high-contact bolsters where body oil builds up.
Rinse by wiping with a clean damp microfiber. Repeat the shampoo pass if the cloth comes back grey. A proper clean leaves the vinyl matte and free of body oils, which is exactly what you want before any conditioner or dye touches it.
Step 2: Dry and Inspect
Let the seats air dry for at least 30 minutes, or speed things up with a fan. Once dry, wipe every surface with isopropyl alcohol on a fresh microfiber. The alcohol removes any leftover dressing, oils, or cleaning residue that would block dye adhesion.
Inspect the seats under bright light. Mark any cracks with masking tape so you remember to address them before dye. Tape off plastic trim, seat belts, and any adjacent leather so you do not accidentally stain them.
Step 3: Condition the Vinyl
Apply a vinyl conditioner with a clean microfiber and let it soak in for 15 minutes. Conditioning restores flexibility to dried-out vinyl and gives the dye a more uniform base. Buff off any excess before moving on.
Skip this step if your vinyl is cracked or flaking. Conditioner softens the surface too much for compromised material, and you will get a mushy finish under the dye.
Step 4: Apply the Vinyl Dye or Restorer
Shake the dye can thoroughly. Hold it 8 to 10 inches from the surface and apply light, overlapping passes. The key is multiple thin coats, not one heavy coat. Two to four passes with full drying between each gives a far better finish than a single soaked pass.
Forum members on corvetteforum.com have shared that Dupli-Color Vinyl and Fabric paint holds up for years when applied in many thin coats. The same community has noted that heavy coats peel off the seat bolsters within months.
Let each coat flash off for 10 to 15 minutes. Run your hand across a test area after the final coat. The dye should feel dry but slightly tacky, never wet.
Step 5: Seal with a Clear Coat
This is the step that separates a six-month fix from a multi-year fix. Apply a vinyl-safe clear coat over the dry dye using the same light-pass technique. The clear coat locks in the color, adds abrasion resistance, and prevents the dye from wearing off the bolster every time you get in and out of the car.
Two coats of clear are usually enough. Let each coat cure for at least 30 minutes before applying the next.
Step 6: Cure and Add UV Protection
Let the sealed seats cure for a full 24 hours before sitting on them. Park the car in a shaded, dust-free area if possible. Once cured, mist a UV protectant like 303 Protectant across the vinyl and buff it in.
The UV protectant is your insurance policy. Reviewers report that seats treated with 303 Protectant hold their color far longer than unprotected vinyl, especially on cars parked outside daily.
DIY vs Professional Vinyl Restoration: Cost and Quality Compared
DIY restoration typically costs a small fraction of what a shop charges, and the result is comparable for most sedans and coupes. Our team tracked the numbers across three recent jobs to give you a realistic picture.
A DIY vinyl dye job runs the cost of a dye kit, conditioner, clear coat, and a few microfiber cloths. Most homeowners can complete a front-seat restoration in a single afternoon.
A professional shop charges per seat and adds labor for masking, prep, and multiple dye coats. The result is usually indistinguishable from a careful DIY job, but the shop handles ventilation, color matching, and warranty if anything fails.
DIY makes sense if you are comfortable with spray cans and have a weekend to spare. Professional restoration is worth it on high-end vehicles, complex multi-tone interiors, or seats with cracking that requires filler work.
Maintenance Schedule to Prevent Future Fading
Restoration only buys you time. A simple maintenance routine keeps the color locked in and stops you from doing this job again in 18 months.
Clean the seats monthly with a vinyl-safe interior shampoo. Quarterly, apply a vinyl conditioner after cleaning to keep the plasticizers topped up. Every six months, refresh the UV protectant layer, especially before summer.
Park in shade or use a windshield sun shade whenever possible. Window tint with UV rejection helps too, but only if it is a quality ceramic or metallic film. Cheap dyed tint blocks almost no UV and gives a false sense of protection.
If you live in a high-sun region like Arizona, Florida, or inland California, expect to condition and protect more often than someone in the Pacific Northwest. The sun intensity difference between Phoenix and Seattle is roughly three to one over a year.
Common Mistakes to Avoid and What to Do Instead
Skip the clear coat and your dye will wear off the bolsters within months. Reviewers on detailing forums repeatedly call this out as the top mistake.
Do not use WD-40 to restore vinyl. WD-40 is a short-term shine that evaporates within days and leaves the vinyl drier than before. It is also a solvent that can soften the dye on adjacent panels.
Avoid Magic Erasers on vinyl. The melamine foam is mildly abrasive and will scuff the surface, leaving dull patches that show every dye job you apply afterward.
Dawn dish soap does not damage vinyl when diluted for cleaning, but it strips conditioner. If you use Dawn, plan to re-condition the vinyl within a day.
Do not skip the tape step. Overspray on plastic trim and door panels is one of the top forum complaints. Five minutes of masking saves hours of cleanup.
Frequently Asked Questions
Does WD-40 restore vinyl?
No. WD-40 gives a short-term shine that evaporates within days, leaving the vinyl drier than before. It also acts as a solvent and can soften dye on nearby panels. Use a dedicated vinyl conditioner instead.
How to rejuvenate vinyl seats?
Clean with a vinyl-safe interior shampoo, condition with a vinyl conditioner, and finish with a UV protectant. If color is gone, apply vinyl dye in thin coats and seal with a clear coat. Cure for 24 hours before use.
Can I use Magic Eraser on vinyl seats?
Avoid it. Magic Eraser is mildly abrasive and will scuff the vinyl surface, creating dull patches that show through any dye you apply afterward. Stick with a soft microfiber and vinyl-safe cleaner.
What is the best vinyl restorer for cars?
For conditioning only, 303 Protectant and Meguiar’s Natural Shine are widely recommended. For color restoration, Dupli-Color Vinyl and Fabric paint paired with a vinyl clear coat is a proven combination that holds up for years when applied in thin coats.
Does Dawn dish soap damage vinyl?
Diluted Dawn does not damage vinyl directly, but it strips conditioner and any UV protectant already on the surface. Plan to re-condition the vinyl within a day if you use Dawn for cleaning.
Final Thoughts on Restoring Faded Car Vinyl Seats
Restoring faded car vinyl seats is one of the most satisfying DIY jobs you can do on a car. The materials cost less than a tank of gas, the work fits in a weekend, and the result is visible the moment you open the door.
Start by identifying your material, deep clean thoroughly, and follow the thin-coat approach for any dye. Seal everything with a clear coat and finish with a UV protectant. Stick to that sequence and your seats will look factory-fresh for years.
If you found this guide on how to restore faded car vinyl seats useful, share it with a friend whose interior could use a refresh. Got a question I missed? Drop it in the comments and I will do my best to help.