
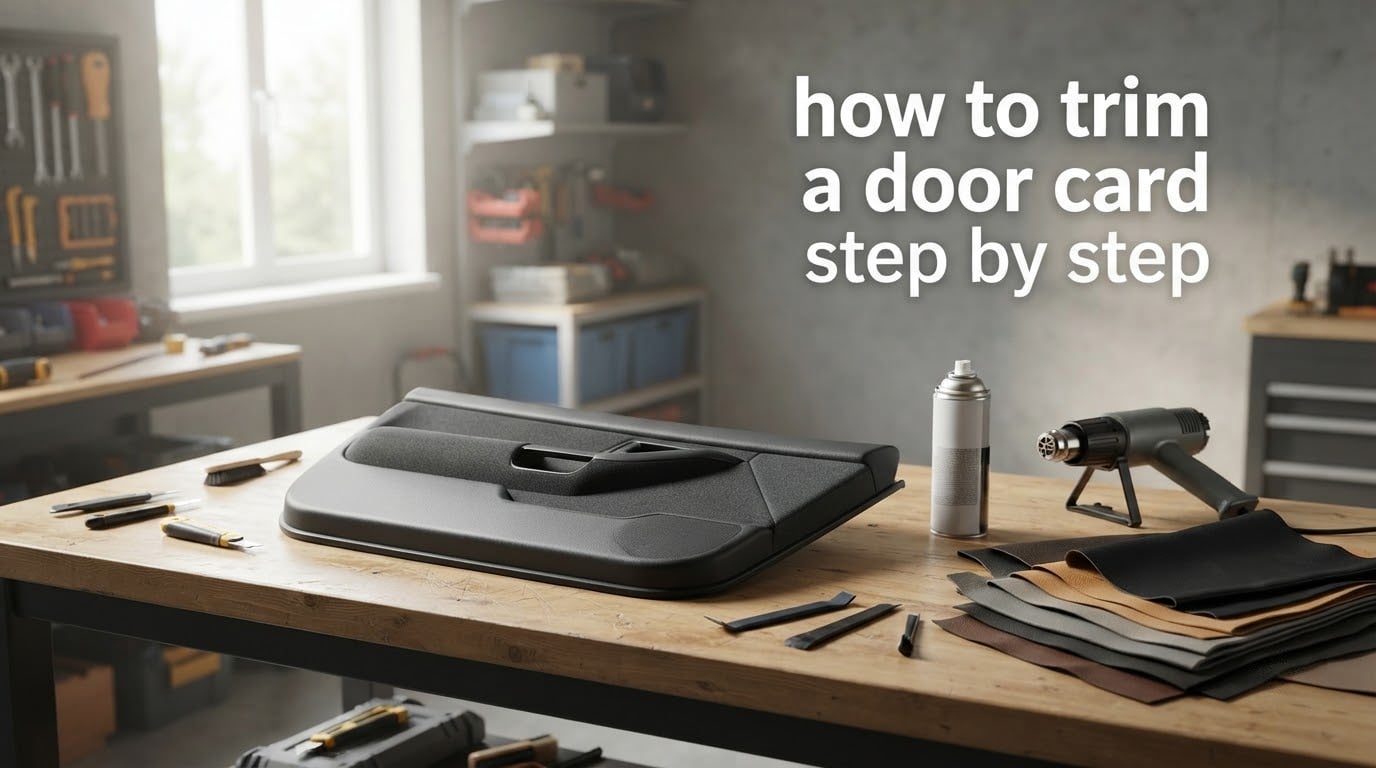
Trimming a door card is one of those DIY jobs that looks intimidating from the outside but is completely within reach once you understand the order of operations. A door card is the interior panel on your car door, the soft or hard surface you see when you sit inside, and it usually wraps around an armrest, door handle, speaker, and window switch. Over time the factory vinyl or fabric on that panel peels, cracks, fades, or simply looks dated, and replacing the whole door panel can be expensive. Trimming it lets you restore the look for the cost of a yard of material and a Saturday afternoon.
I have trimmed door cards on three different vehicles now, a Japanese sedan, a British roadster, and an old SUV, and the steps below are the same every time once you strip the vehicle-specific quirks away. This guide on how to trim a door card step by step walks you through the tools, the removal, the surface prep, the material choice, the cutting and gluing, the reinstallation, and the troubleshooting fixes for the mistakes I have personally made.
Table of Contents
- What Is a Door Card and Why Trim It?
- Tools and Materials You Need to Trim a Door Card
- Safety Precautions Before You Start
- How to Remove a Door Card Without Breaking It
- Step 1: Remove the Window Switch and Bezel
- Step 2: Pop Off the Small Trim Covers
- Step 3: Remove the Armrest Bolts
- Step 4: Disconnect the Door Handle and Lock Rods
- Step 5: Disconnect the Speaker and Wiring Harness
- Step 6: Unclip the Card From the Door
- Step 7: Lift the Card Up and Off
- Step 8: Inspect and Photograph
- Surface Preparation and Old Material Removal
- Choosing the Right Material for Your Door Card
- Cutting and Fitting the New Material
- Gluing and Attaching the New Trim
- Reinstalling the Door Card
- Common Mistakes and How to Fix Them
- Frequently Asked Questions
- Final Thoughts on Trimming a Door Card
What Is a Door Card and Why Trim It?
A door card is the interior trim panel that mounts to the inside of a vehicle door. It is usually a molded plastic or hardboard shape covered with foam padding and a soft top layer of vinyl, cloth, leather, or Alcantara. The card carries the door handle, the window switch, the armrest, and sometimes a speaker grille or map pocket.
People trim door cards to fix peeling factory fabric, to cover cracked plastic, to refresh a faded interior, or to upgrade to a sportier material. The job is popular with classic car restorers, daily-driver owners with worn interiors, and enthusiasts building custom show cars.
Tools and Materials You Need to Trim a Door Card
Before you touch a single clip, lay every tool out on a clean bench. Most re-trim jobs fail because someone skipped a tool and improvised halfway through. Here is the kit I use every time.
Hand Tools
- Phillips and flathead screwdrivers in medium and small sizes
- A trim removal tool set (plastic pry levers, not metal)
- A door panel clip removal tool or a wide flat plastic wedge
- A small pick or hooked pick for window switch connectors
- Needle-nose pliers for hose clips and C-clips on window winders
- A utility knife with fresh blades and a pair of sharp fabric scissors
Adhesive and Material Prep
- A quality spray contact adhesive (3M Super 77 or 3M 08090 are the community favorites)
- A heat gun, not a hair dryer, set to medium
- A stiff bristle brush and a can of adhesive remover or acetone for old glue
- Clean microfiber cloths and lint-free rags
Safety Gear
- Safety glasses
- Nitrile gloves, the spray adhesive bonds to skin instantly
- A dust mask when scuffing old foam
- Painter’s tape and a sharpie for marking
Materials for the New Trim
- The chosen upholstery, vinyl, Alcantara, leather, or suede, with at least 25 percent extra for pattern mistakes
- Replacement foam backing, typically 3 mm to 6 mm closed-cell foam
- Replacement plastic clips and fasteners, since some will always snap
Safety Precautions Before You Start
Side airbags live behind many modern door cards. If your vehicle has a side airbag label on the B-pillar or door, disconnect the battery and wait at least ten minutes before pulling the panel off. Reconnect only after the panel is back in place. This single step protects you from an accidental deployment.
Wear gloves when handling spray adhesive. The solvents are aggressive and the bond is permanent once it flashes off. Work in a ventilated space, ideally a garage with the door open, because the fumes build up fast.
Disconnect the negative battery terminal before unplugging any wiring for window switches, mirror controls, or speakers. Photograph each connector with your phone before you unplug it. That photo will save you thirty minutes when you reassemble.
How to Remove a Door Card Without Breaking It
Removing the door card is where most beginners crack their first plastic clip. Go slow, work in the right order, and treat every fastener as if it has never been removed before, because it has not, and plastic fatigue is real.
Step 1: Remove the Window Switch and Bezel
Pry up the window switch bezel first. Insert a plastic trim tool under the front edge and lift gently. The bezel usually pops straight up. Unplug the electrical connector by pressing the small tab and pulling the plug straight out. Set the bezel face-up on your bench so the clips do not get bent.
Step 2: Pop Off the Small Trim Covers
Door pulls, screw caps, and the mirror switch trim are held by small plastic covers. Slide a flat plastic trim tool under each one and pry upward. These covers are brittle and almost always break on the first removal, so consider buying a replacement bag before you start.
Step 3: Remove the Armrest Bolts
The armrest usually hides two Phillips screws. Pull the rubber mat out of the cup and look inside. With those screws out, the armrest is loose but still connected by the door handle rod and the lock rod. Do not yank the panel yet.
Step 4: Disconnect the Door Handle and Lock Rods
Look behind the panel and find the plastic rod ends that clip onto the door handle and lock. Slide them off with needle-nose pliers. Note the orientation with your phone camera before you disconnect anything.
Step 5: Disconnect the Speaker and Wiring Harness
If your speaker is mounted to the door card, unplug its lead. If the window switch harness runs through the card, unplug that too. Tuck the wires back into the door shell so they do not snag as the card comes off.
Step 6: Unclip the Card From the Door
Start at the bottom corner nearest the kick panel. Insert a wide plastic trim tool between the card and the door shell and gently lever outward. You will feel the first clip pop. Move along the bottom edge, then up the sides, popping one clip at a time. If a clip refuses to budge, stop and check for a hidden screw.
Step 7: Lift the Card Up and Off
After every clip is loose, lift the card straight up to clear the door window channel. Carry it to your bench and lay it face-down on a soft towel.
Step 8: Inspect and Photograph
Now is the time to count how many clips broke, how many were already damaged, and to take a photo of the back side. That photo becomes your reassembly map.
Surface Preparation and Old Material Removal
The card is off and now the real work begins. Surface prep is where you decide if the finished job looks like a professional install or a backyard special.
Strip the Old Upholstery
Flip the card over so you can see the back of the factory fabric. The original material is usually glued around the perimeter and stapled or heat-bonded in the middle. Peel it back slowly. If it fights you, hit it with the heat gun on low for ten seconds and try again. Do not yank, you will crack the plastic card.
Remove Every Trace of Old Glue
Scrape the bulk of the old adhesive with a plastic scraper, then wipe the surface with adhesive remover or acetone on a rag. Acetone will melt some plastics, so test a hidden corner first. I learned this the hard way on a Ford Focus card that turned cloudy after one wipe. A safer bet on most modern plastics is a citrus-based adhesive remover.
Repair Cracks and Broken Tabs
If the plastic cracked during removal, clean the crack with isopropyl alcohol and bridge it with a small piece of ABS plastic and a drop of plastic cement. Broken mounting tabs can be rebuilt the same way. Allow every repair to cure fully before you move on.
Check the Foam Backing
If the foam is compressed or crumbling, peel it off with the old fabric. New foam is cheap and gives a much better finished feel. If the foam is still firm and bonded well, you can re-cover over it.
Choosing the Right Material for Your Door Card
Material choice is the part where most people freeze up, because the options look endless on a supplier site. Here is how I narrow it down.
Vinyl
Vinyl is the factory default on most cars. It is durable, easy to clean, and forgiving to work with. Modern automotive vinyl comes in dozens of textures and grain patterns. Pick vinyl if you want a factory-fresh look, daily-driver durability, and the lowest learning curve.
Alcantara
Alcantara is a synthetic microfiber that looks and feels like suede. It is grippy, soft, and signals a sportier interior. The catch is that it stains easily, shows wear on high-touch zones, and needs careful gluing because spray adhesive can bleed through and leave visible dark spots. Pick Alcantara if you want the motorsport look and do not mind the extra care.
Leather
Genuine leather is the premium choice. It ages well, repairs beautifully, and feels unmatched. It is also the most expensive and the hardest to stretch without distortion. Pick leather for show cars and restorations where authenticity matters.
Suede and Cloth
Cloth and suede are common on older vehicles. They breathe well but stain easily and are the hardest to glue cleanly. Pick cloth only if you are matching a factory OEM look on a classic.
Whichever you pick, buy at least 25 percent more square footage than your card footprint. You will waste some in the dry-fit and stretching stages.
Cutting and Fitting the New Material
Cutting and fitting is where patience saves hours of rework. The trick is to dry-fit everything before any glue touches the surface.
Make a Paper Template
Lay butcher paper or cheap pattern paper over the card and tape it down. Use a pencil to rub over every contour, switch hole, and curve. The friction transfers the shape onto the paper. Cut the paper template out and test-fit it on the card. Trim any overflow.
Transfer the Template to Your Material
Lay the paper template on the back of your chosen material. Trace around it with a silver Sharpie, then remove the template. Always cut on the back side so any small blade slips do not show on the visible face.
Cut With a Sharp Blade
Use a fresh utility blade and cut in smooth, long strokes. Short choppy cuts leave a jagged edge that shows through thin material. For curves, swing the entire piece, not the blade, and rotate the mat underneath.
Dry-Fit the New Cover
Lay the cut material face-down on your bench, set the card on top, and check the alignment. The material should overlap every edge by about 15 mm. If a corner lifts or pulls, trim that area in 2 mm increments until the cover lays flat with no tension.
Mark Switch and Handle Cutouts
With the cover dry-fit, press your finger through the material into each switch hole and handle opening. Use a chalk pencil or a small piece of tape to mark the center, then punch a starter hole with an awl and trim to size with scissors.
Gluing and Attaching the New Trim
Spray contact adhesive is the most forgiving method for a one-person DIY job. The trick is even coverage and patience between coats.
Ventilate and Mask Off
Mask off any area of the card you do not want glued, such as the switch housings or speaker rings. Lay the card face-down on cardboard so the front face does not pick up overspray.
Coat the Card
Hold the spray can 15 to 20 cm from the card and apply a thin, even coat to the entire back surface. Do not puddle. Two light coats beat one heavy coat every time.
Coat the Material
Spray the back of the new material the same way, with two light coats. Pay extra attention to the edges, which lift first if under-coated.
Wait for Tack
This is the step everyone rushes. Wait two to four minutes, until the adhesive feels tacky to a light touch but does not transfer to your glove. If you press too soon, the bond is weak and you will see bubbles.
Lay and Stretch
Drape the material over the card starting from the center and working outward. Use the heel of your hand to smooth it flat. For curves, warm the material with the heat gun on low for a few seconds, then stretch it into place. Heat is what lets vinyl and Alcantara conform to compound curves without wrinkles.
Wrap and Press the Edges
Pull the material around the edges of the card and press it into the back surface. Use a plastic roller or the back of a spoon to seat the wrap firmly. Trim excess material with a fresh blade, leaving about 10 mm to fold over.
Cure Time
Let the glued card rest face-down for at least one hour before you remount anything. Full bond strength develops over 24 hours.
Reinstalling the Door Card
Reinstallation is essentially the removal steps in reverse, but a few details make the difference between a panel that looks factory and one that creaks and shifts.
Replace Any Broken Clips
Use the photo you took during disassembly to map every clip location. Snap in any new clips onto the card before you lift it to the door. A loose clip now becomes a rattle later.
Reconnect Rods and Wiring
With the card held close to the door, reconnect the door handle rod, the lock rod, and any wiring harness. Listen for the click of each connector. Tug gently to confirm.
Align and Press the Card On
Lift the card up over the window channel and align the clips with the holes in the door shell. Press along the edges until you feel every clip seat. A proper install feels solid with hand pressure alone.
Reinstall the Armrest and Switches
Drive the armrest screws back in by hand first, then snug them with the driver. Snap the switch bezel back into place. Reconnect the battery only after every panel is back together.
Test Every Function
Before you close the door and walk away, cycle the window, lock, mirror, and speaker. A reconnected harness that was forced on backward will pop a fuse or, worse, damage the switch.
Common Mistakes and How to Fix Them
Even careful first-timers run into a few of these. Here is how to recover when they happen.
Bubbles Under the Material
Bubbles mean the adhesive flashed off too quickly or the material was stretched too tight. Warm the area with the heat gun, lift the material, re-spray a light coat, and press it back down while warm.
Wrinkles at the Edges
Wrinkles at a corner mean the material has too much slack there. Lift the corner, trim 2 to 3 mm, and re-glue. Do not try to glue over a wrinkle, it will telegraph through every time.
Glue Bleed Through
Spray adhesive can bleed through light materials and leave dark spots. Mask the back of the material with masking tape before spraying, or use a water-based contact adhesive for delicate covers like Alcantara.
Broken Clips During Reassembly
Keep a small parts bin on the bench. A clip that snaps on the way back in is a rattle waiting to happen. Replace it now, not later.
Door Card Creaks While Driving
Creaks usually come from a clip that did not fully seat or a rod end that is rubbing the back of the card. Push the panel firmly around each clip and recheck the rod routing.
Frequently Asked Questions
What is an interior door card?
A door card is the interior panel on the inside of a car door that covers the metal door shell. It usually holds the armrest, door handle, window switch, and speaker, and it is wrapped in vinyl, cloth, leather, or Alcantara over foam padding.
How do I remove a door card without breaking the clips?
Work in order: pop the switch bezel, remove the screw covers, take out the armrest bolts, disconnect the handle and lock rods, then unclip the card starting from the bottom corner. Use a plastic trim tool and lever gently. If a clip resists, stop and look for a hidden screw.
What is the best glue to use for car door upholstery?
3M Super 77 and 3M 08090 are the most recommended spray contact adhesives for door card work. Apply two light coats to both surfaces, wait two to four minutes until tacky, then bond. For Alcantara and light materials use a water-based contact adhesive to avoid bleed-through.
What material is best for making door cards?
Vinyl is the easiest and most durable for daily drivers. Alcantara gives a sporty motorsport look but stains easily. Leather is premium and ages well for show cars. Cloth and suede are common on older vehicles and match factory OEM appearance.
Can you put new upholstery over old upholstery?
It is possible but not recommended. Layering two materials adds bulk, hides the door contours, and creates a soft spot that wears out faster. Strip the old material down to the plastic card for the best finished result.
How long does it take to trim a door card?
A careful first-timer should plan a full day for one door. Removal is 30 to 60 minutes, surface prep is another 60 minutes, gluing and fitting is 60 to 90 minutes, and reinstall adds another 30 minutes. Curing time between glue and driving is another 24 hours.
Final Thoughts on Trimming a Door Card
Learning how to trim a door card step by step turns what looks like a professional upholstery job into a reachable weekend project. The order matters more than the materials: remove the card without breaking clips, prep the surface until it is clean and sound, dry-fit the new cover before any glue touches the panel, and let the bond cure before you reinstall.
If this is your first time, practice on a single door and live with the result for a week before you tackle the others. By the second door your hands will know the rhythm and the finished work will look sharper on every panel you touch.