
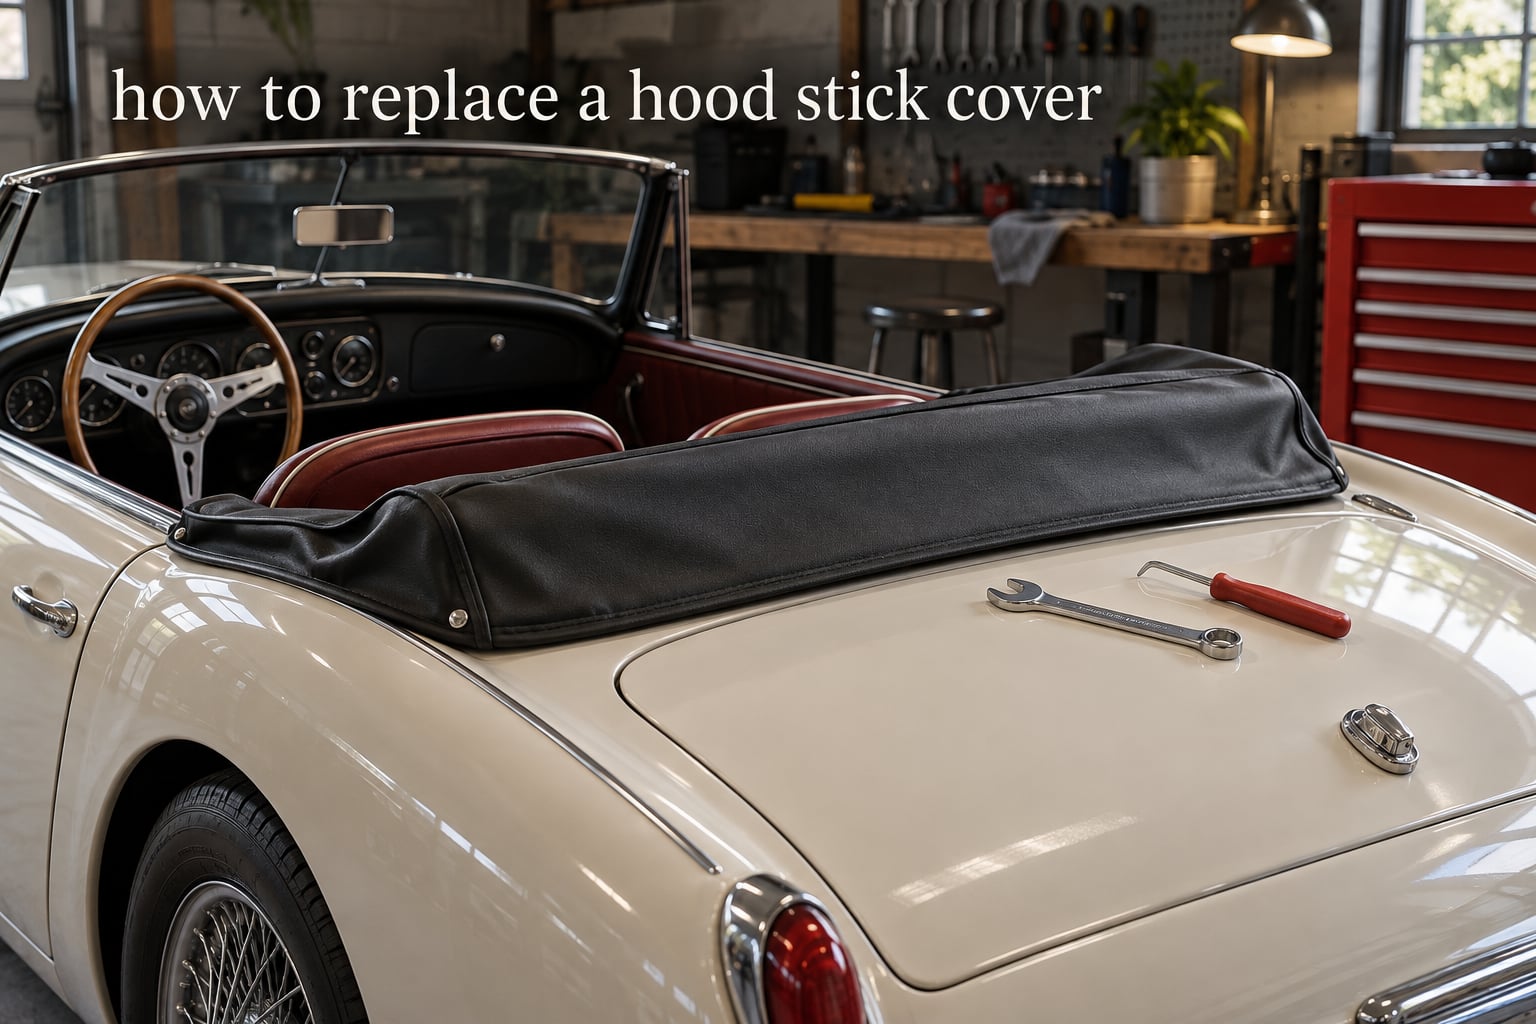
Replacing a hood stick cover takes under an hour on most classic soft-top cars. Identify how the new cover fastens, put two Lift-The-Dot studs on the rear deck, pull the cover over the folded sticks, tuck the inner edge under the top bows and snap it home.
That single line hides the one question that stalls nearly every job. Owners order a cover, it arrives with two snaps already fitted, and the car has nothing to snap them to. The rest of this guide is the answer to that problem, in the order you actually need it.
Across the Triumph and Land Rover forums, the same three problems get asked again and again: where do the studs go, what do I do if the holes are already there but empty, and is the frame supposed to come off. None of the answers are in one place, so we have put them in one place.
Definition: a hood stick cover is the vinyl, leather or PVC sleeve that slips over the folded hood sticks of a stowed soft top, hiding the bows and rear deck so the folded hood reads as a clean upholstered surface instead of exposed metal.
Related terms, defined: the hood stick (also called a hood bow, top bow or rear hoop) is the steel bar across the rear of the cockpit that the folded hood rests against. The rear deck is the panel behind the seats under the folded top. The hood frame envelope is the full folding frame. A hood prop rod is a completely different part and holds the hood open while driving, not closed.
Table of Contents
- What a Hood Stick Cover Is and Why It Goes Missing
- Before You Start: Tools, Parts and the Three Checks That Prevent a Rework
- How to Replace a Hood Stick Cover: Step by Step
- Finding the Factory Lift-The-Dot Stud Holes
- Alternative Attachment Methods When the Studs Are Missing
- Removing the Old Cover and Cleaning the Studs and Frame
- Hood Stick Cover vs Hood Prop Rod: Do Not Buy the Wrong Part
- Vinyl, Leather or PVC: Choosing a Replacement Cover
- Model Fitment Notes and Where to Source the Part
- Troubleshooting: Why the Cover Sags, Flaps or Pops Loose
- Frequently Asked Questions
- What is a hood stick called?
- What is the piece that holds the car hood up called?
- Where should the Lift-The-Dot studs be installed on a hood stick cover?
- Do I need to remove the hood frame to fit a hood stick cover?
- Why will not my hood stick cover snaps hold?
- Can I drive with the hood stick cover removed?
- Conclusion
What a Hood Stick Cover Is and Why It Goes Missing
When a folding soft top is lowered, the fabric stacks over the hood sticks and the frame collapses. On a car without a cover you are looking at painted steel bows, brackets and a webbing lacing across the frame.
A hood stick cover dresses that stack. It is a shaped sleeve that pulls down over the folded sticks and tucks under the frame’s top bows at the inner edge. Two Lift-The-Dot fasteners then lock it to the rear deck so it stays put at speed and looks period-correct from the side.
It is the most visible cosmetic item on a stowed top, and it is also the easiest thing to lose. A long restoration, a respray, a collapsed frame or a car bought half-stripped all tend to remove the cover and the studs together.
The most common report from owners is not that the cover failed. It is that the cover arrived with two pre-installed snaps and the car had no matching studs, so the two halves simply never met. Moss Motors has confirmed that its covers for this application ship with the snaps pre-fitted, which surprises people who expect fitting work to be done per car.
A second group of searchers is looking for the wrong object entirely. Hood protectors, bug deflectors and prop rod clips all surface alongside hood stick covers in shopping results, and a lot of traffic for this topic is looking for a hood prop rod instead. We deal with that further down.
Before You Start: Tools, Parts and the Three Checks That Prevent a Rework
Nothing here is exotic. The whole job is done with hand tools in a driveway, and the only part that regularly catches people out is the fastener.
Tools and materials:
- Flat and Phillips screwdrivers for hood and frame screws
- A socket set and a spanner set for the frame bolts behind the doors
- A drill, drill bits and a tap for mounting a stud into a new backing plate
- A file or deburring tool if a mounting hole needs tidying
- Contact cleaner, a stiff nylon brush and wire wool for the studs and bows
- A trim removal tool or plastic pick to lift old adhesive without marking paint
- Masking tape to mark stud positions before drilling
- Mask, gloves and a clean cloth for the vinyl
Parts to have on hand:
- Two female Lift-The-Dot studs, the half that screws to the car
- A small steel backing plate if the rear deck under the vinyl is card rather than metal
- Two or three studs if you are replacing a car that lost its original pair
- Optional: three eyelets and a lace if you prefer a reversible non-original fix
The three checks worth doing before you unbutton anything:
- Confirm the fastener type. Look at what is already on the new cover. Two snaps means it expects two Lift-The-Dot studs on the car. Three eyelets means you are going the lace route and do not need studs at all.
- Look for the existing stud holes. Run a fingertip along the rear deck inside the cockpit before assuming they are gone. On most cars the holes are still there, because a previous owner pulled the studs and never refitted them.
- Check what the rear deck is made of. One TR3A owner reported that his back deck is cardboard covered in vinyl, which will not take a stud. If the deck is soft all the way through, you need a backing plate.
Those three checks take five minutes and they decide the whole approach. Skipping them is how people end up with a drilled deck in the wrong place and a cover that will not hold.
How to Replace a Hood Stick Cover: Step by Step
This is the sequence, in order. Each step assumes the checks above have been done.
- Fold the hood and latch the sticks. Close the top fully, secure the sticks in their folded position and check that the stack is even from side to side.
- Lay the new cover out and look at its fixings. Identify the snaps or eyelets, note which edge is the inner edge that tucks under the frame, and check the cover is the right way up before anything is stretched over the car.
- Find the factory stud positions. The studs sit on the rear deck inside the cockpit, one either side, close to where the folded hood sticks come to rest. Mark them with tape before committing.
- Refit or install the two female Lift-The-Dot studs. Screw them into the existing holes, or through the deck into a backing plate if the deck is card behind the vinyl.
- Check the stud orientation before you go further. The female half is fitted opposite to the intuitive guess, so test the snap on and off in the marked position first.
- Pull the cover down over the folded sticks. Start at the centre of the rear hoop and work outward to each corner, keeping the tension even so the leather or vinyl does not bunch.
- Tuck the inner edge under the top bows. The inner edge of the cover slides between the top bows and the folded hood, and this fold is what creates the clean tucked-over look.
- Snap the cover’s studs onto the female studs. Press each snap home firmly, then check it has clicked and will not release by hand.
- Dress the seams and test with the frame raised and lowered. Run the cover through a full cycle of the frame, because a fold that looks fine closed can catch when the frame swings up.
Work in good light and take your time at step seven. That inner fold is the part everyone photographs, and it is the part that looks wrong if the cover is a quarter-inch out of position.
Finding the Factory Lift-The-Dot Stud Holes
This is the highest-value question in the whole topic, and the answer is more encouraging than most people expect. As one British Car Forum regular put it, your car likely has the holes for the studs, but some previous owner removed them and did not put them back.
Use physical landmarks rather than measurements, because every car is different:
- The studs sit on the rear deck inside the cockpit, one either side of the centreline, not out on the open deck behind the car.
- They sit roughly where the folded hood sticks come to rest against the frame. Look at where the stack of top material lies when the hood is fully closed and place them just inside that line.
- They sit inboard of the top bows, so that the cover’s inner edge can pass under the bows and still reach the fastener.
- They are close enough together that both snaps reach without the cover being pulled out of shape. If your two marks are far apart, re-measure.
Finding empty holes takes patience. Clean the deck with contact cleaner and a stiff nylon brush, then rake a fingertip across the vinyl and you will usually feel a small depression. A torch held low and shining across the deck shows the shadow of each hole much better than looking straight down at it.
If you find nothing after that, the holes were filled or the deck is card. In that case mark the position in tape, lift the vinyl carefully, cut or drill a small pilot hole and screw the stud into a steel backing plate placed behind the deck skin. Keep the pilot small; the stud is the only thing that has to pass through the deck.
Orientation catches everyone. Forum owners with photos of the female Lift-The-Dot stud in place describe it as fitting upside down and backwards from the way you would guess. The fastest way to resolve it is to press the cover’s snap onto the installed stud before the cover is stretched over anything, and if it will not seat, turn the stud a half revolution and try again.
Alternative Attachment Methods When the Studs Are Missing
Not every car should be drilled, and not every owner wants a permanent change. On cars with a card rear deck, on competition entries and on anything you want to return to original, a non-factory method is the sensible answer.
The best documented option comes from a TRForums member who fitted three eyelets along the inside edge of the cover and laced them to the folded hood sticks with shoe laces. It costs almost nothing, it is completely reversible, and it holds the cover in exactly the same tucked position as the factory fix.
Other options work too. Hook-and-loop tape along the inner edge gives a soft, adjustable fit that is easy to remove. Spring clips or small bulldog clips grip the folded sticks and suit a driver car that is never shown. Elastic cord through eyelets is the simplest of all and comes apart in seconds.
| Attachment method | Effort | Permanence | Originality | Best for |
|---|---|---|---|---|
| Factory Lift-The-Dot studs | Medium, needs a sound deck | Very high, releases cleanly | Period correct | Restoration and show cars with a metal rear deck |
| Eyelets and shoe laces | Low, about fifteen minutes | Good, needs re-tying occasionally | Non-original | Card decks, reversible fits, budget rebuilds |
| Hook-and-loop tape | Low | Moderate, collects debris at the fold | Non-original | Frequent fitting and removal |
| Clips on the folded sticks | Lowest | Low to moderate | Non-original | Driver cars and quick temporary repairs |
Whichever route you take, the fit of the cover itself is unchanged. The only difference is what holds the inner edge in its tucked position.
Removing the Old Cover and Cleaning the Studs and Frame
On a car that has carried a cover for years, take the old one off properly rather than tearing it away. Perished rubber and old adhesive grip harder than the studs do, and pulling hard is how paint gets marked.
Release each snap by pressing the socket back onto the stud and drawing the cover straight off. Never lever against the frame. Where adhesive residue is left, work it with a plastic pick and a cloth, keeping chemicals off the vinyl on the adjacent panel.
Clean the studs with contact cleaner and a nylon brush, then wipe them dry. Corrosion on a Lift-The-Dot stud is usually a light grey film and it comes off; heavy rust means the stud is pitted and will not grip, so replace it rather than fighting it.
The top bows and rear hoop are the other surface worth cleaning while the cover is off. Road film and old wax build up along the top of a bow and will mark a fresh cover, so a degreased wipe-down first is worth the extra two minutes.
You do not normally need to drop the whole frame. On a Triumph the frame releases by undoing three bolts each side just behind the doors, and on some cars the rear press studs or lift-a-dots around the back have to come off as well to give access to the deck. Work at that level first and only drop the frame if a stud position sits where you physically cannot reach a screwdriver.
Hood Stick Cover vs Hood Prop Rod: Do Not Buy the Wrong Part
A large share of the traffic on this topic is for a different component entirely. The prop rod holds the hood open while you drive. The hood stick cover dresses the hood while it is closed. They do not share a part number, a fitting or a fastener.
| Feature | Hood stick cover | Hood prop rod or prop stick |
|---|---|---|
| Function | Dresses the folded top and hides the frame | Holds the hood open at a chosen angle |
| Position when fitted | Hood is folded down | Hood is raised part way |
| Where it lives | Over the rear deck and sticks, inside the cockpit | In a holder or bracket on the body side or bulkhead |
| What holds it | Lift-The-Dot studs, or eyelets and lace | A grommet, a clamp or a telescopic prop |
| Does the car drive with it fitted | Yes, it is fitted for road use | Only in the closed or stopped position |
If you want something to hold the hood open at a fixed angle, you need a prop rod or a telescopic prop instead. If you want the folded hood to look finished, you are in the right place.
One useful trick from the prop rod side: if a rod will not seat in its holder, leave the grommet on the rod, clip the top end into the holder and use an adjustable spanner against the grommet to compress it. The same compression idea applies when seating a stubborn stud.
Vinyl, Leather or PVC: Choosing a Replacement Cover
Material decides how long the cover lasts and how it presents, so it is worth matching the choice to how the car is used rather than to what is easiest to find.
Vinyl is the default on most restorations and matches an original interior well. It wipes clean, tolerates rain and sun, and can be stitched to match new cockpit trim in a chosen colour with contrast piping. It is the right answer for a car that is driven and shown.
Leather looks superb and softens with age, but it takes up moisture, can mark in hot weather and needs conditioning. It suits a concours car that spends its life indoors and a low-mileage example.
PVC hooding is a hard-wearing synthetic used on utility and off-road work. It shrugs off water and scrubbing and will not tear like cloth, but it does not look period correct and it will not suit a show car.
| Material | Appearance | Weather resistance | Care | Suits |
|---|---|---|---|---|
| Vinyl | Period correct, colour and piping matched | Very good | Wipe clean | Driven restorations and show cars |
| Leather | Highest quality, softens with age | Moderate, dislikes standing water | Condition periodically | Concours and low-mileage cars |
| PVC | Utilitarian | Excellent | Hose down | Work cars and competition entries |
Whatever you choose, buy the cover with the fixings you intend to use, and check the colour against the cockpit vinyl before it is stretched over the frame.
Model Fitment Notes and Where to Source the Part
Triumph covers are largely interchangeable across the TR2, TR3, TR3A, TR4 and TR4A, with the TR6 using a longer frame and its own part family. Check the frame length and the number of sticks before ordering, because a cover sized for a TR4A will not dress a TR6 frame correctly.
Land Rover models with full hood stick sets, including Defender 90 conversions, use their own hardware and generally come with proper fitting instructions. Exmoor Trim publishes an illustrated instruction sheet with its full hood stick kits and a fitting video series, which is worth reading before you start because it shows the correct stud positions on the frame.
On the Triumph side, Moss Motors sells covers such as the TR3A cover part TS41743 and a TR4A cover in black with white piping. Rimmer Bros carries hood trim and fastener items for the same cars. The recurring theme across suppliers is that the snaps come pre-installed on the cover, so the studs are the part you may need to add.
There are no written fitting instructions in the box for a Triumph cover. That is why this guide exists, and why the stud position is the part everybody gets wrong.
On show versus driver cars, the practical question is whether you want the cover fitted when you arrive. Show cars are usually photographed with the cover off so the frame and stitching can be seen, then fitted for the road home. Driver cars usually keep it on permanently and accept the extra loads that puts on the studs.
Troubleshooting: Why the Cover Sags, Flaps or Pops Loose
The cover sags at the rear. Almost always one of two things: the cover is not pulled down far enough over the sticks, or the inner edge is not tucked under the top bows. Re-tuck before adding tension anywhere else.
The snaps will not hold. Check that the female stud is the type that matches the snap, and that it is screwed fully home. A stud threaded only halfway in will take the first pull and then release.
The studs pull out of the deck. The deck is card behind the vinyl, or the hole is oversized. Add a steel backing plate, or switch to the eyelet and lace method.
The cover flaps in the wind. Missing fasteners at the front of the cover, or the frame lacing has loosened. Restore the front attachments and re-tension the frame webbing before tightening the cover.
The cover catches when the frame swings up. The inner edge is folded the wrong way or is riding over the bow rather than under it. Fold it back, thinner, and retest through a full cycle.
The stud will not seat and nothing clicks. It is fitted upside down. Back it out a half turn and try again before changing anything else.
Frequently Asked Questions
What is a hood stick called?
A hood stick is also called a hood bow, a top bow or a rear hoop. It is the steel bar across the rear of a folding soft top that the folded hood rests against when the top is down. A hood stick cover is the vinyl, leather or PVC sleeve that slips over these folded sticks to hide the frame.
What is the piece that holds the car hood up called?
The part that holds the hood up while you drive is the hood prop rod, also called a prop stick or telescopic hood prop. It fits into a holder on the body side or bulkhead. It is a different component from the hood stick cover, which dresses the hood while it is folded down.
Where should the Lift-The-Dot studs be installed on a hood stick cover?
The studs belong on the rear deck inside the cockpit, one either side of the centreline, just inside where the folded hood sticks come to rest and inboard of the top bows. That position lets the cover’s inner edge pass under the bows and still reach the fastener.
Do I need to remove the hood frame to fit a hood stick cover?
Usually not. On a Triumph the frame releases by undoing three bolts each side just behind the doors, and on some cars the rear press studs around the back also come off for access. Try that level first and only drop the whole frame if a stud position is physically out of reach.
Why will not my hood stick cover snaps hold?
Most often the female stud is not fully screwed home, or it is fitted upside down and backwards from the intuitive orientation. It is also common for the stud to be threaded into card behind the deck vinyl, so it pulls out under the first firm pull. Test the snap on and off the installed stud before fitting the cover.
Can I drive with the hood stick cover removed?
Yes. The cover is cosmetic and the folding frame and its lacing do the structural work, though a car with no cover looks unfinished and exposes the bows to weather. Drive carefully without it, as the exposed frame edges catch road spray and dirt quickly.
Conclusion
To replace a hood stick cover properly, three things matter: put the studs in the right place on the rear deck inside the cockpit, tuck the cover’s inner edge under the top bows, and make sure the fastener actually grips.
Check for existing holes before you drill anything, most cars still have them. If the deck is card, either add a backing plate or lace the cover to the folded sticks through three eyelets, a fix that has worked on plenty of cars and costs nothing.
Fit the cover with the frame raised and lowered once before you drive away, and you have a job that lasts the life of the trim.