
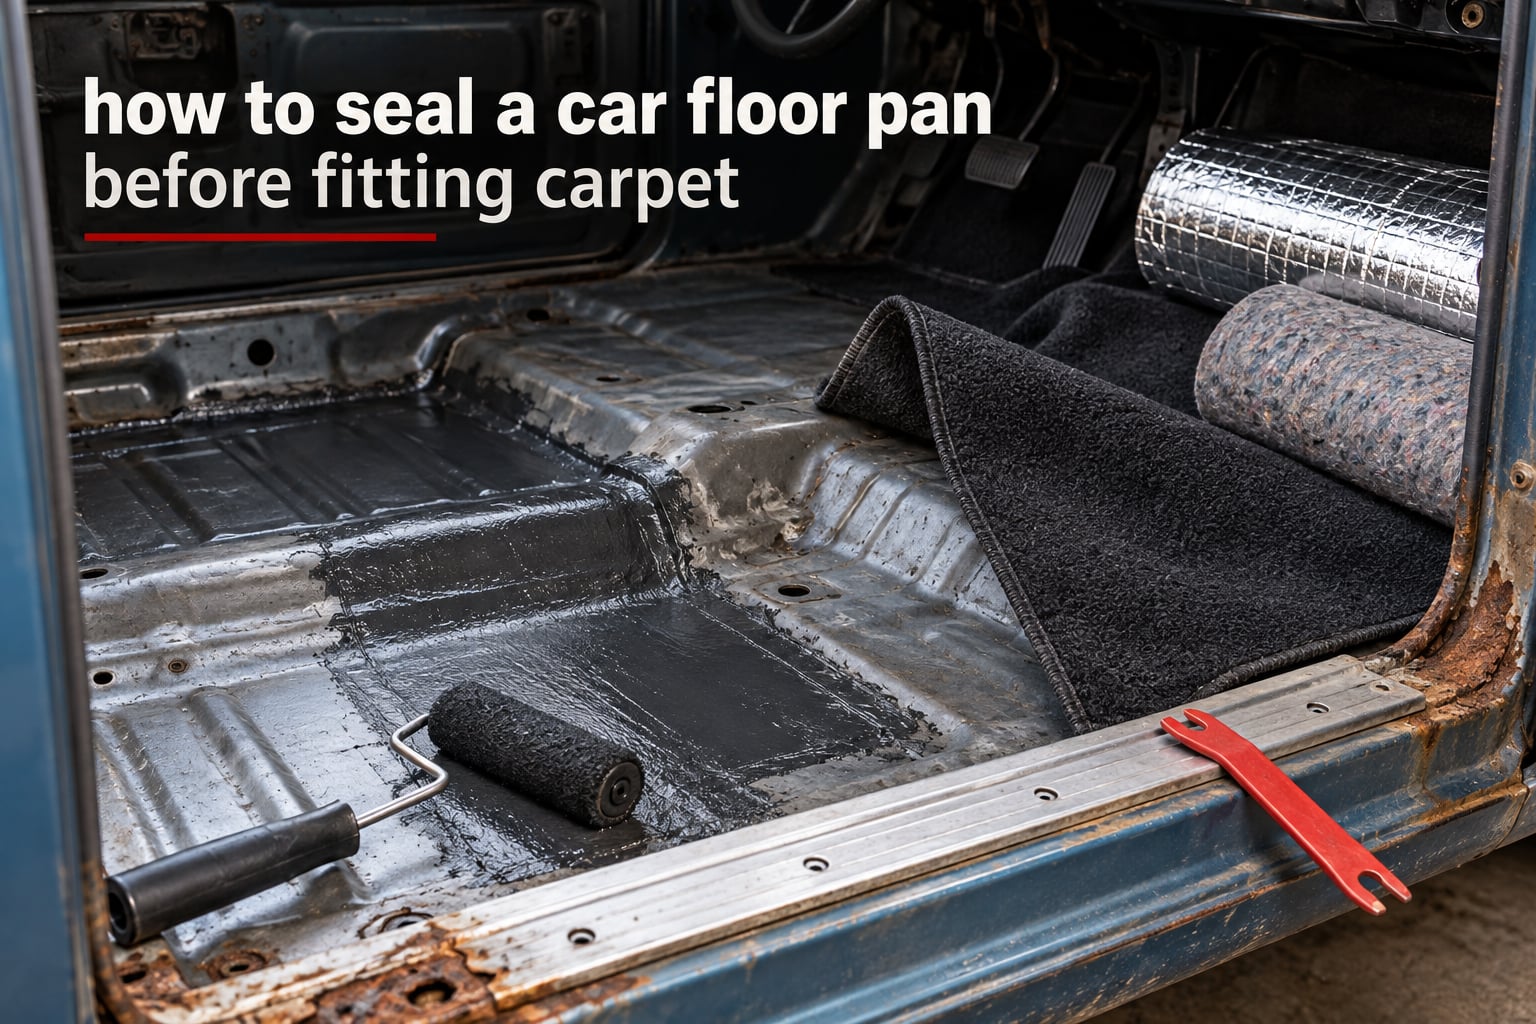
Yes, you should seal the floor pan before the carpet goes down, and the short version is a five layer stack: clean bare metal, kill any remaining rust, coat the pan with an epoxy primer or rust encapsulator, seal the seams and plug welds, then add optional heat and noise insulation before the padding and carpet. If you skip that middle layer, the carpet sits directly on raw steel and traps every drop of water and road salt against it. The corrosion then grows invisibly under the new carpet until the metal is too thin to patch. Our team has stripped, patched and resealed floor pans on a dozen older cars, and the same sequence comes out of every good job: prep, treat, seal, insulate, carpet.
Carpet is vapour-permeable but not waterproof. It lets moisture in and holds it there, right against the pan, where air does not circulate and the sun never reaches. That is why a car can look clean under the carpet and still be rotting from the inside out.
This guide walks through the full procedure for sealing a car floor pan before fitting carpet, the tools you need, how to choose between paint, rust encapsulator, epoxy primer and bedliner, and how long each one needs before you put anything on top of it. Updated for 2026.
Table of Contents
- What You Put on a Car Floor Pan Before Carpet
- How to Seal a Car Floor Pan Before Fitting Carpet
- Step 1: Pull the interior out and photograph the pan
- Step 2: Strip the pan back to bare metal
- Step 3: Remove every trace of rust
- Step 4: Repair holes before you seal anything
- Step 5: Choose and apply your sealing system
- Step 6: Seam seal every joint while the coating is still workable
- Step 7: Check drain paths and water entry points
- Step 8: Let the coating cure, then test it
- Step 9: Add heat and noise insulation if you want it
- Step 10: Fit padding and carpet onto a clean, dry surface
- Tools and Materials Checklist
- Choosing a Sealing System
- Cure Times Before Carpet Goes Down
- Fixing a Rusted Floor Pan: Patch or Replace
- Insulation, Padding and Adhesives After Sealing
- What You Must Never Coat
- Common Mistakes and Troubleshooting
- Frequently Asked Questions
- Do I have to seal the floor pan before carpet?
- What do you put on the floor before carpet?
- How long after painting the floor can I put the carpet in?
- Is bedliner a good finish for a car floor pan?
- What takes rust off the bottom of a floor pan?
- How do you fix a rusted out floor pan?
- Can you stop rust once it starts?
- What glue is used for automotive carpet?
- What are the most common carpet installation mistakes?
- How hard is it to recarpet a car?
- Conclusion
What You Put on a Car Floor Pan Before Carpet
The answer is a stack, and each layer solves a problem the layer below it cannot. Skipping the middle layers is what causes coating failure, so it is worth knowing what each one does.
- Bare, clean metal. Coating bonds to steel, not to wax, oil, seam sealer or loose rust scale. Prep is the layer nobody sees and everybody feels later.
- Rust treatment. A rust converter chemically changes remaining scale, or a rust encapsulator seals it in place. This is what stops rust bleeding back through the coating later.
- Epoxy primer or encapsulating coat. The continuous corrosion barrier. Epoxy primer bonds hard to bare steel and resists chips; encapsulator is forgiving of residual rust.
- Seam sealer. A flexible sealer brushed into floor pan seams, plug welds and the perimeter of any patch. This is the waterproofing layer, not the cosmetic one.
- Heat and noise insulation. Optional but popular. A reflective or closed cell layer drops cabin noise and takes heat out of the tunnel area.
- Carpet padding and carpet. The part everyone sees, adhered with contact cement or spray adhesive.
Forum wisdom is remarkably consistent on the middle of that list. On CorvetteForum a user described the sequence that comes up most often: Rustoleum first, then POR-15 over that, then Reflectix, then carpet. On Vintage Mustang another described epoxy primer, Zero Rust and a Rustoleum topcoat. Different brands, same architecture.
A VOC caution matters here. Any coating you spray goes into a closed cabin, so open both doors, remove the seats, and work outside if you can. Wear a respirator rated for organic vapours, and give the pan real ventilation before you trap it under carpet.
How to Seal a Car Floor Pan Before Fitting Carpet
Step 1: Pull the interior out and photograph the pan
Remove the carpet, padding, seats and trim. Photograph or video every corner of the pan before you touch it, because you will not be able to see the sill corners or tunnel underside once trim goes back on. Mark every hole, soft spot and rust bubble while you have clear access.
Step 2: Strip the pan back to bare metal
Take off every old coating, carpet glue residue and undercoating. A wire wheel or flap wheel on a grinder is the near-universal first step; for thick old coatings a DA sander works faster. Keep grinding until the metal is bright and your glove does not pick up orange dust. You can read more on mechanical versus chemical stripping in the rust removal notes below.
Step 3: Remove every trace of rust
Grind, wire wheel or media blast the scale off, then work chemically on what grinding leaves behind. Muriatic acid or naval jelly will dissolve what an abrasive cannot reach in a seam corner. Neutralise and rinse thoroughly, and dry the pan completely with heat and airflow before anything wet goes on.
Step 4: Repair holes before you seal anything
Any perforation gets patched before coating, because a patch needs bare edges and a clean seat to bond or weld to. Welders cut out the rot and weld in a new section of sheet metal. Non-welders use a metal patch with blind rivets or screws, or epoxy putty reinforced with fiberglass cloth. The method table below ranks all three.
Step 5: Choose and apply your sealing system
With bare metal and sound repairs in place, apply the corrosion barrier: epoxy primer, a rust encapsulator such as POR-15 or Rust Encapsulator, or roll-on bedliner. Work in even coats, follow the wet edge, and keep the film build consistent. Two thin coats outperform one heavy coat every time, because a heavy coat skins over while the underneath stays soft.
Step 6: Seam seal every joint while the coating is still workable
Brush seam sealer into the floor pan factory seams, along plug welds, around patch edges and at the pan perimeter where it meets the sill plate. Some sealers need to go on while the epoxy is still wet for proper intercoat adhesion, so read the label before you start. Every unsealed joint is a water path that bypasses your coating entirely.
Step 7: Check drain paths and water entry points
Clear any drain holes and make sure water that enters the cabin has somewhere to go rather than sitting in a low point. More importantly, find the source: heater core and HVAC case openings are the number one cause of under carpet rot, and sealing the pan will not stop a leak coming from above it.
Step 8: Let the coating cure, then test it
Do not judge a coating by touch. Use the cure table below and wait the full time, because trapped solvent under carpet can lift the coating later. Once cured, check for missed spots by looking at the pan under a bright light from a low angle. Shine a light across the surface and thin spots or missed pockets show up clearly.
Step 9: Add heat and noise insulation if you want it
Roll out reflective insulation or closed cell mat over the cured pan, leaving access panels and the shifter area clear. Use a contact cement or spray adhesive rated for the material, and tape or seal seams so the mat does not trap water underneath itself. This layer is where most of the measurable noise reduction comes from.
Step 10: Fit padding and carpet onto a clean, dry surface
Mark and burn or cut any holes for seat mounts and the shifter before laying carpet. Lay the carpet, work it into the contours of the transmission tunnel and kick panels, and weight it with bricks while the adhesive grabs. Trim to the sill plate and kick panel, then refit the trim to check the edges sit where they did before.
Tools and Materials Checklist
Having everything before you start matters more here than on most jobs, because a mid job trip for a wire wheel means the pan sits half stripped and rust starts working again.
For stripping and rust removal
- Grinder with a wire cup wheel and a flap wheel
- DA orbital sander with 80 grit for thick old coatings
- Wire brush for seams and tight corners
- Muriatic acid or naval jelly for scale grinding cannot reach
- Neutraliser, plus a plastic bristle brush and plenty of water
- Shop towels, eye protection, gloves and a respirator rated for organic vapours
For repair
- Sheet metal patch material, or a new floor pan section
- Plug welder, MIG welder or proper rivet and screw gun
- Blind rivets and self tapping screws for non welded repairs
- Epoxy putty and fiberglass cloth for small holes
- Body hammer, dolly and panel clamps for reshaping
For sealing
- Epoxy primer, rust encapsulator or bedliner
- Seam sealer and a brush or seam roller
- Masking for the areas you must not coat
- Heat lamp or forced air for drying and curing
For carpet fitting
- Contact cement or spray adhesive, plus a trigger sprayer
- Soldering iron for burning clean holes instead of cutting
- Utility knife, straight edge and a body hammer for shaping
- Bricks or weights to hold the carpet while adhesive sets
Choosing a Sealing System
Five systems cover almost every budget and skill level. Forum threads repeatedly split between people who want a factory style finish and people whose car lives on gravel and winter salt, and the honest answer is that the best system depends on where the car parks and what you drive it in.
| System | Relative cost | Time to handle | Durability | Skill level | Best for |
|---|---|---|---|---|---|
| Single stage paint or enamel | Low | Several days to cure | Fair, chips easily | Beginner | Sound pans, show cars, low salt exposure |
| Rust encapsulator (POR-15, Rust Encapsulator, Zero Rust) | Low to moderate | 24 to 72 hours | Very good over treated rust | Beginner | Surface rust that is impractical to fully remove |
| Epoxy primer plus topcoat | Moderate | 3 to 7 days | Excellent adhesion and chip resistance | Intermediate | Daily drivers and any build that sees salt |
| Roll on bedliner or Herculiner | Moderate | 24 to 48 hours | Very good, thick and abrasion resistant | Beginner | Rough use, off road vehicles, cheapest durable option |
| Two part epoxy or glass filled two part primer | Higher | 24 to 48 hours | Best of the group, hardest film | Intermediate to advanced | Heavy rust, restored builds, concours quality seams |
Two practical notes. First, on a daily driver that sees road salt, the epoxy primer and topcoat combination is the one most restorers land on, because it resists chips and keeps rust from creeping under the coating edge. Second, thick coatings are not automatically better: a heavy bedliner film can bridge small pinholes if it flows over trapped air, so follow the wet edge rather than laying it on thick.
Sound deadener and thermal insulation are two different jobs that forum advice often mixes together. A butyl mat bonded to the pan is a vibration damper. Reflectix style material is a heat reflector. Closed cell foam does both modestly. None of them seal the pan, so none of them replace step 5.
Cure Times Before Carpet Goes Down
This is the question that comes up most often and the one that is most often answered wrong. Surface dry and fully cured are different things, and only the second one is safe to cover. Touching a coating that feels dry does not mean the solvent underneath has left.
| System | Surface dry | Safe to handle | Full cure | Notes |
|---|---|---|---|---|
| Rust converter (muriatic or naval jelly) | None, treat wet | Rinse and neutralise as directed | Pan must be fully dry before coating | Never coat over a wet or acid film |
| Single stage paint or enamel | 1 to 2 hours | 24 hours | 3 to 7 days | Full cure before heavy insulation or contact cement |
| Rust encapsulator | 2 to 4 hours | 24 hours | 48 to 72 hours | Do not coat a thick wet film, it skins over |
| Epoxy primer | 2 to 6 hours | 24 hours | 4 to 7 days | Check the can, chemistry varies widely |
| Bedliner or roll on rubber | 3 to 6 hours | 24 hours | 48 hours | Humidity slows it, ventilate the cabin |
| Two part epoxy | 2 to 4 hours | 24 hours | 72 hours | Chemical cure, cold weather extends times |
| Contact cement on carpet | Tacky immediately | Hold and press within the open time | 8 to 12 hours before trimming | Trim too early and the edge lifts |
When in doubt, wait longer. On r/projectcar owners kept asking how long to wait after painting before the carpet went back in, and the practical answer is simple: when the coating takes a firm fingernail press without marking, you are close, and when a warm hand leaves no tack, you are there. Full cure still needs a couple of days for any solvent based film, and heat speeds all of it along.
Fixing a Rusted Floor Pan: Patch or Replace
How you repair determines how you seal, so decide this before the strip job is finished. Start by finding the outer edge of the corrosion: keep scraping or blasting outward from the visible hole until the metal is solid and the same thickness across the plate. Rust always spreads further than it looks from the top.
- Sound pan, surface rust only. Treat and coat. No cutting needed.
- Surface rust, no perforation. Grind back, treat what remains, then coat. Inspect again in a year.
- One or two small holes in a flat area. Patch it. Epoxy putty and fiberglass cloth is enough for a dime size hole, and a riveted or screwed metal patch is stronger on anything larger.
- Rot spreading across the pan or a seam. Cut out the section and weld in new metal. Once rot reaches a seam or a sill, patching is buying time, not solving the problem.
- Pan structurally gone. Replace the whole section. It is the least glamorous job and the one that stops the rot returning.
| Method | Skill required | Tools | Strength | Best for |
|---|---|---|---|---|
| Weld in sheet metal | Welder | Plug welder or MIG, clamp, panel | Factory equivalent when done right | Seams, structural rot, concours work |
| Metal patch, blind rivets or screws | Beginner | Rivet gun, drill, patch blanks | Good, but a through fastener and a leak path if it fails | Flat areas away from seams |
| Epoxy putty with fiberglass cloth | Beginner | Putty, cloth, spreader | Moderate, best on small holes | Dime size holes, as a hold while welding is arranged |
| Filled panel or full pan replacement | Intermediate to advanced | Welder, panel, saw | Strongest and most permanent | Terminal rot, structural areas |
ClassicOldsmobile members framed the choice exactly this way, with the answer depending on your skill level and whether you can weld. One suggested POR-15 or an equivalent, with holes rebuilt using epoxy putty and fiberglass reinforcement for anyone without a welder.
Insulation, Padding and Adhesives After Sealing
Only start this stage once the pan is fully cured. Reflectix style material gets described on the forums as delivering most of the benefit of expensive butyl mat for a small fraction of the cost, and one CorvetteForum user regretted skipping insulation entirely, which tells you how noticeable the difference is once it is missing.
Adhesive choice depends on the material. Contact cement grabs instantly and bonds hard, which suits carpet and padding to metal. Spray adhesive is easier over large areas and gives a little repositioning time. Staples and tacks are still used at the sill plates and kick panels where trim will clamp the edge anyway. The standard practice is to spray the carpet, let it flash until tacky, then press and weight it with bricks so it conforms into the tunnel and kick panel contours.
Leave service access clear. The last thing you want is new carpet over a sealed pan and no way to reach a pedal or harness connector. Note every hole position before the padding goes down, and punch or burn the openings once the carpet is laid.
What You Must Never Coat
Sealing the pan means being deliberate about what stays bare. Coating over these areas causes problems that are hard to diagnose later, and no ranking guide covers them.
- Seat belt anchor points and seat mounting bolt holes. These are structural and inspected. A thick coating can change how a bolt bears, and a belt anchor must be able to develop its crush damage properly in a crash.
- Ground points and strap locations. Coating under a grounding strap invites corrosion between the strap and the metal.
- Drain holes and water paths. Seal the pan around them, never the hole itself.
- Heater core and HVAC case openings. These need to stay clear so you can find a leak later and so air can move.
Common Mistakes and Troubleshooting
Most sealing failures trace back to one of a small number of avoidable problems.
The coating peels off later
Almost always contamination. Wax, oil, silicone overspray from a previous detail job, or polish residue stop epoxy from bonding. On ChevelleSite members made the point directly: remove it or deactivate it before painting. Clean with a degreaser, wipe with a solvent, and do not touch the pan with bare hands before priming. Gloves are not optional at this stage.
Rust reappears under the coating
This is the one that confuses people, because they did everything right. The cause is generally rust that was never neutralised, coated while still damp, or coated over a layer that was too thick for the chemistry to reach. Clean the affected spot back to bright metal, treat it with an encapsulator, recoat, and check your film build. Users reported visible rust returning quickly even with correct prep, which is what pushed POR-15 to the top of most recommendations, and Rust Encapsulator to the top of the single product list because it does not bleed through.
Solvent trapped under the carpet
The coating felt dry and went down, then went soft and sticky under the padding. The coating was surface dry, not cured. This is the single most reported mistake in forum threads about this job, and it is entirely avoidable with the cure table above.
Rust returns even though the pan is sealed
The pan is not the leak. Check the HVAC case, the heater core hoses and the cowl drain. On r/CherokeeXJ this was the pattern again and again: water enters above the pan, the carpet hides the resulting rot, and the driver discovers it years later. Sealing the pan is still correct, but it will not fix a leak from above.
Seam sealer skipped or applied too late
A beautiful coated pan that leaks through the factory seams will fail just the same. Seam sealer is a separate product from epoxy primer and it goes into the joints, the plug welds and the patch perimeter, not over the whole pan.
Carpet installed over a damp pan
Water under carpet is the fastest route to rot there is. Dry the pan properly after neutralising, use heat and airflow, and check for damp with a dry cloth before you coat or lay anything down.
Frequently Asked Questions
Do I have to seal the floor pan before carpet?
Yes, and it is the one step you cannot undo later. Carpet traps moisture and road salt against bare steel and rust grows underneath where you cannot see it. Sealing the pan also gives insulation, padding and adhesive a clean surface to bond to, and stops rust from bleeding through and staining new carpet.
What do you put on the floor before carpet?
A layer stack: clean bare metal, rust treatment such as a rust converter or encapsulator, a continuous coat of epoxy primer or bedliner, seam sealer over the factory seams and plug welds, then optional heat and noise insulation, carpet padding and carpet.
How long after painting the floor can I put the carpet in?
Wait for the full cure, not just the surface dry stage. Single stage paint needs three to seven days, epoxy primer four to seven, and encapsulators and bedliner two to three days. Touching a coating that feels hard is not the same as one that has finished outgassing, and covering it early traps solvent under the padding.
Is bedliner a good finish for a car floor pan?
Yes. Roll on bedliner is one of the most recommended options for daily drivers because it is thick, abrasion resistant, needs no separate primer on properly prepared metal, and handles rough use well. The trade off is appearance: a textured rubber floor is not a factory style finish, and it will never blend with a restored interior.
What takes rust off the bottom of a floor pan?
Mechanical first: a grinder with a wire cup or flap wheel, then a DA sander and a wire brush for seams. For what grinding cannot reach, use muriatic acid or naval jelly, then neutralise, rinse and dry the pan completely. Media blasting is the fastest option if you have access to it.
How do you fix a rusted out floor pan?
Find the outer edge of the rot by scraping or blasting outward from the visible hole, then patch or replace based on how far it spread. Small holes in flat areas take a riveted or screwed metal patch, dime size holes take epoxy putty with fiberglass cloth, and rot that reaches a seam or sill needs the section cut out and welded back in.
Can you stop rust once it starts?
Usually, if you act before the metal perforates. Strip to bare metal, remove the scale, treat what remains with a rust converter or encapsulator, and coat it. The failures people report come from sealing over rust that was never neutralised, coating over wax or oil, or covering the pan while it was still damp, none of which are problems with the product itself.
What glue is used for automotive carpet?
Contact cement is the traditional choice, and spray adhesive is easier across large areas. Both go onto the pan or the padding rather than onto the carpet backing, and both need the carpet pressed and weighted while they set. Staples or tacks are still used at the sill plates and kick panels where the trim clamps the edge.
What are the most common carpet installation mistakes?
Laying carpet on a damp or unsealed pan, cutting holes instead of burning them so the edges fray, trimming before the adhesive has set, forgetting to clear the shifter and pedal openings, and leaving the transmission tunnel and kick panels unweighted so the carpet lifts. Add coating wet paint to that list and the same job fails just as often.
How hard is it to recarpet a car?
The carpet fitting itself is a long, fussy, low risk job with a razor blade and a soldering iron. The hard part of the overall job is the pan, not the carpet. Anyone comfortable with a grinder can strip, treat and coat a surface rusted pan, and welding is only needed once rot has eaten through the metal.
Conclusion
To seal a car floor pan before fitting carpet, work in one direction and do not skip forward. Strip to bare metal, remove every trace of rust, patch the holes, coat the pan, seam seal the joints, wait for a full cure, then insulate and carpet. Each layer only works if the one under it was done properly, and the layers that get rushed are the rust treatment and the cure time.
Pick your sealing system for how the car is used rather than how it looks in a photograph, and photograph the pan before you reassemble anything. That record is what saves you the next time the carpet comes out.