
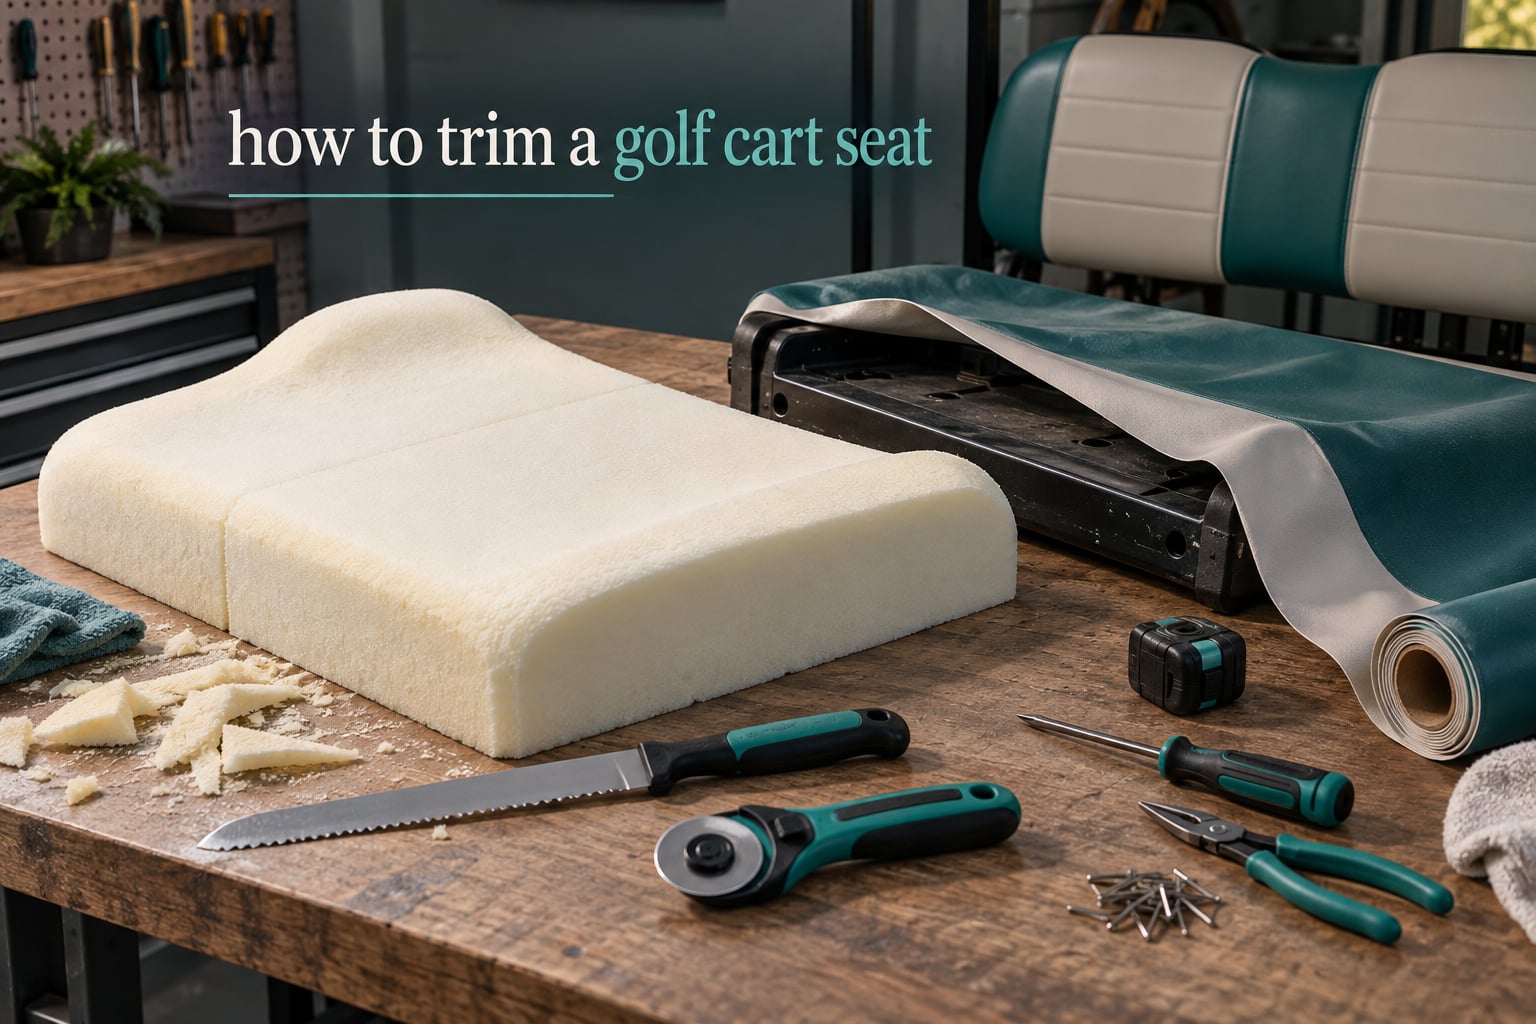
Trimming a golf cart seat means cutting and reshaping the foam cushion so it fits the base, squaring or rounding the edges, and cutting away surplus cover material. The order is simple: strip the old cover, cut the foam with extra overhang at the back and less at the front, round the corners to roughly a 1-1/2 inch radius, bond the foam to the base, then stretch the new cover from the center outward and trim the excess underneath.
It is a smaller job than a full reupholstery. You can trim foam on a seat whose vinyl still looks good, or square up an oversized aftermarket cover so it stops puckering and rattling on rough cart paths. This guide walks through the whole sequence, including the cut dimensions that most write-ups leave vague.
We have pulled the numbers that matter from builder forums and working upholstery guides, so you can set a tape measure against real targets instead of guessing. Expect a weekend of work for a single seat, or roughly three to four hours once you have done it once.
Table of Contents
- What Trimming a Golf Cart Seat Actually Covers
- Tools and Materials at a Glance
- How to Trim a Golf Cart Seat Step by Step
- Step 1: Remove the seat from the cart and photograph it
- Step 2: Remove the old cover, staples, and trim tape
- Step 3: Assess the foam and decide repair versus replace
- Step 4: Trim and shape the foam
- Step 5: Patch or replace the foam and bond it to the base
- Step 6: Re-cover the seat with even center-out tension
- Step 7: Trim the excess material and finish the corners
- Step 8: Reinstall the seat and check the hinge and latch
- Model Notes: EZGO, Club Car, and Yamaha
- Foam and Cover Material Choices
- Common Mistakes and Troubleshooting
- Time, and When to Replace Instead of Trimming
- Frequently Asked Questions
- How to upholster a golf cart seat?
- How to reupholster a golf cart seat?
- How to reupholster a foam cushion?
- How to upholster rounded edges?
- How to cover a round foam cushion?
- What material is best for recovering golf cart seats?
- What is the average cost to reupholster golf cart seats?
- Are golf cart seat covers universal?
- What is the typical width of a golf cart seat?
- How can I repair a vinyl golf cart seat?
- Wrapping Up the Job
What Trimming a Golf Cart Seat Actually Covers
People use the word trim for two different jobs, and knowing which one you have saves you a teardown. Foam trimming is cutting and shaping the cushion itself. Cover trimming is cutting surplus vinyl or fabric after it is stretched and stapled.
You need foam trimming when the cushion is the wrong size, lumpy, compressed flat in the middle, or a replacement cushion came in oversize. You need cover trimming when the new material will not close over the foam, when a corner keeps tearing during the stretch, or when the material is hanging loose at the bottom of the flip rear seat.
If the plywood underneath is soft, spongy, or smells of mildew, neither kind of trimming will hold. That is a base repair, and it comes before any foam work in Step 5.
Tools and Materials at a Glance
Check the kit before you pull a single staple. Most of the frustration people report with this job comes from missing one small item halfway through.
- T50 upholstery stapler and a flat-blade staple remover
- Serrated bread knife or an electric foam cutter for the cushion
- Utility knife, seam ripper, and heavy scissors for cover removal
- Measuring tape, straightedge, and a marker for layout lines
- 3M spray adhesive or contact cement for bonding foam to the base
- Marine-grade vinyl, plus welt cord or trim tape if the seat is piped
- Cut-resistant gloves, eye protection, and a dust mask for foam cutting
- Hair dryer or heat gun for forming tight corners
Here is how the cutting tools stack up for foam specifically.
| Tool | Best Use | Edge Quality | Notes |
|---|---|---|---|
| Serrated bread knife | Rough cuts and squaring flat edges | Coarse but clean | Cheapest path to a good cut; keep strokes long and light |
| Electric foam cutter | Long straight runs and thick high-density foam | Very smooth | Fastest option once you learn the feed rate; rent before you buy |
| Utility or razor knife | Trimming vinyl and shallow foam nicks | Sharp, shallow | Great on cover material, poor on thick foam |
| Oscillating multi-tool | Notching corners and cutting tight to a base edge | Clean on curves | Slow, but it will not tear foam the way a straight knife does |
| Rotary cutter with a fresh blade | Shaping curves and rounding corners | Very clean arcs | Roll the blade, do not drag it sideways |
A serrated knife wins the straight work, and a rotary or oscillating tool wins the corners. Straight knives split foam on curves, which is the single most common complaint we found from people cutting their first cushion.
How to Trim a Golf Cart Seat Step by Step
Here is the full procedure in order. Each step assumes the previous one is finished, and most of them are reversible until Step 6 when staples go in.
Step 1: Remove the seat from the cart and photograph it
Take the seat off the cart before you touch a tool. On electric carts, switch the key off and disconnect the battery negative terminal first, and support the seat back as you release the hinge so it does not drop onto the bodywork.
Photograph the seat from four sides and from underneath, close enough to read the staple pattern and any bracket holes. That photo is your pattern, and it is the difference between a 30-minute job and a two-hour one.
Measure the base at three points on each side and write the numbers down. Do not trust a generic width chart for your cart, because the model year differences are larger than most people expect.
Step 2: Remove the old cover, staples, and trim tape
Pop the staples with a flat-blade remover, working along a seam where the vinyl is doubled back on itself. Hold the material taut as you go so the staple holes tear instead of stretching.
Leave a margin of material past the staple line rather than cutting right beside it. Mentor Golf Carts and Trailers make the same point in their recovery guide: if you cut flush to the staples, a single missed staple has nothing to grab and the new cover will not hold.
Pull welt cord and trim tape off last, and separate any hog rings that tie the cover to the base. Bag the fasteners as you go, because mixed sizes are the reason half of these jobs end with a bolt that does not thread back in.
Step 3: Assess the foam and decide repair versus replace
Press the cushion firmly in the spot where you sit. If it springs back slowly, feels dead flat, or the foam crumbles at the edges, no amount of trimming will fix it, and you are now buying a new cushion instead of reshaping one.
Mark the problem areas with a marker while you are feeling for them. Old foam also hides tears along the front nose and the two back corners, where riders scuff their legs on the way in and out.
Turn the cushion over and look at the underside. Foam that has lifted away from the base in one corner is repairable with adhesive and a few staples. Foam that has separated into two or more crumbly pieces is scrap.
Step 4: Trim and shape the foam
This is the step the whole query is really about, and it is where most guides get vague. Work in two passes: a rough cut to remove bulk, then a refining pass in quarter-inch increments until the foam sits correctly on the base.
Mark your layout on the foam itself while it is still on the base. Builders on Buggies Gone Wild describe the target clearly, and those figures match standard upholstery practice: round the corners to about a 1-1/2 inch radius, let the foam overhang several inches at the back, and hold the front overhang to roughly 1/2 inch to 3/4 inch.
| Trim Dimension | Starting Target | Why |
|---|---|---|
| Front overhang | 1/2 inch to 3/4 inch | Front nose is scuffed constantly, so keep the vulnerable edge small |
| Back overhang | Several inches | The back rolls over the lower lip and needs material to wrap |
| Side overhang | Half the cover thickness, roughly 1/2 inch to 1 inch | Even sides are what make the cover tension symmetrical |
| Corner radius | About 1-1/2 inch | A square corner cannot be covered without tearing |
| Edge taper | Bevel the top edge at roughly 45 degrees | A taper gives the cover a fold line instead of a thick bulge |
| Trim increment | Cut 1/4 inch at a time | Foam does not forgive an overshoot, and you cannot add it back |
Cut the back edge first, because it is the most forgiving. Then square the two sides so they match each other exactly, since uneven sides are the reason covers pucker on one corner and slack on the other.
Shape the corners with a rotary cutter or an oscillating tool rather than a straight knife. Rest the blade, roll it through the turn, and stop before the arc closes so the two cuts meet with a small amount of material to remove.
Then bevel the top edge. A 45-degree taper around the entire upper perimeter gives the vinyl a natural fold line and reduces the material you have to pull tight. Test the fit by laying the old cover back over the reshaped foam before you do anything adhesive.
If you want the front edge softened without cutting more material away, a hair dryer or heat gun on a low setting will let you compress the foam and re-form it around a corner template. Keep the nozzle moving constantly and stay well clear of the vinyl, because a still heat gun will scorch both foam and cover in seconds.
Step 5: Patch or replace the foam and bond it to the base
Spray adhesive works far better than glue of any kind on foam, and 3M spray adhesive is the pairing builders report using most often. Apply it to both surfaces in thin passes, let it flash until tacky, then lower the foam straight down without sliding it.
For a plywood base, builders commonly pair 3/4 inch pressure-treated plywood with spray adhesive, and they trace the rotted base rather than measuring a replacement. If you are replacing the base, drill several large holes so trapped moisture can escape, which is the single best defense against the mold that shows up under a freshly recovered seat.
Staple the foam to the base around the perimeter every few inches. Keep the staple heads in the plywood and away from any line the cover will cross, because a staple driven into foam creates a lump you will feel on every ride.
If the seat back sits low and you want more ride height, this is the moment to add thickness, not later. Raising the back by trimming it and refitting a thicker cushion is a common stance modification, and doing it while the seat is apart costs nothing extra.
Step 6: Re-cover the seat with even center-out tension
Staple the center of the cover first, then work outward in alternating passes, moving from the middle to each side and finally to the corners. Pulling one side tight before the other is the number one cause of wrinkles, and it is completely avoidable.
Alternate sides on every staple. That one habit keeps the material balanced and means a mismatch shows up in the middle, where you can correct it, instead of at a corner, where you cannot.
Space staples roughly 1-1/2 inch to 2 inch apart and keep a consistent pull. Hog rings are a better option than staples on a plastic base, since a misfired staple in thin molded plastic splits the panel.
Add a 2 inch wrap allowance beyond the staple line on any new cover. This is the allowance working material gives you later, and without it a good foam cut still ends with a cover that will not close.
Step 7: Trim the excess material and finish the corners
Let the cover sit under tension for a while before cutting. Material that looks snug immediately relaxes and grows slack within minutes, and trimming early is how you end up with a short skirt later.
Trim the surplus from underneath along the base edge with a utility knife, cutting slightly outside the staple line so every staple stays covered and holding something.
Corners are the last job and the least forgiving. Make several small folds, easing a little material with each one, instead of trying to fold the whole corner over in a single move. A large single fold is where vinyl tears.
If you have welt cord or trim tape to reinstall, cut each piece a half inch longer than the seam it covers, overlap the ends at the back, and staple down the center. Close the seam before the final staples at the corners so the material can still be adjusted.
Step 8: Reinstall the seat and check the hinge and latch
Reconnect the battery if you disconnected it, then refit the seat with the original hardware. Check the hinge, the latch, and the flip rear seat stop for smooth operation before you torque anything down.
Reinstall and then go around the staple line once with the staple gun empty. Any proud or crooked head gets knocked back flush, because those are the heads that snag a rider’s leg on the way in.
Finish with a UV protectant on the vinyl and a wipe-down of the seat base. A seat that stays out in full sun will fade and crack the same way the old one did, and no amount of trimming changes that.
Model Notes: EZGO, Club Car, and Yamaha
The three major brands are not interchangeable, and most of the frustration in this job comes from a cover ordered for the wrong one. Covers are not universal across brands, and rarely across model years within a brand.
| Brand | What You Will Notice | Watch For |
|---|---|---|
| EZGO RXV and TXT | Contoured front edge, generally plastic-backed bases on later cars | A flat replacement cushion will overhang the contour, so trim to the actual base |
| Club Car DS and Precedent | Wider seat pans, plywood bases common on older cars | Check the base for softness before bonding foam, plywood rots from below |
| Yamaha G1 through G22 and Drive | Distinct backrest angle and tighter seat corners | Corner radius on these is smaller, cut to 1 inch and test the cover before going further |
Measure your own base rather than trusting any chart, including ours. Take three widths on each seat, front, middle, and back, and use the smallest one as your cutting reference.
Foam and Cover Material Choices
Foam density decides how the finished seat feels, and getting it right means less trimming later. For a golf cart seat, use a high-density semi-firm foam rather than a soft furniture foam, which compresses flat within a season and then has to be cut again.
Marine-grade vinyl is the standard recovery material for good reasons. It resists mildew, abrasion, and UV degradation, and it will not crack the way automotive vinyl does after a few seasons outdoors.
| Option | Strengths | Weaknesses | Best For |
|---|---|---|---|
| Marine-grade vinyl on recovered foam | Mildew and UV resistant, cheap, easy to staple | Seams and corners tear if tensioned unevenly | Most DIY rebuilds |
| Marine plywood seat base with new foam | Rebuilds a rotted base permanently, strong mounting points | Adds a full day of work and needs edge sealing | Seats with soft or spongy bases |
| Molded HDPE replacement seat | No foam to trim, no cover to fit, it just bolts on | Fixed shape, no custom height, less comfort | Fleet and rental carts where speed matters |
For fastening, staples suit plywood, hog rings suit plastic, and elastic or hook-and-loop suits anyone who wants to remove the cover for cleaning. Choose one and use it consistently, because mixing methods across a single seat is what produces mismatched tension.
Common Mistakes and Troubleshooting
| Problem | Cause | Fix |
|---|---|---|
| Cover will not close | Cut too small, or the foam is still oversize | Reopen a staple at the base, trim foam another quarter inch, restaple |
| Wrinkles and puckering | One side pulled tight before the other | Start over from the center, alternate sides, pull less than feels right |
| Foam splits on curves | Straight knife used on a corner | Switch to a rotary or oscillating tool and rest the blade into the turn |
| Lumps under the cover | Staples driven into the foam, or adhesive pooled and cured hard | Pull the staples, trim the hardened adhesive flush, restaple into the base only |
| Old staples stay embedded | Broken-off staples in the plywood | Go over the base with a second pass of the remover at a lower angle |
| Vinyl tears at corners | One large fold instead of several small ones | Heat the corner gently, re-form, and ease the material in small steps |
| Foam slides after covering | Insufficient adhesive, or foam laid down too soon after spraying | Lift the cover, clean both surfaces, reapply adhesive and let it flash fully |
| Mold returns under a new cover | Moisture trapped in a sealed base | Drill drainage holes in the base and let the seat dry fully before recovering |
Owners often recommend practicing on a junkyard seat before cutting a good one. That advice costs you an afternoon and can save a cushion you cannot replace, because a bad cut on the first try is permanent.
Time, and When to Replace Instead of Trimming
A single seat runs three to four hours for a first attempt and closer to two once you know the sequence. Adding a new cushion or a replacement base pushes it to a full day. Cost is driven almost entirely by material, and the reason DIY is attractive on a multi-seat build is that shops bill for templating and assembly time, not just the vinyl.
Trim the foam when the base is solid, the frame is straight, and only the cushion profile is wrong. Replace the entire seat when the base is rotted and the frame hardware is corroded, when the cover material is gone as well as the foam, or when a molded seat bolts straight on for less work than recovering one does.
Be honest about the frame too. Bent hinge brackets and stretched springs cause the rocking and misalignment that people blame on a bad upholstery job, and no amount of trimming moves that.
Frequently Asked Questions
How to upholster a golf cart seat?
Remove the seat and staple the cover at the center first, then work outward in alternating passes until you reach the corners. Pull evenly on every staple rather than tightening one side, keep a 2 inch wrap allowance beyond the staple line, and trim the surplus from underneath once the cover has relaxed under tension.
How to reupholster a golf cart seat?
Strip the old vinyl and staples, inspect and replace the foam if it has gone flat, fit the new cushion with extra overhang at the back and 1/2 inch to 3/4 inch at the front, and round the corners to about a 1-1/2 inch radius. Bond the foam to the base, staple the cover from the center outward, ease the corners in small folds, trim the excess, and refit the seat.
How to reupholster a foam cushion?
Cut the foam in quarter-inch increments rather than one aggressive slice, since you cannot add material back. Shave the top edge at about 45 degrees to create a fold line, and shape the corners with a rotary or oscillating cutter rather than a straight knife, which splits foam on curves.
How to upholster rounded edges?
Bevel the top perimeter of the foam at roughly 45 degrees so the cover has a fold line instead of a thick bulge, then staple from the middle of each panel outward. Ease the material onto the curve in several small pulls and let a heat gun on a low setting soften it, keeping the nozzle moving constantly.
How to cover a round foam cushion?
Round the foam corners to about a 1-1/2 inch radius first, because a square corner cannot be covered without tearing. Staple the center, then alternate sides moving outward, and make several small folds at each corner rather than one large fold that will split the vinyl.
What material is best for recovering golf cart seats?
Marine-grade vinyl is the standard choice because it resists mildew, abrasion, and UV degradation better than automotive vinyl. Bond it to the base with spray adhesive rather than glue, and use staples on plywood bases or hog rings on plastic ones.
What is the average cost to reupholster golf cart seats?
The material is a small part of it. Shops bill for templating and assembly time, which is why doing a multi-seat build yourself is often cheaper than paying per seat. A molded HDPE replacement seat costs more up front but bolts straight on with no foam or cover to fit.
Are golf cart seat covers universal?
No. Covers are not universal across EZGO, Club Car, and Yamaha, and rarely across model years within one brand. Measure your own base at the front, middle, and back on each side, and use the smallest measurement as your cutting reference instead of any published chart.
What is the typical width of a golf cart seat?
It varies enough by brand and model year that a single number will mislead you. Measure the base at three points on each side, record the smallest, and build your foam cut from that figure. The front contour and the back overhang matter more to the fit than the overall width.
How can I repair a vinyl golf cart seat?
For a split, pull the cover back, patch from underneath with a vinyl patch and contact adhesive, then restaple. For a flattened cushion, no repair helps, replace the foam. For a rotted base, trace the old base, cut 3/4 inch pressure-treated plywood to match, and drill drainage holes before refitting the foam.
Wrapping Up the Job
Trimming a golf cart seat comes down to three things: cut the foam in quarter-inch passes, keep more overhang at the back than the front, and round the corners to about 1-1/2 inch so the cover has something to grip. Staple from the center outward, alternate sides on every pull, and ease the corners in small folds.
Photograph the seat before you strip it and measure the base three times before you cut. Those two habits prevent nearly every problem people run into, and they take about ten minutes.
If the base is soft, replace it before you touch the foam. Once the seat is back on the cart, check the hinge and latch, knock down any proud staple heads, and the job is finished.