
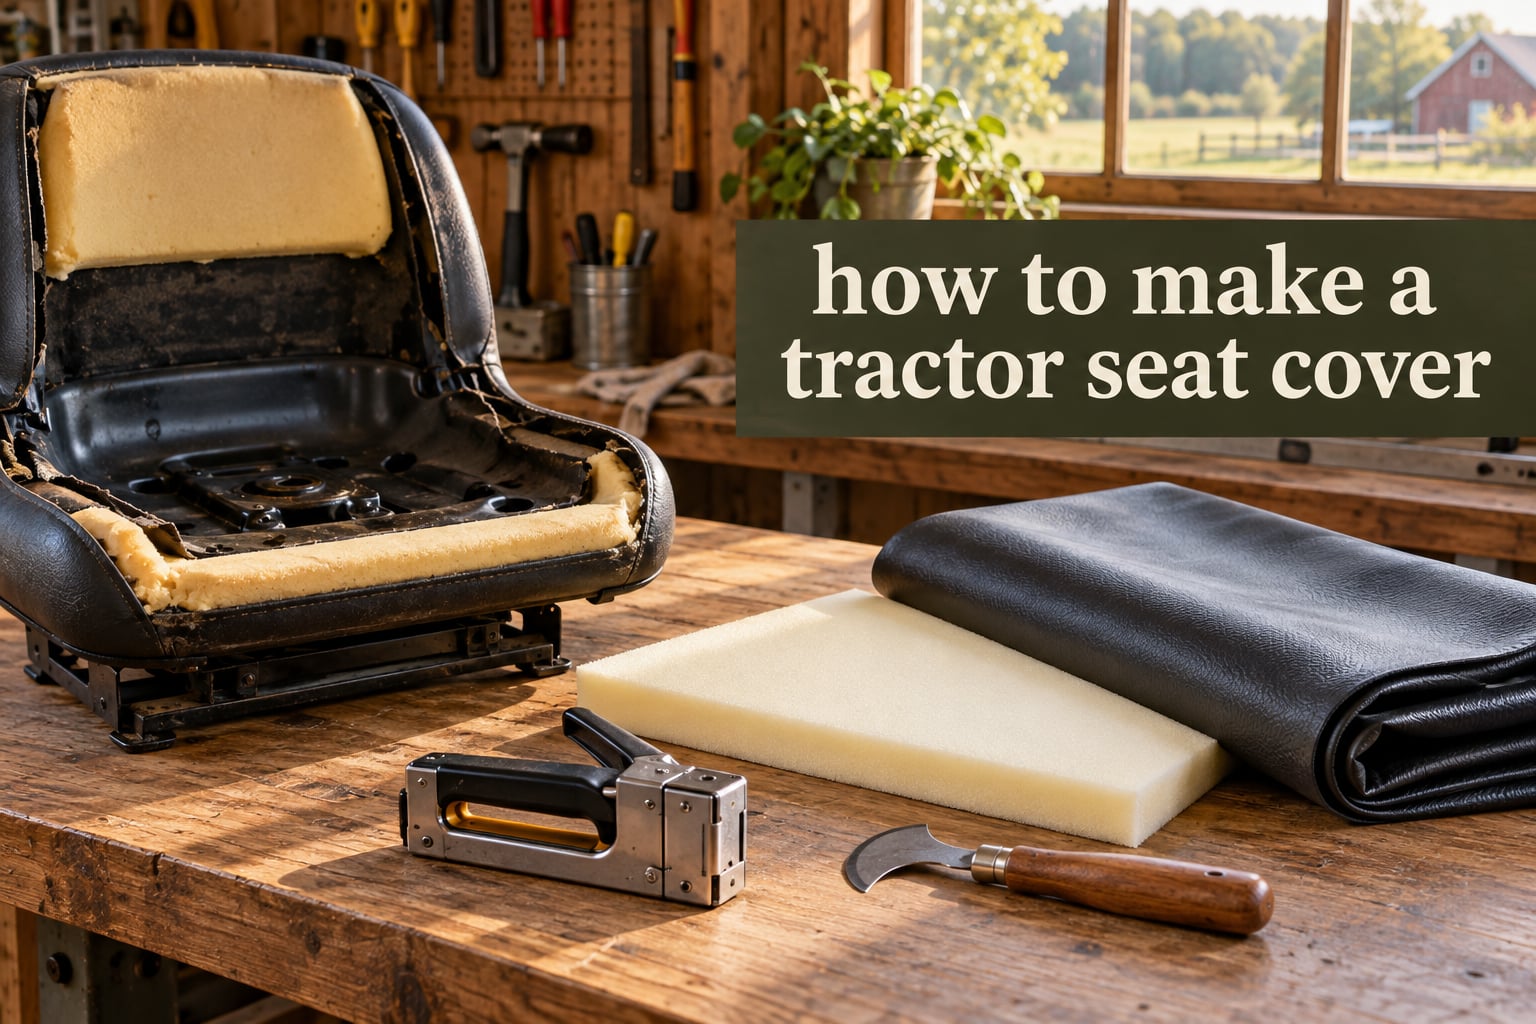
Making a tractor seat cover is simpler than most people expect. The whole job comes down to three things: a roll of marine grade vinyl, a sheet of seat foam, and a staple gun. That single sentence is the recipe repeated most often across the tractor forums, and it is the reason a cracked, faded cushion does not have to mean a new seat.
The reason tractor seats fail first is not wear in the usual sense. Ultraviolet light cooks the plasticisers out of the vinyl from above, while perspiration and body salts attack it from below. The vinyl goes soft, then brittle, then splits along the seams, and water gets into the foam underneath. Once that happens the cushion never fully dries and the whole seat is slowly ruined.
A cover interrupts that process. It puts a sacrificial, weatherproof layer between the operator and the original upholstery, so sweat never reaches the vinyl and sun never reaches the colour. On a tractor that lives outdoors, the same cover also does double duty as a drop-over dust cover in winter.
What follows is a full trim-shop walkthrough. Three methods, a materials list with actual weights and grades, and the failure modes that owners actually report. Pick the one that matches your tools and how much of the seat you actually want to save.
Table of Contents
- What a Tractor Seat Cover Actually Solves
- What You Need: Marine Grade Vinyl, Seat Foam, and a Staple Gun
- Which Material Should You Use?
- How to Measure and Pattern a Tractor Seat
- How to Make a Tractor Seat Cover: The Staple-Gun Recover Method
- Method Two: A No-Sew Slip-On Cover With an Elastic or Drawstring Hem
- Method Three: The Sun-Protector and Rope Cover
- Tractor Geometry: Backrest, Suspension Pivot, and Armrests
- Six Common Mistakes and How to Fix Them
- Should You Make It or Buy a Universal Cover?
- Weatherproofing, Cleaning, and Off-Season Storage
- Frequently Asked Questions
- How do I make homemade seat covers?
- How can I reupholster a tractor seat?
- How to install a tractor seat?
- Can I make a car seat cover without sewing?
- What is the best glue to use for a lawn mower seat?
- How to reupholster a lawn tractor seat?
- Is John Deere yellow seat repair tape available?
- How to glue a lawn mower seat back on?
- Wrapping Up
What a Tractor Seat Cover Actually Solves
A tractor seat cover is a fitted layer of marine grade vinyl, canvas, or leather that goes over the seat cushion and is held on either mechanically or elastically. Mechanically means stapled tight to the pan and sewn so there is no slack. Elastically means a hemmed elastic or a drawstring that grips under the weight of the operator.
That layer solves three specific problems. It isolates the original upholstery from perspiration and body salts, it blocks UV and standing water, and it hides a cracked cushion well enough that you are not reminded of it every time you climb aboard.
There is a fourth, quieter benefit. A protected seat holds its value, and a tractor with an intact seat and an intact dash is worth noticeably more than one that looks worked. Reviewers across the tractor forums mention resale value as often as they mention comfort.
This guide is for lawn tractors, riding mowers, and compact utility tractors. A golf cart seat follows the same method almost exactly, since the cushion geometry is nearly identical.
What You Need: Marine Grade Vinyl, Seat Foam, and a Staple Gun
Ask any supplier for marine grade vinyl by weight, not by colour. The number that matters is the ounce weight per square yard, and for a tractor seat you want something in the 18 to 21 ounce range. That is the same fabric used on boat seating, which is exactly why it survives standing water and constant sun.
Marine grade comes as a supported vinyl, meaning the pattern is backed with a polyester or nylon mesh. That backing is what stops the vinyl stretching and slouching as the seat warms up in the sun. Unbacked furniture vinyl is cheaper and is the wrong material for a machine that sits outside.
For the fill, density beats thickness. A high-density closed-cell foam in the 45 to 50 ILD range holds its shape under a 200 pound operator and does not bottom out on a sprung pan. Open-cell foam feels softer for the first month and then collapses. If you want extra comfort, put a thin layer of gel foam over the closed-cell base, then a quarter inch of memory foam above that. That stack is the same one a trim shop uses for a leather rebuild.
Your remaining list is short:
- Marine grade vinyl, 18 to 21 ounce, enough for the seat bottom plus the backrest and a spare strip for any repair
- Closed-cell foam, 45 to 50 ILD, cut slightly oversize
- Staple gun and 1/2 inch upholstery staples, 18 gauge or heavier
- Heavy duty polyester thread, 138 or 207
- Swivel knife and cutting mat, or heavy snips and a straightedge
- Polyester webbing strip and a drawstring cord if you are building a slip-on
- Work gloves, a utility knife, and a rubber mallet
- Outdoor contact cement or heavy duty upholstery adhesive for local repairs
Staple gauge is the one place where the cheap option costs you. Light gauge staples driven into a plywood or composite pan split the panel, and then the cover has nothing to hold to. If you can drive a staple by hand into a scrap of the seat pan material, it is heavy enough.
Which Material Should You Use?
Marine vinyl wins on almost every axis for an outdoor machine. The comparison below is the short version of a decision trim shops make every week, and it is worth two minutes before you cut anything.
| Material | Sheds water | UV resistance | Sewability | Expected life |
|---|---|---|---|---|
| Marine grade vinyl, 18-21 oz | Excellent | Excellent | Good, needs a leather needle | 10 seasons or more |
| Heavy canvas, 18 oz | Good if treated | Fair | Excellent | 3 to 5 seasons |
| Vegetable tanned leather | Good after sealing | Fair, needs dye | Fair, needs tooling skill | Varies widely |
| Standard outdoor cloth | Poor | Poor | Excellent | One season |
Canvas is the sensible second choice when you want a cover that breathes and is easy to stitch on a domestic machine. Treat it with a fluoropolymer spray and it will handle rain, but it will never match vinyl for sun, and untreated canvas wicks water straight into the seat.
Leather is the enthusiast path. A hand tooled leather and canvas cover with a gel and memory foam fill is a beautiful object, and one builder documented roughly half a day of tooling work on top of the leather itself, plus dye and sealer time. It also demands a maintenance regime: seal it first, then condition it about once a month through the riding season. Skip that and it dries out and cracks just like the vinyl you replaced.
Ordinary outdoor cloth is fine for the sun-protector method and for storage covers. It is not a riding cover. It stretches, it wets through, and it will not hold a staple line.
How to Measure and Pattern a Tractor Seat
Pattern the seat in person. Non-standard seats defeat paper patterns, and one builder on the forums noted that anything beyond a standard cushion required having the seat in hand for an extended period. That is the honest state of it: measure the seat you actually own.
Start with the seat bottom. Measure the top length from front to back, then the width across the flat of the pan, then the depth from the top edge down to the bottom of the pan. Measure the backrest separately: its height from the seat pan, its width at the top, and the depth of its contour. The backrest on most tractors is not a flat panel, so take a cross section at the widest point as well.
Now add your allowance. Add 2 inches on every seam edge for a sewn cover and 3 inches if the cover has an elastic or drawstring hem. That allowance is not padding. It is the material the hem consumes, and it is the tension you pull out of when you fit the cover.
Make the paper pattern from newspaper or brown kraft paper, not from a square of vinyl. Tape the panels together, lay them over the seat, and cut the paper with a small notch at every staple line. Label the front and back of every panel before you take it off. Panels that look identical on the table are rarely identical on the seat.
Cut a second full set of paper patterns before you cut any vinyl. It costs nothing and it is the only insurance against a piece you cannot replace.
How to Make a Tractor Seat Cover: The Staple-Gun Recover Method
This is the primary method and the one to use if you want a factory-looking result that stays put. The sequence runs from removing the old cover through finishing, and most owners complete it in an afternoon once the foam is cut.
- Remove the seat and the old cover. Unbolt the seat from the pan, note which bracket goes where, and set the hardware aside. Then pull every staple. A flathead screwdriver and a pair of pliers work; a cheap staple remover makes it much faster.
- Strip the old foam and burlap. Peel off the burlap or foam-backed fabric and scrape away the dried adhesive residue. This is the step people skip, and the glue lumps left behind are exactly where the new foam will sit unevenly.
- Inspect the pan and the suspension. Check the plywood or composite pan for splits and confirm the spring pivot hardware is tight. If the pan is chewed up or the foam under the vinyl was already sludge, replacing the entire seat assembly is the better call, and no amount of new vinyl fixes a broken base.
- Cut the new foam oversize. Lay your paper pattern on the foam, add a half inch on each side, and cut with a long blade in one pass. Slight oversize is deliberate. The foam compresses to fit and pulls the vinyl flat, which is how you avoid the sagging side-hills problem described later.
- Glue or staple the foam down. Dry-fit first, then adhere it with contact cement or staple it loosely. Contact cement needs both surfaces clean and a few seconds of tack before you press, and a roller gets you full contact with no lumps.
- Drape the vinyl and mark the staple lines. Lay the cut panel over the foam, smooth from the centre outwards, and mark with a marker where it meets the pan edge. Leave the allowance you added. Marking before stapling is what keeps the panel from running short halfway around.
- Staple the centre out and work outward. Start at the middle of the front edge, pull firm and even, and work in both directions toward the corners. Never start at a corner and work in. The corners should end up slightly fuller than the flats, and starting at the centre is the only way to guarantee it.
- Handle the mind seam. The mind, the seam where the top panel meets the sides, is the joint that gives a cover its shape. Cut the underside of that seam allowances, wrap the top panel over the side panel, and staple so the corner pulls into a clean radius. Keep the corner slightly proud. You will trim it flush in the next step.
- Trim, add foam and welting, and finish. Trim the top edge flush with a swivel knife, top-dress the staple line with a single pass of staples, and add welt piping around the bottom perimeter if you want the factory look. Snap the plastic caps over the staple heads along the visible edge, then roll the seat on its back and forth under body weight to set the foam.
Do the backrest as a separate panel after the bottom is finished. Most tractor backrests are a separate foam pad stapled into a plastic or metal shell, and treating them as one piece is what produces the twisted, baggy result you see on rushed jobs.
Method Two: A No-Sew Slip-On Cover With an Elastic or Drawstring Hem
A slip-on cover is the right answer when removability matters more than a perfect finish. One owner noted that pulling a cover off takes about 30 seconds, which matters a great deal when the tractor lives under a carport and the cover is only needed in the worst weather.
Measure the seat as described above, then cut one top panel and four side panels with a 3 inch hem allowance. Hem the bottom edge to 1.5 inches, leaving a channel. Thread 1/4 inch elastic through the channel with a safety pin, or run a drawstring cord through the same channel and lock it out through the opening with a small cord lock.
Stitch the side panels to the top panel with a 1/2 inch seam allowance and an even backstitch, pulling the top panel slightly fuller as you go so the seam has something to stretch into. Reinforce the corners with a backstitch across the diagonal, because the corner takes the whole load every time somebody drops into the seat.
Fit it by centering the elastic at the front, pulling the hem snug but not creasing the vinyl, and checking the mind seam for twist before you commit. Fit a slip-on in the shade. Vinyl stretched in direct sun is vinyl that will not shrink back.
A drawstring hem grips harder than elastic and seals better against rain, and it also lets you adjust the fit when the same cover goes on two different machines. Elastic is faster and needs no hardware.
Method Three: The Sun-Protector and Rope Cover
This is the zero-tool path, and it is genuinely the right answer for a fabric seat you want shielded but never intend to re-trim. A folding car window sun protector becomes the structural inner layer, and the whole thing is hand-sewn.
- Drape the sun protector over the seat and crease it along the seat crease so the weight of the operator transfers into the ropes instead of the fabric.
- Mark the trim line about 2 inches below the crease all the way around.
- Sew 1/8 inch rope along the crease line, catching the edge of the folded sun protector as you go.
- Fit the assembly into a 50 pound burlap potato sack and sew the rope to the burlap along the same line.
- Pull the rope ends through holes cut in the burlap at each side, then stitch the sack edges closed.
- Fit it over the seat and tie off the ropes under the cushion.
It looks improvised, and it is, but the load path is sound. The ropes carry the weight and the sun protector takes the abrasion, so neither layer has to survive the load alone. Use an even backstitch throughout. This method costs almost nothing, needs no machine, and takes about an hour.
Tractor Geometry: Backrest, Suspension Pivot, and Armrests
A tractor seat is not a car seat, and the geometry is where most home attempts go wrong. The seat bottom is sprung, so the pan moves under you and any slack in the cover becomes visible movement. That is why the staple method beats a loose cover every time on a machine that works slopes.
Work the seam line around the suspension pivot rather than across it. If the pivot bolt sits proud of the pan, the vinyl must clear it, and a staple line that runs straight across the pivot will cut into the cover every time the suspension moves. Notch the panel there.
Armrests change the pattern on some models. If the cover has to pass over a fixed armrest, the backrest panel has to split into two narrow wings with a placket between them, or it simply will not go on. Check for the armrest before you cut the backrest pattern.
Also leave the underside clear. A cover that wraps down too far contacts the pan lip and the pivot travel, and that is the fastest way to make a cover feel loose after a single season.
Six Common Mistakes and How to Fix Them
- The mind seam stretches and the cover squirm-wiggles on side hills. This is the most reported problem across every forum thread, and the cause is mechanical: the seam where the top panel meets the sides is the only stretchy part of the cover, and once it extends the whole cover moves. Fix it by cutting the top panel 1 to 2 inches fuller than the sides, so the seam has material to give.
- Puckers along the backrest or the front edge. Puckering is a fitting problem, not a material problem. It happens when the panel is stapled before the foam has relaxed, or when the corner is pulled tighter than the flats. Work from the centre out, and press the finished cover with a warm iron over a cloth to set the vinyl.
- Light gauge staples splitting the pan. Use 18 gauge or heavier, 1/2 inch staples, and test one on a scrap of the pan material first.
- Skipping the foam to save an hour. New foam is what pulls the vinyl flat and what stops a recovered seat from feeling like a board. Foam undersize or missing entirely is the root cause of most sagging covers.
- Stapling corner first instead of centre first. Starting at a corner means every pull from there tightens the run behind it. Centre out, both directions, in even passes.
- Buying a universal cover that is close but not close enough. Sellers often state a seat height rather than a shape. Compare the stated height to your actual seat and treat roughly an inch of variance as acceptable, but check the backrest contour separately, because that is where universal covers actually fail.
Should You Make It or Buy a Universal Cover?
Be honest with yourself about which of the two problems you have. If your foam is shot and your pan is soft, you need a recover, and no cover fixes that. If your foam is fine and the vinyl is simply faded or cracked, a cover is a legitimate, fast solution and the effort is not worth it.
The time comparison is the honest way to decide. A staple-gun recover takes an afternoon once you have the tools. A slip-on takes about an hour. A no-sew sun-protector cover takes about an hour and needs no tools at all. A custom trim-shop build is measured in days of lead time plus a working session, and that is a fundamentally different commitment.
A universal cover buys you removability and a padded surface, and padded covers are reported to add real warmth during snow removal, which extends them well past the mowing season. The tradeoff is fit. A universal cover hides a cracked cushion and takes thirty seconds to remove, but a stitched cover that is not exactly your shape will sit loosely on a sprung pan.
Our view from the trim side: recover the seat if you already own a staple gun, because you will get a better result than anything you can buy off the shelf. Buy the cover if you do not own the tools and do not want to start.
Weatherproofing, Cleaning, and Off-Season Storage
Waterproof versus water resistant deserves a clear answer. Vinyl itself sheds water completely, so the leak path is never the material. It is the seams, the staple lines, and the elastic or drawstring channel. A staple-and-sewn marine vinyl cover is effectively waterproof because the vinyl is continuous across every joint. A slip-on with a hemmed channel is water resistant, and it will let water in slowly from below during a wet week.
That distinction is the one that gets argued about most online without anyone settling it. The honest answer is that no forum consensus exists, and the reason is that people are describing different cover styles while using the same word.
Clean with warm water and a soft brush. Avoid harsh cleaners and pressure washers, which drive grit into a stitch line and dry out the plasticisers in exposed vinyl.
For off-season storage, take the cover off, clean it, and let it dry fully in the shade before you roll it. A cover stored damp in a sealed bag will smell in the spring. Condition leather about once a month through the riding season, and a canvas cover gets a fresh treatment of waterproofer each year.
Frequently Asked Questions
How do I make homemade seat covers?
You cut the cover from marine grade vinyl, lay it over the seat cushion, staple it to the pan working outward from the centre, and trim the excess with a swivel knife. Adding new closed-cell foam under the vinyl is what pulls the surface flat and makes the result look factory finished.
How can I reupholster a tractor seat?
Unbolt the seat, pull every staple and the old cover, strip the burlap and dried adhesive, then check the pan and the spring pivot for damage. Cut new foam oversize, glue or staple it down, drape the vinyl, and staple from the centre of the front edge outward in both directions. Trim flush and top-dress the staple line.
How to install a tractor seat?
Most tractor seats bolt to a pan or bracket at the rear, so installation is a matter of matching the bracket to the existing holes and reinstalling the spring and pivot hardware in the same positions. Before you recover a seat, check that the pan and pivot are sound. If the base is chewed up, replace the whole seat assembly rather than recovering a failing base.
Can I make a car seat cover without sewing?
For a no-sew option, use a folding car window sun protector as the inner layer, sew 1/8 inch rope along the crease that runs over the seat crease, fit it inside a burlap sack, and tie the ropes under the cushion. It takes about an hour with a needle and thread, and the ropes carry the load instead of the fabric.
What is the best glue to use for a lawn mower seat?
Use an outdoor contact cement or a heavy duty upholstery adhesive for vinyl repairs and for re-adhering foam. Both surfaces must be clean, dry, and lightly scuffed, and you let them become tacky before pressing them together. Contact cement bonds instantly, so position the piece carefully before you make contact.
How to reupholster a lawn tractor seat?
The lawn tractor seat is a sprung pan with a separate backrest, so treat the two as separate jobs. Recover the seat bottom first, working the staple line around the suspension pivot rather than across it, then fit the backrest pad into its shell separately. Pulling the two together in one piece is what produces twisted, baggy results.
Is John Deere yellow seat repair tape available?
Brand-colour vinyl repair tape and patch kits do exist for common machinery colours, but for a seat that is already splitting it is a temporary fix. Clean and scuff the area, use a heavy duty vinyl adhesive, and cover the patch with a cover or a fresh recover. On a badly cracked seat, a full re-cover is the longer fix.
How to glue a lawn mower seat back on?
Clean both surfaces down to bare material, then apply outdoor contact cement or upholstery adhesive and let it become tacky before pressing. Work on a flat surface and clamp or weight the piece evenly, because adhesive cures by contact and a gap in the middle is a permanent weak point. Full cure takes far longer than initial grab.
Wrapping Up
How to make a tractor seat cover comes down to three materials and one afternoon: marine grade vinyl in the 18 to 21 ounce range, closed-cell foam at 45 to 50 ILD, and a staple gun with 18 gauge staples. Pattern the seat in person, allow 2 to 3 inches on every edge, and staple from the centre outward in both directions.
If you want a factory look and already own a stapler, the recover method is the right one. If you only want protection and value removability, take the slip-on route. If you have no tools at all, the sun-protector and rope cover does the job in about an hour.
Whichever path you take, cut the top panel a little fuller than the sides. That single detail is what stops the cover from squirming on a side hill, and it is the difference people notice most in 2026.