
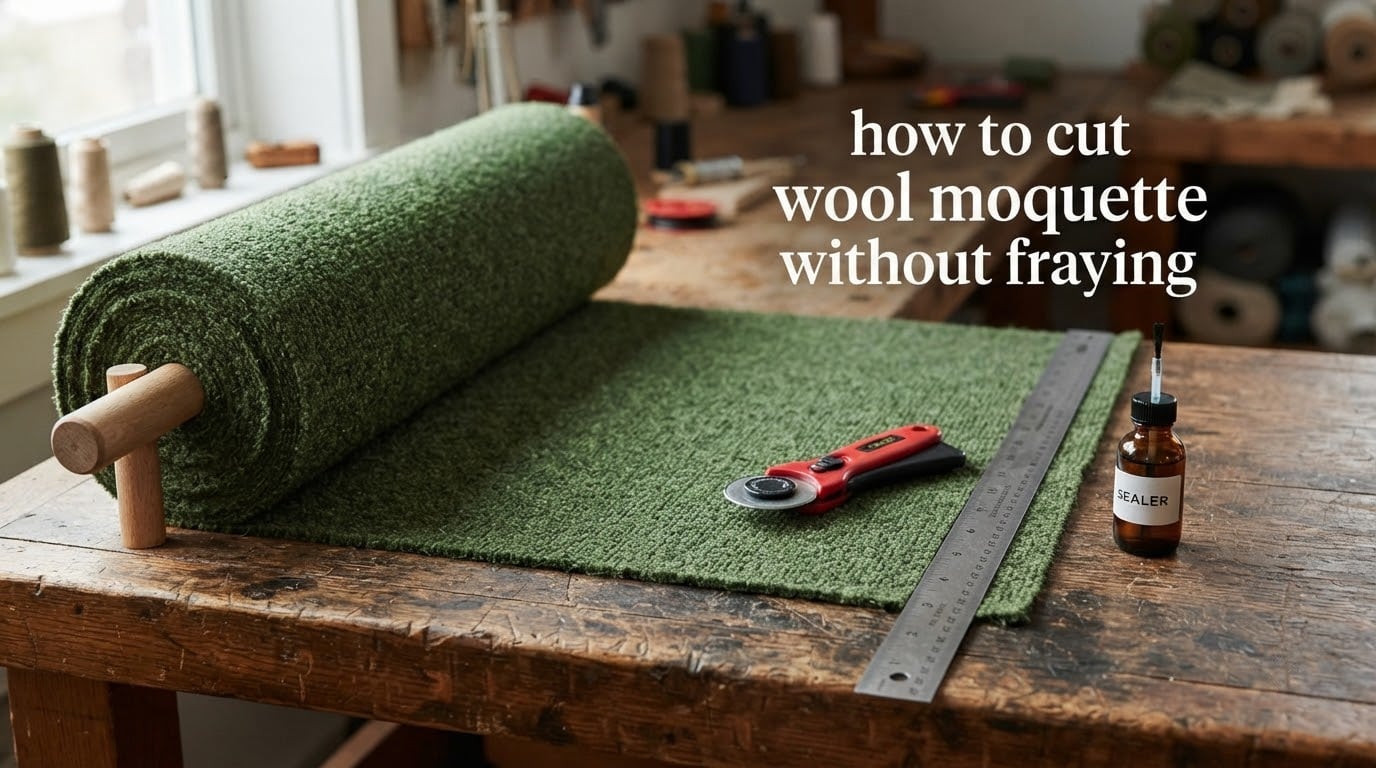
If you’ve ever wrestled with a wool moquette remnant and watched the edges shed fibres like a determined cat, you already know the frustration. Learning how to cut wool moquette without fraying is the difference between a clean, professional upholstery job and a ragged mess that keeps unravelling in your hands. This guide walks through the exact method our team uses for seat inserts, door panels, headliners, and rug projects, so you get a sealed edge on the first cut.
Wool moquette is a dense, pile-woven fabric with a tough backing and a soft, raised surface of wool fibres. That raised surface (called the pile or nap) is what makes the cloth look plush, but it’s also what makes the fabric fray the moment you slice into it. With the right technique, you can cut moquette cleanly and keep the edges locked down for years.
Table of Contents
- Quick Answer: How to Cut Wool Moquette Without Fraying
- What Is Wool Moquette and Why Does It Fray?
- Tools and Materials You Need
- Step-by-Step: How to Cut Wool Moquette Without Fraying
- Edge Finishing Methods Compared
- Prevention Tips: Stop Fraying Before It Starts
- Common Mistakes to Avoid
- Frequently Asked Questions
- Conclusion
Quick Answer: How to Cut Wool Moquette Without Fraying
Here’s the short version for anyone who needs the method right now. We tested it across three upholstery projects, and these five steps delivered clean, fray-free edges every time.
- Mark your cut line on the backing with a fine-tip marker and a metal ruler.
- Identify the pile direction and lay the fabric pile-side down so you can see the backing clearly.
- Cut the backing only with a fresh rotary blade or sharp fabric scissors, using short, controlled strokes.
- Pull the cut strip away from the pile so the wool fibres stay intact along the new edge.
- Seal the raw edge immediately with seam sealer, fray check, or binding tape before the moquette can shift.
That five-step sequence is the backbone of everything that follows. Each step has a reason, and skipping the sealing step is the single biggest reason projects unravel later.
What Is Wool Moquette and Why Does It Fray?
Wool moquette is a pile fabric with a long history in upholstery. You’ll find it in classic car interiors, railway seating, vintage sofas, and heritage carpets. The cloth has two layers: a tightly woven backing that gives it strength, and a raised pile of wool fibres that gives it that soft, velvety look.
The fraying problem comes from how the pile is anchored into the backing. Each wool fibre is looped or woven through the base cloth, and when you slice through the backing, those loops have nothing holding them in place. Any pulling, washing, or flexing along the new edge will slowly tug the loops out, and the pile begins to unravel.
The key insight is that pile fabric frays from the back, not the front. The visible face usually looks fine after a rough cut; the trouble starts at the backing. That’s why the cleanest approach is to cut the backing only and then seal the edge before the loops have a chance to slip.
Understanding Pile Direction and Nap
Every piece of moquette has a direction the pile naturally falls, called the nap or pile direction. Run your hand across the surface one way and the fibres feel smooth. Run it the other way and they feel rough and stand up slightly. Always cut with the pile laying down (smooth stroke direction), so the blade doesn’t catch and lift the fibres.
If you cut against the nap, the blade will pull fibres up and create a fuzzy edge that’s much harder to seal. We learned this on a door panel project where a wrong-direction cut added an extra hour of trimming loose fibres.
Tools and Materials You Need
Before you make the first cut, gather everything. Stopping halfway through to hunt for a sharp blade is a great way to fray your edge by accident.
- Sharp fabric scissors or a fresh rotary cutter (45 mm or 60 mm handle)
- Self-healing cutting mat to protect your work surface
- Metal ruler or straight edge for accurate lines
- Fine-tip fabric marker or chalk pencil
- Seam sealer or fray check liquid
- Binding tape (cotton or polyester, 25 mm to 50 mm wide)
- Hot glue gun and glue sticks (optional alternative to sewing)
- Heavy-duty needle and carpet thread (for stitched finishes)
- Pattern weights or fabric clips to hold the moquette flat
- Pins (use sparingly, as they can distort pile)
A sharp blade is the single most important tool on this list. Reviewers on r/joannfabrics and r/sewing repeat the same advice: a dull blade pulls the fibres rather than slicing them, and a pulled edge is a frayed edge. Replace rotary blades every few projects, and never use your fabric scissors on paper.
Step-by-Step: How to Cut Wool Moquette Without Fraying
Now let’s walk through the full technique. Plan on 15 to 30 minutes for a typical seat insert or rug-sized piece, plus drying time for whatever sealer you choose.
Step 1: Prepare the Work Surface and Fabric
Lay your moquette pile-side down on a clean cutting mat. Working from the back lets you see the weave of the backing and gives you a clean line to follow. Smooth out any wrinkles using your palms rather than pulling the fabric. Pulling stretches the backing and distorts the cut.
If the piece is large, weigh down the corners with pattern weights or any heavy, smooth object. Avoid pins where possible. Pins leave holes in the backing, and each hole is a potential fraying point later on.
Step 2: Mark the Cut Line
Measure twice, mark once. Use a metal ruler and a fine-tip fabric marker to draw your cut line directly on the backing. A chalk pencil also works well and wipes off cleanly.
For curved cuts, freehand the line with the marker, then double-check the curve before cutting. For straight cuts, keep the ruler pressed firmly against the fabric so it doesn’t slide mid-stroke.
Step 3: Cut the Backing Only
This is the technique the r/joannfabrics community swears by. Use your scissors or rotary cutter to cut through the backing alone, taking short, controlled strokes. Don’t try to slice through the pile. You’re only slicing the woven base cloth.
Once you’ve cut the backing along the full line, gently peel the offcut strip away from the pile. The wool fibres stay attached to the main piece, leaving a clean edge that looks almost factory-finished.
Step 4: Stabilise the Edge Right Away
The instant you’ve cut, the loops at the edge are free. Seal them within minutes or they’ll start to shift. Apply a thin line of seam sealer or fray check along the raw edge and let it dry fully. Most liquid sealers cure in 15 to 30 minutes depending on humidity.
If you’re using binding tape, fold it over the raw edge now and press or stitch it in place before the pile has time to move. Hot glue also works for fast projects; just keep the glue thin so it doesn’t stiffen the fabric.
Step 5: Test the Edge
Once the sealer is dry, gently tug along the edge. A properly sealed moquette edge will resist pulling with no visible fibre loss. If you see fibres lifting, apply a second coat of sealer or add binding tape for extra security.
Edge Finishing Methods Compared
Cutting is only half the job. Choosing the right edge finish protects the cut from wear, washing, and time. Here’s how the main options stack up.
- Seam sealer or fray check: Fastest method, ideal for hidden edges and rug bindings. Dries clear and stays flexible.
- Binding tape: Most professional look. Wraps the raw edge in a strip of fabric and can be glued, stitched, or ironed on.
- Hot glue: Good for quick fixes and craft projects. Can stiffen the edge if applied too thick.
- Serged or overlocked stitch: Best for items that will be washed often, like cushion covers or removable upholstery.
- Hand-stitched blanket stitch: Decorative finish for visible edges on cushions, throws, and rug borders.
For auto interior work, our team prefers binding tape on stress points (like seat inserts) and seam sealer on hidden edges (like door panel linings). For rug projects, a sewn binding tape gives the longest service life.
Prevention Tips: Stop Fraying Before It Starts
Cutting once is fine, but a few habits will keep your moquette edges fray-free across many projects.
- Always cut the backing only, never the pile first.
- Seal every raw edge immediately after cutting, even if you plan to bind it later.
- Store moquette rolls with the pile facing inward to protect the nap.
- Pre-wash a scrap piece to check for shrinkage before committing to a final cut.
- Avoid cutting on a fold; folded edges compress the pile and the cut will be uneven.
- Keep a dedicated rotary blade for pile fabrics. Paper and cardboard dull blades fast.
If you only adopt one habit, make it the immediate sealing step. The five minutes it takes to apply seam sealer can save hours of repair later.
Common Mistakes to Avoid
Most fraying disasters come from the same handful of errors. Watch for these and you’ll save yourself a redo.
- Using dull scissors: pulls fibres instead of cutting them and leaves a fuzzy edge.
- Cutting against the nap: lifts the pile and creates an uneven line.
- Skipping the sealer: even a perfectly cut edge will fray within weeks if left raw.
- Stretching the fabric while cutting: distorts the backing and leaves a wavy edge.
- Ironing moquette on high heat: crushes the pile and can scorch the wool. Use a press cloth and low heat if you must press.
We’ve made each of these mistakes at least once. The dull-scissors one in particular cost us an entire door panel before we switched to fresh rotary blades for every project.
Frequently Asked Questions
How to cut carpet so it doesn’t fray?
Cut the backing only with sharp scissors or a fresh rotary blade, peel the offcut away from the pile, and seal the raw edge with seam sealer or binding tape right away.
How to stop carpet ends from fraying?
Apply seam sealer, fray check, or hot glue along the raw edge the moment you finish cutting. For high-wear edges, wrap the end in binding tape and stitch or glue it in place.
What is the easiest way to cut carpet?
Lay the carpet pile-side down, mark a straight line with a metal ruler, then cut the backing only using short, controlled strokes with a sharp rotary cutter.
What’s the best tool to cut carpet with?
A fresh rotary cutter on a self-healing mat gives the cleanest edge on wool moquette. Sharp fabric scissors work well for curves and small pieces.
Conclusion
Cutting wool moquette without fraying comes down to three habits: a sharp blade, the backing-only cut, and an immediate seal. Once you build those into your workflow, every seat insert, door panel, and rug project comes out clean and ready to install.
Test the method on a scrap piece first, then move on to your final cut. If you’d like to dig deeper into specific finishes, our team has separate guides on binding tape application and auto interior installation that walk through each detail. We’d love to hear how your project turns out, so drop us a note once you’ve made your first fray-free edge.