
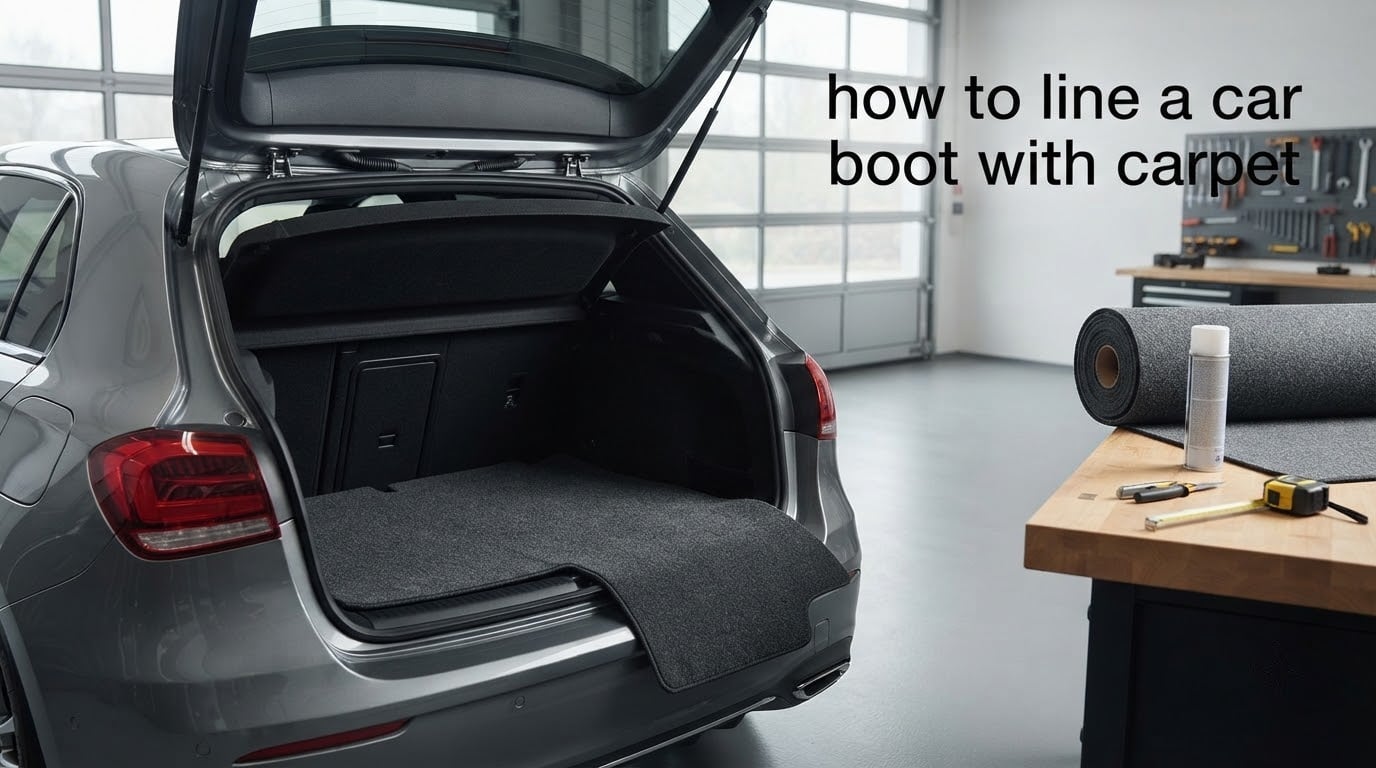
Learning how to line a car boot with carpet is one of the most rewarding DIY jobs you can tackle on your car. I have fitted carpet to dozens of boots over the years, from classic restorations to daily drivers, and the transformation is always the same – quieter cabin, cleaner cargo area, and a much more pleasant place to load shopping or muddy dogs. This guide walks you through every step from choosing materials to finishing the edges, so you can get a professional result at home.
In this article I’ll cover why carpet lining matters, the materials and tools you’ll need, how to pick the right adhesive, surface preparation, the full installation process, finishing techniques, common mistakes, maintenance, and answers to the questions I hear most often from readers.
Table of Contents
- Why Line a Car Boot With Carpet?
- What You’ll Need: Materials and Tools
- Choosing the Right Carpet for Your Boot
- Choosing the Right Adhesive
- Preparing the Boot Surface
- How to Line a Car Boot With Carpet: Step-by-Step
- Finishing Touches and Trimming
- Common Mistakes to Avoid
- Maintaining Your Boot Carpet
- Alternatives to DIY Carpet Lining
- Frequently Asked Questions
- Final Thoughts
Why Line a Car Boot With Carpet?
A carpet-lined boot does far more than look tidy. The carpet acts as a buffer between your cargo and the metal floor, which is the single biggest reason it pays for itself. Bare metal scratches easily, scuffs the back of seats when you slide things in, and – worst of all – it traps moisture against the steel and lets rust take hold.
Carpet also absorbs sound. A bare metal boot resonates like a drum every time you close the tailgate or load a case of water. A fitted carpet turns that into a soft thud, and the cabin feels noticeably quieter at speed. Reviewers regularly mention this on classic car forums when comparing before and after videos.
Then there’s the practical side. Carpet gives you grip – bags and boxes stop sliding around. It hides the spare wheel well edges and any patchy factory paint. And when it eventually does pick up a stain, you can pull it out and clean it rather than scrubbing your car paintwork.
What You’ll Need: Materials and Tools
Before you start, gather your kit. Nothing kills momentum like stopping halfway through a job because you don’t have a sharp blade. Here’s the list I work through every time.
Materials
- Automotive carpet – either a pre-molded boot set or a flat piece of carpet from a roll
- High-temperature contact adhesive (spray can or tin)
- Carpet underlay (optional – adds sound deadening and a softer feel)
- Edge binding tape or self-adhesive trim (for finishing)
- Adhesive remover (for cleaning up mistakes or old residue)
- Cleaning solvent or isopropyl alcohol
- Masking tape
- Plastic sheeting or newspaper (to protect surrounding paintwork)
Tools
- Sharp utility knife with plenty of spare blades
- Heavy-duty scissors
- Notched spreader or paintbrush (for contact adhesive)
- Roller or wooden dowel (to press carpet into adhesive)
- Measuring tape
- Marker pen or chalk
- Heat gun (optional, helps carpet conform to curves)
- Vacuum cleaner or brush
- Safety glasses, gloves, and a dust mask
If you are fitting a tailor-made carpet set, most of the cutting is already done for you. If you are using flat carpet, you’ll need a template – more on that in the installation section.
Choosing the Right Carpet for Your Boot
There are two main routes: a pre-molded carpet set or flat carpet cut to shape. Each has its place.
Pre-molded carpet is shaped to the exact contours of your specific vehicle. It’s the easier option if your car is common – think Golf, Fiesta, or 3 Series – because manufacturers have invested in 3D scanning and you get a piece that drops straight in. It usually has a thicker backing, raised edges around the spare wheel well, and a much more factory-like finish.
Flat carpet is what I reach for on older cars, kit cars, and restorations where no molded set exists. You buy it by the metre from an automotive trim supplier, lay it over the boot floor, mark it up, and cut it yourself. It takes longer but you can match unusual shapes, period-correct materials, or a custom color.
Look for carpet with a rubber or latex backing. That backing grips the floor and stops the carpet from sliding once it’s bonded. Loose-weave carpet without backing will stretch and bunch over time.
Choosing the Right Adhesive
Adhesive choice matters more than most people realize. Get this wrong and your carpet lifts within a year, especially in a car that sits in summer sun.
Contact adhesive
This is the industry standard and what I use on every full re-line. You brush or spray it onto both the floor and the back of the carpet, let it go tacky (usually 5 to 10 minutes), then press the two together. The bond is instant and very strong. High-temperature contact adhesive is specifically formulated to resist the heat build-up in a car boot – regular DIY contact adhesive can fail when the cabin reaches those summer temperatures.
Spray adhesive
Spray cans of carpet adhesive are faster to apply and great for larger flat areas. The bond is slightly less aggressive than brush-on contact adhesive, so I use spray for the sides and floor and brush-on for the corners and wheel arch.
Double-sided tape
Some molded carpet sets come with self-adhesive tabs or use double-sided tape for fitting. This works well for a removable liner that you might want to take out for cleaning. It does not work as well as contact adhesive for a permanent full re-line, especially in heat.
Velcro fitting kit
Velcro is the cleanest option for people who want a fully removable boot carpet. The boot floor usually has a hook strip around the edges, and the carpet has the loop strip. You can lift the carpet out in seconds. Reviewers on classic car forums mention Velcro is ideal if you have a delicate original floor you don’t want to glue over.
Whichever adhesive you pick, work in a ventilated space. The fumes from contact adhesive are strong, and a dust mask alone won’t cut it.
Preparing the Boot Surface
Surface prep is where most DIY carpet jobs either succeed or fail. Skipping this step is the number one reason carpet lifts within months.
Step 1: Empty and inspect the boot
Remove everything – spare wheel, tools, parcel shelf, mats. Check the bare metal for rust, holes, or loose sound-deadening material. Any flaking rust needs to be treated before you carpet over it, or it will keep spreading under the new lining.
Step 2: Remove the old carpet and trim
Pull out the old boot carpet first. It usually lifts out in one piece. If it has been glued, use a plastic scraper and adhesive remover to get the bulk off. Take out any side trim plastics, boot light, and anchor points for the spare wheel. Many forum users specifically recommend removing side trim first – it gives you far better access to the corners and edges.
Step 3: Deal with factory silicone
Many cars leave the factory with a thin silicone coating on the metal panels for rust protection. The trouble is, silicone stops adhesive from bonding. Wipe every panel you plan to glue over with isopropyl alcohol or a dedicated silicone remover, and let it flash off completely before you start.
Step 4: Clean and dry
Vacuum up dust and debris, then wipe down with a clean cloth and solvent. The floor needs to be bone dry before any adhesive goes down. Trapped moisture is what causes mold and bad smells later.
Step 5: Mask off the surrounding paintwork
Masking tape around the boot opening, bumper, and any painted surfaces saves a huge cleanup job. Adhesive overspray or smears will mark paintwork.
How to Line a Car Boot With Carpet: Step-by-Step
This is the main event. Take your time – rushing the install is the second biggest cause of carpet jobs going wrong.
Step 1: Make a template
For flat carpet, lay an old sheet or heavy paper in the boot and trace the shape. Cut the paper template, test fit it, and adjust. Then lay the template on the back of the carpet and trace around it with a marker. Leave about 25mm of extra carpet around every edge – you can trim it off later but you can’t add it back.
Step 2: Cut the carpet
Cut from the back of the carpet with a fresh utility blade. Use a straight edge for long cuts. Cut slightly outside your marked line rather than inside. A sharp blade is critical – a dull one pulls at the pile and leaves a ragged edge.
Step 3: Dry fit the carpet
Lay the cut carpet in the boot without any adhesive. Push it into the corners, smooth out wrinkles, and check that it sits flat. This is your last chance to trim or recut before you commit. Mark any spots where the carpet needs to be notched to fit around wheel arches or seatbelt anchors.
Step 4: Apply adhesive to the floor
Working in sections so the adhesive doesn’t flash off too soon, brush contact adhesive onto the boot floor. Cover a strip about 300mm wide at a time. Let it go tacky – it should feel like the back of a sticky note, not wet. That usually takes 5 to 10 minutes depending on temperature and humidity.
Step 5: Apply adhesive to the carpet
While the floor adhesive is flashing, brush contact adhesive onto the back of the carpet in the matching section. Same drying time. Don’t forget to get the corners and any upturned edges.
Step 6: Bond the carpet to the floor
Once both surfaces are tacky, lay the carpet in carefully. You only get one shot – contact adhesive grabs immediately and doesn’t slide. Press it down firmly with your hands, then go over the whole section with a roller or wooden dowel to ensure full contact. Work from the center outward to push out any trapped air.
Step 7: Repeat for the sides and wheel arches
Work your way around the boot a section at a time. The sides usually need small notches to fit cleanly around the wheel arches and any internal bracing. For tight curves, a heat gun on low setting makes the carpet more pliable – just don’t overheat it or the backing will melt.
Step 8: Press all seams
Once everything is laid, go around the entire boot with the roller and press every seam and corner firmly. Pay special attention to the edges – any spot that isn’t fully bonded is where the carpet will lift first.
Step 9: Reinstall trim
Put the side trim plastics, boot light, spare wheel anchor, and parcel shelf back in. They hold the edges of the carpet down and hide any small trim errors.
Finishing Touches and Trimming
The detail work is what separates a professional-looking job from an obvious DIY. With the carpet laid and pressed down, walk around the boot and look for any carpet that’s sitting proud of the trim line.
Trim the edges with a fresh blade, cutting slightly inside the trim line so the carpet tucks under and out of sight. If you have any raw edges that show – around the boot opening or under the parcel shelf – cover them with self-adhesive carpet binding tape. It comes in black, grey, and beige to match common interior colors.
For a really clean finish, run a thin bead of silicone sealant along the very bottom of the carpet where it meets any metal panel that might see water ingress. This stops moisture creeping underneath and causing mold.
Common Mistakes to Avoid
I’ve made most of these mistakes myself, and I see the same ones come up on forums again and again. Here is what to watch out for.
Skipping surface prep
If you don’t remove the factory silicone and degrease the panels, the adhesive simply won’t bond. The carpet looks fine for a week, then starts to lift in patches.
Not letting adhesive go tacky
Putting the carpet down while the adhesive is still wet gives a much weaker bond. Wait until it is tacky to the touch on both surfaces.
Using the wrong adhesive
Regular DIY contact adhesive fails in summer heat. Spend the extra on a high-temperature automotive contact adhesive.
Trapping air bubbles
Any air pocket under the carpet becomes a wear spot and eventually a hole. Use a roller and work from the center outward on every section.
Cutting too tight
Carpet shrinks slightly once bonded and exposed to heat. Leave a couple of millimetres of slack on every edge.
Forgetting the spare wheel well
If you have a spare wheel well, line the inside of it too. Moisture collects there and bare metal rusts fast.
Maintaining Your Boot Carpet
A good carpet lining should last 10 years or more with basic care.
Vacuum regularly
Weekly vacuuming picks up the grit that wears carpet pile. A stiff brush attachment lifts the pile back up after vacuuming.
Clean spills immediately
Blot – don’t rub – any liquid spills. A microfiber cloth pulls most of it out before it stains.
Deep clean every few months
Use an automotive carpet cleaner or a mild detergent solution. Spray it on, agitate with a brush, then blot dry. Avoid soaking the carpet – water that gets trapped underneath causes mold and bad smells. Reviewers commonly mention that a spray-on fabric cleaner and a stiff brush handles most stains without needing to remove the carpet.
Deal with moisture quickly
If you carry wet dogs, muddy boots, or beach gear, lay a removable rubber mat over the carpet. Lift it out and dry the carpet underneath as soon as you can. Moisture is the carpet’s biggest enemy.
Re-bond lifting edges
If an edge starts to lift, lift it back, clean both surfaces, apply fresh contact adhesive, and press down firmly. Catch it early and you’ll never see it again.
Alternatives to DIY Carpet Lining
Carpet is not the only option, and depending on your use case it might not be the best one.
Tailor-made boot liners – usually a heavy-duty rubber or PVC tray molded to your specific car – are ideal if you regularly carry muddy dogs, gardening waste, or camping gear. They lift out for cleaning and contain spills completely. They cost more than a DIY carpet job and don’t give the same factory-finish look, but they’re far more practical for heavy use.
Hardboard panels covered in carpet or vinyl are popular in classic car restorations. The hardboard adds structure, lets you cut the panels outside the car, and makes future removal much easier.
Rubber mats are the cheapest and most removable option. They don’t look as nice but they protect the floor from everything short of a chainsaw.
Professional installation is worth considering if you have a rare or expensive car, want a perfect molded finish, or simply don’t have the time. Most trim shops will line a boot in a day. The cost varies widely by car and material, so get a quote first.
Frequently Asked Questions
How do you properly glue automotive carpet to the car’s floor and walls?
Use a high-temperature contact adhesive. Brush or spray it onto both the floor and the back of the carpet, let both surfaces go tacky (about 5 to 10 minutes), then press the carpet into place. Work in small sections so the adhesive does not flash off before you are ready, and use a roller to press every section firmly from the center outward to remove trapped air.
What is the best way to clean the carpet in my car trunk?
Vacuum first to lift loose dirt. Then use an automotive carpet cleaner or a mild detergent solution, spray it on lightly, agitate with a stiff brush, and blot dry with a microfiber cloth. Do not soak the carpet – trapped moisture causes mold and bad smells. Clean spills by blotting immediately rather than rubbing.
What absorbs water from car carpet?
Microfiber cloths absorb water quickly from car carpet. For larger wet areas, press a dry microfiber towel firmly onto the damp spot, weigh it down, and leave it for a few minutes. Baking soda sprinkled on the area also pulls moisture out and neutralizes odors – leave it for 15 minutes then vacuum it up.
How to fix carpet in car?
Lift the loose section of carpet back, clean both the floor and the back of the carpet with isopropyl alcohol to remove old adhesive and silicone, let it dry, then apply fresh high-temperature contact adhesive to both surfaces. Wait until the adhesive is tacky, press the carpet back down firmly, and weight it for at least an hour. Catch it early before the loose spot becomes a wear hole.
Can you use contact adhesive in a car boot?
Yes – contact adhesive is the standard method for lining a car boot with carpet. Use a high-temperature automotive contact adhesive specifically formulated for vehicle interiors, as regular DIY contact adhesive can fail when the cabin reaches summer temperatures. Always work in a ventilated space and wear a mask, as the fumes are strong.
How long does boot carpet adhesive take to dry?
Contact adhesive becomes tacky and bonds within 5 to 10 minutes of application, but full cure takes 24 to 72 hours depending on temperature, humidity, and adhesive type. Avoid heavy use of the boot for the first 24 hours. Keep the car in a warm, dry space during curing for the strongest bond.
Final Thoughts
Knowing how to line a car boot with carpet turns what looks like a complicated trim job into a straightforward weekend project. Take your time on the surface prep, choose a high-temperature adhesive, work in small sections, and you’ll end up with a boot that looks factory-fitted and stays that way for years.
If you have a specific car in mind or a tricky shape to deal with, drop us a line – we are always happy to help with odd-shaped jobs and unusual carpet requirements. Get stuck in, and enjoy the quiet cabin and tidy cargo area.