
If your car’s headliner is sagging or peeling away from the roof, the fix is usually simpler than it looks. In this guide on how to fix peeling headliner glue, I will walk you through diagnosing the real cause, picking the right adhesive, and getting a clean re-bond that lasts.
A peeling headliner does more than look bad. It can drop onto your visor, obscure your rear view mirror, and even damage the fabric if left too long. Most repairs take a single afternoon with common shop supplies.
Table of Contents
- Why Is Your Headliner Peeling?
- Tools and Materials You Will Need
- How to Fix Peeling Headliner Glue: Step-by-Step
- Step 1: Remove the Headliner From the Car
- Step 2: Strip the Failed Foam From the Board
- Step 3: Clean the Backing and the Fabric
- Step 4: Mask the Edges of the Board
- Step 5: Apply the Adhesive in Light, Even Coats
- Step 6: Bond the Fabric to the Board
- Step 7: Let It Cure Before Reinstalling
- Step 8: Reinstall and Inspect
- Choosing the Right Adhesive for Your Headliner
- Quick Fix vs Full Re-Cover: Which Should You Do?
- Safety and Ventilation Tips for Spray Adhesive
- Common Mistakes to Avoid
- Frequently Asked Questions
- Final Thoughts
Why Is Your Headliner Peeling?
Headliner peeling almost always comes down to one of two things: the adhesive has failed, or the foam backing on the fabric has crumbled. The two problems look similar from the driver’s seat, but they call for different fixes.
Signs the Glue Has Failed
The fabric pulls away cleanly and the board underneath still feels smooth. You see no powder, and the original cardboard or ABS backing looks intact. If that is what you find, you are dealing with a pure adhesive failure and a re-glue will solve it.
Signs the Foam Backing Has Crumbled
You see a brown dust on the headliner and on the dashboard. The fabric feels paper-thin where it used to feel padded. When you tug the loose edge, foam bits tear off and stay glued to the board.
Forum users on thirdgen.org and astrosafari.com run into this constantly. They think they need better glue, but the real issue is that the original foam has turned to powder. In that case you must remove the foam residue before any adhesive will stick.
Tools and Materials You Will Need
Gather these before you start so you are not running back and forth mid-job:
- High-temp rated headliner adhesive (3M Headliner Adhesive or Permatex Headliner Glue are the two most trusted)
- Stiff-bristle brush or wire brush for cleaning the board
- Scraper or plastic putty knife
- Microfiber cloths, lint-free
- Isopropyl alcohol for degreasing
- Masking tape and painter’s tape
- Drop cloth to protect seats and dashboard
- Disposable nitrile gloves
- Safety glasses and an N95 respirator
- Utility knife with fresh blades
- Optional: headliner repair pins or clips for a temporary hold
If your car has a sunroof or overhead console, also keep a small Phillips screwdriver handy. You may need to drop the headliner slightly to get full coverage along the edges.
How to Fix Peeling Headliner Glue: Step-by-Step
This is the core process I follow when a customer brings in a car with a sagging roof. Take your time on each step and the result looks factory-fresh.
Step 1: Remove the Headliner From the Car
Pull the headliner out only if you can. Working on the bench is far easier than reaching overhead, and it gives you full access to every square inch. Most headliners drop through the trunk or rear doors once you remove the sun visors, dome light, and any assist handles.
Label each trim piece with masking tape so reassembly goes smoothly. Plastic clips break easily and do not forgive being forced back in crooked.
Step 2: Strip the Failed Foam From the Board
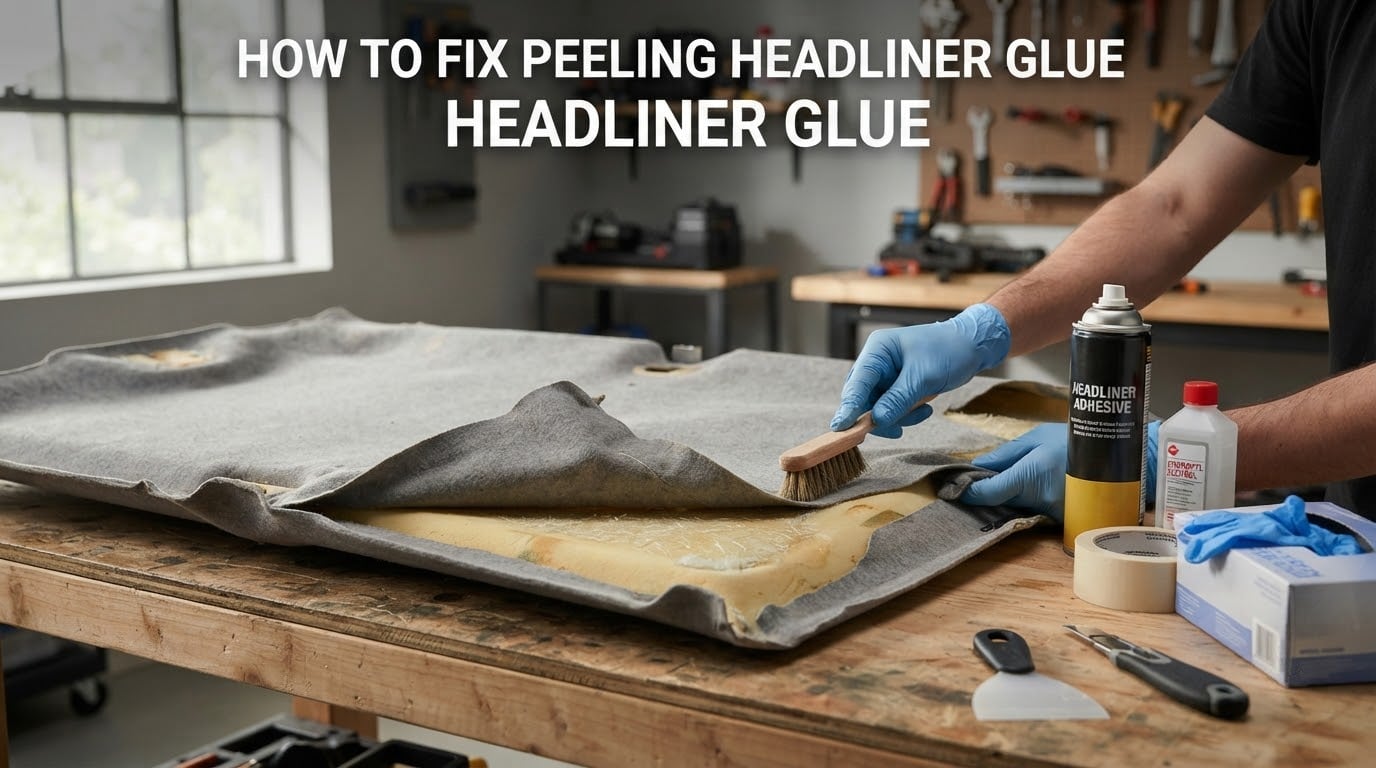
If the foam has crumbled, use a stiff brush to sweep off every bit of brown residue. A wire brush works on cardboard backing. For ABS plastic boards, use a plastic scraper so you do not gouge the surface.
Vacuum the board when you finish brushing. Leftover dust is the number one reason new adhesive fails to bond.
Step 3: Clean the Backing and the Fabric
Wipe both surfaces with isopropyl alcohol and a lint-free cloth. Skip this step and any adhesive you spray will sit on top of body oils, old glue, and dressing residue.
Let everything flash off for at least ten minutes. Alcohol needs that time to fully evaporate, especially on cool mornings.
Step 4: Mask the Edges of the Board
Run a strip of painter’s tape around the perimeter of the board. This keeps overspray off the visible edges and gives you a clean working line. It also stops adhesive from squeezing out and showing through the fabric.
Step 5: Apply the Adhesive in Light, Even Coats
Hold the can eight to ten inches from the surface. Spray the board with one light coat, then spray the back of the fabric with one light coat. Do not flood either surface. Two light coats outperform one heavy coat every time.
Permatex Headliner Glue and 3M Headliner Adhesive are both contact-style. They need to become tacky before you join the parts. Wait three to five minutes, until the surface feels like a Post-it note, before pressing the fabric onto the board.
Step 6: Bond the Fabric to the Board
Lay the fabric onto the board carefully. Once contact happens, you cannot reposition it. Start at one end and use a rolling pin or a wallpaper seam roller to work out air bubbles toward the opposite edge.
Apply firm pressure across the entire panel, not just the middle. The edges fail first if you skip them.
Step 7: Let It Cure Before Reinstalling
Most high-temp headliner adhesives need 24 hours of cure time before they reach full bond strength. Heat accelerates the cure, so a warm garage or a sunny day helps. Cold weather stretches the cure window and weakens the final bond.
Do not reinstall the headliner for at least several hours. Bending it too soon can crack the freshly set adhesive and send you right back to step one.
Step 8: Reinstall and Inspect
Refit the headliner, reattach the trim, and stand back. Look for any corner that is not sitting flush. A quick blast of spray adhesive under that corner, with a piece of wax paper pressed on top, will set it without staining the fabric.
Choosing the Right Adhesive for Your Headliner
Not all spray adhesives work on a roof that sees 140 degrees in summer. The wrong glue softens, bleeds through fabric, or gives up the ghost after a single heat cycle.
Here is the short list forum users and shop techs trust most:
- 3M Headliner Adhesive (yellow can): designed for this exact job. High temp rated, no bleed-through on most fabrics, moderate smell.
- Permatex Headliner Glue: a thicker, contact-style adhesive that many Jaguar and BMW forum users prefer. Stronger initial tack than generic 3M Super 77.
- 3M Super 77: a general spray adhesive. It works in a pinch on small spots, but lacks the high-temp rating you want for a full roof panel.
- Loctite Headliner Adhesive: another option that has gained traction in upholstery shops for foam-backed cloth.
For most DIYers, the choice comes down to 3M Headliner Adhesive versus Permatex Headliner Glue. 3M sprays lighter and lays down thinner. Permatex grips faster and feels more like contact cement. Pick 3M if you want easy, even coverage. Pick Permatex if your fabric is heavy or the sag has been ongoing for a while.
Quick Fix vs Full Re-Cover: Which Should You Do?
Not every peeling headliner needs a full weekend of work. Here is how I decide.
Choose a Quick Spot Fix When:
The peel is limited to the visor area or the rear dome area, the foam backing is still intact, and you only need to re-bond a few square inches. A quick fix takes under an hour and uses a short burst of spray adhesive plus a piece of wax paper held down with painter’s tape until it sets.
Headliner repair pins and self-adhesive headliner patches also fall into this category. They buy you months of driving while you decide on a longer fix.
Choose a Full Re-Cover When:
The foam has crumbled, the sag runs across the whole roof, or the fabric is stained and brittle. A full re-cover means pulling the headliner, scraping the board, recovering with new foam-backed fabric, and reinstalling. It is a bigger job, but it is the only permanent solution once foam failure has started.
Many forum users on diychatroom.com warn against trying to glue over failed foam. The glue will hold for a week or two, then the foam disintegrates again and you are back where you started.
Safety and Ventilation Tips for Spray Adhesive
Spray adhesives produce fumes that you do not want in your lungs. Work outside if the weather allows, or open every door and run a box fan to pull air through the cabin.
Wear an N95 respirator, not just a dust mask. The propellants in aerosol cans slip right past a basic paper mask. Nitrile gloves keep the adhesive off your skin, where it can cause contact dermatitis with repeated exposure.
Keep the cans away from open flames and hot surfaces. The propellant is flammable, and a headliner job on a warm engine bay can flash off solvent before it ever reaches the fabric.
Common Mistakes to Avoid
I have made most of these myself, and I have seen every one show up in customer cars. Avoid them and your repair will look like the headliner was never touched.
- Skipping the foam removal step. New glue over crumbly foam is the most common cause of a failed repair.
- Spraying too close or too heavy. A soaked board lets the glue bleed through the fabric and leave dark spots.
- Joining the parts before the adhesive flashes off. Pressing too early traps solvent and weakens the bond.
- Reinstalling before full cure. Even a gentle bend can crack the bond on day one.
- Ignoring the source of the heat. Parked under trees is fine. Parked in full summer sun every day is what kills headliner adhesive faster than anything.
- Using general-purpose 3M Super 77 on a full roof. It lacks the heat rating for the job and usually fails within a season.
Frequently Asked Questions
What is the best adhesive to reattach a headliner?
A high-temperature-rated headliner adhesive is the best choice. 3M Headliner Adhesive and Permatex Headliner Glue are the two most trusted options because they are designed specifically for foam-backed fabric, resist summer heat, and do not bleed through cloth or vinyl.
How to restick a car headliner?
Clean both the board and the fabric with isopropyl alcohol, remove any crumbled foam residue, mask the edges, apply two light coats of headliner adhesive to each surface, wait three to five minutes for the adhesive to flash off, then press the fabric onto the board with firm pressure and let it cure for 24 hours before reinstalling.
Which is better for car headliner adhesive, 3M or Permatex?
Both are excellent choices. 3M Headliner Adhesive sprays lighter and is easier to control on thin fabric. Permatex Headliner Glue has a thicker contact-cement feel and grips faster, which many forum users prefer on heavy fabric or long-standing sags. Pick 3M for ease of use, Permatex for stronger initial tack.
What is the best glue for bonding car interior fabric?
A high-temp rated aerosol headliner adhesive is the best glue for bonding car interior fabric to a roof panel. General craft glue fails in summer heat, and contact cement in a tub is hard to apply evenly on a large panel. A purpose-made headliner spray gives the cleanest, most durable bond.
Can you spray glue on a headliner?
Yes, you can spray glue on a headliner, but use a product specifically rated for headliner use and apply it in light, even coats. Hold the can eight to ten inches from the surface, spray both the board and the back of the fabric, and wait for the adhesive to flash off before joining the parts.
Why is my headliner peeling?
Most headliners peel because the original foam backing on the fabric has crumbled from age and heat, releasing the bond to the board. In other cases the adhesive itself has failed, often because the car sat in direct summer sun for years. Brown dust on the dashboard and a paper-thin feel to the fabric both point to foam failure rather than glue failure.
Final Thoughts
Knowing how to fix peeling headliner glue comes down to three things: figure out whether the glue failed or the foam crumbled, pick a high-temp rated adhesive, and respect the cure time. Do those and your roof will look like new for years to come.
If the foam is shot, no amount of glue will save the original fabric. Pull the headliner, strip the board, and either recover it yourself or take it to an upholstery shop. Either path beats driving with a curtain of fabric flapping over your visor.