
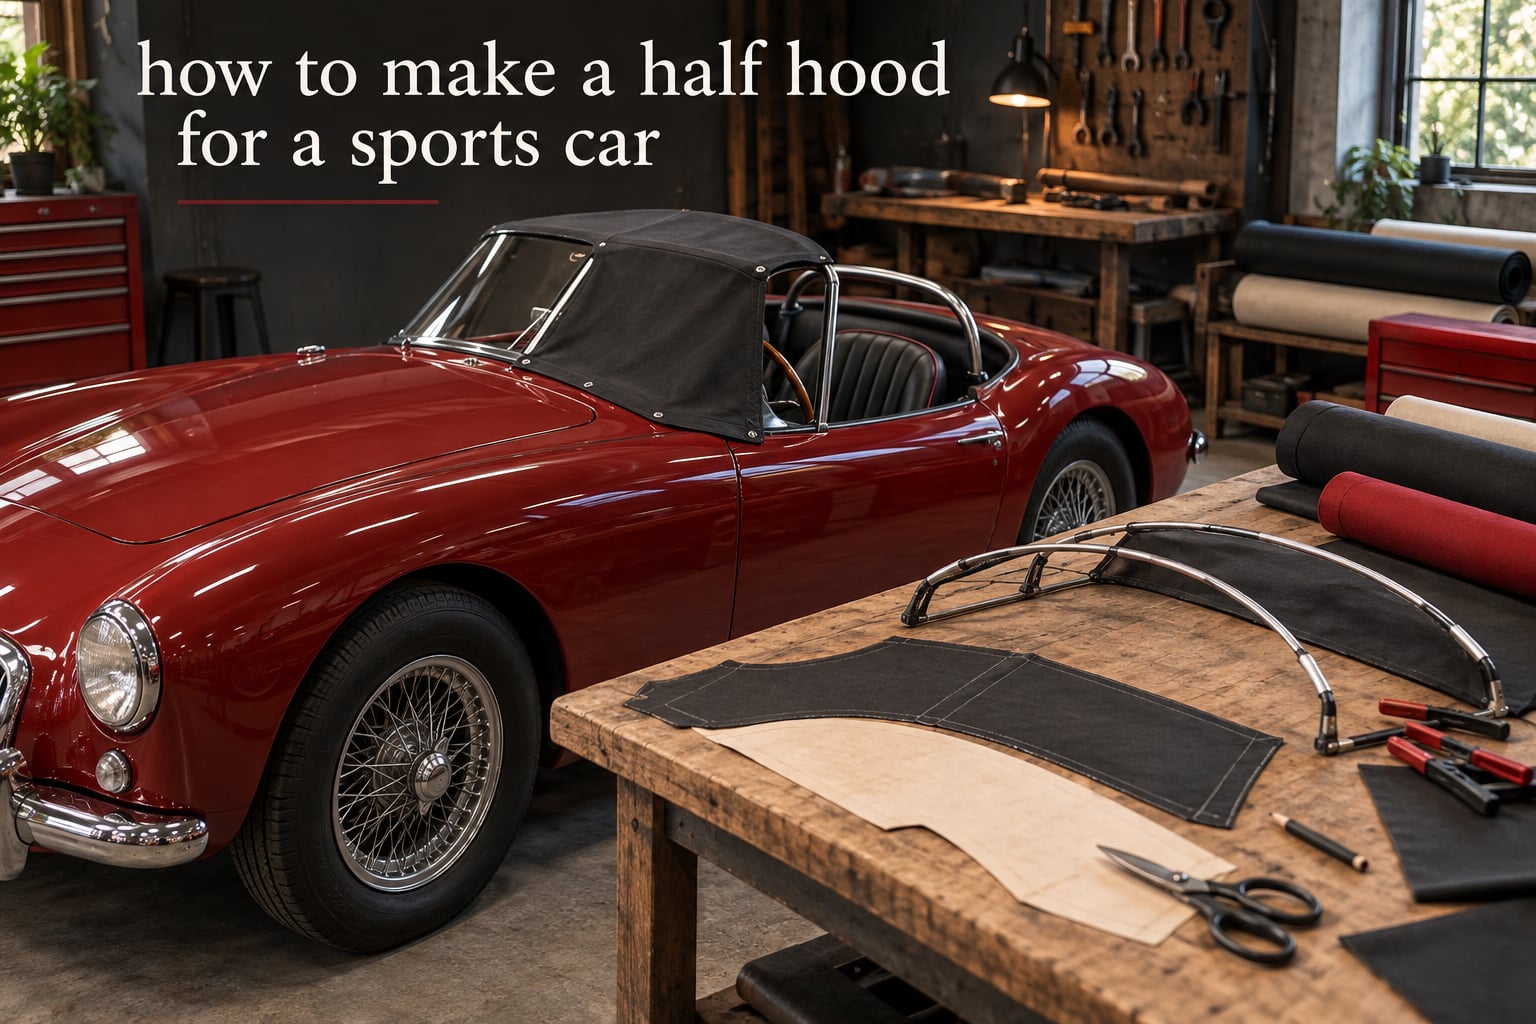
A half hood is a shortened convertible top that covers roughly the front half of an open cockpit instead of the whole seating area. You fit one to a roadster, hot rod or kit sports car when you want sun and weather protection over the windscreen and the driver without the weight and stowed bulk of a full folding top.
It is a trim element, not a body panel, and that matters before you cut anything. The hard part is not the fabric. It is deciding where the rear edge lands on the body, then holding that shape through a fold, a pattern and a stitch line.
Below is the process we work to: how to measure the cockpit, where the cut line goes, four ways to build the bows, the fold-and-mirror pattern method, and the mistakes that cost most builders a second attempt. Every figure is a working range from real builds, not a specification.
One thing to say up front. This is skilled trim work, not an entry-level weekend job, because a top looks right or wrong from across a car park. A small crown error is invisible in the workshop and obvious on the road.
Table of Contents
- What Is a Half Hood, and Where Does the Cut Line Fall?
- Decide First: Shorten an Existing Top or Build a New One?
- Measure the Cockpit and Set the Cut Line
- Choose the Bows: Four Ways to Shape the Frame
- The Build, Step by Step
- Pattern the Cover With the Fold-and-Mirror Method
- Choose the Cover Material
- Mount, Latch and Seal the Half Hood
- Common Mistakes and How to Avoid Them
- Materials, Tools and Sourcing
- Cost and Time: DIY Against a Shop Build
- Adapting the Method to Targa Panels and Composite Shells
- Final Checks Before You Drive
- Frequently Asked Questions
- What is a half hood on a car?
- How do I make my own convertible top?
- What kind of fabric is used for a half hood?
- How long does it take to build a half hood from scratch?
- Can I shorten an existing convertible top instead of building a new one?
- Will a half hood leave enough headroom for a tall driver?
- Will the top still fold down after I shorten it?
- How do I stop a half hood from touching the body?
- Conclusion
What Is a Half Hood, and Where Does the Cut Line Fall?
A half hood is a shortened convertible top covering the front half of the cockpit, with the rear edge sitting behind the front seats instead of at the tail of the body. That is the whole definition, and it is the piece of knowledge most builders are missing, because the term is used constantly in kit-car and hot-rod circles and almost never explained.
The cut line is the transverse line across the cockpit where the rear bow and the rear valance panel finish. On most builds it falls between 100 mm and 200 mm behind the seat back, and it should sit level or very slightly lower at the centre than at the sides. If it lands much further forward, the side opening looks stubby. Much further back and you have rebuilt a full top with extra steps.
Terminology you will hear in the shop
- Top bows / top irons – the transverse frame members the cover is tensioned over.
- Crown – the height of the bow curve at the centre of the car. This is the number that decides whether the car looks right.
- Windshield header – the front bow the cover latches to at the top of the windscreen.
- Rear valance panel – the shaped strip of material hanging below the rear bow at the cut line.
- Side opening – the gap between the top edge and the body side, the main visual proportion on a half hood.
- Landru style – the period speedster look with a low, flat top and minimal rear coverage.
- No-touch rule – the finished top must hover clear of the paint when the car is on its springs, never resting on the body.
How the short top changes the car’s proportions
A half hood makes a small sports car read lower and wider, because the eye finishes the roofline at the cut line rather than at the tail. Get the crown too high and the car gains a bubble it never had, which is the single most common reason a shortened top looks wrong from the passenger seat.
The windshield rake and front overhang work together here. A raked or chopped windscreen pulls the header back, so a full-length top that used to meet it now needs more crown to keep the line continuous. That is often why a builder who set the crown on a stock-height car ends up rebuilding it.
Keep the header and the rear bow on a consistent plane and the top reads as one surface. Break the plane and the eye reads two separate shapes fighting each other.
The front overhang and visor effect
Run the cover forward past the windscreen header and you create a visor. It shades the driver at low sun, which some builders want deliberately, but it also lifts the apparent roofline and blocks the view forward. A 40 mm to 80 mm overhang is the usual working range on a half hood.
Decide First: Shorten an Existing Top or Build a New One?
Shorten the top you already own if it has a serviceable bow set, a fold-down mechanism you want to keep and a cover in a material you can work. Build a new one if the original irons are bent, the cover material is wrong for the job or the car has changed underneath it.
| Question | Shorten the existing top | Build a new half hood |
|---|---|---|
| Original bow set | Sound, correct spacing | Bent, rusted or missing |
| Cover material | Vinyl or cloth you can reuse | Wrong material, perished or too heavy |
| Fold-down function | Worth preserving | Not required, lift-off is fine |
| Windshield | Unmodified, so the header still lines up | Raked or chopped, or stanchions moved |
| Car changes | None since the top was built | Body shortened, tub narrowed, seats moved |
| Reversibility | Often fully reversible | New mounting holes and tabs |
| Time | A weekend for an experienced trimmer | Several weeks of part-time work |
Shortening an existing top is the cleaner path, and one professional build did it with no cutting at all: new drilled mounting holes, a notched middle bow, and a new cover pulled forward onto the new rear bow position. That approach is fully reversible, because the original holes stay in the body.
Building from scratch gives you control of the crown and the cut line, which matters if the windscreen has been chopped. It also means every fitting is your responsibility.
And stop before you start in two cases. A half hood is a cosmetic and weather element, never a rollover structure, and it changes both the aerodynamics and the crash picture of the car. If the rear of the cockpit is tighter than the top needs, shortening the top only makes that worse, because the back of a tub is narrower and more curved than most builders assume.
Measure the Cockpit and Set the Cut Line
Measure three things before you touch the car: the cockpit length, the width at the rear bow position, and the height of the seat back with a driver sitting in it. Those three numbers set everything else.
Step 1 – Measure the cockpit length
Run a tape from the inside face of the windscreen header down the tub to the rear deck. Write the number on the body, not in your phone, because you will refer to it a dozen times. On a small roadster cockpit you will typically see something in the region of 900 mm to 1,200 mm.
Step 2 – Mark the rear bow position
Sit the car on its springs and drop a dab of tape on the body where the rear bow should finish. The rule of thumb is 100 mm to 200 mm behind the rear-most point of the seat back. Mark it in four places across the tub before you commit, then step back and look.
Step 3 – Set the crown height
The crown is measured from the top of the windscreen header down to the top of the centre bow. On a chopped or raked windscreen, add roughly 10 mm to 25 mm of crown over an unmodified car to keep the roofline continuous. A half hood built for a tall driver usually needs 60 mm to 90 mm less crown than the same car for an average driver, not more.
Step 4 – Check headroom with a real driver
Have the tallest person who will use the car sit in the driver’s seat and look up. The gap between the cover and the top of their head should be at least 25 mm, and their sightline over the rear bow should clear the top of the windscreen. This is a two-minute test that saves a rebuild.
Step 5 – Tape the mockup on the car
Masking tape is the cheapest mockup there is. Run a strip of tape along the line you marked, then another along the windscreen header, and a third along the proposed rear bow height. Stand back ten metres and look at the car from both sides. If the line is not right on tape, it will not be right in vinyl.
Photograph the taped shape from the side, the front three-quarter and above. You will use these photos all the way through the build.
Choose the Bows: Four Ways to Shape the Frame
The bows are the skeleton, and the crown curve lives in them. Four routes cover almost every build we see, and they trade cost against control in a predictable way.
| Approach | Material | Control of crown | Best for |
|---|---|---|---|
| Original irons | Reused steel from the car’s existing top | Limited, fixed by the original profile | Reversible jobs on an unmodified car |
| Universal bow kit | Pre-formed steel bows, model-specific | Good within the kit’s design range | Popular models where the kit matches the tub |
| Hand-bent tubing | 3/4 inch steel tubing on a conduit or tubing bender | High, once you have made a buck | One-off cars and unusual cockpit widths |
| Laminated timber | 2 inch timber buck sliced into 2 mm laminations | Very high, the buck defines the curve | Complex curves without a tube bender |
One forum builder took the tubing route with 3/4 inch steel and a borrowed electrical conduit bender, and described the result as a lot of work for a modest materials outlay. Another built a solid buck from 2 inch timber, then had a cabinet shop laminate it into 2 mm slices. That laminated-buck method is worth knowing, because it turns a difficult curve into a set of repeatable profiles you can bend by hand.
The honest warning from professional builders: universal kits are usually model-specific, often aimed at 1928 to 1934 Fords, and may not suit a sports car tub at all. Check the kit’s measuring guide against your own cockpit before committing.
The Build, Step by Step
Here is the full sequence in the order we would run it. Each step assumes the cut line is already taped and photographed.
1. Measure and record. Note cockpit length, rear bow position, crown height, tub width at the rear bow, and the header width. Every later step references these numbers.
2. Build a full-size buck. Make a centreline rib in 2 inch timber or plywood that matches the crown and the cut line you taped. Add cross ribs until the rib is rigid. This buck is the master reference for everything that follows.
3. Transfer the cut line to the buck. Mark the rear bow position on the centre rib and cross it to the full width. This line is the truth for the rest of the build, not the tape on the car.
4. Form the bows. Bend or laminate the rear bow first, then the centre bow, then the front bow. Check each against the buck. Notching an existing bow at the crown is often easier than re-bending it.
5. Drill the mounts. Mark the body, drill the new mounting holes and fit the clevises. Drill new holes where possible rather than enlarging old ones, so the change stays reversible. Deburr every hole and coat the bare steel.
6. Trial fit the bare frame. Offer the frame into the cockpit with no cover on it. Confirm the no-touch rule now, when it is cheap to fix. Nothing should touch the paint with the car sitting on its springs.
7. Make the cover pattern. Use the fold-and-mirror method described in the next section. Cut from the cheapest cloth you have first, fit it, then cut the real cover from that corrected pattern.
8. Cut the cover and stretch it onto the frame. Cut the centre panel, the side panels and the rear valance separately. Work the material on from the rear bow forward, pulling to the latching points rather than pushing.
9. Tack and stretch. Start at the rear centre, work outward in alternating pulls, then move forward. Clamp in stages and leave each set of clamps longer than feels comfortable.
10. Set the rear edge. Fit the rear valance panel at the cut line, and choose a plain band, a flap edge or a zip-out panel. The flap edge is the period-correct detail on a landru-style build.
11. Fit the latch and the seal. Latch to the windscreen header at both ends, not the centre, so the load is even. Run a foam or brush seal along the header contact line.
12. Stitch, trim and finish. Close the seams, trim the edge allowances, and add the final detail stitching if the style calls for it. Let the top sit for a day under tension before judging the fit.
Pattern the Cover With the Fold-and-Mirror Method
Fold the material in half, mark one panel, and cut it once – then open it out to get a matched pair. This is the standard shortcut on the bench and it is also the classic beginner error, because the two halves are mirror images, not duplicates.
Put a mark on the grain or the coated side of the material before you start. Fold the selvedge to the selvedge, mark the panel against the buck, and cut through both layers in one pass.
Add a stretch allowance when you cut, and the allowance is different for each material. Canvas and woven polyester can take 10 mm to 20 mm. Pinpoint-grain vinyl stretches poorly, so add only 3 mm to 5 mm and expect to fight it. A professional builder flagged exactly this as the constraint that limits how far a vinyl top can be shortened in one go.
Choose the Cover Material
Vinyl is the default for modern builds because it is durable, cheap relative to cloth of equal quality and easy to clean. Canvas gives a period look and takes an edge detail well. Woven polyester is the middle ground. Headlining cloth is for the underside only.
| Material | Stretch | Weight | Water behaviour | Best use |
|---|---|---|---|---|
| Pinpoint-grain vinyl | Poor | Medium | Sheds well, seams are the weak point | Modern builds, road cars driven year round |
| Coated or heavyweight vinyl | Poor to fair | Heavy | Sheds well | Touring cars in poor weather |
| Duck canvas | Good | Heavy when wet | Needs treatment and a good seal | Period-correct hot rod and kit builds |
| Woven polyester | Fair to good | Light | Sheds reasonably, dries fast | Best balance for a short top |
| Headlining cloth | Poor | Very light | Not a cover material | Underside of bows and valance only |
Do not mix cover weights between panels. A side panel in canvas with a centre panel in polyester will tension differently and the mismatch shows along the bow lines.
Mount, Latch and Seal the Half Hood
Rear bow mounts bolt through the rear deck or the tub side, and they should sit inside the cockpit edge so the bow can be pulled down slightly at the centre. Position matters more than fastener size.
The latch at the windscreen header is the second load path. Latch at both ends of the header and let the centre of the cover do the sealing rather than carrying the tension. A centre-only latch pulls the whole top into a bow and it will never sit flat.
For weather sealing, run a foam tape strip along the header contact line and a brush seal along the underside of the rear edge if the car is driven in rain. Water sheds off a short top faster than people expect, so the seal is about wind and road spray rather than standing water.
Check the no-touch condition with a strip of masking tape on the body. Run the tape along the sides, the rear bow and the seat frame, then close the top and look for any transfer. Clear it now, while the fix is a shim, not a rebuild.
Common Mistakes and How to Avoid Them
The pattern is not mirrored. The most common error in the whole process. Mark the folded edge clearly before cutting, and cut one pair, open it out, and check the two pieces against each other before cutting the next set.
The crown goes too high. Shortening a top does not require more crown, it usually requires less. Measure from the header down, not across, and check the roofline from ten metres before you commit.
The fold-down function is lost. Notching the middle bow can stop the mechanism folding. Check the pivot geometry against the shortened bow before drilling anything.
The top fouls the body or the seat frame. The rear of the cockpit is tighter than most builders assume. Tape the whole perimeter and look for transfer marks before cutting cloth.
Vinyl stretched too far. It will not reach, and the panel corners will distort permanently. Cut closer to the pattern and add material in a side panel if you need reach.
The cover flaps at speed. A flapping cover is almost always under-tensioned, not under-fastened. Go back to the clamps and pull the centre panel tighter before adding more snaps.
Nothing was mocked up first. The taped mockup costs an afternoon and catches every one of the errors above before you have spent money.
Materials, Tools and Sourcing
Plan the material list before ordering anything, because the crown and cut line change how much cloth you need. Buy the cloth last, after the pattern is proven on cheap material.
| Item | Notes | Relative cost |
|---|---|---|
| Bow stock | 3/4 inch steel tubing, or 2 inch timber for a buck | Low |
| Laminated bow slices | 2 mm lamination from a cabinet shop | Low to medium |
| Cover material | Vinyl, duck canvas or woven polyester, 3 to 4 m | Medium |
| Foam and headlining | Padding for the bows, cloth for the underside | Low |
| Webbing and edge trim | Reinforcement at the latch and rear edge | Low |
| Latch and snap kit | Windshield header latches, rear deck snaps | Low |
| Seal strip | Foam tape and brush seal | Low |
| Stitching and thread | A heavy thread and a working machine | Low |
| Tool | Used for | Relative cost |
|---|---|---|
| Tubing or conduit bender | Forming steel bows | Medium |
| Template board or oil board | Patterns and full-size bucks | Low |
| Jigsaw and drill | Buck ribs and mounting holes | Low to medium |
| Pattern knife | Cutting cover material cleanly | Low |
| Grinder | Notching an existing bow at the crown | Medium |
| Stretching clamps | Tensioning the cover onto the frame | Low |
| Pop rivet gun | Fixing trim and edge detail | Low |
| Sewing machine | Seams and edge detail | Medium to high |
Trimmers source bow kits and pattern guides from specialist convertible top suppliers, and most kits ship a measuring guide. Use it to check the kit against your own cockpit measurements before you order, because the popular kits are frequently designed for one make and era.
Cost and Time: DIY Against a Shop Build
The honest way to compare is by hours, not money. DIY is cheap in materials and expensive in your weekend; a shop is the reverse. Every cost quote on this job moves with the car’s condition, so treat any figure you are given as a starting point, not a number to plan around.
| Route | Typical hands-on time | Where the effort goes |
|---|---|---|
| Shorten an existing top | A weekend | Drilling mounts, notching the bow, new cover |
| Build a new frame and cover | Two to four weeks of part-time work | Buck, bows, pattern, tensioning, stitching |
| Shop build | Schedule dependent | Labour, plus the same materials at trade rates |
Three things move a shop quote more than anything else: whether the original irons can be reused, whether the car needs new mounting holes or body repair, and how complex the rear edge treatment is.
Take the shop route when the car is finished and you have no workshop, or when you cannot accept a top that will need rework. A half hood is visible from every seat in the car, and a second attempt costs more than the first one would have.
Adapting the Method to Targa Panels and Composite Shells
The same geometry applies to modern sports cars with a removable hardtop or a targa panel. Measure the cockpit, set the cut line, form the bows and the rest of the process is identical. What changes is the shell material and the mounting.
A fibreglass or aluminium half shell gives the same visual line as a fabric top with none of the tension problems, flapping or water management. The trade-off is weight, panel fit at the windscreen aperture and the need for accurate templates, because a rigid shell cannot be pulled into an imperfect opening.
On a targa car, the cut line often coincides with the panel rail, which makes the rear bow mounting much simpler than on a roadster tub.
Final Checks Before You Drive
Run these checks on the car, outdoors, in daylight, with the car sitting on its springs as it will be driven. Any one of them failing is a reason to stop and fix it, not a reason to drive carefully.
- No-touch sweep. Nothing on the cover or the frame touches the paint. Check the sides, the rear bow and the seat frame.
- Headroom. The tallest driver has at least 25 mm of clearance and a clear sightline over the rear bow.
- Latch engagement. Both header latches engage fully and stay engaged when pushed by hand.
- Speed test. At road speed there is no flap, no rattle from the rear edge and no water ingress past the header seal.
- Water test. Hose the header and the rear edge, then check the seats and the tub floor for tracks.
- Fastener check. Every mount, clevis and snap is tight and the bare steel is coated.
- Visibility. The driver can see the road, the mirrors and the instruments, and the side blind spot is understood.
- Reversibility note. If you drilled new holes to keep the original ones, record where they are for whoever owns the car next.
Frequently Asked Questions
What is a half hood on a car?
A half hood is a shortened convertible top that covers roughly the front half of an open cockpit, with its rear edge sitting behind the front seats rather than at the tail of the body. It is a trim element, not a body panel, and it is never a rollover structure.
How do I make my own convertible top?
Measure the cockpit and tape the cut line, build a full-size buck, form the bows, drill the mounts and trial fit the bare frame, then pattern the cover with the fold-and-mirror method, stretch it onto the frame in stages, set the rear edge, fit the latches and seal, and finish the stitching.
What kind of fabric is used for a half hood?
Woven polyester is the best all-round choice for a short top. Pinpoint-grain vinyl is durable and sheds water but stretches poorly, so it can only be pulled a short distance. Duck canvas gives a period look and takes an edge detail well, and headlining cloth is for the underside of the bows, not the outside.
How long does it take to build a half hood from scratch?
Shortening an existing top is roughly a weekend of focused work for an experienced trimmer. Building a new frame and cover from scratch is two to four weeks of part-time work, and much longer if the pattern has to be developed twice.
Can I shorten an existing convertible top instead of building a new one?
Yes, and it is the cleaner path if the original bow set is sound, the cover material suits the job and the windscreen has not been modified. One professional build shortened a top by drilling new mounting holes and notching the middle bow, with no cutting and fully reversible.
Will a half hood leave enough headroom for a tall driver?
A short top needs less crown, not more, so it usually improves headroom over a full top. Leave at least 25 mm between the cover and the top of the driver’s head, and have the tallest regular driver sit in the car before the cover is cut.
Will the top still fold down after I shorten it?
It can, but only if the pivot geometry still works. Notching the middle bow to move the rear bow forward will often stop a top folding. Check the mechanism against the shortened bow length before you drill any mounting holes.
How do I stop a half hood from touching the body?
Run masking tape along the sides, the rear bow and the seat frame, then close the top and look for transfer marks. Fix any contact with a shim on the mount while the frame is still bare, because the no-touch rule is almost impossible to correct once the cover is stretched on.
Conclusion
A half hood is a shortened convertible top covering the front half of the cockpit, and getting one right comes down to three decisions: whether to shorten an existing top or build a new one, exactly where the rear bow lands, and how much crown the windscreen rake demands.
Tape the cut line on the car before you spend anything, build a full-size buck from that line, and prove the pattern on cheap cloth before you cut the real cover. If the crown and the side opening look right on the taped mockup from ten metres, they will look right on the finished car.