
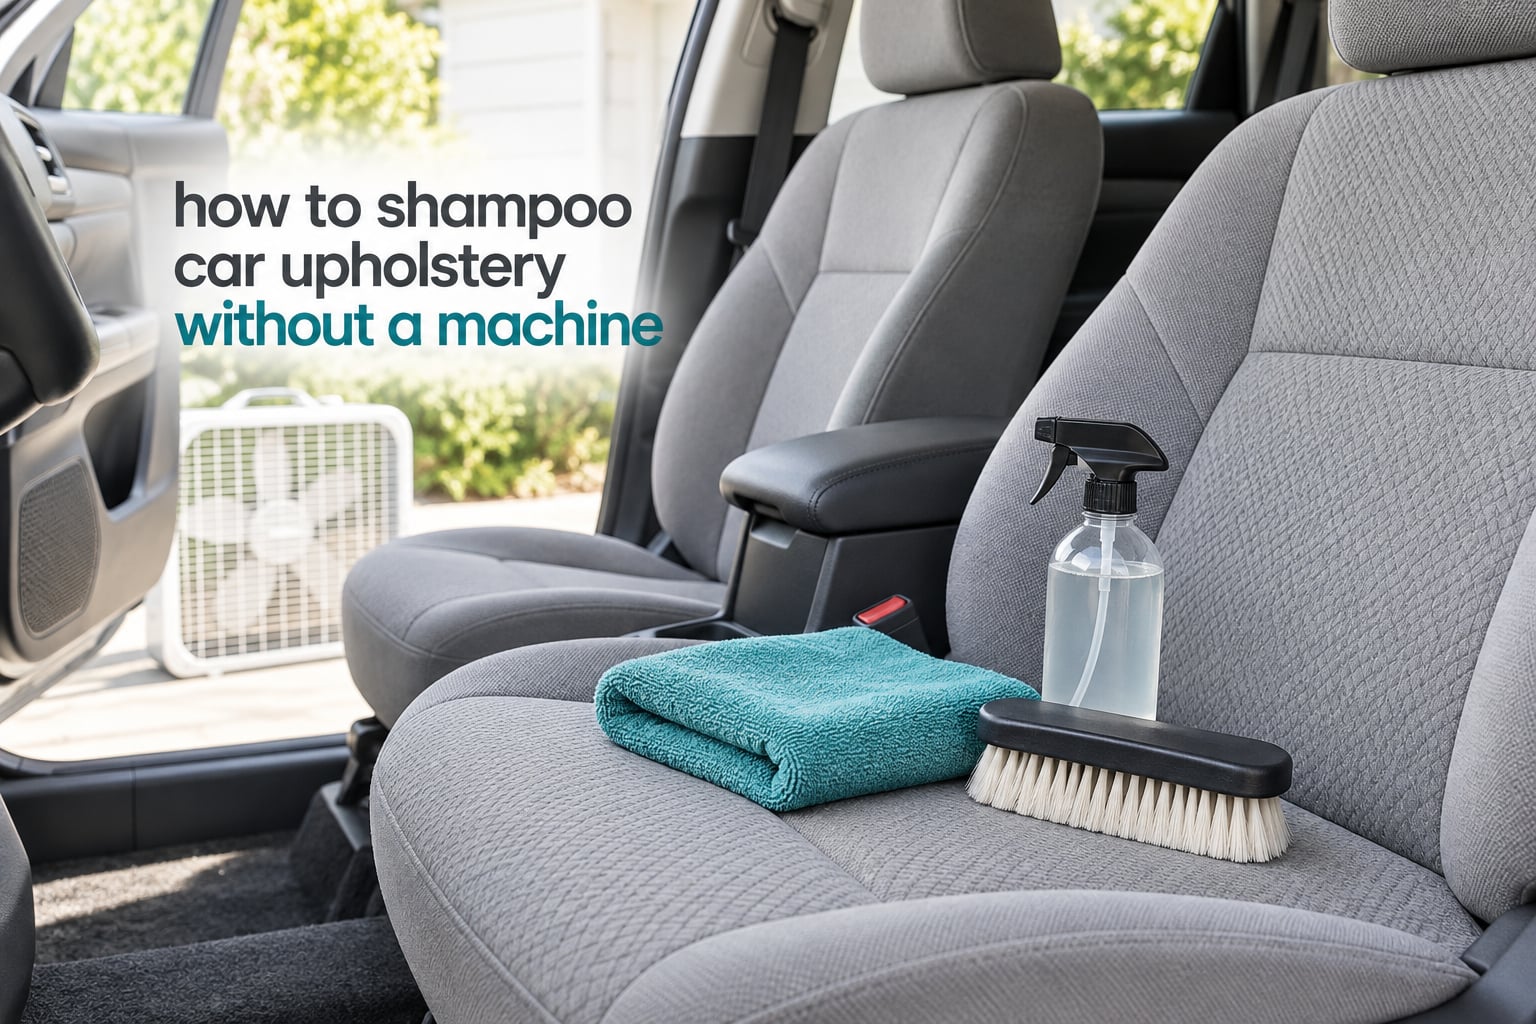
You can shampoo car upholstery without a machine. Vacuum every surface first, spot-treat the stains, spray diluted upholstery shampoo over one seat at a time, let it dwell for three to five minutes, then scrub it with a soft-bristle brush. Wring out microfiber towels in clean water and press them firmly into the fabric until the water runs clear, then blot once more with plain water. Let the seats dry completely with the windows down and a fan running. That is the whole method, and the towel work at the end is the part that decides whether it works.
I have cleaned more cloth interiors with nothing but a vacuum, a brush, and a stack of towels than I have with a machine. The result is not identical, and I will not pretend otherwise. What you lose is raw suction power, so deeply embedded grit takes more passes. What you keep is full control over how wet the fabric gets, which is exactly where a lot of rented and borrowed machines do more harm than good.
Here is the process I use, the ratios I actually mix, and the handful of mistakes that leave seats looking worse than when you started.
Table of Contents
- What “Without a Machine” Actually Means
- Do You Actually Need an Extractor?
- How to Shampoo Car Upholstery Without a Machine
- Shampoo Dilution Cheat Sheet
- Tools and Supplies: What You Actually Need
- Match the Method to the Material
- Treating Specific Stains
- Drying: The Step Everyone Skips
- What Not to Do
- DIY vs. Renting an Extractor vs. Professional Detailing
- Frequently Asked Questions
- How do you clean upholstery without a machine?
- Can you use Dawn dish soap to clean car upholstery?
- How do I shampoo my own car seats?
- What is the best way to clean fabric car upholstery?
- How to clean cloth car seats without an extractor?
- Do I need an extractor for car detailing?
- What do professional car detailers use to clean seats?
- How to clean under car seats without removing them?
- How long do car seats take to dry after shampooing?
- What can I use instead of a carpet extractor?
- Can you steam clean car seats without a machine?
- Is it safe to clean a car headliner?
- How to Shampoo Car Upholstery Without a Machine: The Takeaway
What “Without a Machine” Actually Means
Without a machine, you are replacing one specific step, not the whole cleaning job. An extractor sprays shampoo into the fabric and then immediately vacuums the loosened dirt and the soapy water back out in a single pass.
That removal step is the only thing a machine genuinely does. The loosening is done by chemistry, and the loosening of grit from fibers is done by agitation. So a hand clean keeps the chemistry and the agitation, and replaces the extraction with repeated towel blotting. Get that substitution right and the seats come out genuinely clean. Get it wrong and you have just wet-cleaned a dirty seat, which leaves a sticky film that pulls dirt out of the air faster than before.
Dwell time is how long the shampoo sits on the fabric before you scrub and blot. Residue is the soap you fail to remove afterward, and it is the main reason a DIY clean backfires. Dye transfer happens when colored thread bleeds onto a lighter surface, which is why a spot test comes before any wet work.
Do You Actually Need an Extractor?
No. Experienced detailers on r/AutoDetailing put it plainly: the biggest benefit of extraction is removing the detergent from the fabric, and detergent left in the fabric only attracts more dirt. You can do that removal by hand with clean towels, and on a routine interior clean the difference in final result is small.
Where a machine earns its place is a heavily soiled car, a pet accident that soaked into the foam, or a lease return where someone else is grading the result. For daily spills, an annual refresh, or one stained seat, towels will do the same job at a fraction of the effort.
Detailing forums also describe a mechanical substitute that works well: spray the shampoo on, then hit it with a steam cleaner so the heat drives the loosened dirt into a towel laid over the seat. A shop vac does the same thing, with one warning that appears repeatedly in the same threads. Never run a shop vac off the car’s accessory outlet for long stretches, because it will drain the battery. Disconnect the battery first or use a separate power source.
How to Shampoo Car Upholstery Without a Machine
Work in small sections, one seat cushion or one door panel at a time. A whole rear bench at once is how people end up with three soaking wet towels and no clean one left to blot with.
- Remove everything you can. Take out the floor mats, trash, seat covers, and any child seat hardware that clips into the seat bight. Empty the door pockets and the glove box. Loose grit left in place ends up ground deeper into the fabric by your brush.
- Vacuum dry, thoroughly. Use an upholstery or crevice attachment on the seat bights, the seams, the seat backs, the door pockets, and the area under the seats. This step is dry vacuuming only, no water yet. It removes grit that would otherwise act like sandpaper against the fibers during scrubbing.
- Spot test. Put a small amount of your mixed solution on a hidden area, such as the underside of the seat cushion or a seam nobody sees. Wait a few minutes, then rub it with a clean white towel. If color comes off, or the towel picks up dye, stop and dilute further or change products. On velour and tweed this check is not optional.
- Pre-treat the stains. Apply solution directly to the stain, not to the whole panel. Let it sit while you work on the rest of the section, so the dwell time on the spot runs in parallel rather than adding to your clock. Coffee, soda, food, and pet accidents all benefit from this.
- Apply the shampoo in sections. Spray or dab a light, even mist. The fabric should be damp, not dripping. If you can squeeze a bead of water out of the foam after a minute, you have gone too far. Saturated foam takes days to dry and can develop a sour or mildewy smell.
- Dwell three to five minutes. Let the chemistry work. Rushing straight to scrubbing reduces the cleaning power of every product on the shelf, because the dwell time is when the surfactant loosens the bonded soil from the fiber.
- Agitate with a soft-bristle brush. Short, quick strokes in one direction, working along the weave. A stiff bristle brush will cut the pile and leave permanent brush marks on velour and flat-weave tweed. Pay attention to the seams, the bolsters, the seat bight, and the pleats, because that is where the real soil hides.
- Blot the dirty water out. Submerge a microfiber towel in clean water, wring it out well, and press it firmly into the fabric. Do not scrub and do not swirl. Lift, fold to a dry section, and repeat. You are trying to push the soapy water up and out of the foam, not spread it around. Keep going until the towel comes up nearly clean.
- Blot again with plain water. This is the step that separates a good result from a bad one. Wring out a towel in plain water with no shampoo in it and press it over the same area two or three times. This lifts the residual detergent that the first round of blotting left behind. Skip it and the seat will feel tacky and re-soil within weeks.
- Dry completely. Windows down, doors open, a box fan pointed at the seats, and the air conditioning running to pull humidity out of the cabin. Do not park in direct sun, which fades fabric and can bake a water ring into the pile. Do not drive the car until the seats are dry to the touch all the way through, including the foam beneath.
Shampoo Dilution Cheat Sheet
Dilution is where most DIY attempts fail, because undiluted concentrate leaves far more residue in the fabric than a spray bottle of properly mixed solution. The ratios below are the ones experienced users report on detailing forums, not lab recommendations, so treat them as a solid starting point and always check your own product’s label first.
| Product | Dilution ratio | Notes |
|---|---|---|
| Optimum Carpet and Fabric Cleaner and Protectant | 3 parts cleaner to 1 part water | Recommended by a detailer on r/AutoDetailing for both carpet and upholstery, with the claim that agitation alone works most surface residue off without extraction. |
| Meguiar’s APC+ | 10 to 12 parts water per part cleaner | Reported as effective on carpet and upholstery on Autopia and CherokeeForum threads. Heavy dilution is deliberate, since this is an all-purpose concentrate, not upholstery shampoo. |
| Purple Power | 8 parts water per part cleaner | The most commonly cited floor carpet and upholstery cleaner on CherokeeForum. Works well for a whole-car refresh at a slightly stronger mix than APC+. |
| Folex | Undiluted | Suggested on r/CleaningTips for spot work, typically blotted rather than sprayed. Use it on individual stains, not across a whole seat. |
| Prestone Interior Cleaner | Per label, on a damp towel | Reported as effective on Autopia for interior surfaces. |
| Generic carpet and upholstery shampoo | Per label, usually in a spray bottle | Widely available and adequate. The label ratio is a better starting point than guessing. |
| DIY white vinegar solution | 1 part vinegar to 3 parts warm water | The recipe most commonly cited for a light, low-residue clean. Mild, but weak on grease and pet odor, so pair it with a dedicated shampoo for those. |
Two household options come up constantly and deserve a straight answer. A small amount of dish soap in water does cut grease, but the surfactant leaves a waxy film that traps dirt, which makes it a poor choice for upholstery. Undiluted degreaser, brake cleaner, and similar harsh solvents will strip the fabric finish, can bleach dye, and are never appropriate inside a cabin.
Tools and Supplies: What You Actually Need
The list is short, and most of it serves the blotting step rather than the cleaning step. Budget for three or four microfiber towels minimum, because the moment your last clean towel is dirty you start smearing rather than lifting.
- A vacuum with a crevice tool for the dry pass, especially the seat bights, seams, and under the seats.
- Three to four microfiber towels. Rotating towels is what makes the extraction substitute work. Wringing them out is the mechanical equivalent of an extractor pass.
- A soft-bristle upholstery brush. A stiff brush is for carpet, not for seat fabric.
- A spray bottle for mixing and for controlled application.
- A second bucket or basin for your clean rinse water, kept separate from anything dirty.
- A box fan for drying, plus the A/C running with the doors open.
- An odor neutralizer or enzymatic pet cleaner if there is any urine history. Shampoo removes the visible soil; an enzyme product is what stops the smell coming back.
- Fabric protectant to apply once the seats are fully dry, if you plan to repeat this annually.
Match the Method to the Material
Different fabrics react very differently to water and agitation, and this is where most of the damage happens. Check what you have before you start rather than after a brush mark shows up.
| Material | What works | What to avoid |
|---|---|---|
| Standard cloth | Diluted shampoo, soft brush, full towel blot cycle | Saturating the foam core |
| Velour | Light mist, minimal agitation, extra care with brushing direction | Stiff brushes, scrubbing in circles, over-wetting. It marks easily and shows a nap pattern. |
| Tweed and flat weave | Gentle work along the weave, spot test first | Aggressive brushing. Pile distortion and visible wear show quickly. |
| Leatherette and vinyl | Mild soap and a soft cloth, then a dry buff | Soaking. Water gets behind the material and lifts the adhesive or backing. |
| Perforated sport seats | Work solution into the perforations with a soft brush, blot from behind | Flooding. Water trapped inside the shell is very difficult to dry. |
| Headliner | Vacuum dry. Nothing else. | Any wet cleaning. A former professional detailer on CherokeeForum warns explicitly against it: the headliner behaves like tissue and the foam behind it is ruined. Wetting it can also compromise curtain airbag stitching. |
| Seat belts | Wipe with a damp cloth and mild soap | Retracting a wet belt. Let it hang out to dry fully, and never use solvent. |
| Carpet floor mats | Shampoo, aggressive brush agitation, heavy towel pressure, then rinse blot | Leaving rubber-backed mats to soak on the carpet |
Treating Specific Stains
Shampoo handles general soil, but a few stain types need a targeted product first. Pre-treat, dwell, agitate lightly, then blot as normal. The difference between a stain removed and a stain spread is usually fifteen extra minutes of pre-treatment.
- Coffee, soda, and food. Blot the liquid out first with a dry towel, pressing rather than rubbing. Then pre-treat with a diluted shampoo solution and let it dwell the full five minutes. Sugar residue in a soda spill will hold a sticky patch if you skip this.
- Grease and oil. Dish soap is genuinely useful here as a spot pre-treatment, because it is what cuts grease. Use a small amount, blot it out thoroughly, and follow with shampoo. The reason to avoid it as a whole-panel cleaner is residue, not cleaning power.
- Ink and marker. Rubbing alcohol on a white cloth, dabbed from the outside edge inward so you do not spread it. Never scrub. Then shampoo the panel normally.
- Pet urine and odor. An enzymatic cleaner, applied and left to work according to its label. Shampoo alone often moves the smell rather than removing it, and the smell returns within days.
- Unknown or set-in stains. Baking soda absorbs fresh liquid spills if you catch them early. Once a stain has set, the honest answer is that without hot water extraction you may reduce it rather than remove it.
Drying: The Step Everyone Skips
Drying is not cleanup after the clean. It is part of the clean. A seat that is merely surface-dry with damp foam underneath is the direct cause of the sour smell and mildew that convince people their hand wash failed.
- Leave the car in shade or in a garage. Direct sun fades fabric and can set a water ring.
- Open both front doors and any rear doors. Cross-flow air is what moves moisture out of the cabin.
- Point a box fan at the seats and run the air conditioning on high to pull humidity out. Change the A/C filter if it is old.
- Wait until the fabric feels dry to the touch and the foam is dry, not just the surface. Expect several hours in warm, dry weather and a full day or more in humid conditions.
- Do not drive the car, and do not put the seats back under a cover, until they are fully dry. Trapped moisture under a cover is the worst case of all.
One more habit worth borrowing from professional practice: do the whole car at once rather than one seat at a time, then let the car sit in shade before you start the blot pass. It gives the shampoo a long, even dwell across every surface instead of a rushed one on the seat you started with.
What Not to Do
Every item below is something experienced users have tried and warned others away from. The damage ranges from cosmetic to expensive.
| Mistake | What happens |
|---|---|
| Cleaning the headliner | The fabric acts like tissue, the foam backing is ruined, and airbag stitching can be compromised. |
| Pressure washing into the cabin | Forces water into seams, seat foam, wiring channels, and door pockets where it cannot dry. |
| Leaving detergent in the fabric | The single most common DIY failure. Seats feel tacky and re-soil within weeks. |
| Using undiluted concentrate | Massive residue, dye bleed, and a strong chance of visible rings. |
| Using brake cleaner or harsh solvent | Strips the finish, damages the fiber, and leaves a chemical odor. |
| Over-saturating foam-backed seats | Days of drying, mildew risk, and possible foam degradation. |
| Running a shop vac from the car battery | Drains the battery. Several users on CherokeeForum have reported exactly this. |
| Scrubbing with a stiff brush | Permanent brush marks and pile wear on velour and tweed. |
| Driving the car before the seats are dry | Seals moisture inside and starts the sour smell. |
| Skipping the clean-water rinse blot | Leaves the surfactant behind, which is the entire point of the final pass. |
DIY vs. Renting an Extractor vs. Professional Detailing
The hand method wins on cost and control for routine cleaning, and loses on raw suction for a heavily soiled cabin. Rentals are a good middle ground for a once-a-year deep clean if you have a driveway and a weekend. A professional is worth it when there is pet contamination in the foam, when the car is going on sale, or when the fabric is older and fragile.
| Route | Cost | Time | Best for |
|---|---|---|---|
| Hand clean with towels | Lowest, mostly supplies you can reuse | 2 to 4 hours for a full interior, plus drying | Annual refresh, spot stains, no equipment, no outlet |
| Rent an extractor | Moderate, time-limited rental plus supplies | Half a day | Once-a-year deep clean on a car you own long term |
| Own a small extractor | One-time purchase that replaces the rental cost | 1 to 2 hours per clean | Regular maintenance, multiple vehicles |
| Professional detail | Highest | Drop-off, usually same day | Pet accidents in the foam, sale prep, very old fabric |
Professionals work with hot water extraction plus agitation, and they control dwell time and drying with equipment most of us do not own. The technique, however, is the same one described above: dilute, pre-treat, dwell, scrub, then pull the dirty water out. If your hand clean looks worse than the professional one, the difference is almost always how much water got removed, not what was put in.
Frequently Asked Questions
How do you clean upholstery without a machine?
Vacuum the fabric dry, spot test for dye transfer, then apply diluted upholstery shampoo one section at a time. Let it dwell three to five minutes, scrub with a soft-bristle brush, and press the dirty water out with a clean wrung-out microfiber towel. Blot a second time with plain water to remove residual soap, then dry thoroughly with the windows down and a fan running.
Can you use Dawn dish soap to clean car upholstery?
It works as a grease cutter, particularly as a spot pre-treatment, but it is a poor whole-panel cleaner. Dish soap leaves a waxy surfactant film in the fabric that stays tacky and attracts dirt, so seats re-soil faster than if you had not cleaned them. Use it sparingly on grease, blot it out, and follow with a proper upholstery shampoo plus a plain-water rinse blot.
How do I shampoo my own car seats?
Remove everything, vacuum dry, pre-treat stains, then work one seat cushion at a time. Spray diluted shampoo until the fabric is damp but not dripping, dwell three to five minutes, and scrub with a soft brush. Wring out microfiber towels in clean water, press them firmly into the fabric, and repeat with a clean section of towel until the water runs clear. Finish with a plain-water blot and dry completely.
What is the best way to clean fabric car upholstery?
Chemistry does the loosening, agitation does the scrubbing, and removal does the rest. Use a properly diluted upholstery shampoo rather than a strong concentrate, give it dwell time before you scrub, and then remove the soapy water with clean towels rather than just wiping the surface. The final plain-water blot is what keeps detergent out of the fabric and the seat from re-soiling quickly.
How to clean cloth car seats without an extractor?
Replace extraction with towel blotting. Wring a microfiber towel out in clean water, press it firmly into the damp seat, lift it, then fold to a dry section and repeat until the towel comes up nearly clean. Rotate through three or four towels, then make a final pass with plain water. This lifts both the loosened dirt and the shampoo itself, which is the only part of the job a machine genuinely does for you.
Do I need an extractor for car detailing?
For a routine interior clean, no. Experienced detailers note that the main benefit of extraction is pulling detergent out of the fabric, and towels can do that by hand. An extractor earns its place on a heavily soiled cabin, a pet accident that reached the foam, or a sale or lease return. If you rent one, never run a shop vac from the car battery for long periods or you will drain it.
What do professional car detailers use to clean seats?
Professionals use hot water extraction combined with agitation. They spray a diluted cleaner, let it dwell, scrub with a brush, then pull the dirty water out with machine suction. The technique itself is not secret. The advantage is speed and raw suction, which handle deeply embedded soil and foam contamination that towels cannot reach. You can follow the same sequence by hand and get most of the benefit.
How to clean under car seats without removing them?
Slide the seat forward fully and use a vacuum with a crevice or upholstery attachment to reach the track and the carpet beneath. A long-handled detailing brush with soft bristles lets you work shampoo into that area and pull it back out with a towel. Do not flood the space, since water trapped under a seat against the floor pan is very hard to dry and can cause a sour smell.
How long do car seats take to dry after shampooing?
Several hours in warm, dry weather, and a full day or longer in humid conditions. Put the car in shade, open the doors for cross-flow air, aim a box fan at the seats, and run the air conditioning to pull humidity out of the cabin. Wait until the foam is dry, not just the surface, and do not drive the car or put seat covers back on while any dampness remains.
What can I use instead of a carpet extractor?
Clean microfiber towels pressed firmly into the fabric are the most reliable substitute. Wring them out in clean water, rotate to a fresh section with every pass, and finish with a plain-water blot. A steam cleaner is a heat-based alternative that drives loosened dirt into a towel laid over the seat. A shop vac also works as a crude extractor, but disconnect the car battery before using one so it does not drain it.
Can you steam clean car seats without a machine?
Yes, and detailing forums describe it as a working substitute for extraction. Spray the seat with diluted carpet and upholstery cleaner, then run a handheld steam cleaner over it while a towel is laid on the surface. The heat loosens the residue and the steam drives it into the towel. Check the fabric with a spot test first, since heat and moisture together can set dye on velour and tweed.
Is it safe to clean a car headliner?
No. The headliner fabric behaves much like tissue, and getting it wet ruins the foam backing behind it. Water can also reach curtain airbag stitching near the roof rails. Vacuum it dry and treat stains with a barely damp cloth and a very small amount of solution, then let it air dry with the doors open. Never spray it directly, and never use steam on it.
How to Shampoo Car Upholstery Without a Machine: The Takeaway
To shampoo car upholstery without a machine, you keep the chemistry and the agitation, and you replace extraction with repeated towel blotting. Vacuum dry, spot test, pre-treat, apply diluted shampoo one section at a time, dwell three to five minutes, scrub with a soft brush, then press out the dirty water with wrung-out microfiber towels until the water runs clear. Finish with a plain-water blot, dry in shade with a fan and the air conditioning running, and the job is done properly.
The two rules that decide the outcome are simple. Do not leave detergent in the fabric, and do not leave the fabric wet. Everything else is preference.
As of 2026, a stack of clean towels still outperforms most people first reaching for a machine, because the machine is not doing the cleaning. The cleaning is the shampoo and the brush. The machine is just a fast way to get water back out, and towels will do that if you have enough of them.