
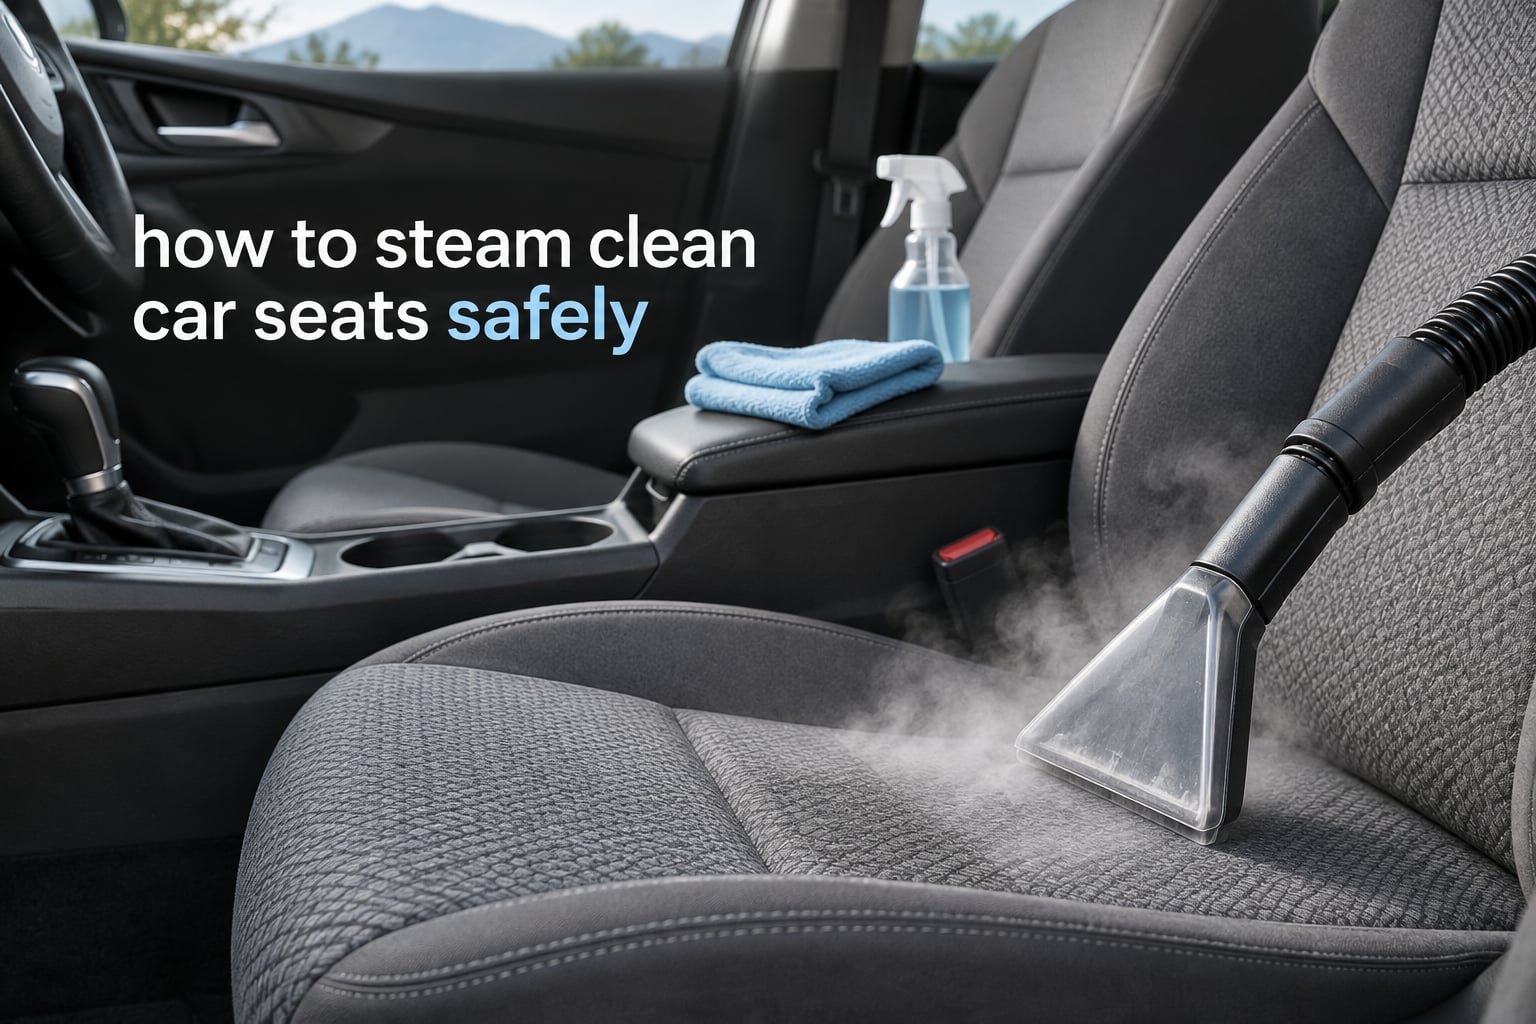
Steam cleaning car seats is one of those jobs that looks simple and goes wrong quietly. A quick pass with a handheld steamer lifts a surprising amount of grime from fabric and leather, but the same pass can push water into seat foam, fog the plastic over your instrument cluster, or shorten the life of a hide finish without ever leaving a visible mark. Knowing how to steam clean car seats safely is mostly about knowing where not to point the nozzle and how much moisture is too much.
I have watched detailers work through this same sequence on cars that were genuinely filthy, and the pattern never changes: vacuum first, pre-treat, steam as a finishing step, wipe as you go, then dry properly. Skip any one of those and you get a worse result than doing nothing. This guide covers the whole process, the material differences, the drying timeline and the specific areas that should never see steam. Updated for 2026.
Table of Contents
- Is It Safe to Steam Clean Car Seats?
- Do Not Steam These: The Car Interior No-Go List
- Choosing a Steam Cleaner That Will Not Damage Your Seats
- How to Steam Clean Car Seats: 9 Steps
- 1. Vacuum the seats first
- 2. Remove everything you can
- 3. Pre-treat stains with a cleaner, not steam
- 4. Run the wet dye-transfer test
- 5. Set the output for the material
- 6. Work in short bursts and blot immediately
- 7. Work top-down and inside out
- 8. Condition leather and protect fabric
- 9. Dry before you close the car up
- Steam Clean Fabric Car Seats for a Deep Clean
- Steam Clean Leather Car Seats Safely
- Cleaning a Child Car Seat Without Breaking Its Safety
- Drying and Ventilation: How Long Seats Take and How to Speed It Up
- Common Mistakes That Damage Car Seats
- DIY vs Professional Steam Cleaning: When to Call a Detailer
- How Often to Steam Clean Your Car Interior
- Frequently Asked Questions
- Can I steam clean my car seats at home?
- Is it safe to steam clean leather car seats?
- What should you not clean with a steam cleaner?
- How long does it take for car seats to dry after steam cleaning?
- Where does the dirt go when you steam clean upholstery?
- What is the best way to deep clean fabric car seats?
- Do car detailers use steam cleaners?
- How much does it cost to have car seats professionally steam cleaned?
- What are the disadvantages of using a steam car wash?
- Will steam shrink car seat fabric?
- Conclusion
Is It Safe to Steam Clean Car Seats?
Yes, if you use a handheld upholstery steam cleaner at a controlled output, keep the nozzle moving, and blot every wet area immediately. Steam is safe for most cloth and leather upholstery because it works on heat and moisture rather than aggressive chemistry, and it reaches fibres and seams a vacuum cannot.
It is not safe everywhere in the cabin, and it is not safe on every setting. The single most cited hazard comes from a r/Detailing thread on steam cleaning basics: “The main area to be careful with is with Speedometer area as steam can get behind the clear plastic.” Condensation trapped under a clear instrument-cluster lens does not dry, and neither does water pushed deep into seat foam. Those two failure modes cause almost all of the damage people report.
Oversaturation is the other big one. Water pushed into a cushion does not evaporate quickly. It sits under the visible fabric, breeds a musty smell and eventually mould, and it can wick into the electrical connectors under the seat. Short bursts, a moving nozzle, section-by-section work and immediate blotting with a microfiber cloth are what keep the process safe.
Do Not Steam These: The Car Interior No-Go List
Some cabin surfaces are heat-sensitive, sealed or electrically live. Here is the list I work from, with the reason behind each one and a safer alternative.
| Do Not Steam | Why It Is a Risk | What to Do Instead |
|---|---|---|
| Instrument cluster and clear gauge plastic | Condensation forms behind the lens, fogs the display and will not dry out on its own | Microfiber cloth and a plastic-safe cleaner, wiped not soaked |
| Screens and infotainment units | Heat and moisture along panel seams can fog the display and reach the electronics behind it | Damp cloth with a screen-safe product |
| Seatbelt webbing and buckles | Retractor mechanism, pretensioner and web fibres dislike water; damp webbing will not dry while retracted | Wipe with mild soap and water, extend fully to dry |
| Airbag seams and SRS markings | Heat and moisture can degrade stitching and the backing fabric around the module | Vacuum the panel, wipe with damp cloth only |
| Seat controls and powered switches | Steam can drive moisture into a sealed multi-pin switch pack under the seat | Dry brush vacuum, damp cloth on the trim only |
| Headrest plastic shells and hinge covers | Thin moulded plastic can distort, whiten or lose its finish at close range | Keep the nozzle 15 cm away, or wipe only |
| Headliner and sun visor fabric | Adhesive-backed fabric can lift, bubble or fall away when wetted | Dry vacuum, spot-clean stains with a damp cloth |
| Window tint film | Steam and heat can cloud film, cause bubbling or push edges out of position | Wash with a soft cloth, never heat |
| Painted, printed or piano-black trim | Direct steam can haze the finish and lift decals or badges | Damp microfiber with an appropriate dressing |
| Alcantara or suede, unless the maker approves it | Heat and moisture can flatten the nap and leave permanent brush marks | Dry foam or dry shampoo method, brush with a suede brush |
| Airbag and SRS covers on the dashboard | Same reason as seat airbag seams | Damp cloth, no heat |
| Child car seat shell, harness and padding | Steam can compromise foam, buckle webbing and shell bonding, and a seat that has been wet cannot be verified as safe | Follow the child seat manufacturer instructions first |
One more general rule: never park the car in direct sun while steaming. A closed, sun-heated cabin turns into an oven, and you lose control of surface temperature entirely.
Choosing a Steam Cleaner That Will Not Damage Your Seats
Attachment matters more than the machine. A steamer with an adjustable output, an upholstery brush head and a narrow crevice nozzle covers almost everything, and around 1500W is the practical floor for car work. Many household steamers run hotter and wetter than a car needs, which is exactly how people oversaturate seats.
Look for four things: adjustable steam output, an upholstery brush attachment, a narrow or triangular nozzle for seams and bolsters, and a decent-sized tank so you are not stopping mid-section. A squeegee attachment is a bonus for leather and vinyl. Avoid open-loop steamers that vent into the cabin air, because the escaping moisture ends up on your seats whether you aimed it there or not.
Household versus car steamer is a common forum argument. The consensus is that most household steamers will physically work, but their higher output and narrower control make them easy to overuse on upholstery. A dedicated upholstery tool with a hose gives you more dwell time per trigger pull and less fatigue, which in practice means slower, safer passes.
How to Steam Clean Car Seats: 9 Steps
1. Vacuum the seats first
Steam lifts and moves loose dirt; it does not suck it away. Vacuum the seat base, the bolsters, the seams, the headrest and the gap under the seat before anything else. Detailers consistently put this step first because dry dirt plus steam equals mud.
2. Remove everything you can
Take out trays, child seats, loose cushions, bags, seat gap fillers and any coins or grit in the rails. Pull the seat belt fully out and lay it to one side, but never clip or wedge it in a way that leaves it under tension.
3. Pre-treat stains with a cleaner, not steam
For pet urine, food, coffee or an oil spot, apply an upholstery or all-purpose cleaner and agitate with a short-bristle brush. The sequence experienced detailers use is cleaner, agitate, wipe, then steam. One r/Detailing user put it plainly: “I would say APC, agitate, wipe, then more APC, steam, agitate and wipe. Then definitely condition the leather.” Steam finishes the job the chemical started.
4. Run the wet dye-transfer test
Squeezing water into light cloth can lift dye and leave a permanent mark. Press a clean white microfiber cloth firmly onto a hidden seam, wet it, wait 30 seconds, then check the cloth. Any colour on the cloth means stop and use dry foam or a low-moisture method on that seat.
5. Set the output for the material
Start low and increase only if the soil is not lifting. Surface temperature on fabric should stay well below boiling point at the contact zone; a rough working range is 100 to 120 degrees Celsius at the surface, which means low boiler pressure rather than a hard blast. Keep the nozzle 2 to 5 cm off the fabric.
6. Work in short bursts and blot immediately
Move the nozzle constantly in slow strokes. Never park it in one spot. After each pass, wipe with a clean microfiber cloth to lift the loosened dirt. This is where most people get the concept wrong: the dirt does not vanish, it dissolves and must be carried off the surface. Where does the dirt go when you steam clean upholstery? Into your cloth, and into the vacuum when you pass over it again. Leave it in the seat and you have just moved it deeper.
7. Work top-down and inside out
Start at the headrest and upper seatback, move down to the seat base, then the outer bolsters, then the seams and the gap under the seat. Finish by vacuuming each section again, which pulls the residue out of the fibres instead of leaving it to dry in.
8. Condition leather and protect fabric
Leather goes off a steam clean slightly dry and a little stiff. Finish with a pH-neutral leather conditioner to restore the surface. Cloth gets a fabric protector once dry, which makes the next clean far easier. A UV protectant is worth adding on cars parked outside.
9. Dry before you close the car up
Leave doors and windows open, run a fan across the cabin, and give the foam time. Do not sit on a damp seat for hours. Details are in the drying section below.
Steam Clean Fabric Car Seats for a Deep Clean
Cloth seats are the easiest case, because fabric has no finish to damage and tolerates brief moisture well. The risk is entirely about how much water you push into the foam beneath. The best deep clean follows this order: vacuum, pre-treat each stain and let the chemical sit, blot the pre-treatment out, then steam in overlapping strokes, blotting after every pass.
For a fabric seat that has never been cleaned, expect the first pass to look worse before it looks better. That is the dissolved grime surfacing, not a failure. A second pass after drying usually produces a dramatic result, and it is the reason most people abandon the job halfway through pass one.
For pet stains, work from the outside of the mark toward the centre so you do not push contamination deeper. For coffee and food, lift solids with a spoon before any liquid work. For road salt, pre-treat with a dedicated remover rather than more water, because salt re-deposits as it dries.
Recommended steam settings by seat material
| Material | Steam Setting | Nozzle | Distance | Max Dwell | Finish With |
|---|---|---|---|---|---|
| Cloth / fabric | Low to medium, around 100-120 C surface | Upholstery brush | 2-5 cm | 1-2 seconds | Fabric protector |
| Leather, solid | Low, roughly 100 C surface | Microfiber over the nozzle | 5-8 cm | 1 second | pH-neutral leather conditioner |
| Perforated leather | Lowest setting, keep moving | Soft brush, cloth barrier | 8-10 cm | Under 1 second | Leather conditioner, sparingly |
| Leatherette / vinyl | Low, watch for gloss change | Flat nozzle with cloth | 5-8 cm | 1 second | Plastic dressing, not polish |
| Alcantara / suede | Avoid steam unless approved | Dry brush or dry foam | Not applicable | Not applicable | Suede brush, nap restore |
| Carpet and mats | Medium, lower pressure | Carpet or triangle nozzle | 2-5 cm | 2 seconds | Vacuum while damp |
| Hard plastics and vents | Lowest burst only, no dwell | Crevice nozzle, moving fast | 10-15 cm | Under 1 second | Damp microfiber wipe |
Perforated leather deserves its own warning. Those holes exist so the seat can breathe and so a cooling or heating system can push air through the panel. They also let moisture straight into the foam beneath, where it will not dry. Treat perforated leather as the most moisture-sensitive surface in the car, not the least.
Steam Clean Leather Car Seats Safely
Leather can take gentle steam, and it responds well to a light refresh. It also carries a risk that fabric does not: damage that does not show up on day one. A long-running thread on thehulltruth.com captures the concern practitioners raise most often, with the caution that “pretty sure steam on leather is not good. doesnt mean irreparable damage wasnt done and will shorten its life or lead to issues down the road.”
What that means in practice is that repeated steaming dries the finish, fades dye slightly faster and can shorten hide life even when the seat still looks fine. Treat steam as an occasional tool rather than a weekly habit. Once a year on a lightly soiled seat, or after a genuine spill, is a sensible ceiling. For routine care, a damp cloth, a soft brush and a good conditioner do more for the leather than any steamer.
When you do steam leather, use a clean microfiber cloth draped over the nozzle, keep the steam low, and never work in circles with pressure. Always follow with conditioner. If the leather darkens in patches as it dries, you went too wet, and you should stop immediately and let it dry naturally rather than adding more heat.
Cleaning a Child Car Seat Without Breaking Its Safety
Read the child seat manufacturer’s instructions before anything else, because those instructions override this guide and every other guide. Child seats are not generic upholstery. The shell, the energy-absorbing foam, the harness padding and the buckle webbing are all part of a tested system, and none of them can be inspected for damage after the fact.
Remove the seat from the vehicle before cleaning it. Do not steam a child seat while it is installed, and do not work on it with a child in the car. Never direct steam into the harness buckle, the chest clip, the belt path or the shell openings, and never saturate the padding. Water inside an energy-absorbing foam layer can be invisible and permanent.
The safer route is cold or lukewarm water with a mild detergent, applied with a cloth rather than a sprayer, followed by air drying with the seat shell open. Many manufacturers offer replacement covers and padding, which is both easier and more reliable than any cleaning method. If a spill has soaked into the padding, replacing it is the correct answer, not cleaning harder.
Drying and Ventilation: How Long Seats Take and How to Speed It Up
Expect 2 to 4 hours before the seats are properly dry, and up to 6 hours in humid weather or if the foam got wet. You can sit in a slightly damp seat briefly, but do not leave the car closed and do not leave a child or pet on a damp seat. Drying is the step that decides whether you have cleaned your seats or started mould.
| Method | Time Saved | Notes |
|---|---|---|
| Doors and windows open, cabin ventilated | Baseline, use this first | Even on a mild day, moving air matters more than heat |
| Portable fan aimed at the seat back | 30-60 minutes | Aim airflow through the seat gap, not just at the surface |
| Second vacuum pass while damp | Not time, but results | Pulls dissolved soil out of the fibres before it sets |
| Dehumidifier in a closed car | Several hours | Effective in humid climates, needs a power source |
| Heater or blower on high | Moderate | Warms the surface, not the foam; a mild backstop only |
| Absorbent towels pressed into the seams | 20-30 minutes | Lay them flat under load, replace when damp |
Run a quick check before you drive away: press the seat firmly with a dry palm. If the foam feels cold or damp under the fabric, it is not ready. Cold means moisture sitting in the cushion, and cold moisture is exactly the condition mould needs.
Common Mistakes That Damage Car Seats
Most of the damage I see comes from six repeatable errors, and none of them require expensive equipment to avoid. The first is parking in the sun and losing control of surface temperature. The second is holding the nozzle in one place instead of moving it constantly, which concentrates both heat and water on a single spot.
The third is skipping the pre-vacuum, so steam mixes with loose grit and grinds it into the fibres. The fourth is no pre-treatment at all, treating steam as a standalone cleaner rather than a finishing step. The fifth, and most common, is leaving the dirt to dry in instead of blotting it off, which sets the soil deeper than when you started.
The sixth is the one that gets missed because nothing goes wrong immediately: steaming a leather seat regularly as routine maintenance, which quietly shortens hide life. And while we are listing mistakes, never mix steam with aggressive oven-style or degreaser-style cleaners on upholstery. Heat plus harsh chemistry plus time in a closed cabin is how you end up with a seat that smells worse than before.
DIY vs Professional Steam Cleaning: When to Call a Detailer
DIY wins comfortably when the seats are cloth, the stains are surface-level, and you can work somewhere with ventilation. The whole job takes a couple of hours including drying, and the equipment is a one-time purchase you will use for carpets, mats and the rest of the cabin.
Call a professional when the seats are perforated leather, alcantara or suede you have no experience with, when the issue is mould or a long-neglected urine stain, when the car has not been detailed in years, or when you are preparing it for sale and want a documented result. Do car detailers use steam cleaners? Most professional interiors work does, as a finishing step after chemicals and agitation, not as the whole process.
Cost varies with seat material, the level of soiling and whether the seats are removable. Integrated or bolted seats that a detailer removes on the bench can be cleaned far more thoroughly than anything you can reach in the cabin, which is worth paying for when the foam needs the attention. If you are unsure what your seats are made of, check the upholstery care label or your build sheet before spending on chemicals.
How Often to Steam Clean Your Car Interior
Every 6 to 12 months is a sensible baseline for the seats, and more often for fabric if you have pets, small children or regular spills. Leather needs less, because frequent steaming is part of what shortens its life. A monthly vacuum of the seams and bolsters, plus an annual steam, keeps most cabins in good shape without any risk.
Steam earlier rather than later when you notice musty odours, damp seat foam, dark spots in the bolsters or an unexplained increase in allergy symptoms inside the car. Mould that has already developed in the foam is a different job than routine maintenance, and steam alone will not fix it.
Frequently Asked Questions
Can I steam clean my car seats at home?
Yes, most people can do it at home with a handheld upholstery steam cleaner. Vacuum first, pre-treat stains, work in short bursts at low output, keep the nozzle moving, and blot every damp area with a microfiber cloth straight away. Leave the cabin ventilated for 2 to 4 hours afterwards. The main home limitation is water control, so start on the lowest setting.
Is it safe to steam clean leather car seats?
It is safe in moderation. Low output, a microfiber cloth over the nozzle, 5-8 cm of distance and a follow-up leather conditioner will do no visible harm. The concern is cumulative rather than immediate: practitioners warn that repeated steaming shortens hide life even when nothing looks wrong. Once or twice a year is a sensible ceiling for leather.
What should you not clean with a steam cleaner?
Never steam the instrument cluster and clear gauge plastic, screens, seatbelt webbing, airbag seams, powered seat switches, headrest plastic shells, headliner fabric, window tint, painted trim, or alcantara and suede unless approved. Condensation behind clear plastic and moisture trapped in switches are the two most common sources of real damage.
How long does it take for car seats to dry after steam cleaning?
Allow 2 to 4 hours for cloth seats in normal conditions, and up to 6 hours in humid weather or if water reached the foam. Open the doors and windows, run a fan across the cabin and lay absorbent towels into the seams. If the foam feels cold or damp under the fabric, it is still wet and should not be left closed up.
Where does the dirt go when you steam clean upholstery?
The dirt does not disappear. Heat loosens it and a small amount of condensation lets it lift, but you have to carry it off the surface with a microfiber cloth or a vacuum pass. Wipe after every pass, and vacuum the section again while it is still damp. Dirt left in the seat to dry in sets deeper than the original stain.
What is the best way to deep clean fabric car seats?
Vacuum thoroughly, apply an upholstery or all-purpose cleaner to each stain and agitate it with a short-bristle brush, let it sit, then blot it out. Follow with the steamer in slow overlapping strokes at low output, blotting as you go, and finish with a damp-vacuum pass and a fabric protector once dry. Expect the first pass to look worse before it looks better.
Do car detailers use steam cleaners?
Most professional interior work does, but steam is a finishing step rather than the whole process. The usual professional order is cleaner, agitation, wipe, steam, agitation, wipe, then leather conditioning. Chemicals lift the soil and the steam finishes what has already been loosened, which is why steaming alone rarely produces professional results.
How much does it cost to have car seats professionally steam cleaned?
Cost depends on seat material, how long the car has gone without attention and whether the seats are removed from the car for a bench clean. Removing seats gives a far more thorough result because the foam can be treated directly, but it is only worth it for integrated or badly soiled seats. Get a quote per seat rather than per car.
What are the disadvantages of using a steam car wash?
The main drawbacks are poor moisture control, a slow drying time, and damage risk around electronics, clear plastic, tinted glass and airbag seams. High-volume steam car washes also under-clean compared with a hand detail because the dwell time per surface is so short. Steam sanitises rather than sterilises, and it will not replace a proper vacuum and pre-treatment.
Will steam shrink car seat fabric?
Modern automotive seat fabrics rarely shrink, because they are designed to resist moisture. The real risk is not shrinking but oversaturation, where water sits in the foam and causes odours, mould and mildew. Keeping the nozzle moving, using short bursts and blotting immediately prevents almost all of that.
Conclusion
How to steam clean car seats safely comes down to three rules: keep the nozzle moving, blot every wet area immediately, and never point steam at electronics, clear plastic, seatbelts, airbag seams, window tint or an installed child seat. Vacuum first, pre-treat the stains, work top-down in short bursts at low output, condition the leather afterwards, and give the foam 2 to 4 hours with airflow before you close the car up.
Start with the lowest setting, test a hidden seam for dye transfer, and check the upholstery care label before you add any chemical. If the seats are perforated leather, suede or heavily soiled with old pet urine, a detailer with a bench setup will save you a long afternoon and probably produce a better result. Our method, updated for 2026, is meant to be repeatable rather than impressive, and it works on any car with seats you actually sit in.