
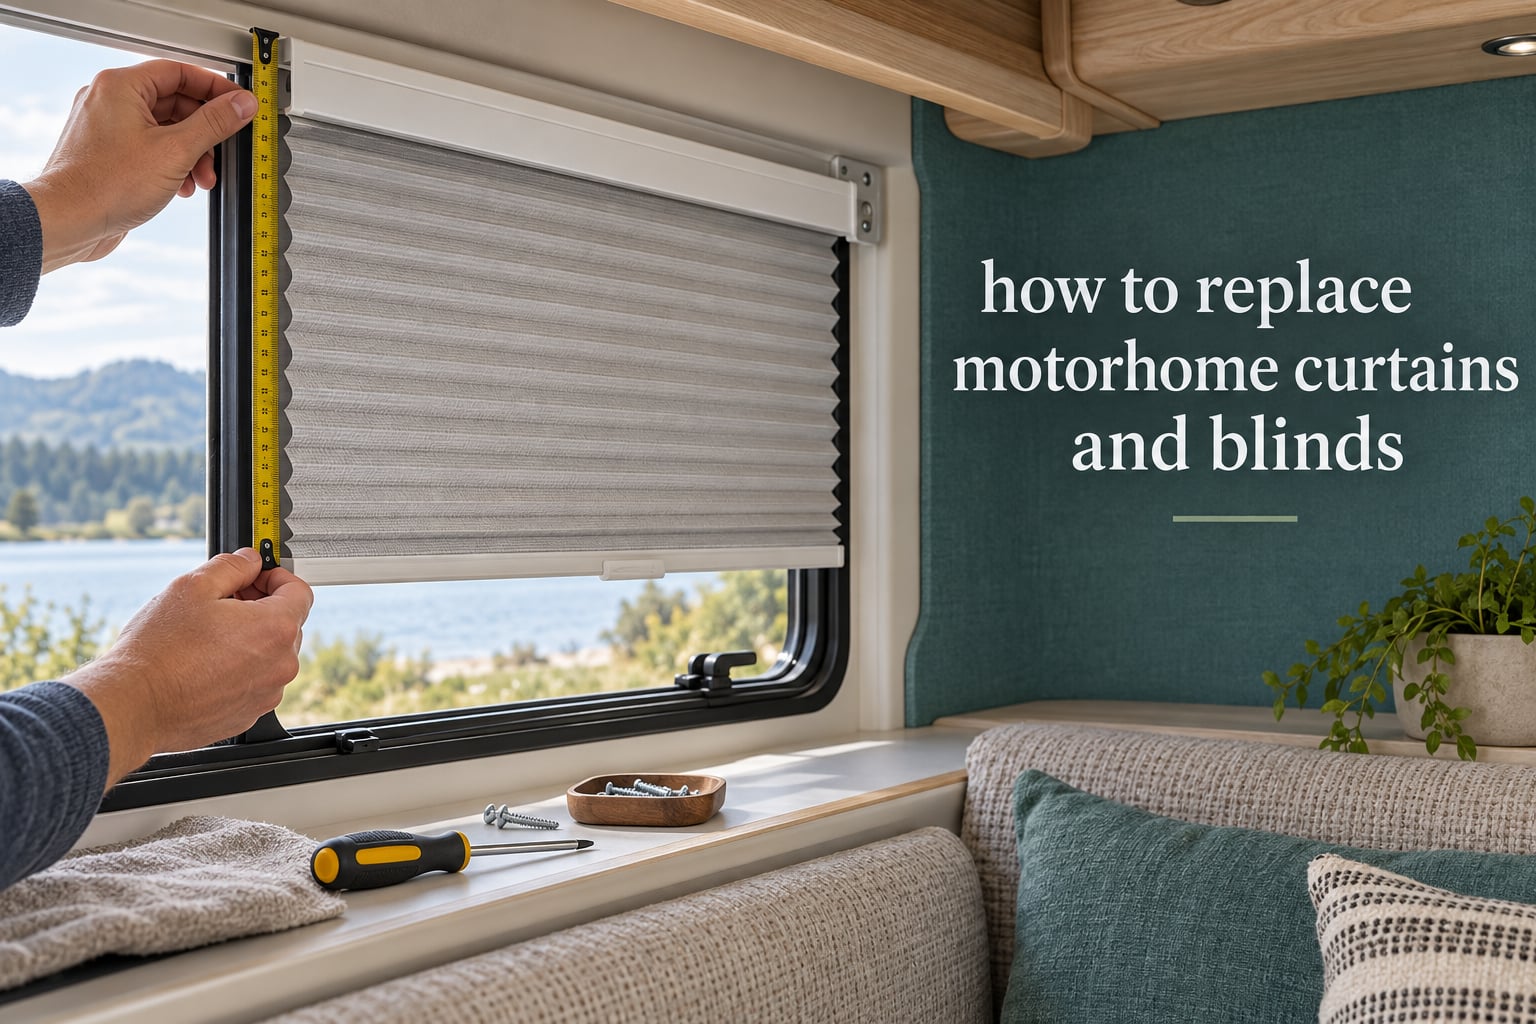
Learning how to replace motorhome curtains and blinds is one of the highest-impact jobs on any RV renovation list. Factory window treatments yellow, sag, and crumble at the folds after a few seasons of hard sun, and a motorhome is a hard place for fabric: UV through the glass, vibration on the road, and a footprint measured in inches rather than feet. We revisited this process for 2026 and the sticking points have not changed. The good news is that almost every window treatment in a Class A, Class C, or trailer comes down with a driver and a pair of pliers, and goes back up with hardware from a hardware store.
We have worked through this job on enough motorhomes to know where people get stuck. The sticking points are almost always the same four things: mixed screw types, blind brackets mounted to the valance instead of the wall, odd window shapes that will not take a standard shade, and leftover holes in the wall. This guide walks through each of them in order, and it works whether you are hanging a simple curtain on a pocket rod or fitting a full roller shade into a radius corner.
Table of Contents
- How to Replace Motorhome Curtains and Blinds: The 6-Step Summary
- Tools and Materials You Need
- Should You Repair or Replace? A Decision Guide
- Step 1: Remove the Old Blinds and Valances
- Step 2: Measure Every Window, Including Radius Corners
- Step 3: Choose Your Replacement Window Treatment
- Step 4: Install the Rod, Track, or Mounting Hardware
- Step 5: Hang the New Curtains or Fit the New Shades
- How to Fix RV Blinds and Shades Instead of Replacing Them
- Choosing Fabric That Survives the Road
- Windshield Drapes and Other Motorhome-Specific Cases
- Filling Screw Holes and Finishing the Wall
- Maintenance Schedule for Longer-Lasting Treatments
- Frequently Asked Questions
- Conclusion
How to Replace Motorhome Curtains and Blinds: The 6-Step Summary
Here is the whole process in six lines. Each step has a fuller section below.
- Strip the old treatment. Take down the blind first, then the valance, then every bracket and screw.
- Patch the holes. Fill the fastener holes while the wall is bare and easy to reach.
- Measure every window individually. Width at the top, middle, and bottom, plus the drop and the corner radius.
- Pick the treatment. Curtains for softness, roller shades for a clean built-in look, cellular for insulation, day-night for flexibility.
- Mount the hardware. Brackets, rod, or track, screwed into structure rather than thin wallboard.
- Hang and dress. Fit the shade, tension it, hem the panels, and clear the slide path.
If you only remember one thing from this article, remember that the order matters. Measure after the valance is off, because the valance hides the real window edge and the bracket spacing.
Tools and Materials You Need
Most of this job is done with a hand tool kit and a short list of fasteners. The single item people forget is a driver that fits square-drive screws, because factory valances routinely mix both types in the same window.
- Phillips driver plus a Robertson or square-drive bit for factory trim screws
- Needle-nose pliers for pulling brads, clips, and blind lift cords
- Cord spool or a length of beading cord if you plan to restring rather than replace
- Threading needle or a small hook for guiding cord through a headrail without losing it in the channel
- 25-foot tape measure plus a notepad or phone for per-window figures
- 6-inch level and a pencil or painter’s tape for marking bracket lines across a wall
- Vinyl spackling, wood putty, or a paintable filler for the fastener holes
- Masking tape and a 120 to 180 grit sanding block for the filler
- Stud finder or a small magnet to find structure behind the interior wall
- Caulk and a stapler if you plan a mounted valance or a pocket-panel treatment
One honest note about scope: if your blind mechanism is spring-loaded and has never been opened, add a window to your daylight budget before you start. Cord tangles and seized end caps turn a one-hour job into an afternoon.
Should You Repair or Replace? A Decision Guide
Decide repair versus replace before you buy anything, because the two paths share almost no steps beyond the removal. Repair keeps the existing headrail, bracket spacing, and cord path. Replace means re-measuring and re-mounting from scratch.
Repair is the right call when:
- The fabric is intact but the shade hangs unevenly or will not hold position
- The cord is broken, frayed, or has slipped off a bobbin
- The headrail, brackets, and mounting substrate are solid and in the original holes
- The pleat or fabric has not gone brittle under UV exposure
Replace is the right call when:
- The fabric crumbles or tears when you press a fingernail into it, a clear sign of UV rot
- The headrail channel is cracked or the end caps are missing and no replacement kit matches
- The window is an odd size, a radius corner, or the windshield, and nothing off the shelf fits
- You are changing the look of the whole interior and want consistent fabric and hardware
On time and difficulty, restringing is a couple of hours with moderate skill. A straight like-for-like shade swap on a standard rectangular window is a half-day and low difficulty. Windshield pleated drapes and radius corner treatments are a full day and advanced, because the fabric is cut on a curve and the hardware has to follow it.
As for custom work, it buys you an exact fit and a wide fabric selection, and it costs the most in both money and turnaround. We suggest DIY whenever the window is rectangular and the brackets are reusable, and custom for the windshield or anything on a curve.
Step 1: Remove the Old Blinds and Valances
Work from the inside out and always remove the blind before the valance. On most motorhomes the blind brackets are screwed to the back of the valance, so pulling the valance first tears the blind hardware out of the wall.
- Open and lower the blind fully. This releases the tension and lets you see the bracket pattern instead of guessing at it.
- Remove the blind. Pop the headrail out of its brackets, or unscrew the brackets from the valance face.
- Take a photo of the bracket layout. If the existing holes are sound, you can reuse them for the new shade and skip the patching step.
- Unscrew the L-shaped valance brackets. These are the small folded pieces of angle that hold the valance against the wall, usually two per valance.
- Back out every screw by hand first. Turning each one by hand loads the screw and stops it from snapping off in the wall.
- Switch drivers as needed. Expect a mix of Phillips and square-drive Robertson screws in the same window. Forcing the wrong bit chews the head.
- Pull the valance straight away from the wall. If it fights you, there is a hidden screw at the top center behind the blind, not at the ends.
- Bag and label the hardware. Keep the L-brackets, screws, and end caps in a labeled bag per window. They are useless if mixed.
Two things surprise people here. On many models the blind brackets sit on the valance itself, so the valance and the blind come off as one assembly. And on dinette and bunk areas, pulling a valance can expose a wall panel that was never finished, which means you are now looking at a repair job rather than a swap.
Inspect the exposed wall as soon as the valance is off. Look for soft or water-stained panel board, and check that the fastener holes have solid material around them before you plan to reuse them.
Step 2: Measure Every Window, Including Radius Corners
Measure after removal, never before. The valance covers the outer edge of the glass, and the only way to get a true width is with the treatment off the wall.
For a standard rectangular window, take three widths. Measure across the frame at the top, the middle, and the bottom, then use the narrowest figure. RV windows are rarely square, and a shade cut to the top width will drag on the sill.
Measure the drop twice. Record the distance from the top of the headrail position to where you want the shade to end, and add an inch if you want a small overlap at the sill for light control.
Radius corner windows need a different approach. The frame curves away on two sides, so a straight tape measure gives you a chord, not an arc. Measure the straight width first, then measure from the window center out to the curve on each side and add those two figures to get the full fabric width. For a valance or a custom shade, this is the number your fabric supplier needs.
The windshield is a special case. Measure the full width across the glass, the height from the headliner trim down to the dash level, and the depth of the pleat pocket. Windshield drapes are usually made as a matched pair that meet or overlap at the center.
Record the bracket span separately from the window width. If you are reusing existing brackets, the new shade has to fit between them rather than the glass.
Write every figure down with the window location, not just the size. In a motorhome with eight similar-looking windows, a number without a location is worthless three hours later.
Step 3: Choose Your Replacement Window Treatment
Each treatment type solves a different problem, and the right pick depends on whether you want style, light control, insulation, or a clean built-in look.
Curtains on a rod or pocket panel. The softest look and the easiest DIY. They absorb sound, add color, and hide an unfinished wall behind them. They are also the least precise at blocking light unless the fabric is lined or the panels are full.
Roller shades. The most popular upgrade on modern motorhomes because they mount tight to the wall and nearly disappear when raised. They are also the easiest to operate one-handed while driving a passenger around a campsite.
Cellular shades. Honeycomb fabric that traps still air in its pockets, so it does more for temperature control than anything else you can hang. They soften a hard interior and cost more in fabric than a plain roller.
Day-night shades. Two layers on a single headrail, usually a pleated blackout layer and a translucent top layer that you can pull down independently. They are the most versatile and the most complex, and their cord systems are the hardest to repair.
Cordless shades. If you have small children or pets in the motorhome, choose a lift-and-lower or spring-assist mechanism with no exposed loop. Cord loop hazards are worth eliminating in a living space where a child can reach them.
One honest limitation: on very odd windows, the ready-made options run out fast. Radius corners, sliding windows with deep sills, and the windshield usually mean a made-to-measure treatment or a curtain solution.
Step 4: Install the Rod, Track, or Mounting Hardware
Hardware fails when it is screwed into thin panel board, so finding structure is the whole game. Use the stud finder, or tap along the wall to locate the aluminum or wood framing common in RV sidewalls.
For a curtain rod, mark the bracket line with painter’s tape and a level, then screw each bracket into structure. Mount the rod high enough that the panel clears the frame and the hardware, which also makes the window look taller.
For a shade headrail, screw the supplied mounting brackets into the same holes the old brackets used if the substrate behind them is solid. If the old holes are stripped, move the new brackets a few inches and use a longer screw with a wall plug rated for the panel build.
For adhesive mounting, it works on smooth, clean, non-textured surfaces only. Roll the surface with a solvent wipe, keep the adhesive patch warm with your hands while it bonds, and do not hang a heavy shade on adhesive in a vehicle that sees vibration. In a motorhome, mechanical fasteners are the safer choice every time.
Check the headrail slides before you hang anything. Feed a tension tool or a straightened paperclip through the channel and confirm it travels the full width without catching. A blocked channel discovered now takes five minutes; discovered after hanging, it takes the whole treatment down again.
On curved windows, mount the hardware to the flat center section and let the treatment handle the curve, or use a wrap-around track that follows the arc. Screws into a curved frame have less bite and tend to pull out under road vibration.
Step 5: Hang the New Curtains or Fit the New Shades
For a shade, lift the headrail onto the brackets, seat it level, and pull the roller fabric down slowly until it clears the end cap. Then set the tension: raise the shade fully, give the roller a gentle push, and let it rest against the stop. If it rolls back up, the tension is too low; if it slams down, it is too high.
For curtains, there are four common hanging methods. Grommet curtains need a rod with a grommet size clearance matched to the internal diameter of the ring. Clip-on rings are the fastest and add no hem weight. A pocket panel needs a rod with a channel wide enough for the fabric plus a lining, and it hides hardware completely. Hook-and-loop tabs are the no-sew option for people who do not own a machine.
Measure panels at roughly one-and-a-half to twice the window width for gathered fullness, and cut the finished drop about a half inch longer than the window so the fabric does not creep when it moves.
Finish a no-sew hem with a fabric-rated hem tape and a hot iron, pressed on the wrong side of the panel. A straight pin or temporary tack keeps the fold true while the adhesive sets, and it takes an overnight set before the panel goes on the rod.
Test the treatment fully raised and fully lowered at each window before you move to the next one. A shade that binds at the top on window four is a five-minute fix now and a re-hang later.
How to Fix RV Blinds and Shades Instead of Replacing Them
Most RV shade failures come down to three things: cord friction, bobbin damage, and a tension spring that has relaxed with age and heat. All three are repairable in an afternoon if the fabric still has life in it.
Diagnose first. A shade that will not hold position has a tension problem. A shade that hangs in a diagonal or bumps along the rail has a cord path problem, usually a crossed or skipped cord. A shade that slumps into a stack has lost bobbin tension or has a broken cord.
To restring a pleated or shade:
- Remove the treatment and lay it flat on a clean floor with the cord side up.
- Release the existing cord from the lift lock or cleat and note how the tension cord is routed through the end caps.
- Inspect every bobbin and end cap. Replace any that are cracked, flattened, or grooved, since a grooved bobbin cuts the new cord.
- Thread the new cord through the headrail channel using a threading needle, keeping the same cross-over pattern the original used.
- Tie off both ends with a doubled square knot, leaving enough slack to re-tension later.
- Set the tension with the pattern chart that came with the repair kit, or by trial: too tight and the shade is hard to move, too loose and it sags.
- Refit and test through the full travel several times before you call it done.
For a day-night shade, photograph the cord path before you touch anything, because the two layers run through separate channels and the routing is easy to reverse. Replace the fabric only if it is genuinely UV-brittle. A cracked headrail channel is the one part most kits will not fix, and it is the most common reason a repair gets abandoned halfway.
Forum threads on RV living communities repeat the same advice: vinyl spackling works well for the leftover holes, and tension is the single thing most restrings get wrong. Getting the tension right takes patience on the first pass and makes the shade last years longer.
Choosing Fabric That Survives the Road
RV fabric faces four enemies: UV through the window, heat that never fully leaves a parked coach, vibration, and repeated compression at the folds. Pick for those conditions rather than for appearance alone.
For blackout, use a lined or coated fabric with a white or light backing. A single layer of dark fabric blocks light but not heat; a lined panel blocks both and is worth the extra material for a rear bedroom.
For room darkening, a medium-weight fabric with a tight weave is enough for a front living area. You will still see a glow, which many owners prefer at night.
For insulation, cellular or honeycomb fabric outperforms flat cloth because the trapped air does the work. Line the curtain and close it fully on cold nights.
For durability, choose a solution-dyed or outdoor-rated polyester. It resists fading and does not stretch out of square the way a lightweight cotton will after a season of travel.
For UV, ask the supplier for a fabric with a UV rating, and test any pale fabric by holding it to a bright window. If light comes through visibly, it will fade within a season or two.
For no-sew work, a bonded fabric with a finished edge saves measuring and hemming. Add a fabric-rated hem tape for the drop and you can complete a full set in an afternoon with no machine.
Avoid pure cotton for anything you will leave closed in summer sun. It shrinks, fades unevenly, and weakens at the fold lines first.
Windshield Drapes and Other Motorhome-Specific Cases
The windshield is where most owners first look, and where most generic advice fails. Pleated drapes are the standard solution because they stack flat against the headliner when open and give real night privacy when closed.
Measure the full glass width, the drop to dash level, and the pleat depth. The two panels normally meet or overlap at the center, so add a few inches to each half rather than splitting the width exactly. A center divider rod keeps the panels from drifting apart as the coach moves.
Curved and radius corner side windows take either a made-to-measure shade cut on the arc or a curtain on a wrap-around track. Both work; the curtain is far easier to remove and swap when the look changes.
Bunk and dinette areas usually have a small window with a tight radius, and often an unfinished wall panel behind the valance. A curtain on a short rod covers the wall and the window in one move, which solves both problems at once.
Pop-up campers and slide-ins are worth calling out. Their wall material is often thinner, so adhesive mounting is genuinely practical in those interiors, and the windows are small enough that ready-made panels usually fit after a hem.
Tension cords and lift cords on a windshield drape are the most common snag point during travel. Retie them and test the panels at highway speed level before you rely on them.
Filling Screw Holes and Finishing the Wall
Leftover holes are the most visible trace of an old valance, and patching them is easier while the treatment is already off. Do this before the new hardware goes up.
For small screw holes in vinyl or composite panel, press vinyl spackling in with a putty knife, let it dry, and sand flush. Work in thin coats, because a thick coat shrinks as it cures and creates a dip.
For larger holes or screw strips, back them with a small square of aluminum or thin plywood secured with construction adhesive, then fill over the top. The backing gives the filler something to hold on.
For wallboard or drywall, use a paintable filler and overfill slightly. Sand with a 120 to 180 grit block, then check the repair with your hand at a low angle to the light.
If the wall behind the valance was never finished, a curtain that hangs in front of it is a better answer than trying to make the panel presentable. Scribing a loose wall panel back into its opening is a larger job than most people expect.
Paint after the filler cures, not before, and use the same sheen already on the wall. A repair spot with the wrong sheen reads clearly in low light.
Maintenance Schedule for Longer-Lasting Treatments
Window treatments fail predictably, and a short routine prevents most of it. Dust and grit act as abrasive on a cord path, and UV damage accumulates whether or not the shade is closed.
Every trip or month, run a soft dry cloth along the headrail channel and the bottom rail to remove grit.
Every few months, check the ladder cords for fray and the brackets for movement. A quarter turn on a bracket screw takes a minute and prevents the treatment from pulling its own mounting points loose.
Twice a year, vacuum pleated fabric on low suction and wipe roller and cellular shades with a damp cloth, never a wet one.
Before a long storage period or a summer park, fully close the shades rather than leaving them raised, and confirm the tension cord is holding so the shade does not creep during transport.
Annually, check fabric for UV brittleness at the fold lines. If a panel needs gentle pressure to crease instead of springing back, replace it before it fails in front of guests.
Store spare curtain panels rolled rather than folded, and keep a spare set of bobbins and screws in the same labeled bag as the original hardware.
Frequently Asked Questions
How to replace RV curtains?
Remove the old blind first, then the valance, then every bracket. Fill the fastener holes, measure each window at the top, middle, and bottom and use the narrowest figure, then choose your treatment, mount the hardware into wall structure, and hang the new panels.
How can I replace the valances on my RV?
Open and lower the blind, pop its headrail out of the brackets, then back out the L-shaped valance brackets by hand. Expect a mix of Phillips and square-drive Robertson screws in the same window, and switch bits rather than forcing the wrong one. Label the hardware by window before moving on.
How to remove RV window blinds?
Lower the blind fully to release tension, then pop the headrail out of its mounting brackets or unscrew the brackets off the valance face. Photograph the bracket layout before you remove it so you can reuse the same positions for the new shade.
How to fix RV window blinds?
Diagnose the fault first. A shade that will not hold position has a tension problem, a diagonal hang means a cord path problem, and a slumped stack means lost bobbin tension or a broken cord. Replace cracked bobbins, re-thread the cord through the headrail with a threading needle keeping the original cross-over pattern, and set tension so the shade moves without sagging.
What is the best fabric for RV curtains?
For a motorhome, a solution-dyed outdoor-rated polyester holds up best against UV, heat, and vibration. Use a lined or coated fabric with a light backing for true blackout, cellular fabric for the best insulation, and avoid pure cotton, which fades unevenly and shrinks in summer heat.
Where can I buy RV curtains?
Three practical sources: RV window treatment and blind repair specialists online, which is the fastest route for made-to-measure pleated shades and windshield drapes; upholstery and marine fabric suppliers for durable cloth sold by the metre; and general home fabric stores for ready-made panels that only need hemming.
Can you use regular blinds in a camper?
Usually not well. RV windows are smaller, often curved at the corners, and the frame is narrower than a standard blind headrail expects, so a household blind will be too wide or will not clear the sill. Standard vertical blinds and a few hardware-store roller shades fit some rectangular windows, but anything on a curve needs a made-to-measure treatment.
How do I replace the curtains in my pop-up camper?
Pop-up walls are thin, so adhesive mounting is genuinely practical there, and the windows are small enough for ready-made panels. Remove the existing treatment, fill the holes, measure the narrowest width, then mount a short rod or an adhesive-supported track. Expect the wall behind a removed valance to be unfinished, so a curtain that covers the panel is usually the simplest answer.
Conclusion
Working out how to replace motorhome curtains and blinds comes down to sequence: strip the old treatment, patch the holes, measure with the valance off, choose the treatment, mount into real structure, then hang and tension. Each step is straightforward on its own, and the job goes wrong when the order gets scrambled.
Start with the least difficult window on the coach and finish one complete treatment before moving on. That gives you a template for the rest, and you end with a finished window to compare the others against rather than a stripped motorhome and a pile of hardware.
Once you have those measurements, pick the fabric before you order anything. If a shade still works after a restring, that repair usually buys you several more seasons for a fraction of replacing it.