
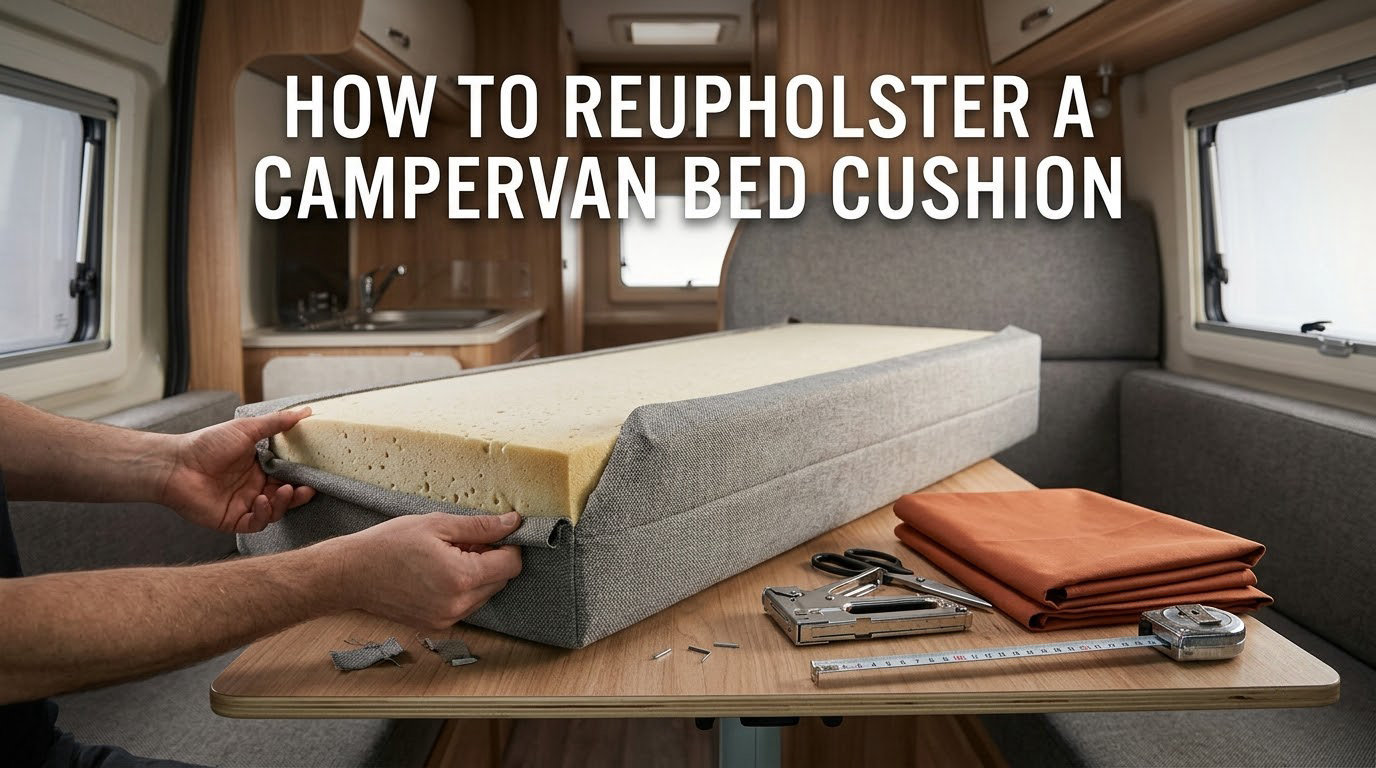
If you want to know how to reupholster a campervan bed cushion, the short answer is this: take the old cover off, check the foam, use the old cover as your pattern, then fit new fabric either stapled to a hardboard backing or sewn as a zipped box cover. Most of the work is not the stapling. It is getting a clean, repeatable corner.
Bed cushions are the most forgiving thing in a van to recover. A dinette cushion is hard because of the shape. A bed cushion is usually a flat rectangle that four people trip over every night, so a good result is very visible and very achievable with a staple gun and a sewing machine you may or may not own.
I have laid out the whole job below, with the quantities, the foam numbers, and the places where it goes wrong. Updated for 2026, the method has not changed much, but the fabric choices have.
Table of Contents
- How to Reupholster a Campervan Bed Cushion
- What Kind of Cushion Are You Working On?
- Tools and Materials, With Quantities Per Cushion
- Choosing the Right Fabric for a Van Bed Cushion
- Foam: Reuse or Replace, and What Specification to Buy
- Corners, Edges and Optional Piping
- Fitting the Cushions Back: Centre Joins, Bolsters and Fixed Platforms
- Damp, Mould and Making the Cover Washable
- Do It Yourself or Pay an Upholsterer?
- Mistakes That Ruin the Finish
- Frequently Asked Questions
- What is the best fabric to recover camper cushions?
- What type of foam is best for campervan cushions?
- Can I reupholster camper cushions without a sewing machine?
- Is piping necessary on cushions?
- How much does it cost to reupholster camper cushions?
- Can I re-cover the existing foam insert or do I need new foam?
- Conclusion
How to Reupholster a Campervan Bed Cushion
To reupholster a campervan bed cushion you remove the old fabric, assess the foam, template the original cover, cut new fabric with 10 to 15 percent extra, and re-attach it. Use the staple method for a plywood or hardboard-backed cushion, or the sewn box method for a zipped cushion. Finish the corners with a single crease, then refit the cushion to the bed platform.
1. Identify your cushion type before you buy anything
Look under the cushion and check what you are dealing with. A thin board stapled to the foam means the no-sew method. A sewn edge with a zip running around it means the sewn method. A loose foam block with fabric wrapped and stapled underneath means you can rebuild the whole thing on a new board.
2. Remove the old cover
Pop the zip if there is one, or lever the staples out with a flathead screwdriver and a scrap block of wood so you do not dig into the foam. Pull the old fabric off in one piece if you can and keep it. That piece is your pattern, and it is worth more than any tape measure.
3. Assess the foam before you fall in love with new fabric
Press the middle of the cushion with both hands. If it springs back within a few seconds the foam is reusable. If your hand stays in the dent, the foam has bottomed out and re-covering will not bring the comfort back. See the foam section for the numbers to buy instead.
4. Make your pattern and add seam allowance
Lay the old cover flat, smooth out the seams, and photograph it from above before you unpick anything. If you are sewing a new cover, unpick one seam, flatten the panel and trace it onto paper. Add a 12 mm (half inch) seam allowance all round, plus 25 mm (one inch) if the cushion is a squashed box shape.
5. Cut the new fabric
For a no-sew staple job, add 10 to 15 percent to the flat dimensions of the cushion. That covers the 300 mm (12 inch) overlaps at the sides, the 20 mm (three quarter inch) roll-under on the underside, and a little room for error. A standard single van bed cushion usually needs 2 to 3 yards (1.8 to 2.7 metres).
6. Fit the new cover
For the staple method, stretch the fabric across the top, roll it under the foam edge and staple every 25 mm (one inch), working from the centre outwards. For the sewn method, sew the top and bottom panels to a boxing strip, insert the foam and add a hidden zip along the rear edge.
7. Finish the corners, then refit
Fold each corner flat, pull the excess fabric into a single crease along the edge, and staple through both layers. Then drop the cushion back onto the bed platform and check how it meets its neighbour at the centre join.
What Kind of Cushion Are You Working On?
Construction decides the method, and getting this wrong is the reason most attempts stall on the first afternoon.
| Cushion construction | How to spot it | Difficulty | Method required |
|---|---|---|---|
| Plywood or hardboard backed | Visible board edge, staples around the underside | Easy | No-sew staple method |
| Box cushion with zip | Zip running along one edge, no staples visible | Moderate | Sewn box cover |
| Loose foam block | Foam lifts free, no board anywhere | Easy | Rebuild on a new board |
| Fixed to the platform | Cushion cannot lift out of the frame | Hard | Work in place, template in sections |
| Metal frame with hog rings | Fabric pulled under a metal edge, ring visible | Hard | Specialist |
Tools and Materials, With Quantities Per Cushion
No competitor publishes quantities, so here is a working list for one standard bed cushion. Buy a little extra staples, because you will lift at least one out twice.
| Item | Quantity per cushion | Notes |
|---|---|---|
| Upholstery fabric | 2 to 3 yards (1.8 to 2.7 m) | Add 10 to 15 percent over the flat cushion size |
| Hardboard, 3 mm (1/8 inch) | 1 sheet, cut 25 mm (1 inch) smaller than the foam footprint | The smaller board hides under the foam edge |
| Heavy-duty staples, 8 to 10 mm | 1 box | Shorter than the board thickness to avoid poking through |
| Spray adhesive | 1 can, shared across the project | Holds fabric to the board while you staple |
| Foam, if replacing | Cut to the board footprint | See the foam section for density and thickness |
| Upholstery thread | 1 spool for the sewn method | Bonded nylon thread resists UV better than cotton |
| Boxing strip | Length of the cushion perimeter | Sewn method only, holds the cushion walls square |
| Hidden zip | 1, roughly the width of the rear edge | Sewn method only, 40 to 50 cm (16 to 20 inch) is typical |
Add a flathead screwdriver, a pair of snips, a serrated foam knife, a staple gun and a tack hammer. If you will only do this once, borrowing the staple gun saves the cost of buying one.
Choosing the Right Fabric for a Van Bed Cushion
Best fabric to recover camper cushions comes down to one question: how much sun hits it, and does anyone need to wash it. Fabric quality is measured in Martindale abrasion cycles, where higher is tougher. Anything around 30,000 Martindale and above handles a sleeping surface; below 20,000 will go thin in a sun-facing bunk.
| Fabric | Feel and behaviour | Washable | Deal breaker |
|---|---|---|---|
| Canvas | Stiff at first, softens with use, hides spills | Usually | Waterproofing wears off |
| Duck cloth | Tighter weave than canvas, very durable | Usually | Heavier than most people expect |
| Solution-dyed outdoor fabric | Colour runs into the fibre, so fading is gradual | Usually | Highest cost of the natural options |
| Upholstery polyester | Soft, wide colour range, budget friendly | Machine washable on a cool cycle | Cheap grades crack in cold sun |
| Marine vinyl | Wipeable, handles wet dogs and wet gear | Wipe only | Cracks at fold lines |
Warning: vinyl cracks at fold lines. Marine-grade vinyl is sold as waterproof and it does wipe clean, but the material stiffens in cold and splits along every crease. On a bed cushion you are folding fabric over the underside of the foam and creasing it hard at four corners, which is exactly where vinyl fails. Owners on camper forums repeatedly report factory vinyl flaking apart within a year. Pick a woven fabric for the cushion and keep vinyl for a wipe-clean top sheet if you want it.
Solution-dyed means the colour is in the fibre rather than sitting on the surface, so a scratch or a faded patch does not announce itself. It costs more up front and looks the same in year three.
Foam: Reuse or Replace, and What Specification to Buy
The best foam for a campervan bed cushion is a firm base layer with a softer comfort layer on top. Density matters more than the label. Density is measured in pounds per cubic foot, or kilograms per cubic metre, and it tells you how much material is packed into a given volume.
| Layer | Density | Thickness | Use case |
|---|---|---|---|
| Support base | 1.8 to 2.0 lb/ft3 (29 to 32 kg/m3) | 50 to 75 mm (2 to 3 inch) | Bottom layer, carries the load |
| Comfort layer | 1.2 to 1.5 lb/ft3 (19 to 24 kg/m3) | 25 to 40 mm (1 to 1.5 inch) | Top layer, stops you feeling the base |
| Reuse existing | Whatever is in there | Original | Only if it recovers within a few seconds |
| Memory foam top | 50 to 60 kg/m3 viscoelastic | 25 mm (1 inch) | Warmer in summer, moulds to you |
For a bed platform that doubles as seating, stay with the higher-density option. For a fixed rear bed, a comfort layer is worth the extra step.
Cutting foam by hand is straightforward with a serrated foam knife. Mark the cut all the way around with a straight edge, then use long slow strokes rather than sawing. If you only need to replace a flattened section, cut out the middle, glue in the new block with contact adhesive and re-cover the whole cushion so the seams stay consistent.
Corners, Edges and Optional Piping
The corner is where a DIY cushion looks homemade, and it is also where most people give up. The trick is to resist folding twice.
First, pull the side fabric taut and staple it to the board about 150 mm (six inches) back from the corner. Then, with your thumb inside the corner, push the foam into a square point while flattening the fabric. Third, fold the excess onto itself so one crease runs straight along the edge of the board. Fourth, staple through both layers, working from the crease outwards.
You should end up with a single straight crease, not a pleat. If you have a soft cushion that will not hold a square, roll a small piece of firm foam into the corner before you staple.
Is piping necessary on cushions? No. Piping is a decorative edge that hides a raw seam and stiffens the border, and it genuinely helps a sewn box cover look professional. On a stapled no-sew cushion it adds nothing structural and is a lot of extra work, so we would skip it.
Fitting the Cushions Back: Centre Joins, Bolsters and Fixed Platforms
This is the part that bed cushions have that seat cushions do not, and it is where a fresh cover can still look wrong. Two rectangular cushions meeting in the middle of a bed platform create a ridge and a valley. If both cushions are new and the same thickness, the valley is narrow and deep, and it is uncomfortable to lie on.
Measure the finished platform from wall to wall, then work out the total thickness of your two cushions. If they are both 100 mm (4 inch) thick, the pair is 200 mm (8 inch), and that is the height the platform well needs for the covers to meet flush. Leave a 3 mm (an eighth of an inch) gap at the join and let the covers fill it as they are stretched down.
If the platform is a rear U-shape, the rear corners are curved. Curved corners defeat the single-crease method, and that is the moment to template in two sections, or to have the corner panels sewn rather than stapled.
Backrest bolsters are the same job in miniature: a firm foam roll, tapered at both ends, with the fabric gathered along a long seam. Expect to hand-stitch the gathers, because a staple gun cannot make them.
For a fixed cushion that cannot lift out of the platform, work in place. Cut a hardboard template the exact size of the exposed face, use it to cut the new fabric in flat panels, staple the top panel to the existing board, and use a sewn skirt around the sides. It takes longer but it avoids rebuilding the platform.
Damp, Mould and Making the Cover Washable
Under a fixed bed cushion in a closed van, condensation collects silently. Foam that stays damp for a few days grows black spots at the corners, and once that happens no re-cover will fix it.
Lift the cushions at least monthly in humid months and let the platform dry. A slatted platform or a removable board lets air move under the cushion. A thin moisture barrier between the foam and the board keeps standing water out of the foam without trapping it.
If you want a cover that survives van life, make it removable. The sewn zipped method is the right answer here, and it is the one strong reason to own a sewing machine. A zipped cover comes off in the wash, dries overnight, and can be replaced without touching the foam.
A cheap alternative is a fitted stretch sheet in outdoor fabric over the stapled cushion. It takes the spills, and the hard-wearing surface underneath never needs washing.
Do It Yourself or Pay an Upholsterer?
For a flat plywood-backed bed cushion with reusable foam, doing it yourself is straightforward and the result is good. The main barrier is a staple gun and a few hours, not skill.
Pay an upholsterer when the cushion is a sewn box with a zip you cannot unpick cleanly, when it has a curved corner, when it is fixed to a metal frame, or when the foam is bonded to the board and cannot be separated.
Also consider a hybrid route. Many owners order custom covers to their measurements and fit them themselves. You get factory corners and a washable, replaceable cover, and you avoid the fitting work entirely. Forums report that small single-cushion jobs often fall below a shop’s minimum charge, which is the usual reason the DIY option wins for one cushion.
Mistakes That Ruin the Finish
Drafting the cover from foam dimensions. This is the most common sizing error and it produces a cover that is always a few centimetres short. Always pattern from the old cover, not from the foam.
Staples too long. Staples longer than the board thickness drive into the foam and can work through the top surface. Choose a 3 mm (1/8 inch) board and 8 to 10 mm staples.
Stapling from the edge inwards. Always anchor the middle of each side first and work outwards, pulling the fabric taut. Anchoring at the corners first is what creates the wrinkles you then fight for an hour.
Skipping the foam test. A beautiful new cover over flattened foam still feels bad, and you will be doing this job twice.
Buying the cheapest fabric. Low-cost upholstery cloth flaked and faded in under a year in the sun. A higher Martindale count pays for itself across a van’s life.
Leaving no gap at the centre join. Covers stretched tight across the join will pucker when the platform flexes.
Frequently Asked Questions
What is the best fabric to recover camper cushions?
A woven outdoor fabric is the safest choice for a bed cushion. Solution-dyed outdoor cloth and heavy duck cloth hold up best in direct sun, and both can usually be machine washed. Polyester upholstery cloth works if the colour range matters more than longevity. Marine vinyl wipes clean but cracks along fold lines in cold weather, so avoid it for anything you have to crease.
What type of foam is best for campervan cushions?
A firm base layer at 1.8 to 2.0 lb per cubic foot, 50 to 75 mm thick, with a softer comfort layer of 1.2 to 1.5 lb per cubic foot, 25 to 40 mm thick on top. Density matters more than the softness label, because van cushions are often sat on as well as slept on. A memory foam topper adds comfort but runs warm in summer.
Can I reupholster camper cushions without a sewing machine?
Yes, if the cushion has a board backing. Staple the new fabric to the foam underside or to a new 3 mm hardboard panel, roll the edges under and staple every 25 mm. You will not get a removable or washable cover this way, and the finish will not match a sewn box cover, but it is durable and it is the most common DIY approach.
Is piping necessary on cushions?
No. Piping is decorative and it hides raw seams, which matters on a sewn cover but not on a stapled one. On a sewn box cushion it stiffens the border and makes the edges look square and professional. On a no-sew staple cover it adds work and no structural benefit, so we would leave it off.
How much does it cost to reupholster camper cushions?
The cost depends on whether you reuse the foam, whether you sew or staple, and how much of the van you are covering at once. A DIY staple job needs fabric, hardboard, staples and adhesive, and the main expense is your time. A professional quote rises sharply for curved corners, fixed cushions and metal frames, and small single-cushion jobs often fall below a shop minimum. Ask for a quote per cushion so you can compare it with your material spend.
Can I re-cover the existing foam insert or do I need new foam?
Press firmly into the middle of the cushion. If the foam springs back within a few seconds, re-cover it. If your hand stays in the dent or the foam feels hard and crumbly at the surface, replace it. Covering flattened foam hides the problem and you will be doing the job again within a year.
Conclusion
To reupholster a campervan bed cushion you strip the old cover, test the foam, pattern from the existing piece and refit with either staples or a sewn zip cover. The corner technique decides how professional the result looks, and the fabric decision decides how long it lasts.
Before you start, confirm four things: that the foam recovers, that the board is sound, that your fabric has a Martindale count you are happy with, and that the finished cushions will sit flush at the centre join. Get those right and the job is a weekend afternoon.