
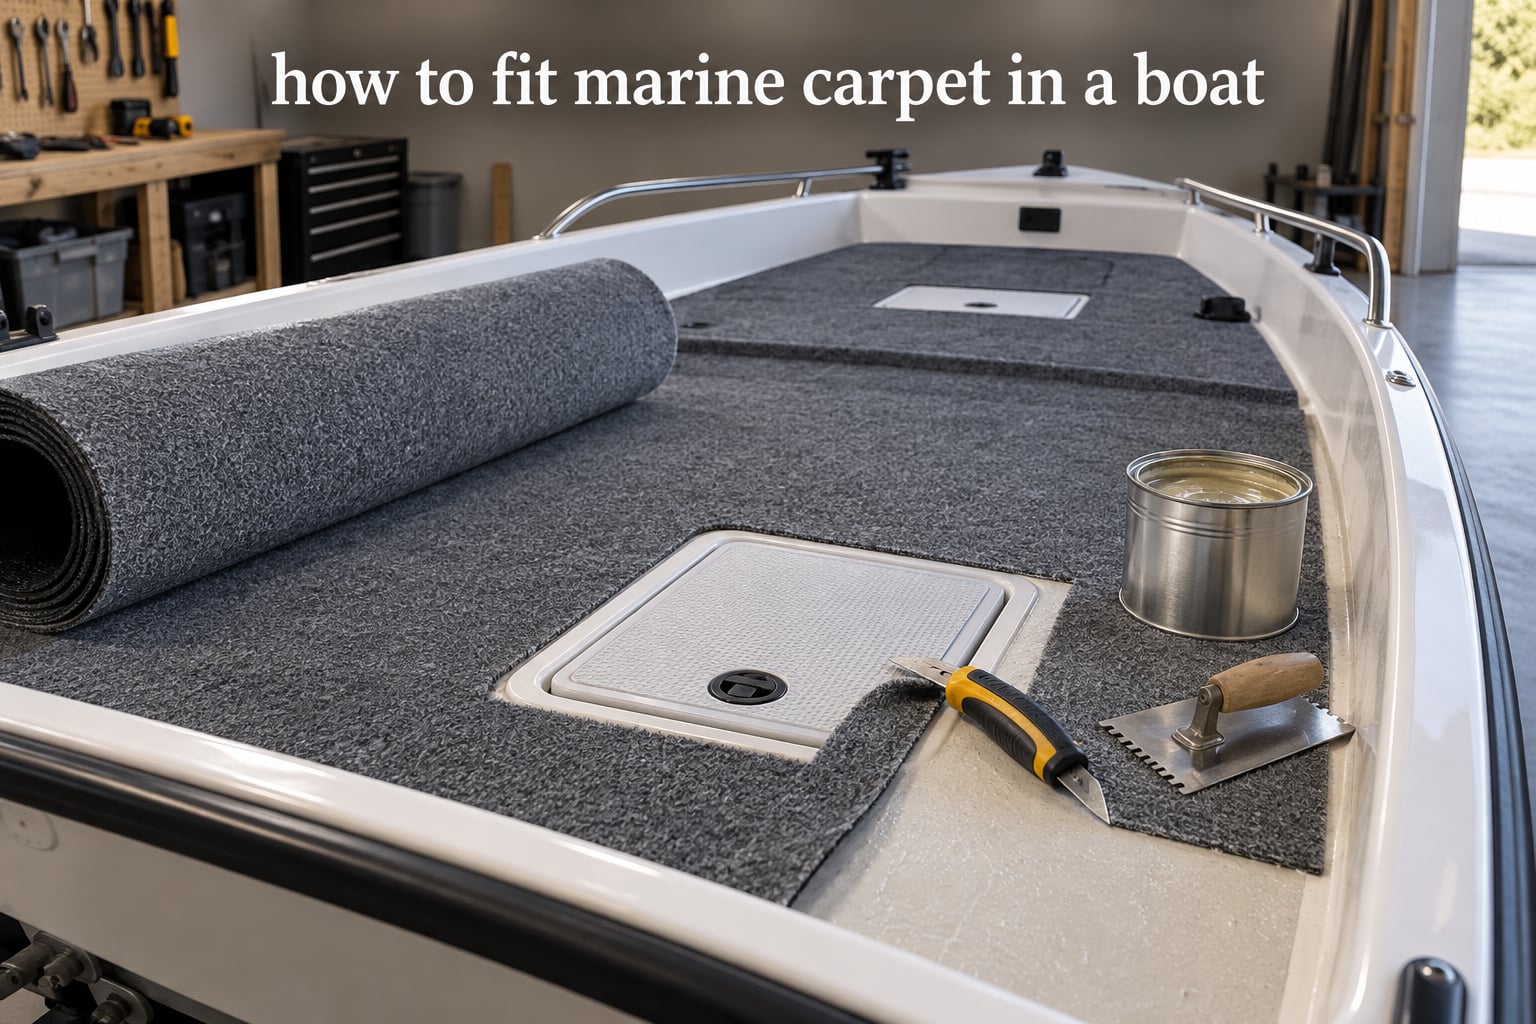
Learning how to fit marine carpet in a boat is one of those jobs that looks far harder than it is. Strip the deck, mark the grain, cut, glue, roll and trim, and a tired cuddy deck turns into a surface that grips when it is wet and stays cool under bare feet in July.
I have walked boat owners through this job enough times to know where they get stuck, and almost every stumble comes from one of four things: cutting a piece too small, laying two pieces with the grain running in opposite directions, gluing onto a damp deck, or trusting an online photo for the colour. Fix those four and the rest is routine.
What follows is the whole job in one place, written for 2026 season and updated as the tools and adhesives have changed. No shortcuts, no guesswork, and nothing that costs you a weekend to undo.
Table of Contents
- Why Carpet a Boat Instead of Vinyl?
- Quick Answer: The Whole Job in 11 Steps
- Glue-Down or Snap-Down? Choose Your Method First
- Tools and Materials Checklist
- Which Way Does the Carpet Grain Go?
- How to Fit Marine Carpet in a Boat: Step by Step
- Step 1: Strip the Boat Down
- Step 2: Remove Old Carpet and Adhesive Residue
- Step 3: Repair and Check the Deck Is Bone Dry
- Step 4: Measure, Template and Dry Fit Every Piece
- Step 5: Mark Grain Direction on the Back
- Step 6: Cut With a Sharp Carpet Knife, From the Back
- Step 7: Apply Adhesive in Manageable Sections
- Step 8: Set the Carpet, Roll It Down and Trim
- Step 9: Finish Edges, Seams and Hardware
- Cutting Marine Carpet Without Fraying
- Fitting Carpet Around Deck Hatches and Hatch Lids
- Seaming Two Carpet Runs Together
- Preparing Different Boat Deck Materials
- Choosing Your Marine Adhesive
- Common Problems and How to Fix Them
- Looking After New Boat Carpet
- Frequently Asked Questions
- How do I install marine carpet on my boat?
- What do you stick marine carpet down with?
- How much does it cost to put carpet in a boat?
- Is boat carpet easy to install?
- What is the difference between 16 oz and 20 oz boat carpet?
- How do I keep carpet from fraying when I cut it?
- Which way should boat carpet grain face?
- Do I need to remove old carpet before installing new carpet in a boat?
- What are the common problems with carpet adhesive?
- Can you fit new boat carpet over the old one without removing it?
- Wrapping Up the Fit-Out
Why Carpet a Boat Instead of Vinyl?
Carpet wins on a wet boat for one reason: it grips. A soaked vinyl deck turns into a skating surface the moment someone steps on it with a wet sole, and carpet gives you something to push against.
Carpet also stays cooler than vinyl in direct sun, which matters on a small boat where the deck is the only place anyone stands. It takes the sting out of kneeling to land a fish or work a trolling motor, and it damps the noise of footfalls and engine vibration that otherwise travels straight up the deck.
Marine carpet is a synthetic product with a water-resistant backing, not residential carpet and not garden carpet. It is built to tolerate standing water, mildew and algae, and to hose down without coming apart.
Quick Answer: The Whole Job in 11 Steps
Here is the entire process before I break it down. If you are comfortable with tools, this list is genuinely enough to work from.
- Decide whether your boat is glue-down or snap-down, and check which it was originally.
- Order physical swatches before you commit to a colour, then order carpet by the metre.
- Unbolt and remove every interior piece that will be reinstalled on top of the carpet.
- Pull up the old carpet and remove every trace of old adhesive.
- Repair any damaged deck or hull surface, then confirm the surface is bone dry.
- Template every opening with stiff card or paper before you cut any carpet.
- Mark the grain direction on the back of each piece with chalk arrows so every piece runs the same way.
- Dry fit every piece, including the hatch surrounds and lids, and cut from the back with a sharp carpet knife.
- Apply marine-grade adhesive in small sections, wait out the tack time, then set the carpet and roll it down.
- Trim the edges, wrap and staple carpet under hatches and hardware, and seal the seams.
- Reinstall the interior pieces, vacuum, and keep the deck dry for the adhesive to fully cure.
Glue-Down or Snap-Down? Choose Your Method First
Boat carpet is either bonded permanently with adhesive or held in place with a click-in strip, and that first question decides everything about the rest of the job. Marine trimmers ask it before they quote, and so should you.
A glue-down job takes longer, needs a clean surface and a proper adhesive, and gives you a finished floor that looks moulded to the boat. A snap-down job lets you lift panels to reach wiring and bilge water, and it can be reversed, but it needs a matching click strip fitted to the underside of the carpet and a sound substrate underneath.
Check the boat you own rather than assuming. Look under an existing edge for a plastic strip, or press a corner: glue-down carpet does not move, snap-down carpet lifts and peels. If the boat was carpeted before with glue, a snap-down conversion is a bigger job than most people expect, because the click strip has to bond to a deck that still has old adhesive shadowing on it.
One more branch point before you start: what the deck is made of. Aluminium, plywood and fibreglass all need slightly different preparation, and the difference is covered later in this guide.
Tools and Materials Checklist
You do not need a workshop. You need a decent knife, a roller, and the discipline to lay the carpet down dry before anything wet goes near it.
- Marine carpet in your chosen colour and pile weight, plus roughly 10 percent extra for waste, hatch oversizing and offcuts that go wrong.
- Marine-grade carpet adhesive, non-latex, enough to cover the deck area at the coverage rate printed on the tin.
- A true carpet knife with multi-edge blades, not a standard utility knife. This single tool choice decides whether your edges fray.
- Fresh blades, several, plus a metal straightedge or long ruler for straight cuts.
- A notched trowel to spread adhesive at an even coverage.
- A carpet roller, about 18 inch, to press the pile down and bond it evenly.
- Plywood or stiff cardboard for making templates of hatches, consoles and odd corners.
- A pneumatic stapler and stainless steel staples for wrapping carpet under hatch lips and edges.
- Chalk, a tape measure and a straightedge for marking grain direction and cut lines on the back of the carpet.
- Adhesive remover or mineral spirits for stripping old residue and cleaning squeeze-out.
- Masking tape to mark the grain direction on finished pieces once they are cut.
Which Way Does the Carpet Grain Go?
Marine carpet has a grain, which is simply the direction the pile fibres all lean. Every piece you lay must run the same way, and this is the mistake that is hardest to fix once the adhesive is down.
Find the grain by running your hand along the surface. One direction feels smooth and the other feels bristly, and the smooth direction is the direction the pile lies down. Lay a hand on the carpet in a shop with the light behind you and the lean is usually obvious.
Mark it before you cut. On the back of every piece, draw a pair of chalk arrows pointing in the grain direction, the way an experienced installer on the iboats forum recommends, and carry that mark through to the final piece. If you glue two pieces down with the grain running opposite ways, the reversed patch catches light differently and reads as a slightly different colour, and no amount of cleaning fixes it.
Practical rule: choose one direction for the boat, usually bow to stern along the longest run, and hold it across every piece including the hatch lids.
How to Fit Marine Carpet in a Boat: Step by Step
This is the core of the job, and the order matters more than the speed you work at. Work in small sections rather than trying to glue a whole deck in one go.
Step 1: Strip the Boat Down
Unbolt and lift out every seat base, console, locker lid, storage box and trim panel that will be screwed back down on top of the carpet. Trying to run carpet under a fitted console is slow, frustrating and usually produces a bad result. This is the advice the iboats regulars give first, and it is the right advice.
Bag and label the hardware as you go, and photograph the layout before anything comes off. Reassembling a boat from memory is the least enjoyable part of the whole project.
Step 2: Remove Old Carpet and Adhesive Residue
Pull the old carpet up in as large a sheet as it will come. Where it refuses, slide a thin putty knife or flat bar underneath and work slowly, because the goal is the deck underneath, not a battle with residue.
Old carpet adhesive comes up in smears rather than sheets. Soften it with oven cleaner or a heat gun, let it sit, then scrape it off with a flat blade. Clean the last film with adhesive remover or mineral spirits, and wipe the deck down with a clean rag until your hand leaves no residue on it.
Step 3: Repair and Check the Deck Is Bone Dry
Patch any dents, punctures or soft spots in the deck. Sand medium-grit over fibreglass gelcoat or bare metal if the surface is glossy, because a smooth, chalked surface grips adhesive better than a polished one.
Then check for moisture properly. The test that circulates in Australian installation guides is to tape a sheet of clear plastic down over the deck overnight and look for condensation in the morning. If you see any, there is water in the deck and no adhesive will hold.
On an aluminium hull, soap and water with a thorough dry-down is the standard prep, and glue-down carpet over aluminium is widely reported to work once the surface is properly dried.
Step 4: Measure, Template and Dry Fit Every Piece
Never cut from a tape measure alone. Make a template from thin plywood or stiff card for each opening, trace it onto the carpet, and label the piece with its location.
Lay each cut piece in place dry and check it fits before any adhesive goes down. This dry fit is the single most repeated instruction across the boating forums and the expert answers on the question sites, and every one of them says the same thing: lay the carpet to check fit and alignment before applying glue.
Fit everything, including the hatch surrounds and the lids, then take the pieces back up. A dry fit takes twenty minutes and saves you an evening with a glue gun full of carpet cement and nowhere to put the carpet.
Step 5: Mark Grain Direction on the Back
With the pieces cut and identified, chalk arrows on the back of each one showing the grain direction. Tape a corresponding mark to the face of the finished piece so you cannot lose the reference during installation.
Step 6: Cut With a Sharp Carpet Knife, From the Back
Always cut from the back of the carpet. The blade slices the backing first rather than severing pile fibres from the surface, and it is the reason a back-side cut stays crisp. Use a straightedge for anything long and change the blade the moment it drags.
The single most repeated complaint in the forum corpus is carpet fraying and unravelling along every cut edge, and it is almost always the knife, not the carpet.
Step 7: Apply Adhesive in Manageable Sections
Spread adhesive with a notched trowel in sections you can cover before it grabs, usually one bay of the deck at a time. Keep the trowel angle consistent so coverage is even, and scrape excess back into the tin rather than onto the deck.
Wait out the tack time printed on the tin before you lay anything. Contact-style adhesives grab quickly, so you get one chance to position the piece. Position it slightly proud and slide it into place rather than dropping it and dragging it.
Step 8: Set the Carpet, Roll It Down and Trim
Set the piece, press the pile down by hand from the centre outwards, then roll the whole section with the carpet roller. Roll in both directions to force out trapped air, because bubbles are the other complaint that shows up repeatedly in owner posts.
Let the section cure before you start the next one. Rushing across a deck gives you a finish that lifts at the joins.
Step 9: Finish Edges, Seams and Hardware
Trim the perimeter with the knife, leaving a small overhang that tucks under a trim board or edge. Wrap carpet under hatch lips and hardware returns, and secure it with a pneumatic stapler and stainless staples so rust never streaks the deck.
Wipe squeeze-out off the surface with a damp cloth before it cures, and seal any seam with a marine-grade seam sealer. Where carpet meets vinyl or bare fibreglass, a transition strip covers the raw edge and gives you something to grip when stepping across.
Cutting Marine Carpet Without Fraying
Fraying is a blade problem, and four habits stop it completely.
- Cut from the back so the backing is severed before the pile fibres.
- Use a real carpet knife with a multi-edge blade, found in the flooring aisle of a hardware store, not the tool aisle where utility knives live.
- Change blades constantly. A dull blade drags the pile instead of cutting it, and that drag is the fringe you find three months later.
- Use a straightedge and cut in long, confident strokes rather than short nibbling cuts that wander across the grain.
Fitting Carpet Around Deck Hatches and Hatch Lids
Cut the floor piece smaller than the hatch opening, not the same size as it, so the carpet edge can wrap underneath. This is the opposite of instinct and it is the detail that decides whether a hatch surround looks professional or homemade.
Cut the hatch lid as a separate piece sized generously to overhang the lid edges on all sides, since the lid is the one surface people stand on and a tight fit shows every edge. Owners report running out of carpet mid-job for exactly this reason: the surrounds and the lids need their own oversize pieces, and the offcut from a large opening often will not cover a smaller lid.
Measure your longest hatch first, then order enough extra length on top of your floor area to cover it. Wrap the surround under the lip and secure with a pneumatic stapler and stainless staples, keeping the staple line even and about half an inch back from the edge so it does not show through.
Seaming Two Carpet Runs Together
When one run is not wide enough, butt the two pieces together with the pile running the same direction in both. Do not overlap them, because an overlapped step catches underfoot and wears through.
The technique that gets recommended on the ausfish forum is to slip a thin strip of rubber, roughly 150 to 200 millimetres wide and the length of the run, under the joint and bond it with contact cement. The strip carries the seam and stops the two edges unravelling into each other. Trim the excess backing, roll both halves down firmly, and run a seam sealer along the joint once it has cured.
Preparing Different Boat Deck Materials
Boat carpet will stick to anything once the surface is clean, dry and not glossy. The differences are worth knowing before you open the tin.
Aluminium. Wash with soap and water, dry thoroughly, and bond away. Glue-down is widely reported to hold permanently on aluminium as long as the surface is bone dry, so the real risk is moisture, not the metal itself. A light scuff with medium grit helps if the deck is polished.
Plywood. Check for soft or delaminated spots and replace or patch them first, because adhesive follows weakness. Sand any sealed or painted surface back to bare timber, and keep the deck dry throughout the cure.
Fibreglass. Sand the gelcoat with medium grit to give the adhesive something to key into, fill any chips or gouges, and confirm dryness with the plastic-wrap test before you start. A water-resistant coating can be applied a day ahead of the fit-out as extra insurance against the deck taking on water.
Choosing Your Marine Adhesive
Use a non-latex, marine-grade carpet adhesive. Household contact cement, construction adhesive and general-purpose carpet glue are all poor fits, because none of them stays flexible in cold water or handles the heat a closed boat cabin reaches in summer.
Three types come up in practice, and they behave very differently.
Contact cement, including the carpet cement sold in tins under names like Weldwood, grabs almost immediately and gives the hardest bond. Its weakness is that there is almost no correction window, so every piece must be right the first time. The community standard choice, recommended over and over on the boating forums, and the right pick when you are confident in your dry fit.
Carpet cement in heavier-duty tubs is slower, wetter and gives you several minutes to slide a piece into alignment. Slower grab means a slightly softer long-term bond, and it is far more forgiving on a first attempt.
Urethane or two-part boat carpet glue is the most expensive option and the most water-resistant, curing into something close to a rigid bond. It is overkill for a deck that stays dry and worth considering for a boat that lives in the rain or takes standing water constantly.
Whichever you pick, respect the difference between tack time and cure time. Tack time is when it grabs enough to move, cure time is when it reaches full strength, and you can walk on it long before you should be worried about hitting it with a toolbox. Plan to keep the deck dry for the full cure listed on the tin.
Common Problems and How to Fix Them
Almost every complaint in the owner forums falls into one of six buckets, and every one of them has a cause you can avoid next time.
Bubbles and hollow patches. Too little pressure, too much open time before setting, or a carpet that was not rolled. Lift gently, re-spread adhesive underneath, and roll again from the centre out.
Lifted edges. Adhesive squeeze-out that wicked into the pile and wicked the edge back up, or not enough staple coverage on a hatch lip. Trim the fringe, re-bond the edge and add staples.
Frayed cuts. A dull blade, cutting from the front, or short strokes. There is no repair once the pile frays, so trim the edge back to sound material and seal it.
Reversed patches. A piece laid against the grain. It cannot be flipped after the fact, so the fix is preventive: chalk arrows on every piece before you cut.
Adhesive bleed-through. Too much adhesive, too long an open time, or a trowel held at the wrong angle. Press harder with the roller and clean squeeze-up with mineral spirits before it cures.
Old residue that will not lift. Layered adhesive under a window in the deck that will never come clean. Sand or abrade it flat and bond over it with a good adhesive, rather than chasing it forever with a scraper.
Looking After New Boat Carpet
Vacuum the deck as soon as the adhesive has cured, before the fibre sets around any grit dragged in from the trailer ramp. Hose it down with fresh water after a wet outing, and dry it, because standing water is what feeds mildew and algae under the pile.
Treat the deck with a boat-safe anti-mildew and anti-algae product once or twice a season and the carpet keeps its colour far longer. If a stain will not shift, spot-clean it rather than scrubbing, which damages the pile. Full replacement usually takes a long weekend once the interior is stripped, so a clean deck is what keeps you off the tools.
Frequently Asked Questions
How do I install marine carpet on my boat?
Strip the interior out, remove all old carpet and adhesive, repair and dry the deck, template and dry fit every piece, mark the grain direction, cut from the back with a sharp carpet knife, then glue down in small sections with a marine-grade adhesive, roll each section, and trim and staple the edges. Leave the full cure time before you refit the boat.
What do you stick marine carpet down with?
A non-latex, marine-grade carpet adhesive. Carpet cement sold in tins, often under the Weldwood name, gives the hardest bond and grabs almost immediately. Slower-grab carpet cement tubs give you a few minutes to align a piece, and urethane or two-part glue gives the most water resistance. Avoid household contact cement and general-purpose carpet glue.
How much does it cost to put carpet in a boat?
The dominant cost is carpet, and it scales with deck area, pile weight and how many hatch surrounds and lids you need oversize pieces for. Add adhesive, a replacement carpet knife, blades, staples and a roller. The labour side is a full long weekend for a first-timer on a mid-size boat, or a day if you have fitted carpet before.
Is boat carpet easy to install?
It is one of the more approachable boat jobs, because it is soft material and the tools are ordinary. The hard parts are discipline rather than strength: dry fitting every piece, keeping the grain consistent, cutting from the back with a sharp blade, and not cutting a hatch surround too large. Get those right and the rest is straightforward.
What is the difference between 16 oz and 20 oz boat carpet?
The numbers describe pile weight per square yard. At 16 oz the carpet is lighter, softer, cheaper and easier to work, and suits enclosed cabins and light-use boats. At 20 oz the pile is deeper and denser, sheds water and grit better, resists wear longer and stands up to a wet working deck. Most anglers go 18 oz as a middle ground.
How do I keep carpet from fraying when I cut it?
Cut from the back of the carpet so the backing is severed before the pile fibres. Use a true carpet knife with a multi-edge blade rather than a standard utility knife, keep a metal straightedge on long cuts, take long strokes rather than nibbling, and change the blade the instant it starts to drag.
Which way should boat carpet grain face?
The grain is the direction the pile fibres lean, felt by running your hand both ways. Pick one direction for the whole boat, usually bow to stern along the longest run, and mark it with chalk arrows on the back of every piece before you cut. A reversed piece catches light differently and reads as a different colour.
Do I need to remove old carpet before installing new carpet in a boat?
Yes, in almost every case. New adhesive will not bond reliably over old carpet or over old adhesive shadow, and the old layer hides water damage and soft spots you will want to find. Pull the old carpet, scrape and chemically clean the residue, then check the bare deck is dry before you start.
What are the common problems with carpet adhesive?
Bubbles from not rolling the section properly, lifted edges from squeeze-out wicking into the pile, bleed-through from too much adhesive or too long an open time, and old residue that never lifts cleanly. All four come back to preparation and pressure: clean surface, correct coverage, respect the tack time, and roll firmly from the centre out.
Can you fit new boat carpet over the old one without removing it?
You can, and it is occasionally the only option on a boat with a deck cavity you cannot access, but treat it as a repair rather than a refit. The new carpet goes on top, the pile doubles in height, moisture gets trapped between the layers, and the old adhesive shadow stops a proper bond. Expect to replace both layers within a season or two.
Wrapping Up the Fit-Out
That is the whole job. Strip it, dry it, template it, mark the grain, cut from the back with a sharp blade, glue down in small sections and roll every one of them.
Most first attempts go well because the fit-out is forgiving, but only if you dry fit before you glue and keep the grain running the same way across every piece. If you get those two right, learning how to fit marine carpet in a boat stops being a project and starts being a weekend.