
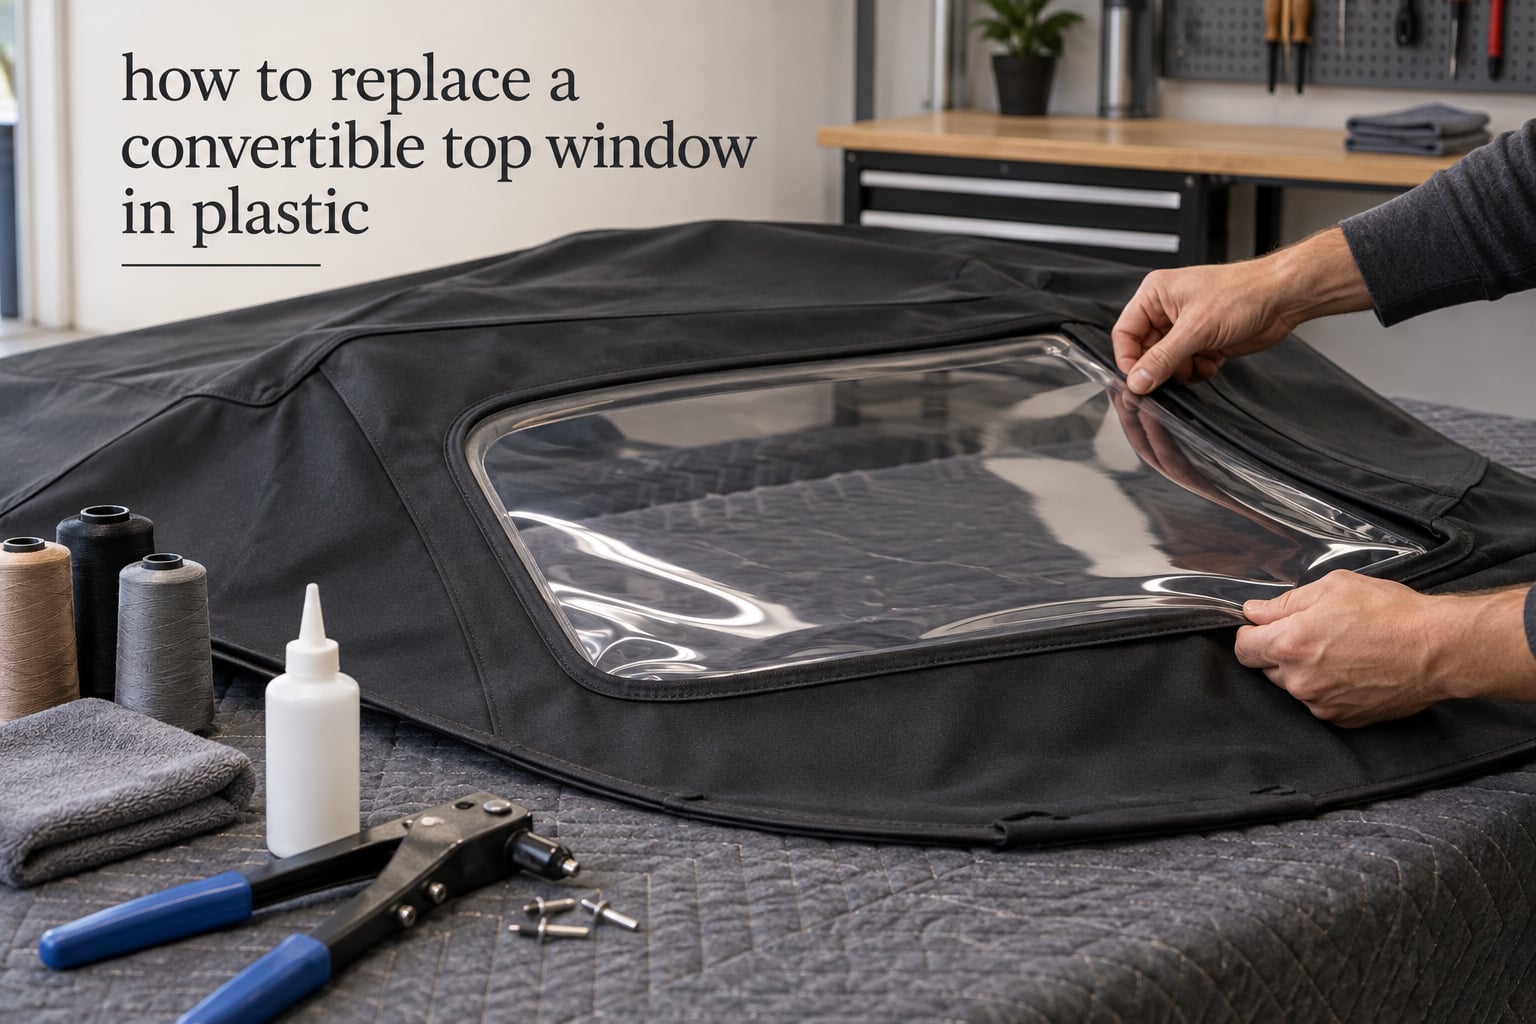
A cracked, yellowed, or peeling rear window is the most common failure point on a soft-top convertible, and it usually shows up long before the fabric does. The good news is that the plastic window on most convertibles can be replaced without buying a whole new top. The bad news is that the job changes completely depending on whether your car wears a one-piece or a two-piece top, and the wrong path wastes an entire weekend.
This guide walks through how to replace a convertible top window in plastic, starting with how to tell which kind of top you have and ending with the tools, adhesives, and troubleshooting notes that decide whether the repair holds. We have read through the owner write-ups, forum threads, and shop process descriptions that owners actually use, so you get the same sequence a working restorer follows rather than a generic summary.
Read the identification section first. It takes two minutes and determines everything that follows.
Table of Contents
- Quick Answer: Can You Replace Just the Plastic Window?
- How to Tell If You Have a One-Piece or Two-Piece Top
- How to Replace a Convertible Top Window in Plastic: Three Repair Paths
- Choosing an Adhesive: E-6000 vs Gorilla Glue vs Silicone
- What a Window Repair Costs Compared With a New Top
- Should You Convert to a Glass Window?
- Try Polishing the Plastic Before You Replace It
- Tools and Materials Checklist
- Vehicle-Specific Notes: Miata, Corvette, Porsche, BMW, Alfa Romeo, Mustang
- Troubleshooting Common DIY Failures
- Cold Weather Precautions and Plastic Window Care
- Temporary Fixes: What Not to Do
- Frequently Asked Questions
- Can you replace the back window of a convertible top?
- What is the best glue to use for convertible top glass?
- Can you replace a car window by yourself?
- How to cover a broken car window with plastic?
- Can I replace a broken window pane with plexiglass, and if so, how?
- What is the average lifespan of a convertible top?
- Can you tint a plastic convertible window?
- Final Word
Quick Answer: Can You Replace Just the Plastic Window?
Yes on a two-piece top. No on a one-piece top, at least not without sewing.
On a two-piece convertible top, the roof panel and the window curtain are separate pieces. The curtain unzips or unbolts, and you can buy a replacement section sized for your car and bolt it in on your driveway. This is a genuine part-for-part swap with no sewing and no adhesive.
On a one-piece top, the window is bonded and stitched into a single piece of fabric that includes the side rails. The factory bond between the PVC window and the top material is what holds your roof up. There is no consumer way to un-bond and re-bond that layer and end up with a roof that is structurally sound, so the window has to be cut out and a new one sewn into the existing fabric. That is a job for an upholstery shop, and it is a job many careful owners do themselves with a sewing-and-glue hybrid method.
If your window is merely hazed rather than cracked, stop and read the polishing section before cutting anything. A lot of windows that look destroyed come back with a weekend of careful abrasive work.
How to Tell If You Have a One-Piece or Two-Piece Top
The quickest test is visual: put the top up and look at the shape from the side.
A one-piece top has a single continuous skin that runs from the windshield header rail, over the roof, and down the back of the car, with the side rails sweeping all the way down. There is no seam break anywhere along the side, and the top attaches to the body at the rear quarters and the header rail as one assembly. Most convertibles built from the late 1990s onward use this design, and it is the standard on Mazda Miatas, fourth-generation Corvettes, Porsches, BMW Z cars, Alfa Romeos, and Ford Mustangs.
A two-piece top has a visible break partway along the side. The roof panel is a separate, relatively flat section that stops above the door line, and the window curtain hangs behind it as its own piece. Between the two there is a seam, a latch, or a run of fasteners you can see and feel with your hand. Cars built before roughly 2000 in the US market are the usual candidates, along with some older Toyotas and SAABs.
If you still cannot tell, open the trunk with the top down and count the pieces stacked inside. Three separate folded sections means two-piece. One long folded slab means one-piece.
A third category exists and it catches people out: aftermarket tops. Some replacement tops are glued or screwed permanently into the original frame, and some aftermarket windows are not sized to the factory pattern. Owners on the Miata and Mustang forums ask this constantly, and the consistent answer is to check with the seller before cutting anything, because an aftermarket window may not match the factory stitch line.
How to Replace a Convertible Top Window in Plastic: Three Repair Paths
There are three realistic ways to get a new plastic window into your top. Which one you can use is decided by your top type, and which one you should use is decided by your tolerance for a visible seam and a weekend of work.
- Path A, curtain swap: two-piece tops only. Buy a replacement window curtain section and install it. No sewing, no glue, no risk to the roof skin.
- Path B, professional sewing: one-piece tops. Remove the top, hand it to an upholstery shop, and let them cut out the old window and sew a new one into your existing fabric. This is the route most owners end up taking.
- Path C, DIY sewing and glue hybrid: one-piece tops, experienced owners only. You do the cut, the stitch, and the adhesive seal yourself and accept a slightly imperfect finish in exchange for a much smaller bill.
Full top replacement sits outside these three. It is the fallback when the fabric itself is torn, the stitching has failed across a seam, or the previous repair did not hold. The rest of this guide covers the window repair paths first, because a sound top with a ruined window is the far more common situation.
Option 1: Professional Upholstery Shop Sewing
This is the best long-term result for a one-piece top, and it is what the forum consensus points to.
The process is straightforward. You remove the top from the car yourself, take it to the shop, and the upholsterer unpicks or cuts out the old window, trims the new panel, and sews it into the existing fabric with a heavy thread. They then finish the raw bond line with a seam sealer. On a well-run job the new window is visually indistinguishable from factory.
Owners on the Rennlist and CorvetteForum boards all describe the same handoff: do not cut anything yourself before you get a quote. One C4 owner posted that the shop trimmed the old window out after the new one was sewn in, and the total was in the same range as a dozen other reports. The pattern across those threads is a modest, predictable figure with same-day service being common, which is far better value than a full top replacement.
What to ask when you call:
- Do you work on convertible soft tops specifically, or general automotive upholstery?
- Have you done this top type before, and can you match the stitch pattern?
- Do you want the top brought in as a loose assembly, and do you supply the window panel?
- What is the turnaround, and what does the quote include for seam sealing?
One practical note: the shop will usually ask you to bring the window panel, or they will source one for you. Buy the panel from a top and interior supplier who can confirm the part fits your specific year and top brand, not a generic universal panel.
What you are really choosing between here is spending a fraction of the cost of a whole new top, or spending the whole amount for a car that is fully sorted. That gap is why the shop route keeps winning owner votes.
Option 2: DIY Sewing and Glue Hybrid Repair
This is a real method with real published results, not a hack. The most detailed write-up I found is a Porsche 996 owner on Rennlist who documented a multi-step sewing and gluing process, noted that the visual result was not perfect, and followed up months later to confirm it still did not leak. That update is the single most useful data point in the DIY corner of this topic.
The logic is that sewing provides the mechanical strength and glue provides the waterproof seal. Stitching alone leaves a needle-hole path for water. Glue alone fails at the flex points where the top moves. Together they do both jobs.
- Remove the top from the car first. Work on a clean table, never on the car. The following section covers the removal in detail.
- Inspect the existing bond line. Look at the window edge all the way around. Note where the old adhesive has already released and where the fabric is still firmly attached.
- Warm the top before you cut. Cold PVC is brittle. A hair dryer or a heat gun on low, worked across the panel in passes, keeps the material flexible. Owners report that warmth alone prevents the cracking that ruins this job.
- Cut out the old window from the outside in. Take a thin strip, about a quarter inch wide, off the old panel. Leave the stitched seam and the header attachment untouched. If the header rail is vinyl-coated and bonded, treat it as part of the top and cut carefully around it.
- Strip the remaining old adhesive off the fabric. A plastic scraper or a stiff brush works. Mask the surrounding fabric so you do not chew it up.
- Dry fit the new panel and trim it. Leave a consistent overlap on all four sides. A generous overlap gives you more material to sew into and hides the old bond line.
- Plan the stitch line before you sew. Mark it in a contrasting pen. The experienced owner whose write-up gets referenced most often specified a stitch length of about three sixteenths of an inch.
- Sew with a heavy thread on a machine that can handle it. A walking foot helps. If you have never sewn thick coated vinyl, this is the step to practice on scrap first. Poor tension is the number one cause of a repair that looks fine and leaks anyway.
- Trim the excess leaving a small, even allowance. A ragged allowance is what makes a DIY job look amateur from a few feet away.
- Apply the adhesive along the seam. Run a consistent bead and keep it inside the allowance. Excess adhesive that squeezes out and cures hard looks worse than a clean stitch line. See the adhesive section for the right product choice.
- Clamp and let it cure completely. Clamps along the whole seam, overnight, without squeezing the panel out of flat. Owner reports consistently stress that clamping is where most DIY attempts go wrong, and a warped panel will never sit square in the frame.
- Reinstall the top and test for leaks before you trust it. A hose test in the driveway, then a full check after a rain.
Be realistic about the finish. The Porsche owner called his result not perfect visually. If appearance matters more to you than cost, this is the wrong path and you should use a shop.
Step-by-Step: Removing the Convertible Top From the Car
Budget roughly three hours for a first attempt. The job is not technically difficult, it is just fussy, and rushing it is how people bend a bow or snap a plastic trim piece.
- Open the top fully and let the frame settle. Give the mechanism a moment to reach its full travel position before you touch anything.
- Disconnect the wiring and any connectors. On cars with a power top, unplug before working around the frame. On manual tops, note the cable routing and the order the cables pass through their guides so you can reverse it later.
- Release the bow or header assembly from the windshield header rail. This is usually a series of clips or a set of screws. Work from one side to the other and keep all hardware in a labeled tray.
- Lower the side rails away from the body. On most designs the rear of each rail slides out of a channel or clears a stud. Support the top as it releases so the weight does not twist the front fitting.
- Lift the rear of the top out of the well or the area behind the seats. Some cars need the seat backs forward first.
- Have a second person help with the large panels. Full one-piece tops are long and awkward. The forward two-piece roof sections are much lighter and easier to handle alone.
- Place the top on a padded surface, fabric side up. Concrete floors and saw horses are the two things you must not set a top on.
- Refit in reverse order. When the top goes back on, make sure the bow is seated in the header rail before you force the rails into their channels. If it will not seat, something is out of position and pulling harder will only break something.
A rivet gun is genuinely useful here and is the one tool owners most often regret not buying. It is inexpensive, widely stocked at hardware and auto supply stores, and it handles the small fasteners found in header rails and trim retainers far better than pliers.
Choosing an Adhesive: E-6000 vs Gorilla Glue vs Silicone
E-6000 is the answer that comes up most often in owner write-ups, and it is the one I would use first. It is a clear, flexible, waterproof adhesive that stays slightly rubbery once cured, which matters because the seam flexes every time you raise or lower the top.
The 6800 variant of the same family is described as the tougher, more automotive-grade option and is worth seeking out if you can get it.
Gorilla Glue, in its expanding foam form, shows up in these threads as well. It is extremely strong and it is a poor fit for this job, because the expanding foam cures rigid and can lift the panel out of flat. If you use it, keep the bead very small and confine it to the allowance.
Silicone sealant is the option to avoid as a primary bond. People reach for it because it is waterproof and flexible, but it grips poorly on coated top fabric and it is not designed to carry a structural seam.
| Adhesive | Flex | Waterproofing | Verdict |
|---|---|---|---|
| E-6000 | Stays flexible | Strong | Best all-round choice |
| E-6800 | Stays flexible | Very strong | Best if you can source it |
| Gorilla Glue foam | Rigid when cured | Strong | Use sparingly, small bead |
| Silicone sealant | Very flexible | Strong | Not for the main bond |
| Contact cement | None once set | Poor | Avoid |
Whichever you pick, apply it to a clean, dry, warm surface and give it a full cure before you reinstall. A seal that is tacky when you put the top back up will never fully harden properly, because it is compressed and starved of air at the same time.
What a Window Repair Costs Compared With a New Top
The economics here are why so many owners repair rather than replace. This comparison is relative rather than a quote, because figures move and a shop will give you the real number, but the order of magnitude is stable.
| Path | Relative cost | Skill needed | Result |
|---|---|---|---|
| Two-piece curtain swap | Lowest | None | Factory appearance |
| Professional window sewing | Low to mid | None | Near factory appearance |
| DIY sewing and glue | Low | High | Functional, visible seam |
| Glass window conversion | Mid to high | Professional only | Heavy, changes the car |
| Full top replacement | Highest | Professional only | Factory appearance, new top |
| Polycarbonate or plexiglass patch | Lowest | Moderate | Temporary |
Read down the second column and the decision gets simple. A window repair is a fraction of a top replacement in most cases, which is exactly the argument C4 owners were making when they recommended taking the top off and taking it to an upholstery shop instead of buying a new top.
The one situation where full replacement makes sense is when the top fabric is already compromised. If the seams are split, the headliner is torn, or a previous repair has pulled threads out of the rail, you are sewing into damaged material and the result will not last.
Should You Convert to a Glass Window?
It is a genuine option, and CorvetteForum owners cover it in more detail than anyone else, but it is a modification rather than a repair.
The arguments for glass: it does not yellow, haze, or crack with cold. You can tint it. A defroster grid can be built into it, which a plastic window with a factory radio antenna or a delete-style panel cannot match. It is the single biggest quality-of-life upgrade available to a convertible owner who plans to keep the car.
The arguments against: glass is heavy, and that weight sits high at the back of the car. Owners repeatedly cite reduced trunk or cargo space, which matters more in a small roadster than in a large touring convertible. The center of gravity changes. The conversion costs considerably more than a window repair and can only be done properly by a shop.
My take: if your car is a Miata, an Alfa Romeo Spider, or a Z3 and the rear cargo area is already tight, the weight and space penalty is real and you will feel it. If you drive a large convertible with a deep trunk and you are committed to the car, the improvement in daily usability is worth a proper conversion.
Do not attempt a glass conversion as a weekend project. It changes the structure of the top, not just a panel.
Try Polishing the Plastic Before You Replace It
Yellowing and light surface scratches are a different problem from a crack, and they respond to abrasive polishing. This is the cheapest fix available and the one most people skip out of frustration.
Owner reports mention Diamondite Vinyl System, Flitz, and micro-mesh kits as the products that actually moved the needle. The process is progressive: you work through finer and finer abrasive and finishing stages, cleaning between each pass, and you keep going until the haze stops improving.
There is a real limit. Owners on the C4 board are candid that aggressive polishing can split the plastic, because the material has already lost the plasticizers that kept it flexible. Once a window has been exposed for years, the abrasives can cut through faster than the surface can recover.
So polish only when the damage is haze and light scratching. Stop the moment you see whitening or a fuzzy edge, because that is the material telling you it is done. If there is any crack, any delamination at the corners, or the window is already peeling away from the fabric, go straight to replacement. No amount of polishing fixes a structural failure.
Tools and Materials Checklist
No competitor I reviewed publishes a clean list, so here is ours, split by what each path actually requires.
Two-piece curtain swap:
- Replacement window curtain section matched to your year and top brand
- Basic hand tools for the retainers and latches
- Nothing else, honestly
Professional sewing, your side of the handoff:
- A rivet gun for header rail and trim fasteners
- Trim removal tools so you do not mar clips
- A padded work surface and a second set of hands
DIY sewing and glue hybrid:
- Replacement PVC or vinyl window panel, matched to the top pattern
- E-6000 or E-6800 adhesive
- Heavy-duty thread and a machine that can handle coated vinyl
- Clamps, and enough of them to cover the whole seam
- A hair dryer or low-heat gun
- Scrapers and a brush for removing the old adhesive
- A plastic polish kit if the new panel needs its edges softened
- Masking tape and a contrasting marking pen
One thing to buy before anything else: a scrap of the same top material if you can get it. Practice the stitch on that first. Every owner who reported a good result mentions having rehearsed the sewing.
Vehicle-Specific Notes: Miata, Corvette, Porsche, BMW, Alfa Romeo, Mustang
Two-piece tops on early cars open up the easy path, and it is worth confirming before you assume you have a sewing job ahead of you.
Mazda Miata. Most NA and NB generation Miatas use a two-piece top with a separate window curtain, which is the good news: the rear window section can be swapped without any sewing. The recurring question in the Miata community is whether the window is replaceable on an aftermarket top, and the answer there is that you need to confirm the panel matches the aftermarket pattern rather than the factory one.
Chevrolet Corvette. C4 and later Corvettes use a one-piece top, so this is a sewing job. C4 owners are the strongest advocates for taking the top off and using an upholstery shop, and the same owners are the ones who point out that glass conversion is a real option if you want to upgrade once. Polishing is very common on C4s, and the advice is to work gently.
Porsche 996 and 997. These are one-piece tops and the best-documented DIY case in the entire topic, thanks to that Rennlist write-up. The 996 community established that a sewing and glue hybrid can hold for a year or more without leaking, provided you sew it properly and clamp it overnight.
BMW Z3 and Z4. One-piece tops with a bonded rear window, so sewing. Owners on the MINI and Z communities hit the same cold-weather brittleness problem, and the hair-dryer-while-you-work tip comes straight out of those threads.
Alfa Romeo Spider. One-piece tops on the later cars, which means a sewing job and a shop visit is the sensible route. The small cabin and limited cargo space make the glass conversion a poor trade here.
Ford Mustang. Newer Edge-era Mustangs use a two-piece top, so the curtain is replaceable as a unit. The NewedgeMustang community consistently answers the same question: yes, the window is a separate section, and no, you do not need to buy a whole top.
Troubleshooting Common DIY Failures
Almost every failed DIY window repair traces back to one of four things. Knowing them in advance is most of the battle.
It leaks anyway. The stitch was too loose, the thread tension was uneven, or the seam was never sealed. A sewing machine that is not set up for coated vinyl produces a seam that looks fine and leaks through the needle holes. Test with a hose before you reassemble.
The panel sits crooked or wavy. The clamp pressure was uneven, the panel was cut out of square, or expanding foam got between the layers and pushed it out of flat. Clamp with even pressure across the entire seam and never over-tighten.
The seam looks messy and hardened glue is showing. Too much adhesive was applied and it squeezed out and cured proud of the surface. Less is more. Wipe the excess while it is still wet and keep the bead inside the allowance.
The new corners delaminate within a few months. This is the most reported recurring failure. The corners take the most stress as the top cycles, and if the overlap is too narrow there, the bond has nothing to grab. Give the corners extra overlap and extra stitching, and consider an additional bead of adhesive at each corner.
The plastic cracked while you worked on it. It was too cold and too brittle. Warm the panel before every cut, not just once at the start.
One more diagnostic worth knowing: if the water test fails only at one corner and the rest of the seam is dry, you are looking at a corner stress failure and not a seam problem. Reinforce that corner rather than redoing the whole seam.
Cold Weather Precautions and Plastic Window Care
Plastic rear windows fail in cold weather because PVC loses flexibility as the temperature drops and because plasticizers leach out of the material over years of UV exposure. Below roughly 30 degrees the material becomes noticeably more brittle, and that is when cuts and handling cause cracks.
The practical rule: never work on a plastic window when the top is cold to the touch. Warm it first with a hair dryer or a heat gun on low, working in passes so you do not cook one spot, and keep it warm through the whole job.
For daily care, clean with a soft cloth and a plastic-safe cleaner rather than a glass cleaner with solvents in it. Keep the top stowed in a dry, shaded place when it is not up, because UV exposure drives plasticizer loss faster than anything else. A fitted indoor cover slows that down more than anything you do to the window itself.
If you must drive with a damaged window in genuinely cold weather, treat it as a temporary measure. A brittle panel with an existing crack can shift and split further as the temperature changes, and a failed window in a snowstorm leaves you with both a visibility and a water problem at once.
Temporary Fixes: What Not to Do
Tape is not a repair. Owners and suppliers are consistent on this, and it is worth being blunt about it because it is where a lot of people start.
Clear packing tape across a crack will hold for a few weeks and then fail, and it leaves adhesive residue on the plastic that makes the eventual repair harder. Silicone sprayed over a hole is a weather barrier, not a structural fix, and it does nothing for the bond between the window and the fabric.
If you need a short-term cover to keep rain out of the cabin, a fitted external cover is far more sensible than anything you tape onto the window. And if the window is already delaminating at the corners, a temporary fix only delays the point where the fabric itself starts to wicking water.
The one exception where a temporary approach is reasonable: a windshield or rear window on a hardtop, covered with a taped sheet, purely to get you home. That is a different situation from a soft top, where water finds every path through the fabric.
Frequently Asked Questions
Can you replace the back window of a convertible top?
Yes, on a two-piece top the window curtain is a separate section that unzips or unbolts, so you can swap it without any sewing. On a one-piece top, the window is bonded and stitched into the top skin, so it has to be cut out and a new panel sewn in, usually by an upholstery shop. A careful DIY sewing and glue hybrid is possible, but the result will not look factory.
What is the best glue to use for convertible top glass?
E-6000 is the most commonly recommended adhesive for a convertible top window because it stays flexible once cured and bonds well to coated top fabric. The automotive-grade E-6800 is even tougher if you can source it. Avoid silicone sealant as the primary bond, and use expanding foam glue sparingly since it cures rigid and can push the panel out of flat.
Can you replace a car window by yourself?
On a two-piece top with a separate window curtain, yes, this is a straightforward driveway job. On a one-piece top, you can do it yourself if you have a sewing machine that handles coated vinyl, clamps, and patience, but the finish will not match factory workmanship. If appearance matters, an upholstery shop is the better call.
How to cover a broken car window with plastic?
Taping plastic or packing tape over a soft-top window is a short-term cover only, not a repair. It typically fails within weeks and leaves adhesive residue that complicates the real fix. A fitted external top cover is a better short-term answer for keeping rain out, and it does not touch the window material at all.
Can I replace a broken window pane with plexiglass, and if so, how?
Polycarbonate or plexiglass can be cut to fit as a temporary or budget fix, but it is not a good long-term substitute for the original PVC window. It scratches more easily, it does not flex with the top, and UV exposure will cloud it faster. For anything beyond a season or two, sew in a proper replacement window panel instead.
What is the average lifespan of a convertible top?
A well-maintained soft top commonly lasts somewhere in the region of ten to fifteen years, but the rear window usually fails well before the fabric does. UV exposure drives plasticizer loss out of the PVC, which is why the window yellows, hazes, and cracks while the top material still looks fine. This is the normal order of failure, not a sign that something was done wrong.
Can you tint a plastic convertible window?
You can film a plastic convertible window, but most films are designed for glass and rely on the substrate being optically clear and dimensionally stable. Bonding film to a plastic window that is already hazed or has lost plasticizers usually makes the haze more visible rather than hiding it. A glass window conversion is the cleaner route to tinting.
Final Word
Learning how to replace a convertible top window in plastic comes down to one question: one-piece or two-piece. If you have a two-piece top, you have a weekend project and a driveway. If you have a one-piece top, you have a sewing job, and you should decide honestly whether you want the result or the savings.
Before anything else, confirm your top type, warm the plastic before you touch it with a blade, and test any polished window gently enough that you can stop before you split it. Then buy the panel that matches your specific year and top brand, because that part is the one place a wrong guess ends the job.
Our advice at Segal Motor Trimmings is to polish first if the damage is cosmetic, sew professionally if the finish matters to you, and treat any temporary tape or sealant as exactly that: temporary.