
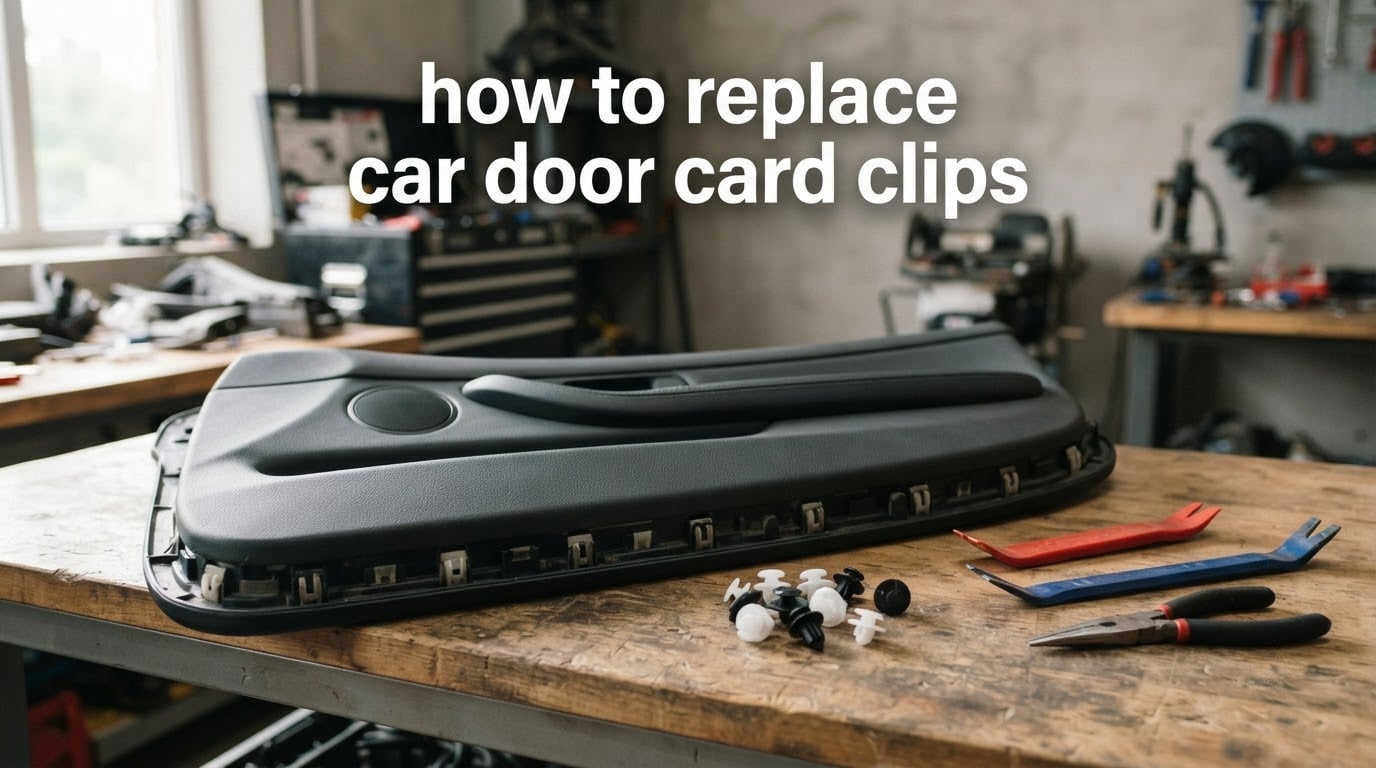
If your interior door panel rattles when you hit a bump, or you have already pulled a panel off and snapped a few fasteners in the process, you are in the right place. In this guide, I will walk you through exactly how to replace car door card clips using the same methods our shop team uses on classic restorations and daily-driver repairs alike.
Replacing door card clips is one of the most common DIY auto repair tasks. The clips are small plastic or metal fasteners that secure the door panel to the door shell. When one breaks, the panel sits loose, rattles, or falls inward. The fix is simple once you know which clip fits your vehicle, the right tool to use, and the order to remove everything. I will cover all three.
Table of Contents
- What Are Door Card Clips and Why Do They Fail?
- Tools You’ll Need
- Common Clip Types and How to Identify Them
- Step 1: Remove Door Panel Screws and Trim
- Step 2: Detach Clips and Release the Door Card
- Step 3: Identify and Remove Broken Clips
- Step 4: Install Replacement Clips
- Step 5: Reattach the Door Card
- Tips to Avoid Breaking Clips During Removal
- When to Replace vs Reuse Door Panel Clips
- Dealing with Stripped Screw Holes and Damaged Mounts
- Frequently Asked Questions
What Are Door Card Clips and Why Do They Fail?
Door card clips are small fasteners that hold your interior door panel to the metal door shell behind it. You will also see them called trim clips, panel clips, retainer clips, or push clips. In the trade, the panel itself is sometimes called a door card rather than a door panel, especially on European and classic vehicles. They are the same part.
These clips work by pushing into mounting holes stamped into the door shell. A small ribbed or barbed head expands behind the hole and grips the metal. When you press the panel back into place, the clips lock it down tightly so it does not shift or buzz while you drive.
Clips fail for a handful of reasons. The most common is age. Plastic becomes brittle after years of heat cycles, and the ribbed head snaps off inside the hole. The second is rough removal. If you pry the panel off with a screwdriver instead of a trim tool, the head shears clean off and stays stuck in the door shell. Third, clips are one-time-use on most vehicles. The head deforms every time you pull the panel, so the second install is always looser than the first.
Reviewers on classic-car forums like www.chevelles.com and reddit.com/r/MechanicAdvice regularly point out that a rattling door panel is almost always caused by one or two stretched clips, not the whole panel needing replacement. Replacing those clips brings the panel back to factory-tight fit without buying new trim.
Tools You’ll Need
You do not need a specialty toolkit. Most of these items are already in a basic home mechanic’s drawer. Here is what our team pulls together before every door panel job:
- Trim removal tool set – plastic pry tools in a few widths and shapes
- Clip pliers – angled needle-nose pliers or dedicated panel clip pliers
- Flathead screwdriver – for stubborn trim pieces only; wrap the tip in tape
- Putty knife – works well for sliding under door handle bezels
- Phillips and Torx drivers – match the screws on your specific door
- Replacement door panel clips – matched by hole size and stem length
- Small pick or hook – to fish broken clip stubs out of the door shell
- Work light or headlamp – the inside of a door shell is dark
- Trim stick or nylon spatula – softer than metal for fragile trim
A dedicated trim tool beats a flathead screwdriver every time. The flathead concentrates force on a single point and snaps the clip head. A trim tool spreads force across the clip and pops it out cleanly. If you only have a screwdriver, wrap the tip in a couple of layers of painter’s tape so it does not tear the panel.
Common Clip Types and How to Identify Them
Before you order replacements, you need to know what clip you are working with. Clips look similar but use different hole sizes and stem lengths. Here is a quick reference for the most common types:
- Push-in Christmas-tree clips – ribbed stem that widens toward the tip; common on GM, Chrysler, and many European cars
- Split-spring pin clips – two-prong metal pin that compresses on insertion; used on classic cars and trim moldings
- Push-in T-style clips – flat head with a barbed center pin; typical of Japanese vehicles like Toyota and Nissan
- Screw-in Phillips or Torx clips – threaded center that drives into the door shell; found on Mercedes, BMW, and some newer Fords
- U-nut and bolt assemblies – metal cage with a threaded hole; common on door handles and armrests
Pull a broken clip out of the door shell first and measure the head diameter with calipers or against a ruler. Common head sizes are 8 mm, 9 mm, and 10 mm. Then measure the hole in the door shell. A proper replacement should match the hole diameter within 0.5 mm. If it is too loose, the panel will never sit tight; if it is too tight, you will snap the new clip trying to install it.
Forum users on reddit.com/r/CarAV often warn that universal clip kits are tempting, but only work when the hole size matches. Our experience backs that up. A kit that fits one hole on a Civic may not fit the next hole on the same door.
Step 1: Remove Door Panel Screws and Trim
Every door panel hides its screws somewhere, and most vehicles use the same four or five locations. Start by working through these spots in order:
- Pull up the armrest panel and look underneath for one or two Phillips screws.
- Pop out the small trim plug behind the door latch and check for a hidden screw.
- Remove any screw covers near the interior door handle – a small flathead or pick lifts these out.
- Look along the bottom of the door panel where it meets the sill for one or two screws.
- On speakers with grilles, lift the grille and check for screws around the speaker basket.
Set every screw in a magnetic tray or a cup so nothing rolls away. The screws inside door panels are often one size and one thread, and losing one means a trip to the dealer for a new one.
Once screws are out, remove any decorative trim. The door handle bezel usually pulls straight back with steady pressure, but check for a small slide tab underneath that releases it. On many cars, the window switch panel pops out with a trim tool – start at the rear edge where the gap is largest.
Step 2: Detach Clips and Release the Door Card
This is the step where most clips get broken, so work slowly. Insert a trim tool between the door panel and the door shell at one of the clip locations. Push the panel outward slightly until you feel the clip release, then move to the next clip. Work your way around the perimeter rather than yanking one corner.
- Start at the bottom corner closest to the speaker, where the panel flexes most easily.
- Slide the trim tool behind the panel until you feel the clip head.
- Pry outward gently – you will hear a soft pop when the clip releases.
- Move 4 to 6 inches along the panel and repeat at the next clip location.
- Continue around the entire door until every clip is free.
If a clip does not pop with light pressure, stop. Either you missed a screw, or the clip is seized from age. Force at this point breaks the clip head and leaves the stem in the door shell. Re-scan for a missed screw, then try again with a slightly wider trim tool.
Lift the panel upward once all clips are free. Most door panels hang on a lip at the top of the window frame and must be lifted straight up to clear it. Set the panel on a clean, soft surface – I use an old moving blanket on the bench to avoid scratching the vinyl.
Step 3: Identify and Remove Broken Clips
Lay the panel face-down on your work surface and count the clips. Most door cards use 6 to 10 clips around the perimeter. Now check each clip. If the head is intact and the ribbed stem looks unworn, set it aside for reuse. If the head is missing, cracked, or stretched out, toss it in a separate cup for the trash.
Next, inspect the door shell. Any clip that broke during removal will leave a plastic or metal stem stuck in the mounting hole. Use a small pick or a sharp hook to fish these out. Push the pick between the stem and the hole wall and gently pry outward. Most stems twist and pop free with light force.
For stubborn stems, try grabbing them with needle-nose pliers while pushing the door panel edge inward with your other hand. This compresses the barbs and lets the stem slide out. Do not drill or cut the stem out unless you plan to repair the hole – drilling damages the hole edge and makes the next clip sit loose.
Step 4: Install Replacement Clips
Once the panel and door shell are clear, install the new clips. Match the replacement clip to the hole by dry-fitting first. The clip head should sit flush against the panel surface, and the stem should slide into the hole with light finger pressure. If it does not slide easily, you have the wrong size.
- Lay the door panel face-down on the bench.
- Insert each new clip into the panel holes, head-first, until you feel the barbs catch.
- Press each clip firmly so the head sits flush against the panel back surface.
- Double-check that every clip rotates freely – if a clip is stuck, the barb is misaligned and will snap on install.
If you are reinstalling the original clips that survived removal, check each one for stretched barbs. A stretched clip will push in easily but will not grip. Replace these as well – they are the most common cause of post-repair rattles.
Reviewers on reddit.com/r/MechanicAdvice also point out that this is the right moment to upgrade to metal replacement clips if your vehicle came with plastic. Metal clips cost more but last the life of the car. Plastic clips are fine for daily drivers and are easier to source in bulk.
Step 5: Reattach the Door Card
Before you lift the panel back on, reconnect anything you unplugged. The window switch harness, door light connector, and any speaker wires need to be plugged back in now. Tuck the wiring back into the door shell so it does not get pinched between the panel and the metal.
- Hang the panel on the upper window lip first.
- Align the door handle and lock rods with their openings in the panel.
- Press the panel down so the upper lip seats firmly into the window frame.
- Tap each clip location with the palm of your hand to seat the clips – you will hear each one pop into place.
- Reinstall screws in the reverse order of removal.
- Snap trim covers and the window switch panel back into place.
Once everything is back together, test the door before closing it. Roll the window up and down, lock and unlock the door, and operate the handle. If anything feels off, pop the panel back off before driving – catching a misaligned rod now saves a broken handle later.
Tips to Avoid Breaking Clips During Removal
The cheapest clip is the one that does not break. A few habits from our shop keep most clips intact during removal:
- Heat the panel slightly with a hair dryer in cold weather – cold plastic snaps instead of flexing
- Use plastic trim tools instead of metal screwdrivers wherever the tool will reach
- Pry at the clip head, not the panel edge – the clip is the strong point, the panel is the weak point
- Work in a star pattern around the door instead of one side at a time
- Keep a small container for original clips you might want to reuse
If you are working on a classic vehicle with brittle OEM clips, plan to replace every clip rather than try to save them. Forum users on www.chevelles.com have noted that 30-year-old plastic clips rarely survive a second removal cycle, even with careful technique.
When to Replace vs Reuse Door Panel Clips
Some clips can be reused if they come out cleanly and the barbs are not stretched. Others must always be replaced. The rule is simple: plastic clips that have been removed once should be replaced. Plastic clips lose about a third of their grip strength every time they go in and out. Metal clips can usually be reused two or three times without losing grip.
Replace the clip if the ribbed stem shows any white stress lines, if the head wobbles on the stem, or if the clip feels soft when you squeeze it. Reuse the clip only if it pops out cleanly and the barbs spring back to their original shape.
Dealing with Stripped Screw Holes and Damaged Mounts
Sometimes the door shell is the real problem. Stripped screw holes and broken clip mounts are common on older vehicles and on doors that have been removed several times. Three repairs work in our shop:
- Larger screw – if the original screw spins, try the next size up. It will hold without any other repair.
- Plastic sleeve inserts – press a small plastic sleeve into the stripped hole, then drive the screw into the sleeve.
- Epoxy and drill method – for classic-car restorations, fill the broken mount with two-part epoxy, let it cure, then drill a fresh pilot hole for the new clip.
Reviewers on classic-car forums recommend the epoxy method for broken clip mounts on steel door shells. The epoxy bonds to the metal and gives the new clip a solid anchor. Plastic door shells, on the other hand, do not accept epoxy well – use a larger clip or a clip with a longer stem in those cases.
Frequently Asked Questions
How do I remove car panel clips?
Slide a plastic trim tool behind the door panel until you feel the clip head, then pry outward gently. Work around the perimeter of the panel in a star pattern rather than yanking one side at a time. Stop if a clip does not release with light pressure – you have probably missed a screw.
What tool can I use to remove door panel clips?
A plastic trim removal tool is the safest option for both the panel and the clip. Angled needle-nose pliers also work well for clips that have already broken. Avoid flathead screwdrivers unless you wrap the tip in tape – the metal tip concentrates force and snaps the clip head.
Can you reuse door panel clips?
You can reuse plastic clips once if they come out cleanly and the barbs spring back. Metal clips can usually be reused two or three times. Any clip with stretched barbs, white stress lines, or a loose head should be replaced – these are the most common cause of post-repair rattles.
What size are car door panel clips?
The most common head diameters are 8 mm, 9 mm, and 10 mm. Hole sizes in the door shell are usually 6 mm to 8 mm. Measure the head of your original clip and the hole in the door shell before ordering replacements. A clip that is 0.5 mm too small will sit loose; 0.5 mm too large will snap during install.
How do I remove car trim clips?
Trim clips follow the same removal logic as door panel clips. Slide a trim tool behind the trim piece at the clip location, pry outward gently, and work along the length of the trim. Trim clips are usually smaller than panel clips and break more easily, so use the lightest trim tool that will reach.
How do I fix broken door panel clip mounts?
Three repairs work for broken clip mounts. Try a larger screw first. If that fails, press a plastic sleeve insert into the stripped hole. For classic-car restorations on steel shells, fill the mount with two-part epoxy, let it cure fully, then drill a fresh pilot hole for the new clip.
Knowing how to replace car door card clips saves a trip to the shop and keeps your interior quiet. Match the right clip to the right hole, work around the panel instead of forcing one corner, and replace any clip that has been removed once. With the tools and steps above, a rattling door panel becomes a 30-minute fix instead of a full weekend project.
If your vehicle has specialty trim pieces or a complex door card with integrated speakers and lights, take photos during disassembly so the wiring goes back exactly where it came from. Our team has found that a quick phone photo before unplugging any harness prevents more reassembly headaches than any other habit.