
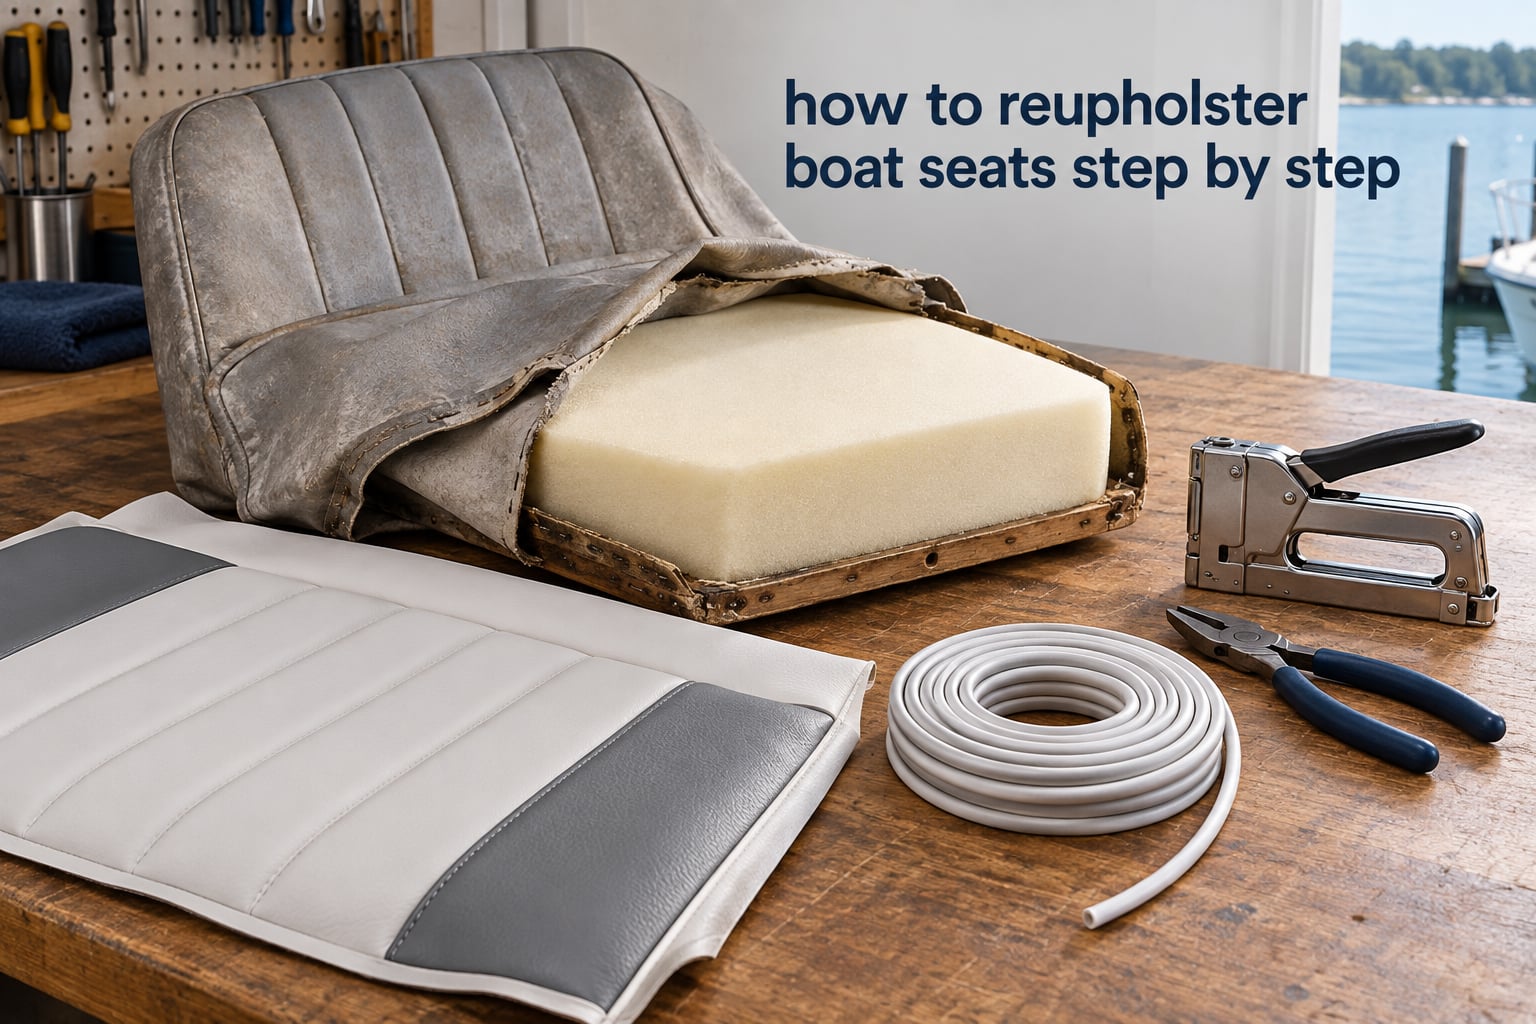
Learning how to reupholster boat seats step by step is one of those jobs that looks far harder than it is once you know the order of operations. A tired cushion with cracked, faded vinyl is not a structural problem. In most cases it is a two-day project with a staple lifter, a fresh piece of marine vinyl and a willingness to photograph everything as you go.
What makes boat seats different from a dining chair is the material. Standard furniture vinyl and outdoor fabric fail fast in sun and salt water, so the whole job depends on picking marine-grade products. Get that part right and the rest is patience and technique.
This guide walks through the full process the way we would run it on a shop floor: assessing what you have, choosing the right vinyl, foam, thread and staples, then removing, patterning, sewing, fitting and finishing. Along the way we cover the decisions people most often regret, like cutting a corner with a utility knife at three inches in the dark or pulling old staples straight off a plywood base.
By the end you will have a working sequence you can follow without improvising, plus a realistic idea of how long each stage takes.
Table of Contents
- What Boat Seat Reupholstering Actually Involves
- Repair, Recover or Refit: Decide Before You Buy Anything
- Tools and Materials You Need
- How to Reupholster Boat Seats Step by Step
- Marine-Grade Materials: What to Buy and What to Skip
- Time, Cost and When to Hand It to a Pro
- Common Beginner Mistakes and How to Fix Them
- Caring for Marine Vinyl After Reupholstery
- Frequently Asked Questions
- How difficult is it to reupholster boat seats?
- Can I reupholster my boat seats myself?
- What material do you use to reupholster boat seats?
- What is the best fabric for marine upholstery?
- Is it cheaper to reupholster boat seats or buy new ones?
- Can I reupholster boat seats without a sewing machine?
- When should I replace the foam instead of reusing it?
- Can I use Dawn dish soap on boat seats?
- Wrapping Up
What Boat Seat Reupholstering Actually Involves
Most people rate this job as moderate difficulty. The mechanical work is not complicated. The parts that trip up beginners are judgement calls and finishing quality, not skill with tools.
What is easy:
- Removing old vinyl and staples
- Measuring, patterning and cutting new vinyl
- Stapling fabric to a plywood seat base
- Fitting without a sewing machine
What takes practice:
- Pulling corners so they sit flat instead of puckering
- Matching grain direction so panels do not look mismatched
- Wrapping and hiding staples neatly under trim
- Sewing thick marine vinyl in curves
What can derail the project:
- Wood rot in the seat base found only after removal
- Waterlogged or mildewed foam that was hidden under vinyl
- Discontinued factory patterns on older boats
- Cheap hardware that rusts within one season
Experienced DIYers on iboats forum threads consistently suggest practising on one small cushion first. Recovering a single backrest teaches the corner technique without risking a whole boat interior.
Repair, Recover or Refit: Decide Before You Buy Anything
Deciding between repair, recover and refit before ordering materials saves both vinyl and weekends. Here is the framework we use.
Repair: the vinyl stays, the damage does not
Choose repair when the foam still rebounds and the rest of the cushion is sound. Good candidates are a split seam, a small puncture, a torn corner or a single scuff. Patching a colour-matched vinyl with a heat-set repair kit works well on isolated damage.
Repair is a short-term answer on faded or brittle vinyl. Once the surface cracks across a whole panel, patching holds for a season and the next tear arrives beside it.
Recover: new skin, same cushion
Recovering means new vinyl over the existing foam and base. This is the most common DIY path and the right call when the foam is still supportive. It is far quicker than a full refit and it keeps the factory shape.
Recovering is not an option once the foam is crushed flat, spongy, split or smells musty. New vinyl stapled over dead foam looks fine for a month and feels terrible for years.
Refit: rebuild from the frame
A refit replaces the foam, the base covering and often the vinyl. It suits cushions with water damage, foam that has been sitting in standing water, or bases where the plywood has gone soft around the mounting bolts.
A refit roughly doubles the time of a recovery, mainly because of foam cutting, shaping and glue-up. It is the only option that solves a rotted base.
One more path exists that is usually a mistake: recovering over compromised foam because the material was already bought. Foam is the cheapest part of the job to change later and the most expensive one to live with. Decide first.
Tools and Materials You Need
This is the full list. If you already own the tools, the material list is the only shopping trip you need to plan.
Tools
- Staple lifter or pry bar for pulling old staples without gouging the ply
- Long-nose upholstery staple gun, or a pneumatic stapler if you already have a compressor
- Stainless steel staples, 3/8 inch or 1/2 inch, 21 gauge
- Heavy-duty shears or a scribe-style marking tool for clean pattern lines
- Electric carving knife for foam, far faster and cleaner than a hand saw
- Walking foot sewing machine for vinyl that needs sewing
- Steam iron or garment steamer for releasing wrinkles
- Spray adhesive such as a temporary bonding spray for tack
- Basting tape, double-sided, to hold panels together instead of pins
- Measuring tape, straightedge, marker and gloves
Experienced upholsterers reach for a pneumatic gun on a full interior because hand guns fatigue the wrist over a weekend. A decent long-nose hand gun is perfectly workable for a single seat.
Materials
- Marine-grade vinyl, UV stabilised and mildew resistant
- Closed-cell marine foam in the thickness you need
- UV-resistant thread, Tex 90 polyester or PTFE
- Welt cord or hidem gimp for the visible edge
- Basting tape if you are sewing
- Spray adhesive for foam bonding and temporary tacking
- Silk film cushion wrap if the foam is fabric backed
Buy a little more vinyl than the template panels suggest. A pattern mistake costs one panel; a short roll costs the whole seat.
How to Reupholster Boat Seats Step by Step
Step 1: Photograph everything and remove the old vinyl
Before you pull a single staple, photograph the cushion from four sides, the underside, the mounting points and any hardware. The assembly order is rarely obvious once it is apart, and photos are the only reference you will have when fitting it back on the boat.
Note where snaps, T-nuts, hinges and drain grommets sit, and how the piping runs at each corner. Forum builders recommend installing all hardware before foam assembly for exactly this reason, because reaching under a finished cushion for a hidden nut is miserable work.
Lift the cushion out and lay it on a padded surface. Work a plastic scraper or a wooden block under the staples to lever them out. Pulling staples straight up with pliers gouges the plywood and leaves divots that show through new vinyl.
Keep the old vinyl in one piece. Experienced DIYers treat it as a pattern, and cutting it into unusable strips is the most common way to waste a Sunday. Flatten the panels with weights if they curl.
Step 2: Inspect the frame and decide on foam
Now you can see what the vinyl was hiding. Check the plywood base for softness around bolts and at the edges. Press hard in several places: firm and hollow-sounding means sound, squelchy means water has got in.
Probe the foam. Compress it and watch how fast it returns. Press a thumb in and count the seconds before the dent fills. Slow recovery means the cell structure has broken down and the foam will not support a person, however good the new vinyl looks.
Open the cover at one corner and look for dark staining, green or black speckling, or a musty smell. If the foam is waterlogged, replace it and dry the cavity completely before anything goes back in. Sealing moisture under fresh vinyl guarantees the problem returns within a season, and mildew is the complaint DIYers most often report after a first attempt.
Check the plywood for rot. If it crumbles or smells musty, that is a refit job, not a recovery. Marine plywood replacement is straightforward compared to recovering a cushion that fails in a year.
Step 3: Pattern and cut the new vinyl
Lay the old panels on the new vinyl with the grain running the same direction as the original. Grain direction is the single biggest reason a new cushion looks wrong, and it is invisible until the panels are side by side.
Cut around each panel with a generous margin, roughly half an inch. You trim back to the line after fitting, so a too-tight pattern is the one you cannot recover from.
Add allowances where a panel gets stapled or folded: allow enough material to wrap the base edge and fold under without ending in a fold. Cut welt cord lengths and matching gimp strips at the same time.
Mark the grain direction with a small arrow on the back of each piece before the pieces go out of sight. It takes five seconds and saves a reshuffle later.
Useful habit: cut one panel, fit it, then cut the rest. Building a full set of patterns before stapling anything is faster, but a small test piece tells you whether your vinyl and staple combination grips before you have committed an entire cushion.
Step 4: Sew the panels, or skip the machine
Many cushions need no sewing at all. Where the original had separate panels with visible seams, most DIYers convert those to single-piece panels with a fold-over seam held with basting tape and adhesive. On a plain cushion base this is faster, uses less vinyl and gives a clean modern look.
For genuine sewn seams, a walking foot machine is close to necessary. It feeds thick layers evenly so the vinyl does not creep and pucker under the presser foot. A heavy-duty machine such as a Singer 4452 handles the job; a domestic machine without a walking foot will struggle with two layers plus foam.
Use UV-resistant thread. Polyester Tex 90 is the practical choice and PTFE thread such as Tenara outlasts it at a higher cost. Either beats ordinary cotton thread, which photodegrades and snaps within a season or two of hard sun.
Use basting tape rather than pins. Pins pierce marine vinyl and leave permanent holes, and tape holds the layers without puncturing anything. A forum favourite for this is 3M double-sided basting tape.
Set the stitch slightly longer than usual and backstitch at both ends of every seam. Tenara does not cut easily on a domestic machine, so widen the stitch length if it keeps jamming.
Step 5: Fit the vinyl and staple it down
Centre the main panel over the foam and let it fall naturally into position. Do not stretch it. Marine upholstery vinyl is formulated with four-way stretch, and pulling it to look taut on day one is exactly how you get corners that ripple after a season.
Start at the centre of one long side and work outward in both directions, keeping the staple line about half an inch in from the edge. Then staple the other long side, then the short sides, and leave the corners until last.
The order matters more than the pressure. This long-sides-first sequence, repeated by experienced forum builders, keeps the material slack-free in the middle and leaves any excess concentrated where you can manage it by hand at the corners.
Use a surface you can staple into safely: plywood, marine ply or plywood over a solid base. If the frame has an open span, add a batten strip so the staple has material to bite into. Staples fired into thin air bend and poke through later, which is both a hazard and an eyesore.
Spray adhesive sparingly for temporary tack before the final staples. Vinyl needs to hold enough to stay put through a boat wake, and adhesive in the right places does that without a full row of staples across a visible edge.
Step 6: Finish the corners and edges
Pull the last of the slack into each corner and fold the excess flat against the underside. Cut away the bulky triangle of material in the middle of the fold, fold the remaining flaps over each other, and staple through two layers.
Do not leave a fat lump. A corner stuffed with five layers of vinyl looks lumpy through the cover and wears through faster than a thin, flat fold.
Steam is your friend here. A steam iron or garment steamer held a few inches above the vinyl relaxes stubborn ripples without flattening the embossed grain, and it takes care of most of the small puckers that come from over-stretching.
Hide the staple line with welt cord, gimp or a trim strip. Welt cord gives the classic piped look and is a real structural edge on sewn cushions. Hidem gimp is the faster route on stapled cushions and is the standard fix for an exposed staple line. Decide which your boat used originally and match it.
Fit any drains, snaps or hardware back on, then let the cushion sit under weight for a day before it goes on the boat. Remaining creases press out on their own.
Marine-Grade Materials: What to Buy and What to Skip
Choosing wrong materials is how a good job fails in year two. This is what matters and why.
Vinyl
Marine-grade vinyl is UV stabilised, mildew resistant and backed so it holds its shape without a heavy top coat. The leading names in this space are Enduratex by Nassimi, Spradling, EverSoft and Nauga Soft. Any of them will outlast household vinyl by a wide margin on a sun-exposed seat.
Skip anything sold as indoor upholstery, even the water-resistant grades. Boat seats see standing water, salt and direct sun for hours at a time.
Foam
Closed-cell marine foam is not negotiable. It does not absorb water, so a spill dries out instead of turning the cushion into a sponge. Open-cell foam in a boat is a mould incubator.
Match thickness to the original. Thinner than the factory panel looks thin and sits low; thicker and the cover has nowhere to go, which causes exactly the wrinkles you are trying to avoid.
For a slightly firmer seat, cut a thin layer of denser closed-cell foam and bond it under the main pad. This is the same trick builders use to add support without adding bulk, and oversizing the pad very slightly gives the pillowing effect that makes a new cushion look better than the one it replaced.
Thread, staples and adhesives
Stainless steel staples resist the corrosion that eats ordinary steel in a few months. Polyester Tex 90 or PTFE thread handles UV far better than cotton. Both are modest line items that decide whether your work is still intact in year three.
Use spray adhesive designed for foam and vinyl, and use it lightly. Over-adhesive turns into a mess during a re-fit and can be hard to remove from the plywood later.
Time, Cost and When to Hand It to a Pro
Budget time more generously than the tutorial videos suggest. A single backrest is a weekend. A full interior across a pontoon or bowrider is closer to two to four weekends, which is the range experienced owners quote when they describe a whole-boat project.
A rough split for one cushion:
- Removal and documentation: 1 to 2 hours
- Frame and foam inspection: 1 hour, more if rot is found
- Patterning and cutting: 1 to 2 hours
- Sewing: 2 to 3 hours, or zero with a no-sew approach
- Fitting, stapling and finishing: 2 to 3 hours
Where the material cost goes: the vinyl dominates, then foam, then thread, staples and trim. A professional quote sits well above the DIY material spend on any multi-cushion job, mostly because of the labour hours and the pattern work involved in complex shapes.
Hand off specific sub-tasks, not the whole project, if you want to keep costs down. Sewing a complicated compound curve is a good candidate. So is a cushion with a bonded frame or unusual shape where a pattern has to be drafted from scratch, rather than copied from an existing panel.
Common Beginner Mistakes and How to Fix Them
Cutting the old vinyl into pieces. You lose the pattern. If it is already shredded, tape the remaining sections together on the new material and eyeball the missing areas, accepting that you will trim to fit.
Pulling staples straight up. Use a lifter or a thin block to lever from the side. Divots in plywood telegraph through new vinyl.
Recovering over dead foam. The cushion looks new and feels wrong within a month. Test recovery speed before you start.
Stapling corners first. You will fight excess material for the rest of the job. Corners always go last.
Over-stretching the vinyl. Four-way stretch fabric pulled tight on day one relaxes unevenly, and the wrinkles show up where you cannot reach them. Let it relax, then staple.
Matching panels with mismatched grain. Mark direction before cutting. Colour may match while the texture reads wrong from three feet away.
Using pins on vinyl. Holes do not disappear. Use basting tape.
Cotton thread. It snaps in sun. Move up one grade and the seam outlives the vinyl.
Cleaning with the wrong product. Bleach, ammonia and household sprays strip plasticisers from vinyl, leaving it stiff, faded and brittle. More on this below.
Skipping documentation. An hour of photos saves an hour of guessing on reassembly, every single time.
Caring for Marine Vinyl After Reupholstery
A new cushion is a maintenance item, not a set-and-forget one. Marine vinyl is coated, so most care is about keeping the coating and the foam underneath healthy.
What to use
- A dedicated marine vinyl cleaner, applied to a soft cloth rather than sprayed directly onto the seat
- A UV protectant made for vinyl and fabric, reapplied each season before the boat sits for the winter
- Freshwater rinse and dry after a day on salt water
What never to use
- Bleach, ammonia-based window cleaners or degreasers
- Silicone-based dressings, which build up and turn chalky
- Abrasive pads, wire brushes and stiff detailers
- Wax, which has no place on vinyl and traps dirt
On the question of household dish soap: a drop of mild dish soap in warm water is fine for an occasional wipe, but it is not a substitute for a proper vinyl cleaner and you should not use it routinely. Rinse with a clean damp cloth afterwards and dry out of direct sun.
Two habits do more for longevity than any product. Rinse salt off after every trip and let cushions dry fully before closing the boat up, because trapped moisture in the foam causes the mildew problems that end a DIY job early. If the boat sits in a garage, crack a hatch or run a dehumidifier over the winter.
Frequently Asked Questions
How difficult is it to reupholster boat seats?
Moderately difficult for a confident DIYer. Removing vinyl, cutting new panels and stapling are straightforward. The learning curve is in corner finishing, grain matching and sewing thick vinyl, which is why most people practise on one backrest first. If your seat frame is rotted or you want a factory appearance, expect to spend several weekends.
Can I reupholster my boat seats myself?
Yes, on most boats and most seat types. You need a staple lifter, a long-nose stapler with stainless steel staples, a way to cut foam, and marine-grade vinyl. Sewing is optional, since many cushions can be recovered as single panels with folded seams. The main reason people hand it off is a rotted plywood base or a complicated compound curve.
What material do you use to reupholster boat seats?
Marine-grade vinyl over closed-cell marine foam, attached with stainless steel staples and sewn with UV-resistant thread. The vinyl should be UV stabilised and mildew resistant, and the foam must be closed cell so it does not absorb water. Add welt cord or hidem gimp to cover the staple line and finish the visible edge.
What is the best fabric for marine upholstery?
Marine-grade vinyl is the standard choice for seats, and the main names are Enduratex, Spradling, EverSoft and Nauga Soft. All are UV stabilised, mildew resistant and backed for shape retention. For covers and accents, solution-dyed acrylic canvas such as Sunbrella holds up well in sun and salt. Household upholstery fabric does not belong on a boat seat.
Is it cheaper to reupholster boat seats or buy new ones?
For most boats, reupholstering costs far less than replacing a whole seat assembly, because the frame, hardware and mounting points are reused. A recover with fresh foam is far cheaper than a new cushion from a marine dealer, and far cheaper still than a full interior refit. The maths changes when the plywood base is rotted or the factory pattern is no longer made.
Can I reupholster boat seats without a sewing machine?
Yes, for most cushions. Cut one main panel large enough to cover the foam and wrap the base edge, then fold the underside flap and staple it. Where the original had sewn seams, use double-sided basting tape and spray adhesive to hold a folded seam instead. Welt piping and complex compound curves are much easier to stitch, so buy pre-made welt if you have no machine.
When should I replace the foam instead of reusing it?
Replace the foam if it does not spring back after a firm thumb press, if the cover shows dark staining, green or black speckling, or if it has a musty smell. Also replace it if the foam has split, or if a corner has compressed flat. Recovering over exhausted foam is the most common DIY regret, because the new vinyl looks good while the seat feels bad.
Can I use Dawn dish soap on boat seats?
A small amount of mild dish soap in warm water is fine for an occasional wipe, but it is not a routine cleaner for marine vinyl. Use a dedicated vinyl cleaner and a UV protectant instead, and always test on a hidden area first. Never use bleach, ammonia-based window cleaners or silicone dressings, which strip the coating and leave vinyl stiff and faded.
Wrapping Up
Knowing how to reupholster boat seats step by step comes down to three decisions: repair, recover or refit; marine-grade materials over household ones; and patience at the corners. Photograph the cushion, keep the old vinyl as your pattern, staple long sides before corners, and use closed-cell foam with UV-resistant thread.
Start with one backrest rather than the whole boat. Once you have one cushion finished the way you like it, the rest of the interior follows the same sequence, and it will go faster than the first.