
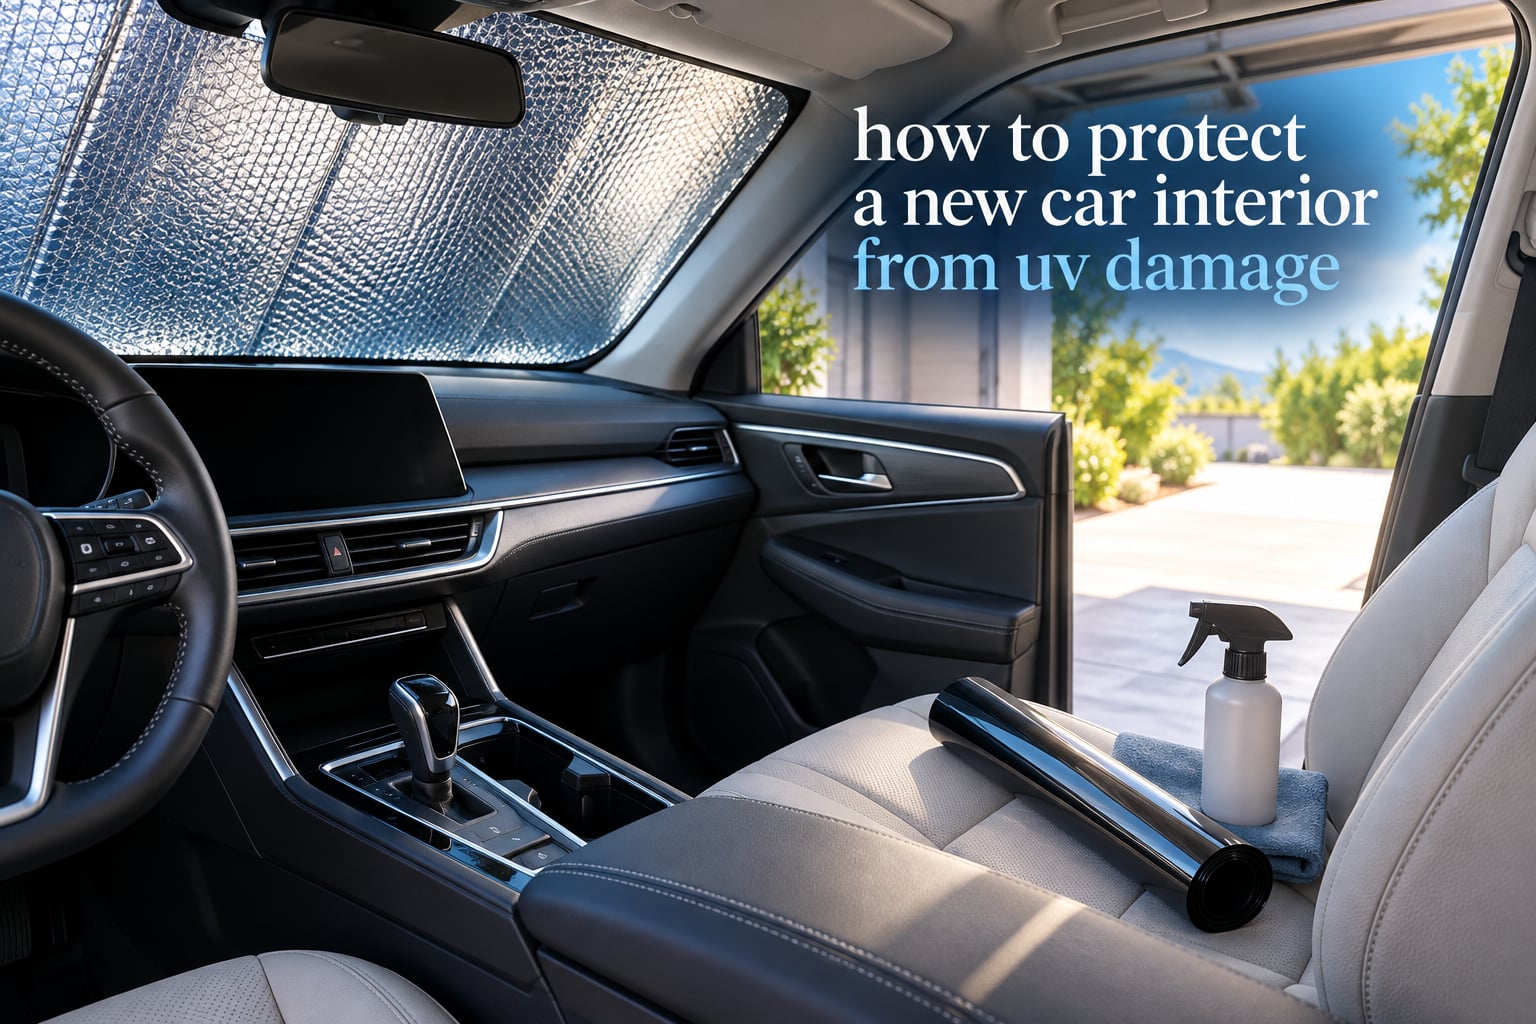
A new car interior arrives at its most vulnerable point in its life. The paint is glossy, the leather is tight, the plastics are dark and saturated, and nothing on those surfaces has ever seen a full summer of ultraviolet radiation. That is exactly why learning how to protect a new car interior from UV damage matters most in the first weeks you own it rather than five years in.
Ultraviolet light does not wait politely. It breaks down the polymers in dashboards, the dye in seat fabric, the surface layer on vinyl trim, and the pigments in leather through a process called photodegradation. The result is fading, yellowing, chalking, and cracking that no amount of cleaning reverses. Every year a car sits in open sun with no protection, the interior you paid for drifts further from delivery condition.
Here is the honest truth about protection: no single product stops all UV. The interior gets hit from the windshield, the side glass, the rear glass, and the roof, and heat compounds the damage by raising cabin temperatures well past what the glass alone would cause. What works is a layered approach where each layer catches what the one above it missed. Shade handles the parked car, film handles the driving car, and surface protectants handle the rays that reach the material anyway.
Our team has pulled together the method-by-method breakdown below, including what your car already has from the factory, what the dealer’s protection package actually delivers, and how to tell whether your protection is still working. The whole plan takes an afternoon to set up and a few minutes a month to maintain.
Table of Contents
- Why UV Damage Ruins a New Car Interior So Fast
- The Five-Layer Plan for a New Car Interior
- Layer 1: Block UV at the Glass With Window Film
- Layer 2: Physical Barriers, Parking Strategy, and Covers
- Layer 3: Surface Treatments for Dash, Vinyl, Leather, and Fabric
- What Your New Car Already Has and What It Does Not
- Protecting Screens, HUD, Cameras, and Sensors
- Comparing Every Protection Method Side by Side
- Your UV Protection Maintenance Schedule
- Regional and Seasonal Adjustments
- Frequently Asked Questions
- What is the best UV protection for car interiors?
- What is a good UV protection spray for car interiors?
- How to protect car interior from sun damage?
- How to protect interior from UV?
- Does window tint block UV rays?
- How often should I apply dashboard UV protectant?
- Can a sunshade fully protect a car interior?
- Does UV damage affect car resale value?
- What UV protection do new cars come with?
- How do I protect my car touchscreen from sun damage?
- Wrapping Up Your UV Protection Plan
Why UV Damage Ruins a New Car Interior So Fast
Photodegradation is the chemical breakdown of a material by light, and automotive interiors are built almost entirely from materials that photodegrade. Polyvinyl chloride dashboards, ABS plastic trim, polyester seat fabrics, polyurethane foam, and finished leather all rely on molecular bonds that ultraviolet energy weakens over time. Once those bonds break, the surface loses color, loses flexibility, and starts to craze.
UVA is the real culprit, and glass does not stop it
Sunlight splits into UVA, UVB, and visible light. UVB is the burning wavelength, and standard automotive laminated glass blocks most of it. UVA is different. Roughly 95% of UVA passes through ordinary car glass, which is why drivers with armrests resting on the window often notice skin tanning on that side and nowhere else.
So when a dashboard looks fine in the morning and bleached by Friday, the sun has been working on it all week. It never left.
Heat is the multiplier people forget
Visible light and infrared radiation pass through glass and get converted to heat inside the cabin. A parked car in direct sun can climb dramatically in a short time, and every extra degree softens plastics and dries leather faster. UV blocking alone helps, but the best protection layers address UV and heat together. That is why IRR, infrared rejection, matters as much as UV rejection when you compare films.
Which materials fail first
Not all surfaces age at the same rate, and knowing the weak points tells you where to spend effort.
- Dashboard and upper door trim: the most exposed horizontal surface in the car, and a classic early-crack location on two and three year old vehicles even with factory protection.
- Steering wheel: the single most touched surface, prone to peeling and slickness as the topcoat breaks down.
- Red and black interiors: dark pigments show fading fastest. Light greys and beige hide UV damage far better.
- Leather seats: lose natural oils first, then crack along creases and high-contact edges.
- Fabric and microsuede upholstery: fade unevenly and lose pile definition under sustained exposure.
- Door panels and lower sills: side exposure means they receive angled UV all afternoon, so a windshield-only sunshade never touches them.
The pattern owners notice most: damage appears first on surfaces facing the windshield, then spreads to the side and rear. A protection plan that only covers the dashboard is a plan with a gap.
The Five-Layer Plan for a New Car Interior
The fastest way to protect a new car interior from UV damage is to work through five layers in order of impact. Start at the glass, then add physical barriers, then treat surfaces, then adjust habits, and finally verify the result.
- Glass layer: install a quality window film that blocks UV and rejects infrared heat across the windshield, side, and rear glass.
- Barrier layer: use a reflective windshield sunshade every time you park, plus side or rear shades for long stays and a UV-rated cover for extended outdoor parking.
- Surface layer: apply a matte, non-silicone dashboard and vinyl protectant on trim, and a UV-inhibiting leather conditioner on seats and wheel every couple of months.
- Behavior layer: park in a garage, carport, or building shadow whenever you can, and crack the windows slightly when a vehicle must sit in open sun.
- Verification layer: confirm the glass is doing its job with a simple UV meter reading and a visual fade check on the steering wheel and door tops, so you know when to renew protection.
Each layer covers a different failure mode. Skipping the barrier layer leaves the interior exposed for the longest hours of the day, which is when parked-cabin temperatures and UV exposure peak.
Layer 1: Block UV at the Glass With Window Film
Window film is the only method that works while you drive, and it is the single highest-impact upgrade for a new car. It intercepts UV and infrared energy before either reaches the interior. The catch is that film quality varies enormously, and cheap dyed film underperforms on heat even when its UV numbers look fine.
Ceramic, carbon, or dyed: what actually differs
Ceramic films use non-metallic, non-conductive ceramic nanoparticles to reject UV and infrared. Detailers consistently rate ceramic highest for heat and UV rejection, and it is the least likely to interfere with signals or create a metallic haze.
Carbon films hit strong UV numbers with a slight tint, sitting between ceramic and dyed in performance. Dyed films are the budget tier: they absorb UV with dye in the film itself, which works but fades over the years and typically offers weaker infrared rejection, so more heat still enters the cabin.
Whatever the type, insist on a published UV rejection rating and a visible light transmission, or VLT, figure. VLT is the percentage of visible light allowed through the window, and it is the number law enforcement and inspectors care about.
Legal tint limits, in plain terms
Tint law is state and country specific, and the limits usually differ between the windshield and the side or rear windows. Most jurisdictions permit a fairly dark windshield for heat reasons, and set lower VLT minimums on rear and front side glass. Check your local statute before an installer quotes you, and ask the shop in writing what VLT they are certifying.
Installers who are confident in their work will tell you exactly which windows they can legally film. Ones who go quiet on the question are the ones to walk away from.
Professional or DIY: a five-point decision check
Professional installation costs considerably more and removes almost all risk. DIY kits exist and can work on flat rear windows. Before deciding, score it on these five points.
- Surface curvature: steeply curved or small windows are where DIY films crease, lift at the edges, and trap bubbles. That is where the tint law is also most likely to be an issue.
- How many windows: one rear window is a reasonable weekend project. Four side windows and a windshield is not.
- Vehicle age and warranty terms: some manufacturers restrict film on certain glass or require a specific product, and a dealer-installed film may carry a workmanship warranty that a home install does not.
- Your tolerance for defect risk: edges that lift after a year are the signature of a rushed install, and they let water and UV in along the seam.
- Whether the shop is insured and certified: a documented VLT reading on completion is worth more than a discount.
If you do go professional, ask whether the film comes with a manufacturer warranty, how long it runs, and whether the workmanship guarantee covers edge lift. A ten-year film warranty that transfers with the vehicle adds real resale value.
Layer 2: Physical Barriers, Parking Strategy, and Covers
Film handles the moving car. Barriers handle the parked one, and a parked car in full sun is the worst-case exposure most vehicles ever see. This layer costs little and needs no chemistry.
Windshield sunshades: what to look for
An accordion-style roll-up shade is the standard choice because it fits the windshield curvature, blocks the sun’s angle, and stores in a slim disc. Look for an aluminized polyester outer layer, a reflective surface, and light thermal padding. Owners who upgraded from a flat single-layer sheet usually report the biggest change came from coverage, not thickness.
Fit matters more than price. A shade that does not sit flush leaves a strip of dashboard exposed, and that strip is where cracking shows up first. Pop the shade into the closed position, then check the edges for daylight gaps.
Side and rear protection
A windshield shade does nothing for door panels, rear seats, or the parcel shelf. For cars that sit in open sun, add magnetic or suction side-window shades and a rear parcel-shelf cover. These are the inexpensive parts of the plan that most owners skip and later regret on a faded rear bench.
Car covers: narrow use case
For daily commuting, a cover is inconvenient enough that people stop using it. It makes sense for long-term outdoor storage or for a vehicle kept on a street overnight. When you do use one, choose a breathable fabric with a UV-resistant outer layer, and never put a non-breathable cover on a car that has just been driven in wet weather. Trapped moisture is how covers cause mold and mildew, which is a worse outcome than fading.
Parking strategy and ventilation
Shade is the most effective protection available and it costs nothing. A garage, carport, or even a building shadow between two towers removes most daily exposure. When open parking is unavoidable, crack the windows slightly to vent heat, and shade the car nose-out or tail-in to move the worst angle off the dashboard.
Long-term owners across detailing forums consistently rank parking in shade as the single most effective step, with every product treated as secondary. If you do nothing else, do that.
Layer 3: Surface Treatments for Dash, Vinyl, Leather, and Fabric
Some UV reaches surfaces no matter what, especially through side and rear glass. Surface protectants work by creating a sacrificial UV-absorbing layer that degrades in place of the material underneath. That is also why they need reapplication, and why a set-and-forget expectation is wrong.
Dashboard and vinyl trim protectant
Look for a matte finish, a non-silicone formula, and a stated UV inhibitor content. A glossy protectant on a new matte dashboard looks wrong immediately, and a glossy film on the windshield creates night-time glare. Silicone-heavy sprays are the single most repeated complaint in owner forums, because they build up, attract dust, and go chalky on plastics over time.
Apply in thin coats with a microfiber applicator, working in small sections, and buff off anything that has not absorbed. Plan on refreshing every four to six weeks in a sunny climate, and every couple of months if the car is garage-kept.
Leather seats and the steering wheel
Use a quality leather conditioner that lists UV inhibitors, and check for lanolin content in the low single-digit percentage range, which hydrates without leaving a slick film. A greasy seat is a safety problem, not just an aesthetic one. Work the product into the seat bolsters, creases, and the wheel rim, and give it time to absorb before driving.
Conditioning every two to three months does more for seat longevity than any coating product. Leather oils are depleted by both UV and dry heat, and replenishing them keeps the surface supple before cracks form.
Fabric, microsuede, and hard plastics
Fabric and microsuede need a pH-balanced, silicone-free protector. Vinyl and hard plastic trim need a dedicated vinyl protectant rather than a leather product, which can leave an oily residue on non-leather surfaces. Clean the surface first every time; protectants bond to a clean substrate and trap dirt if applied over dust.
Non-toxic and eco-friendly options
Ventilated cabins mean whatever you spray ends up in the air you breathe. Read ingredient lists instead of trusting marketing. Water-based, silicone-free, pH-balanced formulas with no solvent-heavy odor are the safer profile, and they are widely available. Owners with allergies or small children in the car should avoid anything with a strong chemical smell and ventilate the cabin well after any application.
What Your New Car Already Has and What It Does Not
New cars are not bare. Almost every windshield and most side glass from the factory blocks a large share of UVB, and many manufacturers apply a basic UV laminate. But factory coverage is uneven, and owners on owner forums commonly report that what arrives is minimal: good UV blocking on the windshield, much less on the rear and side glass.
This is where most new car protection advice goes wrong, because it assumes the car is untreated. It is not. It is partially treated, and the gap is usually heat rejection and side and rear coverage rather than raw UV blocking.
What dealer protection packages really deliver
Dealer add-ons come in three forms: ceramic or spray sealant on the paint, a fabric and interior treatment, and sometimes a tint package. The interior treatment is usually a light protectant applied once at delivery, which means it fades on schedule like any surface product. Owner communities treat these packages as a profit line with limited real benefit, and they are not wrong: the value is modest, and you can apply a better product yourself on day one.
Ask the dealer exactly what product was applied, to which surfaces, and whether it can be topped up later. If the answer is vague, assume it is a light protectant.
Warranty and documentation habits
Two things protect you here. First, keep the invoice and product documentation for anything you install or apply, since aftermarket film or coatings can interact with glass and warranty terms. Second, photograph the interior at delivery from several angles with a date stamp. Long-term owners say time-stamped before-and-after photos spanning six months or more are the most convincing record of whether protection is working, and they double as evidence if a dashboard crack is disputed.
Owners also report dashboard cracking on two and three year old vehicles despite believing the car was factory protected. Photos taken on day one are the cheapest insurance against that argument.
Protecting Screens, HUD, Cameras, and Sensors
Modern vehicles carry more ultraviolet and heat sensitive electronics than ever, and almost no UV protection guide mentions them. The infotainment display, the head-up display projection, the ADAS camera housings, and the sensor clusters behind the grille and mirrors all sit in direct sun.
Heat is the real threat for these parts. A dashboard running hot in a closed car accelerates display dimming, adhesive failure at the screen bezel, and yellowing of the polarizer layer. Reported symptoms include a washed-out or flickering screen, a HUD image that fades in bright light, and warning messages from driver assistance systems in extreme heat.
What helps:
- Keep the car in shade whenever parked, since heat reduction matters more for electronics than UV reduction does.
- Use the physical sunshade layer to cut cabin temperature rather than only the UV angle.
- Apply a screen-safe, non-silicone protectant to the display bezel area, and keep product off the glass itself unless it is labelled for displays.
- Crack the windows slightly on hot days to lower stored cabin temperature.
- Do not stack adhesive screen films on a display that already has a factory protector, since trapped heat and adhesive can cause edge yellowing.
None of this is dramatic, and that is the point. These components are designed to survive a decade of service, and small reductions in stored heat are enough to keep them from aging early.
Comparing Every Protection Method Side by Side
No method wins on its own. The table below sets each one against the others so you can build a combination that fits where you park and how long you keep the car.
| Method | UV blocking | Heat rejection | Install type | Upkeep interval | Best for |
|---|---|---|---|---|---|
| Ceramic window film | Very high | High | Professional | Lifetime, with warranty | Every climate, especially high heat |
| Carbon film | Very high | Moderate to high | Professional | Multi-year | Drivers wanting strong UV with less tint |
| Dyed film | High initially | Moderate | Professional or DIY | Reapplication likely over time | Budget protection on a flat rear window |
| Windshield sunshade | High for the dash area | High when parked | None | Every park | Every car, lowest effort |
| Side and rear shades | High for side glass | Moderate | None | Every park | Open parking, door panels, rear seats |
| Car cover | High outdoors | High when parked | None | Each use | Long-term outdoor storage only |
| Dashboard and vinyl protectant | Moderate, surface level | Minimal | DIY | Every 4 to 6 weeks in sun | Dash and trim crack prevention |
| Leather conditioner with UV inhibitors | Moderate, surface level | Minimal | DIY | Every 2 to 3 months | Seats and steering wheel |
| Garage or carport parking | Very high | Very high | None | None | Best return on effort, always |
Read the upkeep column closely. Every row with a short interval is a recurring task, and the methods that cost the least in effort are the two with no upkeep at all.
Your UV Protection Maintenance Schedule
A working routine beats an enthusiastic weekend. Group the tasks into a monthly, quarterly, and annual cycle so nothing depends on remembering a specific date.
Every month
- Wipe the dashboard with a damp microfiber cloth and check for any glossy haze or sticky residue.
- Refresh the dashboard and trim protectant in a sunny climate, working in thin coats.
- Check that the windshield sunshade still seats flush with no daylight gap along the edge.
- Look at the steering wheel and door tops for the first sign of color change.
Every three months
- Condition leather seats and the wheel with a UV-inhibiting product and let it absorb fully.
- Reapply fabric and microsuede protector to seat faces and door panel inserts.
- Clean the glass inside and out so film edges and shade lines stay visible to you.
- Photograph the same interior angles you shot at delivery and compare them.
Every year
- Reapply vinyl protectant even in mild climates, since UV exposure continues year-round.
- Have a professional confirm visible light transmission on tinted windows if the film is several years old.
- Replace a sunshade whose reflective layer has crazed or flaked.
- Review parking strategy: if the car moved to open parking, add side and rear shades to the plan.
Verifying that protection is working
You do not need a lab to check. A simple UV meter or UV-sensitive card held against the inside of each window shows whether light is getting through, and comparing readings between side and rear glass tells you where the gap is. Low-cost meters are a small outlay that answers the question objectively instead of by guesswork.
Pair that with a visual check on the highest-wear surfaces. A sun-bleached steering wheel rim, a chalky door top, or a dull patch on the parcel shelf all mean protection has lapsed somewhere. If one window reads far higher than the others, that is the window to film next.
Regional and Seasonal Adjustments
The same plan needs different emphasis depending on where the car lives and when it is driven. UVA arrives year-round in most regions, so protection is not a summer-only task, but intensity shifts.
- Sun Belt and desert regions: infrared heat is the dominant issue, so prioritize film with high IRR, keep the car shaded whenever possible, and shorten protectant intervals to the four to six week range. Red and black interiors need the most attention here.
- Midwest and mid-Atlantic: strong seasonal swings mean freeze-thaw and dry cabin air damage leather as much as UV does. Keep the quarterly conditioning routine and do not let the sunshade live in the car unused for months.
- Northeast and Pacific Northwest: lower UV intensity but frequent wet weather. Breathability matters more, and covers should never be used on a wet car.
- High altitude driving: thinner atmosphere means higher UV at elevation, and winter sun angles strike the dashboard nearly horizontally. Altitude communities tend to need the same discipline as summer Sun Belt drivers.
- Winter generally: low sun angles produce longer exposure paths through side and rear glass, which is exactly where a windshield-only sunshade does nothing.
Regional climate advice consistently gets more engagement than generic recommendations, because a driver in Maine and a driver in Arizona should not be running the same routine. Adjust the interval, not the layers.
Frequently Asked Questions
What is the best UV protection for car interiors?
The best UV protection is layered, not a single product. Block UV at the glass with a high-UV-rejection window film, shield the parked car with a reflective windshield sunshade plus side and rear shades, and treat surfaces with a matte non-silicone dashboard protectant and a leather conditioner with UV inhibitors. Parking in a garage or carport adds more protection than any product. No method blocks all UV, so combining layers is what delivers complete coverage.
What is a good UV protection spray for car interiors?
A good interior UV spray should list UV inhibitors, a matte finish, and a non-silicone formula. Avoid silicone-heavy products that build up, attract dust, and go chalky on plastics. Clean the surface first so the protectant bonds properly, apply thin coats with a microfiber applicator, and expect to reapply every four to six weeks in a sunny climate. Water-based, pH-balanced formulas are the safer profile for a ventilated cabin.
How to protect car interior from sun damage?
Protect a car interior from sun damage in five steps. First, install UV-blocking window film that also rejects infrared heat. Second, use a reflective windshield sunshade every time you park, and add side and rear shades for open parking. Third, apply a matte dashboard and vinyl protectant every four to six weeks, and condition leather every two to three months. Fourth, park in shade whenever possible and crack the windows slightly when the car must sit in sun. Fifth, verify results with a UV meter reading and visual checks on the steering wheel and door tops.
How to protect interior from UV?
Four layers handle interior UV. Block it at the glass with quality window film. Shield the parked car with sunshades, side and rear shades, and a UV-rated cover for long-term outdoor parking. Treat the surfaces themselves with protectants containing UV inhibitors, matched to the material: vinyl protectant for trim, leather conditioner for seats and wheel, silicone-free fabric protector for upholstery. Finally, change habits by parking in a garage, carport, or building shadow. Every layer is needed because each one catches exposure the others miss.
Does window tint block UV rays?
Yes. Quality window film is the most effective way to block UV while driving, and ceramic and carbon films are typically rated higher than dyed films. Two details matter. Visible light transmission, or VLT, is the legal figure inspectors check, and UV rejection is a separate published rating, so ask for both. Also confirm your state or country limits, which usually differ between the windshield and the side and rear windows. A professional install should provide a documented VLT reading on completion.
How often should I apply dashboard UV protectant?
Every four to six weeks in a sunny climate, and every couple of months if the car is garage-kept. Protectants create a sacrificial UV-absorbing layer that breaks down in place of the material beneath it, so there is no set-and-forget option. Apply thin coats, buff off anything that has not absorbed, and use a matte non-silicone formula so the dashboard keeps its original finish and does not create windshield glare.
Can a sunshade fully protect a car interior?
No. A sunshade is one of the most effective low-effort tools you have, but it only covers the windshield, so it protects the dashboard and nothing else. Door panels, rear seats, and the parcel shelf take angled exposure through side and rear glass all afternoon. Pair the shade with side and rear window shades for open parking, and remember that a shade that does not sit flush leaves a strip of dashboard exposed.
Does UV damage affect car resale value?
It does. Faded upholstery, cracked dashboards, and chalky trim are the first things a buyer or dealer notices, and they lower what the car is worth at trade-in and at resale. A documented protection routine also produces time-stamped photos showing the interior’s condition over time, which strengthens your position. Film installed on a new car can add value if it carries a transferable manufacturer warranty and the visible light transmission still meets local law.
What UV protection do new cars come with?
Most new cars arrive with some factory UV protection, typically a UV-blocking laminate in the windshield and often partial coverage in the side glass. It is uneven, and it blocks UVB well but very little UVA, which is the wavelength responsible for fading and cracking. Factory glass also does little to reduce cabin heat. Dealer protection packages usually add a light surface protectant applied once at delivery, which fades on schedule like any other surface treatment and is often better handled with a product you apply yourself.
How do I protect my car touchscreen from sun damage?
Heat is the bigger threat to a touchscreen than UV, so focus on stored cabin temperature. Park in shade, use the sunshade layer to cut heat, and crack the windows slightly on hot days. Keep protectant off the display glass itself and only treat the bezel with a screen-safe, non-silicone product. Do not stack an adhesive screen film over a factory protector, because trapped heat and adhesive cause edge yellowing. If the screen dims or flickers in extreme heat, lowering stored temperature usually resolves it.
Wrapping Up Your UV Protection Plan
UV damage is permanent, and it starts on day one of ownership, not year five. The defence that works is layered: film at the glass, a sunshade and side shades when parked, matched protectants on every surface, shade-first parking habits, and a monthly routine that keeps the treatments alive.
To protect a new car interior from UV damage, start this week. Photograph the interior, park in shade, and set up the sunshade properly. Then book the film install, pick up a matte non-silicone trim protectant and a UV-inhibiting leather conditioner, and put a reminder in your calendar for the first reapplication. The whole plan costs less than one repair and keeps the cabin looking the way it did on delivery day.