
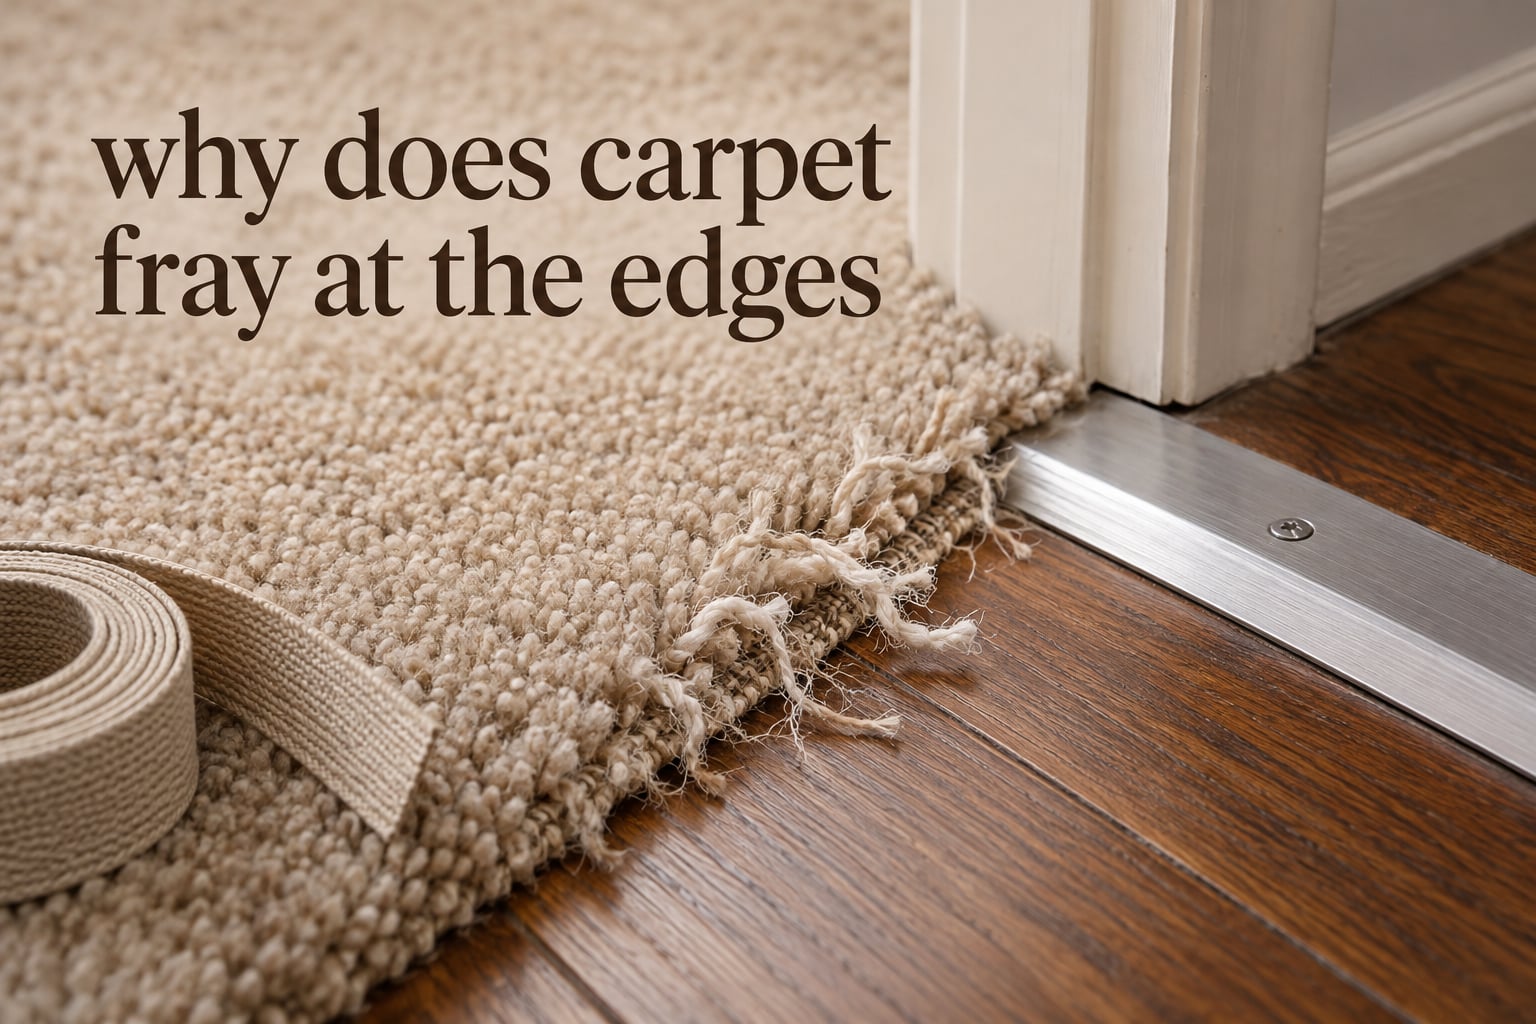
Carpet edges fray because a cut edge has nothing holding the pile yarns in place. The yarns are anchored only into the primary backing, so once the edge is cut the tufts at that cut are free to lift, catch on a vacuum beater bar, and pull loose one fibre at a time until the edge looks ragged and starts shedding.
That is the honest answer to why does carpet fray at the edges, and it is also good news, because the problem is a finishing problem rather than a carpet problem. Get the right finish onto the edge in 2026 and the rest of the carpet keeps working. The seven causes below account for almost every frayed edge I have seen, ordered from the most common to the least.
- Vacuuming with the beater bar too close to the edge
- Foot traffic and pivot points at doorways and hallways
- Furniture and doors dragging across the pile
- Pets digging, scratching, or urinating at the edge
- A seam opening up in a high-traffic run
- Sunlight embrittling the fibre at an exposed edge
- A raw cut edge that was never finished at installation
Table of Contents
- Why Does Carpet Fray at the Edges? The Anatomy of a Cut Edge
- The 7 Causes of a Frayed Carpet Edge
- Where Carpet Edges Fray First: Doorways, Transitions and Carpeted Stairs
- How to Fix a Frayed Carpet Edge: Three Severity Tiers
- How to Bind Carpet Edges Yourself: Step by Step
- Binding vs Serging vs DIY Tape: Which Finish Fits
- When to Call a Professional Instead
- How to Stop Carpet From Fraying in the First Place
- Frequently Asked Questions
- How to stop carpet from fraying at edges?
- How can I fix a frayed edge on my carpet?
- How to stop the edge of a rug from fraying?
- Can I bind carpet edges myself?
- How much does it cost to bind the edges of a rug?
- Why is my carpet edge peeling at the doorway?
- What is the average lifespan of a carpet?
- How do I fix a bald spot in my carpet?
- Conclusion
Why Does Carpet Fray at the Edges? The Anatomy of a Cut Edge
Carpet is a sandwich. On top is the pile, the visible fibres you walk on. Under that sits the primary backing, the woven or non-woven sheet the pile yarns are tufted into. Under the primary backing is the secondary backing, a layer of latex or foam that gives the whole sheet its stiffness and holds it together.
Those pile yarns are locked into the primary backing and into nothing else. Cut the carpet and you sever thousands of those anchors in a single line. The yarns at that line are now free ends, still gripped at the base but free at the tip, and the whole structure of the carpet stops at that cut.
Three stages follow, and they always happen in this order. Friction from a vacuum, a shoe, or a furniture leg catches the free ends and pulls. The pulled tufts lift out of the primary backing. The lifted tufts then unravel into loose strands that curl, shed, and tangle into the neighbouring pile.
Loop pile holds together slightly better at a cut edge than cut pile does, because the loops are anchored twice. Cut pile gives up faster, and every cut edge needs finishing. An unfinished edge is also abrasive: users on Reddit r/DIY point out that the raw back of carpet feels like sandpaper and wears into hardwood, which is a large part of why edge finishes exist at all.
Tucked edge versus raw cut edge
Not every carpet edge that looks exposed is a problem. The distinction that homeowners on house-improvements.com forums get right is worth repeating: a tucked edge is held under itself and is stable, while a raw cut edge should always carry a transition strip or a finish. If you can see the backing cross-section at the edge, it is raw.
Lift the edge gently with a flat tool. If the pile folds back on itself and the cut is hidden underneath, you have a tucked edge and you can relax. If lifting it exposes an open, unsupported line of fibres, that is a raw edge, and it will fray.
The 7 Causes of a Frayed Carpet Edge
1. Vacuuming too close to the edge
What it is: a beater bar or brush roll repeatedly beating and combing the free ends at the cut.
Why it happens: the beater bar works by combing the pile, and at a raw cut it combs the loose yarns straight out of the backing. One pass rarely shows, but a few months of weekly vacuuming is enough to open a visible band of fuzz.
How to fix it: switch to the edge setting or the crevice tool and keep the beater bar off the last few centimetres. If the edge is already open, trim the loose fibres back to a straight line before finishing.
2. Foot traffic and pivot points
What it is: repeated walking that rubs the edge and twists at the point where people turn.
Why it happens: the edge of a carpet takes more friction per square metre than the middle, and a pivot at a doorway pulls fibres in two directions at once. This is why doorways and hallway runners fray first, and why the rest of the carpet can look fine while the edge does not.
How to fix it: a transition strip or threshold at the doorway spreads the load and covers the cut. In a hallway, an area rug with bound edges over the raw edge works the same way.
3. Furniture and doors dragging across the pile
What it is: a chair leg, table leg, or door bottom moving the pile sideways.
Why it happens: dragged furniture pushes the edge toward itself rather than lifting it, which is the worst possible direction for a cut edge. Chairs with castors do the same thing every time they roll.
How to fix it: felt pads or a clear plastic glide mat under every leg, and door stops that stop the door before it reaches the carpet.
4. Pets digging, scratching, or urinating at the edge
What it is: mechanical clawing plus chemical and moisture damage in the same spot.
Why it happens: a dog turning a tight circle at a door edge works its claws into exactly the raw line. Urine wicking into the backing weakens the adhesives that hold the pile to the primary backing, so the fibres let go more easily afterwards.
How to fix it: clean the area first and let it dry fully, then trim and finish. Fixing a contaminated edge without cleaning it means the new finish lets go too.
5. A seam separating in a high-traffic run
What it is: the joint between two pieces of carpet coming apart along its length.
Why it happens: seam sealer in a busy hallway or a stair run breaks down faster than anywhere else, and once the two edges lift away from each other you have two raw cut edges instead of none. Repairing carpet in a hurry and leaving a glued joint only delays this.
How to fix it: reopen the seam, trim both edges back to clean lines, and re-lay or re-bond them. Cleaning companies consistently describe glued seam repairs as temporary only, and that is accurate.
6. Sunlight embrittling the fibre
What it is: fibre degradation from direct ultraviolet exposure over years.
Why it happens: sunlight fades colour first and weakens the fibre second. A south-facing window wall or a conservatory does this to the pile before it does obvious damage to the backing, and the edge suffers more because the free ends have no backing to hide behind.
How to fix it: finish the edge before it goes, rotate rugs and mats where you can, and use window film on the worst-affected rooms.
7. A raw edge that was never finished
What it is: a cut edge left exposed at installation, or a freshly cut offcut.
Why it happens: offcuts cut into area rugs fray the moment the knife goes through, because the cut is the only thing that ever anchored those fibres. Installers who leave a raw edge at a hardwood transition, or owners who trim a doorway without a transition strip, are setting up the fray from day one.
How to fix it: finish every cut edge. That is the whole fix.
Wool and other natural fibres add one more cause worth knowing about: insect larvae are drawn to the protein in wool and can eat through the pile and into the backing, so a wool rug edge that goes bald rather than fuzzy may be a moth problem rather than a traffic problem.
Where Carpet Edges Fray First: Doorways, Transitions and Carpeted Stairs
Doorways, stair edges, and hardwood-to-carpet transitions are the three places to check first, and the order of that list is not arbitrary. A doorway concentrates every pass the house makes into a narrow strip. A stair edge has a hard line at the nose where the carpet wraps and bends, and every footstep flexes it. A transition to hardwood adds grit underfoot, and grit works the cut line like sandpaper.
The stair case is the one that generates the most questions. On Reddit r/HomeImprovement, people describe stair carpet peeling away from the riser and fraying at the edge while the rest of the flight looks perfect, and the recurring argument is whether carpet adhesive or a transition strip is the right answer. Both are incomplete on their own: adhesive holds the edge to the surface, but nothing holds the cut fibres themselves, so a properly finished edge is what stops the fray.
Our rule is simple. At a stair nose or a doorway, the fix has to be a finish, not a glue. You can add glue underneath as well, and it will help, but glue alone is treating the symptom.
How to Fix a Frayed Carpet Edge: Three Severity Tiers
Matching the repair to the damage matters more than most people expect. Do the cheap fix on a small problem and it holds for a season; do the expensive fix on a small problem and you have wasted it. On the other hand, do the temporary fix on a badly lifted stair edge and you will be back in a month.
Tier 1: temporary, for a lightly fuzzy edge
Trim the loose fibres back to a straight line with a sharp carpet knife, then run a seam sealer or carpet adhesive along the cut to stop what is left from pulling out. Tradespeople on Flooring Forum are consistent about the order, and it is the non-negotiable part: trim first, seal second. Sealing a ragged edge just glues the mess in place. Expect months, not years.
Tier 2: semi-permanent, for a visible open edge
Apply an adhesive binding tape such as Instabind. You get a finished-looking edge in an afternoon with no sewing and no machine, and on a low-traffic area rug or a freshly cut offcut it does the job well. The honest weakness, and the complaint that comes up again and again in the DIY communities, is that adhesive tape is glued to the pile and the face of the backing rather than sewn into them, so it peels in high-traffic spots, at doorways, and on anything that flexes like a stair nose.
Tier 3: permanent, for the edge that matters
Have the edge bound or serged, by hand or by machine. This is the only option that anchors the cut yarns rather than covering them, and it is the right answer for doorway transitions, stair runners, wool or hand-knotted rugs, and any edge you have already had to fix twice.
How to Bind Carpet Edges Yourself: Step by Step
Adhesive binding is a genuinely achievable weekend job if your edge is flat and the carpet is synthetic. The method below is the standard hot-glue approach used across the DIY carpet repair world.
- Trim the edge. Cut away all loose and frayed pile with a carpet knife, leaving a clean straight line at a slight 45 degree bevel to the backing so the tape has something to sit against.
- Clean and dry the edge. Vacuum and wipe it, and let any moisture out completely. Glue does not bond to a dusty or damp backing.
- Plan the layout. Lay the binding tape out, carpet side down, and mark the run before you glue anything. Corners are where DIY jobs go wrong.
- Load the glue gun. Use a hot glue gun and lay a continuous bead of roughly one eighth inch bead along the full length of the tape edge, working in sections you can handle in about a minute.
- Press and wrap. Lay the tape over the cut edge, fold it under, and press it firmly along the backing and around the corner. Work a short section at a time so the glue stays workable.
- Trim and finish. Cut the excess tape at the end with scissors, pinch the corner flat, and leave the whole edge under something heavy for a few hours.
Match the tape to the carpet where you can. Cotton or cotton-blend tape suits wool and cotton rugs, and synthetic tape suits nylon and polypropylene. A visible mismatch on a good rug is the reason people end up choosing serging instead.
Binding vs Serging vs DIY Tape: Which Finish Fits
Binding, serging, overlocking, and adhesive tape get used interchangeably in most conversations, and they are not the same thing. Serring and overlocking are the same process described two ways: a machine wraps yarn around the edge and locks the pile into it. Binding wraps a strip of material over the cut, sewn or glued. Adhesive tape is a binding strip applied with a glue gun.
- Machine serging / overlocking — locks the pile yarns into a continuous wrap of yarn. Most durable option, the best choice for stairs, doorways, and any rug that gets moved. Needs a machine or a repair shop, and it changes the look of the edge slightly because the yarn sits proud of the pile.
- Hand binding — the same idea worked by hand, colour matched to your carpet. The best look on a hand-knotted or high-value rug, and slower and costlier than serging.
- Professional binding — a sewn fabric or leather strip over the cut. Very good appearance, very durable, and the sensible default for a room carpet edge you want to look deliberate.
- Adhesive tape — fastest, cheapest and reversible. Genuinely good on an offcut rug, a low-traffic area rug, or an edge nobody walks on. Weak against foot traffic, heat, and repeated flexing such as a stair nose.
Whatever you choose, get the finish quoted per linear foot of edge and ask for the quote to cover pick-up, the specific finish, and any re-stretching. The figure moves with fibre type, edge length, and how much trimming is needed, so a written quote is worth more than any number you find online, including ours.
When to Call a Professional Instead
There are four cases where the job stops being a weekend project. Damage extending more than an inch or two past the original cut, especially with the backing splitting or the secondary backing delaminating, needs a re-weaver or a rug repair shop rather than a glue gun. A hand-knotted, wool, or silk rug is a third case, because these fibres react to heat, tension, and adhesive differently and a failed DIY fix can leave a mark that is worse than the fray.
The fourth is safety. Frayed edges lift, and a lifted edge on a stair is a trip hazard for children and pets. It also exposes the backing and the subfloor below, which lets grit and moisture in and makes the eventual repair larger. If the edge stands up at all under your shoe, it is worth fixing this month rather than next.
One more practical note: carpet warranties typically cover manufacturing defects and installation faults, not wear at an exposed edge. A seam that opened because of heavy traffic, or an edge that frayed because it was left raw at a doorway, falls outside most of them. If the carpet was installed with the edge left raw, that is worth raising with your installer before you pay for anything.
How to Stop Carpet From Fraying in the First Place
- Vacuum with the beater bar lifted near edges. Use the crevice tool along the line and check the brush roll for trapped carpet fibres every few cleans, because a wound-up brush works the edge hard.
- Add transition strips at every doorway and hardwood junction. They cover the cut, spread the load, and stop grit entering the edge.
- Use a good rug pad under area rugs and runners. A pad grips and takes the walking friction instead of letting the rug shift and rub on itself.
- Stop furniture moving. Felt pads or glide mats under every leg, and door stops that keep the door off the carpet.
- Give the edges a two-minute inspection twice a year. Lift a door runner and look for a raw line. Finding it early means a tape job rather than a respray.
None of this stops sunlight or moths, but it covers the friction causes, which are most of the problem. And fixing an edge early is always the cheaper option than replacing a runner or lifting a room of carpet to get at a seam.
Frequently Asked Questions
How to stop carpet from fraying at edges?
Stop it by removing the friction and finishing the edge. Vacuum with the beater bar off the last few centimetres, use the crevice tool along the line, and add a transition strip at doorways. Then trim any loose fibres back to a clean line and apply a binding, either sewn by a professional or adhesive tape such as Instabind applied with a hot glue gun.
How can I fix a frayed edge on my carpet?
Trim first, seal second. Cut the loose frayed pile away with a sharp carpet knife so the edge is a clean straight line, then run seam sealer or carpet adhesive along the cut to hold what remains. That is a temporary fix. For an open edge that gets walked on, use adhesive binding tape as a semi-permanent repair, or have the edge serged or bound for a permanent one.
How to stop the edge of a rug from fraying?
For a rug, the fix is an edge finish. Trim the frayed fibres to a straight line, then bind the edge with adhesive binding tape for a fast no-sew repair, or have it serged with yarn for a permanent result that locks the pile in place. Cutting shapes out of a rug creates raw edges that fray immediately, so finish every cut before the rug is walked on.
Can I bind carpet edges myself?
Yes, on a flat synthetic carpet with no heavy traffic. Trim the edge, clean and dry it, and apply adhesive binding tape with a hot glue gun using roughly a one eighth inch bead, working in short sections and pressing firmly around corners. It is not a good DIY job on a stair nose, a hand-knotted rug, or a doorway transition that gets daily foot traffic.
How much does it cost to bind the edges of a rug?
Professional binding and serging are quoted per linear foot of edge, and the figure depends on fibre type, total edge length, how much trimming the edge needs, and whether the rug travels to a workshop. Ask for a written quote that covers pick-up, the finish you want, and any re-stretching. DIY adhesive tape costs a small fraction of it and takes an afternoon.
Why is my carpet edge peeling at the doorway?
A doorway concentrates every pass through the house into a narrow strip, and the edge takes more friction per square metre than the middle of the room. People often describe the carpet peeling away from the tack strip or the subfloor at exactly that point. Carpet adhesive can hold it down, but nothing holds the cut fibres, so a transition strip or a proper edge finish is what actually stops the fraying.
What is the average lifespan of a carpet?
Lifespan depends on fibre, pile type, and how much traffic the room carries, so any single number is misleading. The useful part for you is that an edge fix does not reset the clock, but it does stop the fray spreading along the edge and into the seam. Finishing an edge early is far cheaper than replacing a room because one doorway went untreated.
How do I fix a bald spot in my carpet?
Trim the loose fibres around the bald area, pull out any remaining loose pile, and apply a carpet adhesive or seam sealer to hold the surrounding yarns. For small spots, a piece of matching offcut secured with carpet adhesive works. A bald area in wool may be moth or insect damage rather than wear, so check for larvae or webbing before treating it, and on a good rug have it re-pile professionally.
Conclusion
Why does carpet fray at the edges? Because a cut line through the pile cuts the only thing holding those yarns, and every vacuum pass, footstep, and moved chair pulls at the free ends from there. Trim the loose fibres, choose a finish that matches the traffic the edge carries, and the problem stops rather than travels. Spend ten minutes lifting a door runner and checking the edge of the carpet where it meets the hardwood this month, because a fuzzy edge caught now is a tape job, and the same edge caught a year later is a respray.