
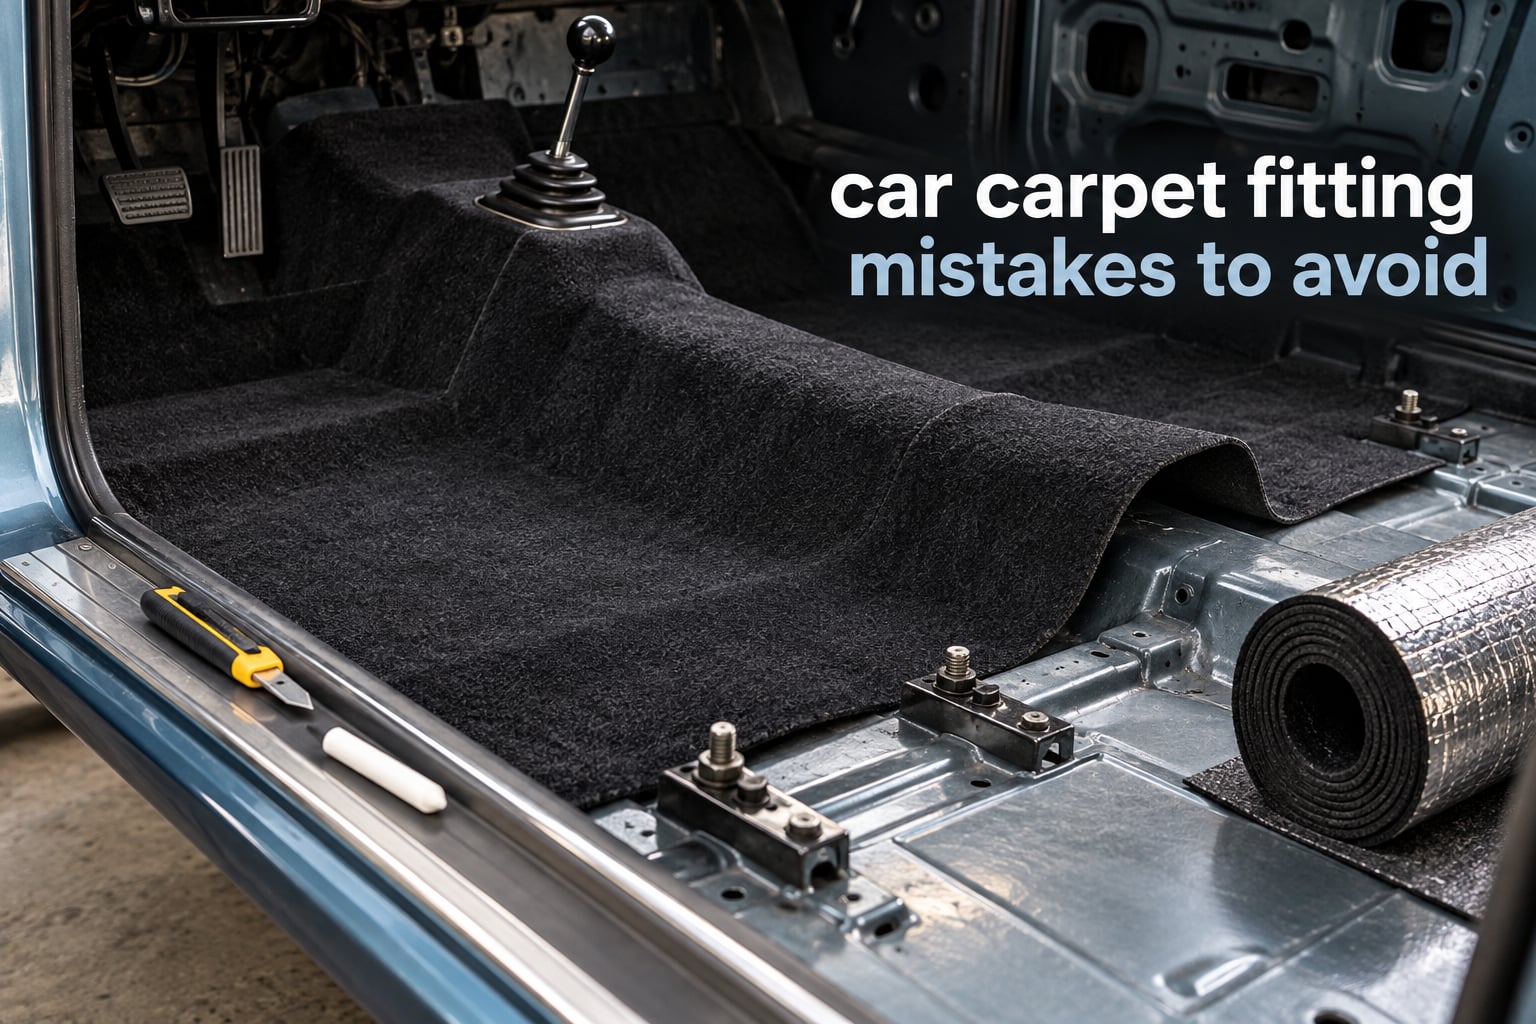
There are 12 car carpet fitting mistakes that separate a flat, factory-looking floor from a wrinkled mess with torn loop pile. This guide covers every one of them, explains why each happens, and shows the correct fitting sequence that avoids them. It is written for DIY enthusiasts fitting a molded carpet kit, restorers refreshing a tired interior, and anyone staring at a new carpet that refuses to lie flat.
The whole job rests on one rule: you can always take more material off, and you can never put it back. A cut is permanent, a glue line is hard to undo, and a screw dragged through loop weave leaves a permanent bald stripe. Nearly every forum thread on this topic comes back to the same theme, which is why enthusiast boards like grassrootsmotorsports.com and corvaircenter.com rank above the commercial how-to sites for car carpet installation mistakes.
One safety note before anything else. Carpet that has lifted loose under the brake or accelerator pedal can catch a shoe and hold it down, and the heat shield under the catalytic converter is not a trim piece. Leave it in place, fit the carpet over it, and never cut carpet so it bridges that shield. More on that further down.
Table of Contents
- 12 Car Carpet Fitting Mistakes to Avoid
- Mistake, Cause and Fix at a Glance
- The Correct Fitting Sequence
- Step 1: Strip the interior
- Step 2: Pull the old carpet and note its orientation
- Step 3: Clean and inspect the floor pan
- Step 4: Relax the carpet
- Step 5: Dry fit and mark
- Step 6: Reinstall the bolts and use them as templates
- Step 7: Trim in stages
- Step 8: Glue from the centre outward
- Step 9: Trim the excess and let it settle
- Molded Carpet vs Universal Flat Carpet
- Why Won’t Your New Carpet Lie Flat?
- If the Carpet Got Soaked
- Tools, Adhesives and Trim: Choosing the Right Materials
- The Cost of Getting It Wrong
- Safety Notes: Pedals, Seat Belts and the Heat Shield
- Frequently Asked Questions
- What are common carpet installation mistakes?
- Is it hard to put new carpet in a car?
- Does carpet need to settle after installation?
- What is the best adhesive for automotive carpet?
- What kind of glue to use on carpet padding?
- My car carpet got soaked. What should I do?
- Can I install car carpet without removing the seats?
- Why won’t my new carpet lie flat?
- Conclusion
12 Car Carpet Fitting Mistakes to Avoid
The list below runs in the order the mistakes actually happen during a job, which is also the order you can prevent them. Read it end to end before you unbox anything.
- Cutting before the carpet has relaxed. Molded carpet ships folded and compressed in a box, and creases from that compression will not fall out on the floor. Leave it unrolled, or laid out in the sun on a warm day, for at least a day or two before you touch it with a blade. Enthusiasts on thirdgen.org and forum.studebakerdriversclub.com both point out how much easier the material handles once it has warmed up and lost its factory folds.
- Skipping the dry fit and going straight to glue. Carpet laid straight onto adhesive can only ever be repositioned by peeling, and peeling loop pile off a glued floor is how you end up with bald patches. Fit it loose first, mark every cut, then remove it, trim, and only then glue.
- Cutting too much too early. A generous first cut feels productive and is the single most expensive habit in this job. Cut in small stages, re-fit, look, then take a little more. Once the excess is gone it stays gone.
- Punching full holes for bolts instead of making X-shaped slits. People on chevelles.com have this exactly right: a small cross-cut that opens up to fit the head, then closes again, hides far better and stops the cut edges from fraying. A punched circle leaves a permanent visible gap around every seat and seat belt bolt.
- Working from the edges inward. Gluing the sill first and working toward the centre traps every wrinkle in the middle of the floor, right where people look. Start at the transmission hump and work outward so the surplus material always has somewhere to travel.
- Over-gluing. Sill plates, kick panels, seat tracks and seat belt anchors all hold carpet down on their own. Flooding the whole floor with contact cement is unnecessary and it is the mistake that makes a carpet effectively unrecoverable, as several people on corvaircenter.com describe when they had to pull a glued carpet later and took a line of tufts with it.
- Leaving old glue, rust or moisture on the floor pan. Adhesive will not bond to a wet, dusty or oily steel floor, and trapped moisture under carpet is how you get mildew and a smell that never goes away. Scrape the pan back to bare metal, treat any rust, and make sure it is bone dry before anything else happens.
- Forgetting that molded carpet has mold memory. This is the quality difference that shows on the finished floor. Cheap carpet has no jute backing and no shape retention, so it creeps and tents where a proper jute-backed kit would stay moulded around the tunnel. It is the reason forums keep steering people toward known suppliers such as Ecklers, Year One and Classic Industries rather than unnamed carpet of unknown backing.
- Stretching universal flat carpet over the transmission hump. A flat roll has to be cut and pieced to follow the tunnel contour, and forcing it to bend where it was not molded creates a permanent ridge and a gap. Fold it front to back over the hump instead, and let the crease sit along the centre line where it belongs.
- Letting a screw drag through the loop pile. When you line a screw up by feel instead of by a pre-cut slit, the thread chews a channel through the pile. A dull blade does the same thing on the cut itself. Change the blade often, and use the reinstalled bolts as cutting templates rather than as a guide you follow after the fact.
- Reinstalling trim and seats the moment the glue feels dry. Contact cement grabs in seconds but finishes over hours, and seating a rail on carpet that has not fully cured dents the bond permanently. Leave the trim off and let the carpet settle flat under its own weight first.
- Ignoring the areas that are not the floor. The pedal, the seat belt bracket, the steering post mount, the dimmer switch, the sill plate screws and the vertical bulkhead on a trunk-carpet kit are all cut points people forget until the trim is already back on. Photograph every area before you reassemble anything.
Mistake, Cause and Fix at a Glance
This table condenses the list above into the three things worth remembering in the middle of a job, when you have carpet in one hand and a blade in the other.
| Mistake | Why it happens | How to fix it |
|---|---|---|
| Cutting cold, creased carpet | Box compression has not relaxed | Lay it out for a day or two, ideally in warm sun |
| Glue before a dry fit | Eagerness to get the job finished | Fit loose, mark, remove, trim, then glue |
| Removing too much material | One large confident cut | Trim in stages, re-fit after every pass |
| Full holes for bolts | Matching an instruction sheet literally | Use X-shaped slits that close around the head |
| Working edges inward | Starting where the carpet is easiest to reach | Glue from the tunnel outward to the sills |
| Over-gluing the floor | Believing more adhesive means more grip | Use the minimum, let trim hardware do the holding |
| Dirty or damp floor pan | Old glue and water left in place | Scrape to bare metal, treat rust, dry fully |
| Screws dragged through the pile | No slit pre-cut for the fastener | Pre-cut with the bolt as a template, fresh blade |
| Forcing flat carpet over the tunnel | Treating a flat roll like a molded kit | Fold front to back, keep the crease on the centre line |
| Trim refitted too soon | Judging cure by touch | Leave trim off until the carpet has settled |
The Correct Fitting Sequence
This is the order that prevents the twelve mistakes above. Each step assumes the previous one is finished, and each one is reversible until the glue goes on.
Step 1: Strip the interior
Remove the seats, console, sill plates, kick panels and any trim that covers an edge of the carpet. Disconnect the battery before you touch a seat or a belt anchor, because those circuits are airbag related on most cars. On General Motors cars from 1958 to 64 the accelerator linkage comes apart differently than you expect, so check the pedal removal before you start rather than forcing it.
Step 2: Pull the old carpet and note its orientation
Roll the old carpet out and look at it before it goes in the bin. Note which way the pile runs, which end was the front, and where the factory cutouts sat. If the old carpet is in one piece and sound, it makes a better template than any measurement you take off a bare floor pan.
Step 3: Clean and inspect the floor pan
Scrape off every trace of old adhesive, then look for rust, especially along the seat mount bumps and the tunnel edges. Sound deadening underlay such as Dynamat or Hushmat goes on after the metal is clean and before the carpet goes down, because covering rust with carpet hides it permanently.
Step 4: Relax the carpet
Unroll it, weight the corners, and give it at least a day. A carpet that has been folded in a small box for months will not lay flat no matter how carefully you fit it. If you have an upholstery steamer, a pass over the creases with it now saves a lot of frustration later.
Step 5: Dry fit and mark
Lay the carpet in position with no adhesive at all. Centre it over the transmission hump first and work outwards, letting the natural tension settle. Mark the sill line, the pedal opening, the shifter and any bracket locations with a chalk or a marker, then take the carpet back out.
Step 6: Reinstall the bolts and use them as templates
Put the seat and belt bolts back into the floor pan, tighten them, and cut your X-slits around them. This is the trick recommended by restoration shops for a reason: it converts a guess into a repeatable shape and keeps the pile from being dragged by a screw head.
Step 7: Trim in stages
Cut the openings, refit the carpet, check, then trim the edges. Fold the carpet front to back over the hump rather than stretching it, and let the crease fall along the centre of the tunnel.
Step 8: Glue from the centre outward
Apply adhesive to one section at a time, starting at the tunnel and working out toward the door openings. Press the carpet down with your palms as you go so wrinkles travel to the perimeter instead of collecting in the middle.
Step 9: Trim the excess and let it settle
Trim the surplus at the sill plates and tuck the edge under, then leave the sill plates, seats and console off for a day or two while the carpet flattens under its own weight. Reassemble in reverse order afterwards.
Molded Carpet vs Universal Flat Carpet
Molded carpet and universal flat carpet are different jobs with different mistake lists, and choosing the wrong one explains a lot of bad installs. A molded kit is shaped to your specific floor pan, usually with a jute backing that holds a set memory. It is not cut from a roll, so the mistakes that ruin it are stretching, forcing and over-gluing.
A universal flat carpet roll is a rectangle. It fits a wide range of cars, but every contour in the car, the tunnel, the pedal box, the seat mounts, has to be cut by hand. The mistakes that ruin it are sizing errors, and they run in both directions: too long at the sills so the overlap is gone, or too short at the edges so the carpet lifts before it reaches the sill plate. Forum threads on jag-lovers.com and vintage-mustang.com are largely people discovering this the hard way, with mats arriving several inches longer than the floor they are meant to cover.
Why Won’t Your New Carpet Lie Flat?
If your new carpet tents up at the transmission tunnel or floats above the seat mount bumps, the problem is almost always one of three things, and none of them are fixed by pulling harder.
- It was cut from a flat roll and forced over a molded contour. The material was never shaped for the tunnel, so it stands up rather than wrapping. Take it back to the manufacturer if you can, or accept that a flat roll needs piecing and piecing has a visible seam.
- It has not relaxed. Factory creases need heat and time. A steamer or a warm, sunny stretch of driveway is a high quality reshaping method, and it is the one most often skipped.
- The carpet has no backing or no memory. This is the quality limit nobody advertises. Without a jute backing the carpet cannot hold a moulded shape, and it will always creep in traffic areas.
On the grassrootsmotorsports.com thread about an aftermarket carpet that would not fit, the description is the one to recognise: the carpet tents up to the tunnel on both sides and floats several inches above the seat mount bumps. That is a fit problem, not an installation technique problem, and no amount of glue or stretching fixes it. The right move is to replace the carpet, not to fight it.
The exception is edge lift near the sills, which is a technique problem. A carpet that fits but lifts at the door opening is missing fold material at the edge, and the fix is to trim slightly narrower, not to add glue.
If the Carpet Got Soaked
Water damage is the one fault that cannot be installed over, so triage it before you plan the fitting job.
- Find and stop the source. A rain-soaked headliner seam, a failed window seal or a blocked drain will undo anything you do next.
- Pull the carpet out and lift the padding away from it. Wet padding against wet carpet is what turns into a smell.
- Dry both separately. Out of the car, in moving air, with the pile facing up. Heat guns and hair dryers cook the fibre and set the backing.
- Check for a sour smell or black spotting. If either is present after a full dry, replace the carpet rather than sealing the problem under trim.
- Deal with the floor pan. Corrosion under a soaked carpet is common and invisible until the carpet is off.
Tools, Adhesives and Trim: Choosing the Right Materials
Contact cement is the right answer for carpet to floor pan, and spray adhesive is the right answer for carpet padding. The mistake is using either where trim hardware should be doing the work, or using household construction adhesive anywhere near a pedal box.
| Method | Best for | Working time | Where it belongs | Main drawback |
|---|---|---|---|---|
| Contact cement | Carpet to steel floor pan | Seconds to position, hours to cure | Centre of the floor, worked in panels | Makes the carpet hard to remove later |
| Spray adhesive | Padding and jute backing | Short tack, longer cure | Underlay layers and heel pads | Coverage is uneven if sprayed cold |
| Carpet tape | Re-bonding a lifted edge | Immediate | Sill line and door edge repairs | Poor in a hot footwell |
| Clips and trim hardware | Edges and high-traffic zones | Not applicable | Sill plates, seat tracks, belt anchors | Nothing to trim the edge with |
For tools, the list is short and each item prevents a specific mistake.
- A fresh utility knife with spare blades. A dull blade frays loop pile. Change it far more often than feels necessary.
- Tin snips or heavy shears for the initial rough trim of a flat roll, before the knife takes over.
- A upholstery steamer for creases. It is a high quality reshaping method, and it is the one most often skipped.
- A socket set with star and Torx bits for seat belt anchors, which resist the drivers everyone else reaches for first.
- Chalk or a paint marker for marking cuts on the pile, and a yardstick or tape measure for straight sill lines.
- Work gloves and a knee pad. onallcylinders.com published tooling advice on this job and the recurring theme is that the physical side is what makes people rush, and rushing is what causes the mistakes.
Sound and heat barrier underlay belongs under the carpet, not on top of it, and it goes down after the floor pan is clean and before the carpet is fitted. The material people mention most often is Dynamat or Hushmat, both of which double as noise reduction and, near the tunnel, a little extra protection from driveline heat.
The Cost of Getting It Wrong
Almost every irreversible step in this job has a quiet financial consequence that people only notice afterwards.
- Cut carpet cannot be returned. Once it has been cut or altered, the standard return policy on a molded kit is void. The cost of a single overconfident cut is the whole carpet.
- Pulled pile does not grow back. When glued carpet is pulled up later, or when a screw is dragged through, the tufts come out in a line. That line is visible for the life of the car.
- A split jute backing cannot be repaired. Jute is what gives molded carpet its shape. Cut it through and the carpet loses the memory you paid for.
- Over-glued carpet is a one-way door. A carpet bonded across its whole area may never come up intact, so the next job becomes a replacement job.
The practical rule that comes out of all four: if in doubt, do not cut. Put the trim back on, look at it in daylight, and take the decision with fresh eyes.
Safety Notes: Pedals, Seat Belts and the Heat Shield
Three safety points come up repeatedly in manufacturer instructions and forum threads, and all three are easy to miss.
The catalytic converter heat shield is a heat shield, not trim. Leave it fitted and lay the carpet over it. Removing it shortens the life of the exhaust and puts an unprotected floor pan near very hot metal, which is a good reason to ignore any advice that tells you to pull it for access.
Carpet near the pedals is a driving hazard, not a cosmetic one. A lifted edge or a bubble under the brake or accelerator can hold a shoe in place, and a carpet that has been cut too tight around the pedal box can interfere with pedal travel. Fit the carpet, then check free pedal movement with the engine running before you consider the job finished.
Seat belt anchors are structural. Torque the belt bolts to specification, use the correct star or Torx bit so you do not round the heads, and never use the belt bolt as a handle for pulling the carpet tight. If the anchor bracket sits above the carpet rather than through it, fit the bracket first and cut the slit afterwards.
Finally, carpet over an area with a damp floor is a slip hazard long before it becomes a smell problem. Dry the pan, dry the carpet, and check again after the first wet drive.
Frequently Asked Questions
What are common carpet installation mistakes?
The most common car carpet installation mistakes are cutting before the carpet has relaxed from its box folds, skipping the dry fit and gluing too early, removing too much material in one cut, punching full holes instead of X-shaped slits for bolts, gluing from the edges inward instead of the centre outward, and over-gluing the whole floor when the sill plates and seat hardware already hold the carpet down. Cutting a bolt hole with a dull blade or dragging a screw through the pile causes permanent pull-out.
Is it hard to put new carpet in a car?
It is a moderate job that rewards patience more than strength. On a two-seat car with the console and sill plates removed, a first-timer should expect most of a working day, plus one to two days of settling time before the trim goes back on. The difficult parts are not heavy, they are the cut points: the pedal box, the seat belt brackets, the shifter and the dimmer switch. Rushing those is what makes it hard.
Does carpet need to settle after installation?
Yes. Freshly glued carpet continues to flatten as the adhesive cures, and trim fitted too early can dent the bond and hold a permanent buckle. Leave the sill plates, seats and console off for a day or two, keep the car parked and closed up so the pile relaxes under its own weight, then reassemble. If the carpet was cold and creased when it went in, allow a little longer.
What is the best adhesive for automotive carpet?
A high-temperature automotive contact cement is the right choice for carpet to bare steel floor pan. Apply it in panels rather than one coat across the whole floor, work from the transmission tunnel outward, and use the minimum amount that grabs. Avoid construction adhesive and household glues, and do not rely on adhesive for edges that sill plates, seat tracks and seat belt anchors already secure.
What kind of glue to use on carpet padding?
Use a spray adhesive rated for automotive interior work to bond padding to the floor pan and to the carpet backing. Apply it in thin, even passes rather than one heavy coat, and follow the product tack time before you press the layers together. Padding is what gives a molded carpet its thickness, and it is far easier to fix in position before the carpet goes on top of it.
My car carpet got soaked. What should I do?
Find and stop the water source first, then pull the carpet and the padding out and separate them so both can dry. Dry them out of the car, pile up, in moving air, and avoid heat guns, which cook the fibre. Once fully dry, check for a sour smell or black spotting; either one means the carpet should be replaced rather than sealed under trim. Expect to find corrosion on the floor pan underneath.
Can I install car carpet without removing the seats?
Usually not, if you want a result that lasts. The carpet is cut around the seat tracks and mounts, and it has to be folded and worked down to the floor before the seats go back. A molded kit will not lie flat under an installed seat rail. Disconnect the battery before removing a seat or touching a seat belt anchor, because those circuits are airbag related.
Why won’t my new carpet lie flat?
Three causes cover almost every case. The carpet was cut from a flat roll and forced over a contour it was never molded for, so it tents at the transmission tunnel. The carpet has not relaxed from the creases it arrived in, and it needs heat and time or an upholstery steamer. Or the carpet has no jute backing and no shape memory, so it cannot hold a moulded form. A carpet that fits but lifts at the sills is a different problem and is fixed by trimming narrower, not with more glue.
Conclusion
Carpet fitting mistakes are rarely exotic. They are almost always the same handful of habits: cutting early, cutting too much, gluing too much, working from the wrong end of the floor and skipping the settle time. Follow the sequence in the order it is set out, dry fit before every cut, use X-slits and the bolts as templates, and glue from the tunnel outward, and the job stops being difficult.
Before you start in 2026, unroll the carpet, check the floor pan for rust, and measure the tunnel. Those three things take twenty minutes and they prevent most of the problems in this guide.