
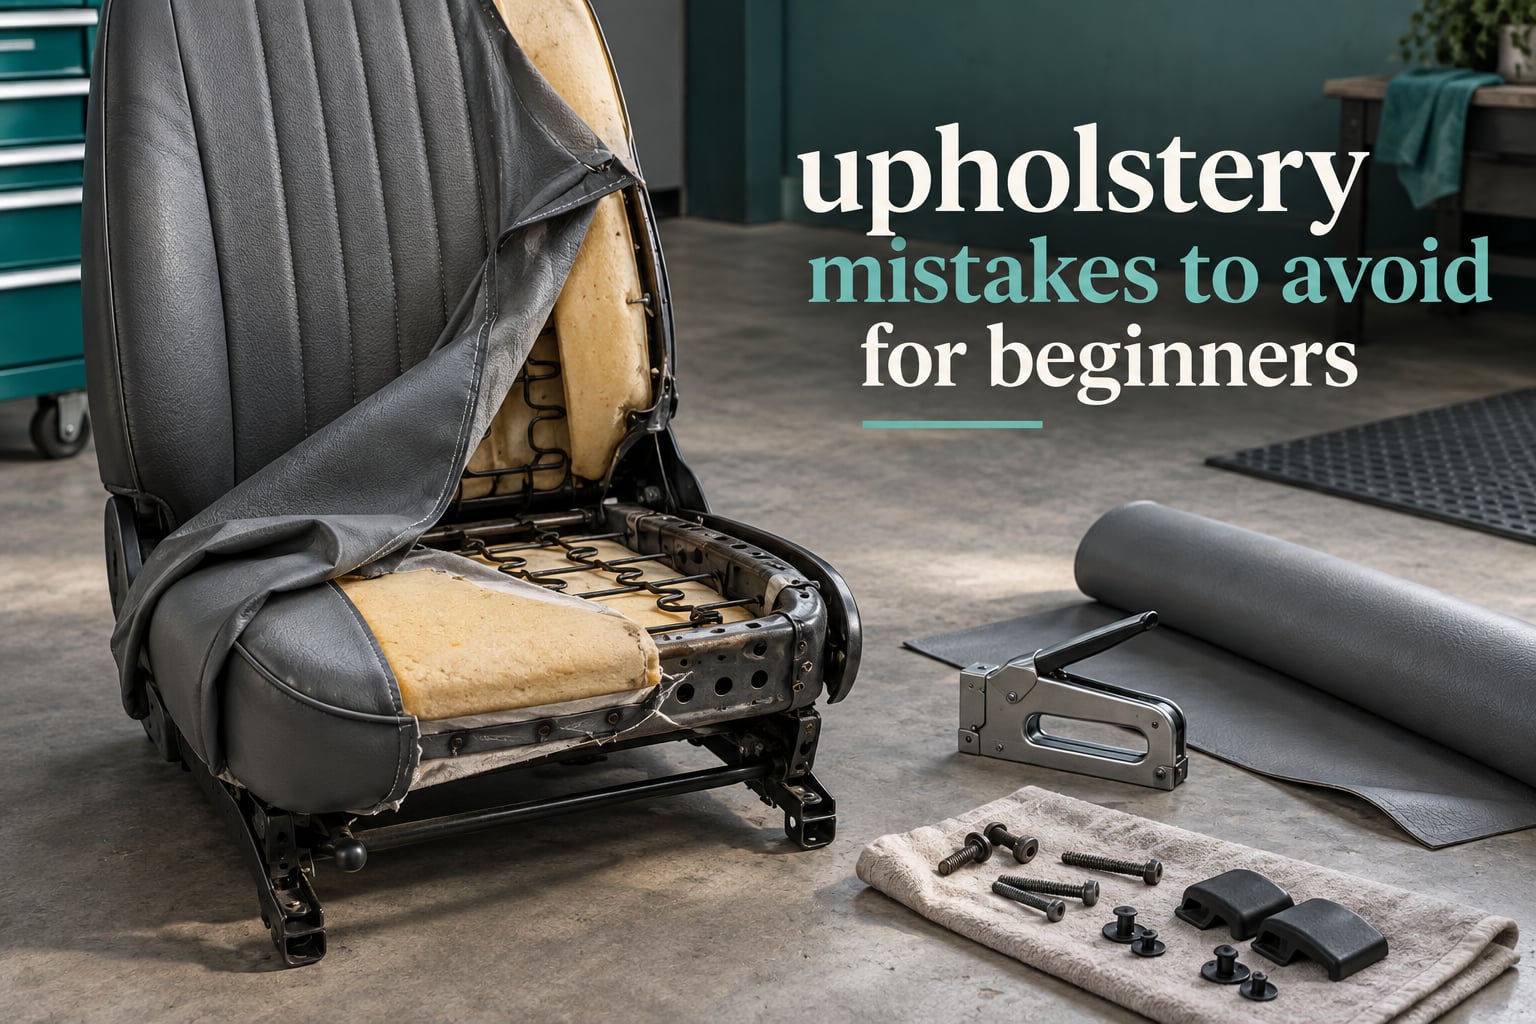
Upholstery mistakes to avoid for beginners is really a short list, and it is worth learning before you strip a single staple. Almost every failed first reupholstery job comes down to the same handful of errors: wrong tools, no pattern, foam that was already dead, and fabric pulled tight on one side before the other. Fix those four and the job usually comes out clean. Skip them and you can lose a full weekend and a set of materials.
I have watched enough first attempts go sideways to know the pattern well. The failures are not exotic. They are boring, predictable things that a thirty-minute read would have prevented. This guide walks through the mistakes that actually cost beginners time and materials, why each one happens, and the correction that keeps the job reversible.
We also cover the two mistakes that touch your car’s safety systems, the failures that do not show up until a few months later, and a troubleshooting table so you can diagnose a job that is already going wrong.
Table of Contents
- The 10 Upholstery Mistakes That Ruin Most Beginner Projects
- The 10 Most Common Upholstery Mistakes and How to Fix Them
- 1. Cutting without a pattern
- 2. Fighting the fabric instead of shaping it
- 3. Skipping the listing wires
- 4. Covering foam that is already gone
- 5. Substituting household tools
- 6. Leaving old staples and hog rings behind
- 7. Under-ordering material
- 8. Ignoring grain direction
- 9. Ignoring what the disassembly reveals
- 10. Forgetting the final reinstallation steps
- Tools Mistakes Beginners Make
- Fabric Selection Mistakes
- Measuring and Cutting Mistakes
- Installation Mistakes
- Safety Mistakes Nobody Warns You About
- Mistakes That Only Show Up Months Later
- Symptom to Fix Troubleshooting Table
- Which Projects to Start With
- How to Know When to Stop and Hire a Shop
- Frequently Asked Questions
- What are the common problems with upholstery?
- What are the common problems with car upholstery?
- What are some tips for upholstering beginners?
- Is it hard to reupholster a car seat?
- What are the disadvantages of leather car seats?
- What are the disadvantages of car seat covers?
- What tools do I need to reupholster car seats?
- What to use instead of upholstery tacks?
- How long does it take to reupholster a car seat?
- Do I need to disconnect the battery before removing a seat?
- Conclusion
The 10 Upholstery Mistakes That Ruin Most Beginner Projects
- Cutting without using the old cover as a pattern. You end up with panels that are a centimetre short everywhere.
- Pulling one side fully tight before the other. Uneven tension locks wrinkles and pucker lines into the cover.
- Skipping the listing wires. The cover looks fine on the bench and sags into the contours weeks later.
- Covering already-crushed foam. The new cover goes on beautifully and looks deflated within a month.
- Using household tools instead of upholstery tools. Bent hog ring pliers, torn batting, and staples that will not hold.
- Leaving old staples and hog rings behind. They catch the new material and show through as permanent lumps.
- Under-ordering fabric. Bolsters eat yardage, and a half-metre shortfall kills the project at the layout stage.
- Ignoring grain direction. The cover stretches across the seat and pulls tight along the seams.
- Working on a seat with airbags without isolating the battery. This is a safety problem, not a comfort problem.
- Not torquing the seat bolts back to spec. The seat works loose and the airbag warning light stays on.
The 10 Most Common Upholstery Mistakes and How to Fix Them
1. Cutting without a pattern
What goes wrong: Panels come out short, seams vanish into the foam, and the cover has to be unpicked and re-cut.
Why it happens: Beginners measure the seat and then cut to the measurement, forgetting that the cover has to be shaped, not just sized.
How to fix it: Take the old cover off in one piece if you can, label every panel, and lay it flat on the new material as a template. Add a half-inch seam allowance everywhere before you trace. If the old cover is already destroyed, photograph each panel from the front before you remove it and trace from the seat itself.
2. Fighting the fabric instead of shaping it
What goes wrong: Wrinkles, pucker lines, and a cover that reads as an obvious DIY job from ten feet away.
Why it happens: The material is pulled hard into a shape it does not want to take, usually with no reference points marked first.
How to fix it: Mark your reference points with a permanent marker before the first staple goes in, then tack at the centre of each panel and work outward in alternating directions. On vinyl and leather, a heat gun on a low setting around 200F softens the material so it wraps a curve instead of creasing. Lay out pleat lines before you cut, not after.
3. Skipping the listing wires
What goes wrong: The cover looks taut on the bench, then walks down into the seat contours over the first few months.
Why it happens: Listing wires are the metal rods sewn into channels in a cover that hold it into the seat’s shape. Beginners rarely know they exist because they are hidden on the underside.
How to fix it: When you open up the old cover, check whether it has a listing wire channel along the centre line. If it does, thread the new wire in before you install anything.
4. Covering foam that is already gone
What goes wrong: A beautiful new cover over a dead cushion, and a second teardown three weeks later.
Why it happens: Nobody compresses the foam before starting. Sit on the old cushion hard with your full weight or press a palm into it. If the impression stays, the foam is finished.
How to fix it: Treat roughly two inches of compression as the point where new foam is worth the extra step. Replacing foam while the seat is apart is far cheaper than re-covering later. A resurfacing agent restores surface appearance but does not restore the structure underneath.
5. Substituting household tools
What goes wrong: Torn batting, cracked trim, staples that sit proud, and a lot of swearing.
Why it happens: The tool list feels like an equipment budget rather than a requirement list.
How to fix it: Buy the four tools you cannot improvise with: a pneumatic stapler, hog ring pliers, a trim removal tool, and shears or a rotary cutter. Everything else on the list you can substitute.
6. Leaving old staples and hog rings behind
What goes wrong: Lumps under the new cover, tears during installation, and gouges in the seat frame.
Why it happens: Fasteners hide under listing wires and inside seam folds, and they are easy to miss when you are eager to move on.
How to fix it: Run your fingers along every channel and seam fold before the new cover goes anywhere near the seat. Take your time here. Removing hardware carefully at the start is the difference between an afternoon and a weekend.
7. Under-ordering material
What goes wrong: You get partway through the layout and run out, with no way to match the grain on the second seat.
Why it happens: Bolsters and rolled edges consume far more material than the flat panel area suggests, and the grain has to run consistently across every piece.
How to fix it: Lay out and label every panel on the full width of the material before ordering, then add a margin. Suppliers such as SMS Auto Fabrics and Hampton Coach will cut yardage to a plan if you give them one.
8. Ignoring grain direction
What goes wrong: The cover pulls tight along one axis and ripples along the other, and nothing you do at installation time fixes it.
Why it happens: Grain is the alignment of the weave, and it decides which way the material stretches. A panel cut against the grain fights you from the first staple.
How to fix it: Match the grain to the original cover, and match it across every panel so stretch behaves the same way everywhere. Every upholstery mistake on this list gets harder to fix once grain is wrong.
9. Ignoring what the disassembly reveals
What goes wrong: Corrosion, broken trim clips, or an unidentified wiring connector discovered at the worst possible moment.
Why it happens: Beginners assume the strip-down is reversible. It often is not. Forum regulars on the BMW, Jaguar and Benz boards consistently report that trim clips and connectors do not go back in the same way.
How to fix it: Photograph every disassembly step, bag and label the hardware by stage, and inspect the frame for corrosion while it is bare. Squeaks that appear after reassembly usually trace to a B-pillar ticking against glass or a seatbelt receiver rubbing a trim edge.
10. Forgetting the final reinstallation steps
What goes wrong: A loose seat, a persistent airbag warning light, and a safety system nobody has tested.
Why it happens: All the care goes into the cover and none into the last fifteen minutes.
How to fix it: Torque the seat bolts to the manufacturer figure, commonly 25 to 40 foot-pounds, and confirm the airbag light cycles on for four to six seconds and goes out. If a scan tool is available, clear any stored codes rather than assuming the reset handled it.
Tools Mistakes Beginners Make
Most of the trouble on this list traces back to a tool that was substituted or skipped. Here is what each one is actually for, and what happens when you do without it.
| Tool | What it does | Consequence of substituting or omitting it |
|---|---|---|
| Pneumatic stapler | Sets staples to a consistent depth across a large panel | Staples sit proud or drive too deep, and the cover looshes unevenly |
| Hog ring pliers | Closes hog rings, the rings that pin a car seat cover to the frame | Rings spring open, the cover shifts, and you rebuild that section |
| Trim removal tool | Releases plastic clips and trim without gouging the panel | Snapped clips that do not refit, or cracked trim on the door panel |
| Heat gun on low | Softens vinyl and leather around curves and bolsters | Permanent creases where the material was forced cold |
| Shears or rotary cutter | Cuts long, smooth curves in fabric and leather | Ragged edges that show on a visible seam |
| Upholstery needle and thread | Stitches hog ring channels and listing wire pockets | No channel means no listing wire, which means sagging |
| Diagonal cutters | Snips hog rings open for removal | Damaged frame and a slow, destructive removal |
A leather needle around size 20 or a universal needle around size 14 is the right choice for most cover work. Anything thinner will snap on a listing wire channel.
Fabric Selection Mistakes
Material choice decides how the job behaves, and it is the decision that is hardest to reverse once stitching starts. Three things matter more than colour: stretch and recovery, backing, and how much sun the surface sees.
- Stretch and recovery. Vinyl and cloth with moderate stretch ease into a bolster. Rigid material fights you and puckers at every curve.
- Backing. Foam-backed headliner fabric needs a different cutting approach from a flat woven cloth, because the foam backing becomes part of the seam allowance.
- UV exposure. A parked car interior is brutal. Marine-grade vinyl and outdoor-rated lines such as Sunbrella Horizon, Sunbrite, Olympus and Nassimi hold colour longer than interior-only cloth. Tempotest and Texilene are common alternatives.
- Leather. Leather is easy to stretch and hard to sew. It perforates if you push a standard needle through a seam, and it hides mismatched thread more than vinyl does. Expect to hand-stitch some seams on a first attempt.
- Flammability. Interior material should carry a flame rating appropriate to the application. Check what you are buying rather than assuming.
If you are on a strict budget, the lowest-grade roll on the shelf is the wrong place to save. A low-grade vinyl perishes in a hot car within a couple of seasons, and you pay for the labour twice. On furniture, the same logic applies with one addition: consider who will sit on it. Households with pets and children need a stain-resistant, tightly woven material rather than a loose weave that snags.
Cleaning the old material before you re-cover it is its own trap. Restorers on the Mustang boards describe the correct order as dye and seal first, then clean with a proper interior degreaser, then seal again, and they warn explicitly that a household washing machine will fade fabric almost immediately. For light soiling, warm water and dish soap with a sponge is plenty. For heavy soiling, use a dedicated extractor rather than saturating the cushion.
Measuring and Cutting Mistakes
Cutting errors are the ones that cost the most material, so they get the most attention before any blade touches the roll. Work through this sequence and most cutting problems disappear on their own.
- Photograph every panel while it is still on the seat.
- Remove the old cover whole, or as large pieces as the seams allow, and label them.
- Check whether the cover is one-piece or multi-panel, and note where the stretch sits in the bolsters.
- Inspect the frame for corrosion and the floor for water damage while it is bare.
- Test the foam compression before deciding whether to replace it.
- Flatten the old cover, mark the grain, and trace every panel with a half-inch seam allowance added.
- Lay out all panels across the full width of the new material, then check the yardage before cutting.
- Mark pleat and fold lines on the layout before the first cut.
That last habit is the one the custom-build community repeats most consistently. Plan, mark, disassemble, remove hog rings, measure, trace, lay out, mark the material, and only then start cutting.
Installation Mistakes
Installation is where a correct cut can still be lost. The core error is tacking one side completely before you touch the opposite side. Tension then runs diagonally across the panel, and the slack has nowhere to go but into a wrinkle near the centre.
Tack at the centre first, work outward in alternating directions, and keep pulling toward your reference points rather than toward yourself. Staple the same tension along every pull so the surface stays even. Leave it a fraction loose and work it down gradually.
On car seats, reinstate the hog rings and the listing wires. On furniture, the equivalent of a hog ring is the tack strip, the flexible strip that locks a cover edge into the frame. Tack strips and staples are not interchangeable; staples alone will let a sofa edge roll out under use. If a cover edge keeps rolling, the usual answer is a tack strip rather than more staples.
One more thing to check before you button everything back up: the cover must be clear of every moving path. On a seat with side-impact airbags, stitching that crosses the deployment path has to be done to the vehicle maker’s specification, and so does the cover panel itself.
Safety Mistakes Nobody Warns You About
These are the two mistakes that can hurt you or disable a safety system. Nothing else on this list is in that category.
- Working on an airbag seat without isolating the battery. Disconnect the negative battery terminal first, then wait about 30 seconds for the airbag capacitor to discharge before you unplug any seat connector. Treat the connector as live until you have done this.
- Stitching across an airbag deployment path without certification. Cover material and seam construction that cross the deployment path must meet the vehicle maker’s specification. Unverified DIY stitching can stop an airbag deploying in a crash, which is worse than a scuffed trim panel.
Then finish the job properly: torquing the seat bolts back to the manufacturer figure, typically 25 to 40 foot-pounds, reconnecting the seat heating and ventilation connectors, and confirming the airbag warning light cycles on for four to six seconds and goes out. If the light stays on, clear the stored codes with a scan tool and drive the car. Sitting in a driveway with the ignition on is not a test.
One more practical point on a hot day. A freshly glued and freshly upholstered interior off-gasses in a closed car. Drive with the windows down for the first few journeys rather than parking the car in the sun with the doors shut.
Mistakes That Only Show Up Months Later
Some reupholstery mistakes give you a perfect result on day one and fail quietly afterwards. These are the ones nobody checks for, because there is nothing to see yet.
- Foam compression. The cover looks taut, the foam underneath is slowly collapsing, and the surface sags in the middle over two to three months.
- Adhesive letting go. Spray adhesive that was applied to one surface only, or in a cool workspace, releases along the foam or burlap bond and the cover ripples from the frame outward.
- UV fading. One panel in direct sun and the rest in shade means a mismatched interior that gets more obvious every month.
- Thread break. Mismatched thread colour is the most visible giveaway of a first attempt, and a standard thread on a listing wire channel is a break waiting to happen.
- Listing wire snap. A channel stitched with the wrong needle tension fails at the hog rings first, then the cover loses its shape in the centre.
- Squeaks and rattles. B-pillar ticking against glass, a seatbelt receiver rubbing a trim edge, and clips that did not go back in properly all reappear a few weeks after reassembly.
Symptom to Fix Troubleshooting Table
| Symptom | Likely cause | Correction |
|---|---|---|
| Wrinkles radiating from one side | One side tacked before the other, uneven tension | Release, re-tack from the centre outward, work in alternating directions |
| Puckering along a seam | Seam allowance too small, or fabric pulled rather than eased | Unpick the seam, re-cut with a half-inch allowance, restitch |
| Sagging in the middle of the cushion | Listing wires missing, or foam past compression | Reinstall the listing wire; replace foam if it does not recover |
| Gapping between panels | Cut short, or grain running in the wrong direction | Re-trace from the old cover and recut the panel |
| Cover lifting away from the frame | Adhesive applied to one surface or in a cold workspace | Strip back, clean both surfaces, use high-tack adhesive formulated for foam and fabric |
| Squeak on every bump | B-pillar ticking, seatbelt receiver rub, or loose clip | Realign the pillar trim, pad the receiver, refit the clip |
| Airbag light stays on | Connector not fully seated, or code stored | Reseat the connector, clear codes with a scan tool, verify the light cycle |
| Staples visible through the cover | Old fasteners left behind at disassembly | Pull the old staples and hog rings, then reinstall the panel |
Which Projects to Start With
Where you start decides how quickly you learn, so start smaller than you think you need to. This ladder works because each rung uses the skills of the one before it.
- Console lid or door insert. Flat, small, and almost impossible to ruin. Good first practice for cutting and tacking.
- A single foam cushion cover. Introduces seam allowance and a zip or flap without any structure underneath.
- One front seat without side airbags. Real hog rings, real listing wires, and a frame you can reach from both sides.
- A rear bench seat. Three or more panels, generous yardage, and matched grain across the full width.
- A bolstered sport seat with side-impact airbags. Last. This is where the deployment path and the certification question live.
Headliners and overhead panels are their own category. Foam-backed headliner material behaves differently from seat cloth, and a sagging headliner is usually a listing wire and tension problem rather than a material problem. Marine and RV cushions follow the same logic as car seats, with a higher exposure budget for UV and salt, so the material choice matters more than anywhere else.
How to Know When to Stop and Hire a Shop
There is no shame in handing over a job, and there are clear signals that you have reached the right one.
- The seat has side-impact airbags and you cannot confirm the deployment path specification for the cover.
- The frame is corroded where it bolts to the car, rather than on the seat itself.
- The old cover was destroyed years ago and there is no reference to trace from.
- The foam is heat-bloomed and crumbling, and the cushion underneath cannot be recovered.
- You are working with leather and have no machine capable of a consistent seam.
One alternative to a shop is a used seat swap. On the BMW, Jaguar and Benz forums it is treated as a legitimate shortcut: source a donor seat with the trim and connectors you need, bolt it in, and re-cover that instead. It converts a hard stitching problem into a bolt-and-align problem.
And if the project is furniture rather than a car, the same rules hold. Do not stretch fabric over a frame with loose springs, and replace webbing and foam while the piece is apart if they are tired.
Frequently Asked Questions
What are the common problems with upholstery?
The recurring problems are wrinkles and pucker lines from uneven tension, sagging cushions from missing listing wires or compressed foam, gapping along seams cut too tight, squeaks and rattles after reassembly, and adhesive letting go along a foam or burlap bond. Almost all of them trace back to one of five root causes: no pattern, wrong grain, one-sided tension, dead foam underneath, or fasteners left behind.
What are the common problems with car upholstery?
In cars the most common complaints are cracked or faded vinyl on a surface that sees constant UV exposure, cushions that sag where the foam is past its useful life, thread that breaks or does not match the original colour, and trim clips that crack during removal and do not refit. Airbag warning lights that stay on after reassembly are also common, and they trace to connectors or stored codes rather than to the upholstery itself.
What are some tips for upholstering beginners?
Photograph every disassembly step so the job can be reversed. Label and bag hardware by stage. Use the old cover as a pattern with a half-inch seam allowance. Test foam compression before deciding whether to replace it. Mark reference points on the seat before the first staple. Tack from the centre outward in alternating directions. And match thread colour to the original, because mismatched thread is the most visible giveaway of a first attempt.
Is it hard to reupholster a car seat?
It is moderately hard rather than difficult. The physical work is straightforward, but it needs patience and the right tools. A complete beginner job on one front seat is commonly a full weekend, and that estimate assumes the old cover comes off in one piece and the foam does not need replacing. Add foam replacement, a multi-panel pattern, or side-impact airbags and the same job can double.
What are the disadvantages of leather car seats?
Leather is harder to work than cloth or vinyl. It is easy to stretch and hard to sew, and a standard needle will perforate the hide and leave a visible line. It shows mismatched thread less forgivingly than people expect, and it is unforgiving of panel miscuts because there is no hiding a seam error. In a hot car, leather also becomes uncomfortably hot and can crack with age if the original finish is not maintained.
What are the disadvantages of car seat covers?
A cover sits on top of the existing upholstery rather than replacing it, so it cannot fix a seat with crushed foam or a torn bolster. It can work loose underfoot traffic, it can slip if the underlying seat is smooth, and cheap covers interfere with side airbag deployment. It also hides the original trim, which matters if the vehicle is a classic or a limited-production car.
What tools do I need to reupholster car seats?
The four that cannot be improvised are a pneumatic stapler, hog ring pliers, a trim removal tool, and good shears or a rotary cutter. A heat gun on a low setting makes vinyl and leather far easier around curves, and diagonal cutters are the right way to open hog rings. An upholstery needle around size 20 for leather, or a universal needle around size 14, and a small square for trimming hog ring channels round out the list.
What to use instead of upholstery tacks?
Nothing replaces tack strips where a furniture cover edge needs to stay locked to the frame, because the strip distributes the hold along the whole edge rather than at a single point. On a car seat, hog rings play the equivalent role and staples are not a substitute. If a cover edge keeps rolling out, the fix is to fit a proper tack strip rather than to add more staples closer together.
How long does it take to reupholster a car seat?
Budget a full weekend for one front seat on a first attempt, including removal, cleaning, foam work, cutting, stitching, and installation. Add several hours if the foam is being replaced, and considerably more if the old cover has to be unpicked in pieces rather than lifted off whole. The stitching is the slow part, and rushing it is what causes mismatched thread and broken listing wire channels.
Do I need to disconnect the battery before removing a seat?
Yes, if the seat has a side-impact airbag or any powered connector. Disconnect the negative battery terminal, then wait about 30 seconds for the airbag capacitor to discharge before unplugging anything. Reconnect everything before turning the ignition on, then confirm the airbag warning light cycles on for four to six seconds and goes out. Clear any stored codes with a scan tool if it does not.
Conclusion
Most of the upholstery mistakes to avoid for beginners come down to preparation, not technique. Use the old cover as a pattern, keep the grain consistent, test the foam before you cover it, pull both sides evenly from the centre, and leave the airbag and battery work to somebody who can verify it. None of that is difficult, and all of it is much cheaper than a redo.
Start with a console lid or a door insert, photograph everything as you strip it down, and buy your tools before you buy your material. Measure twice, cut once, and leave the project before you get tired.